
Hello there,
Thank you for stopping by today at On the Cutting Floor. This is the Sleeping Mask Sewing Tutorial
If this is your first time in our blog, remember to check our FREE SEWING PATTERNS page.
On that page you will find our collection of free sewing patterns for women, kids and men.
You can also visit our SEWING TUTORIALS and our SEWING REVIEWS.
We also have an ETSY STORE, where you will find unique and modern sewing pattern for women.
This is a very easy sewing project. Ideal for beginners, sew sewists and kid’s projects.
You can make it in less than 30 minutes!
Materials:
- 1/8 yard of quilting cotton
2. 1/8 yard of woven interfacing
3. 1/8 batting piece
4. 8” elastic (1/2 inch)
5. Sewing Supplies: coordinating thread, sewing machine, scissors, etc.
SLEEPING MASK SEWING TUTORIAL AND TEMPLATE
The sample was made with the collection Porto with Love by Cotton and Steel from Connecting Threads here

SEWING TUTORIAL
1. Gather the materials.
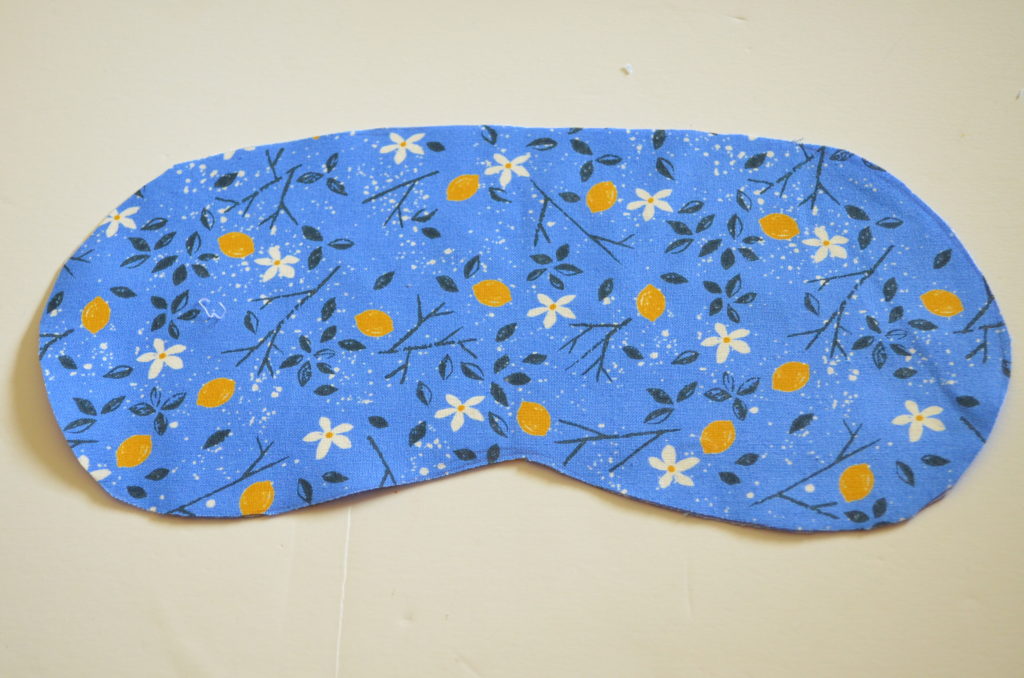
2. Add the interfacing to both main mask pieces 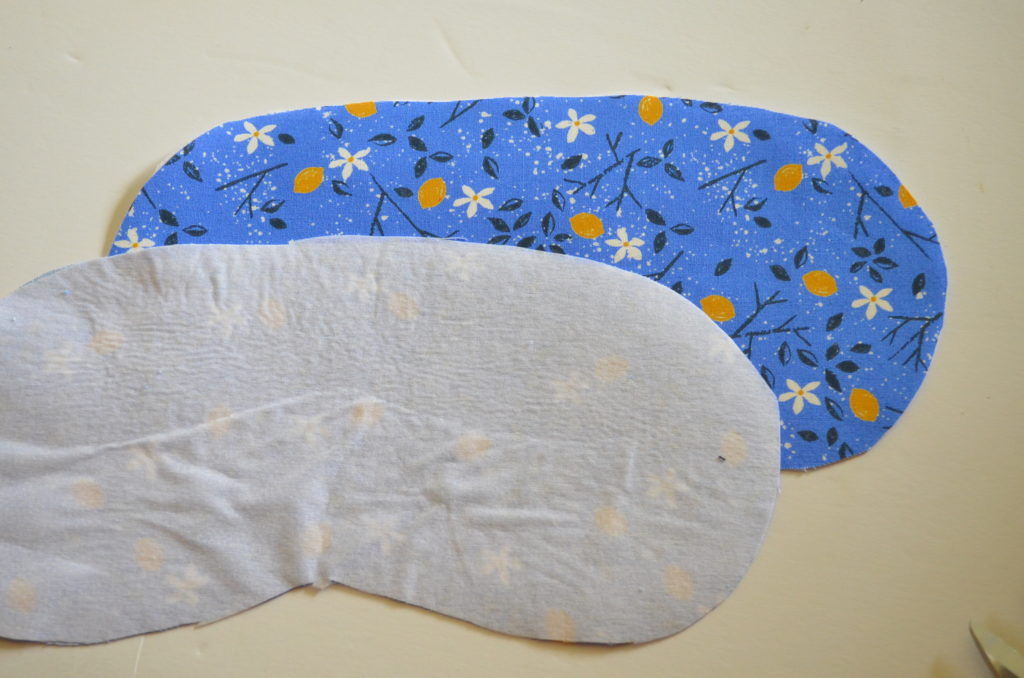
3. Add the batting piece to one of the main mask piece back.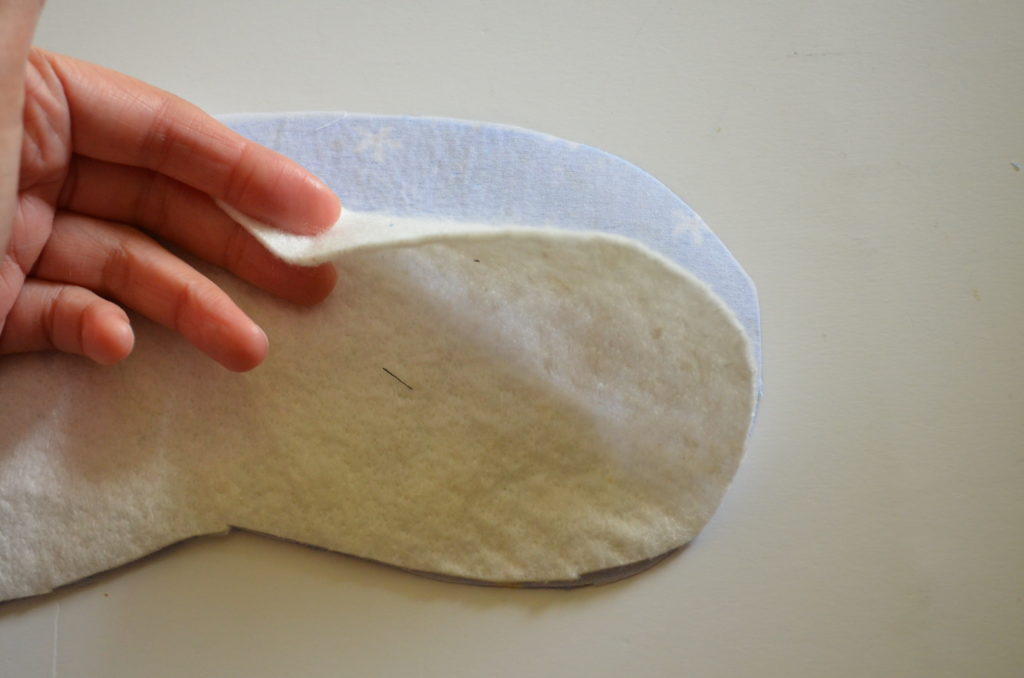
4. Free stitch the batting to the main mask piece. I like to make this with a regular stitch length (2.5 – 3.0) but slowly rounding around the mask.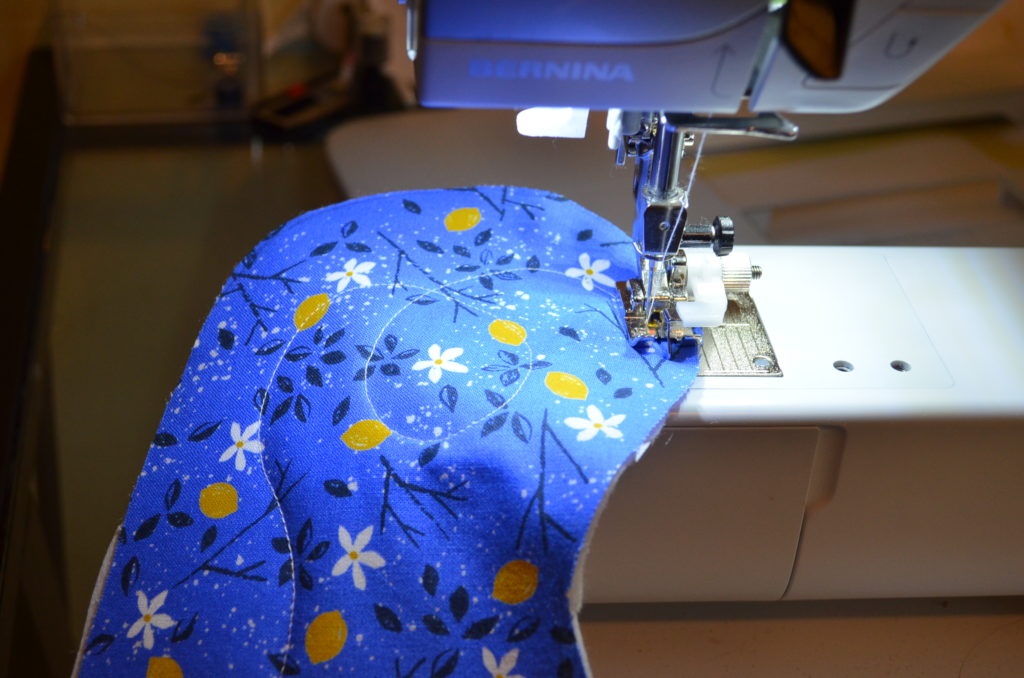
5. Press it flat.
6. Bring the strap to the sewing table and fold it in two.
7. Then, open the strap and double fold it in two, matching the edges to the middle of the top.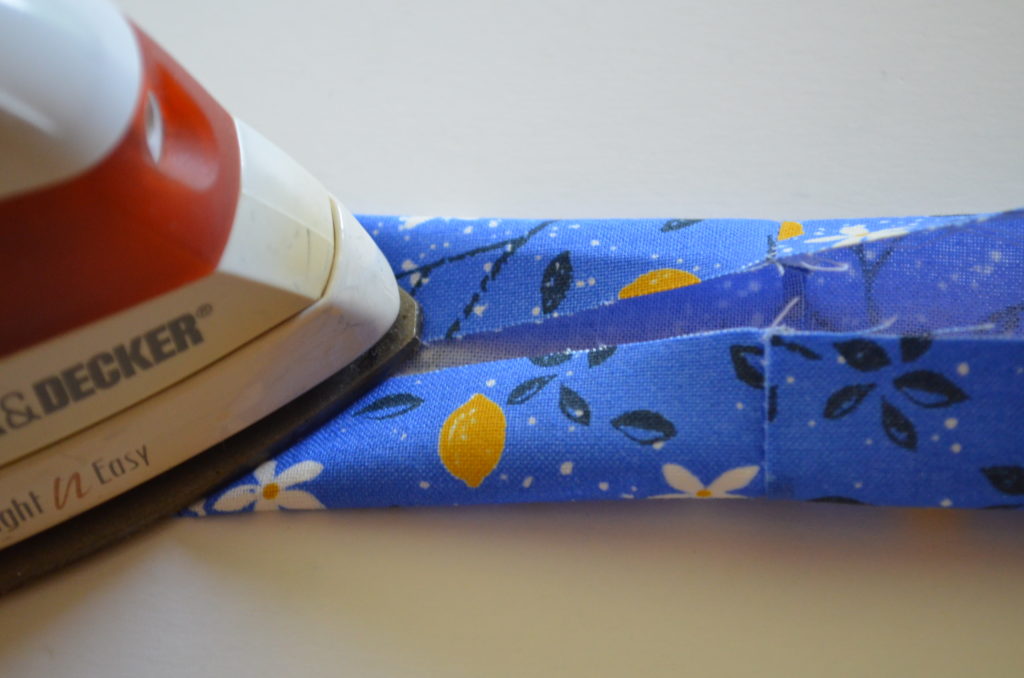
8. After that, fold the strap into two again.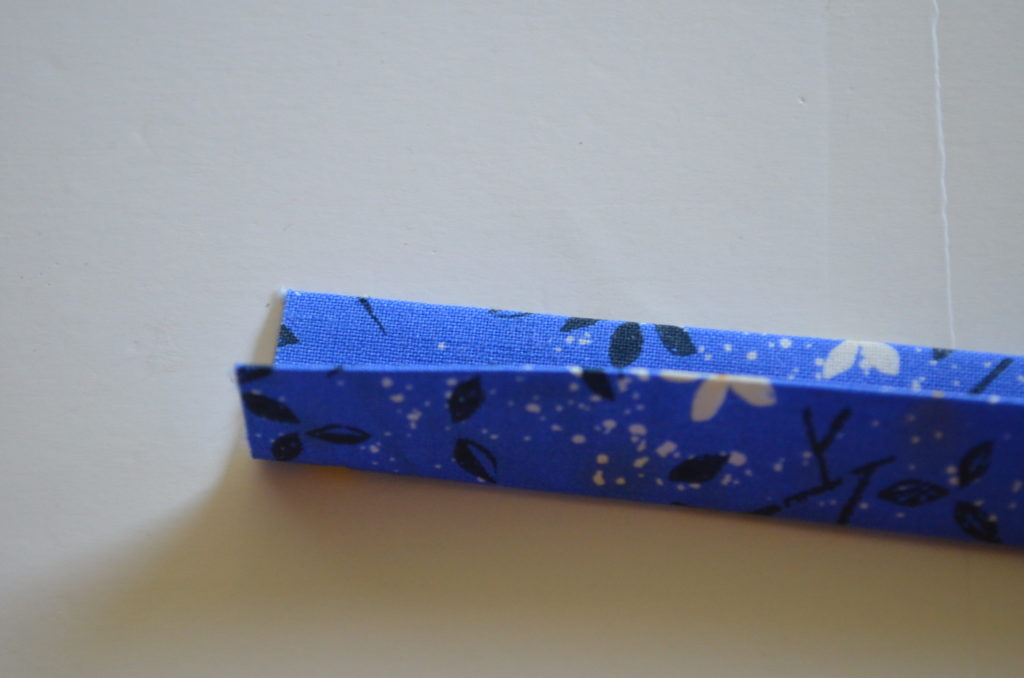
9. Insert the elastic into the strap and stitch them together as shown on the picture below.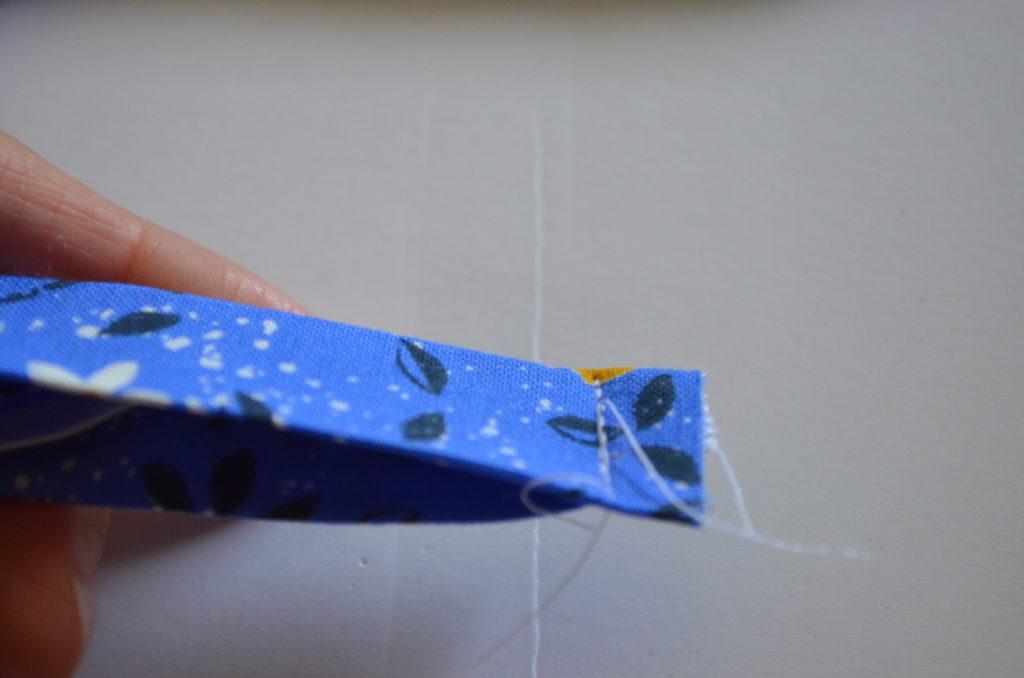 10. Then, do the same procedure from number 9 on the other side.
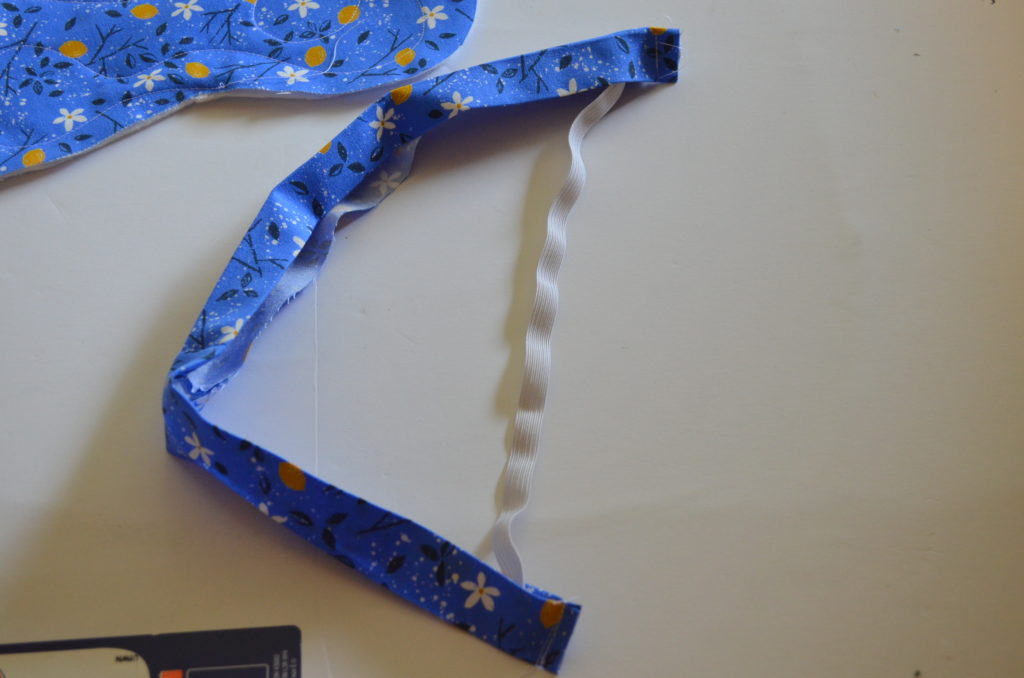
11. Sew along the folded line of the strap and stretch the elastic to make it gathered.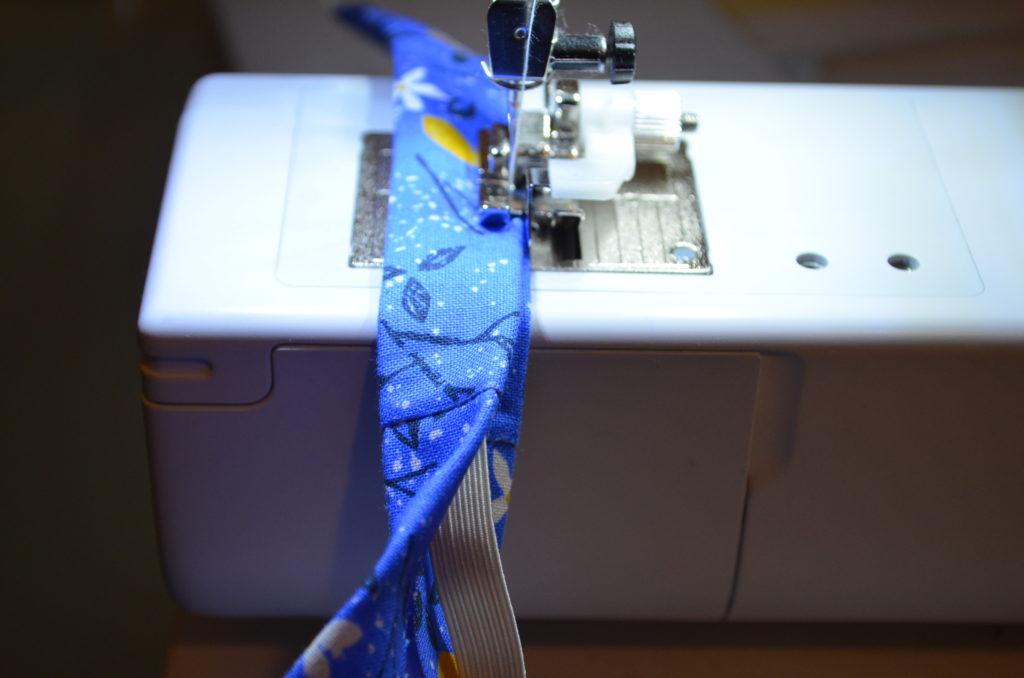
12. Bring the sleeping mask to the table.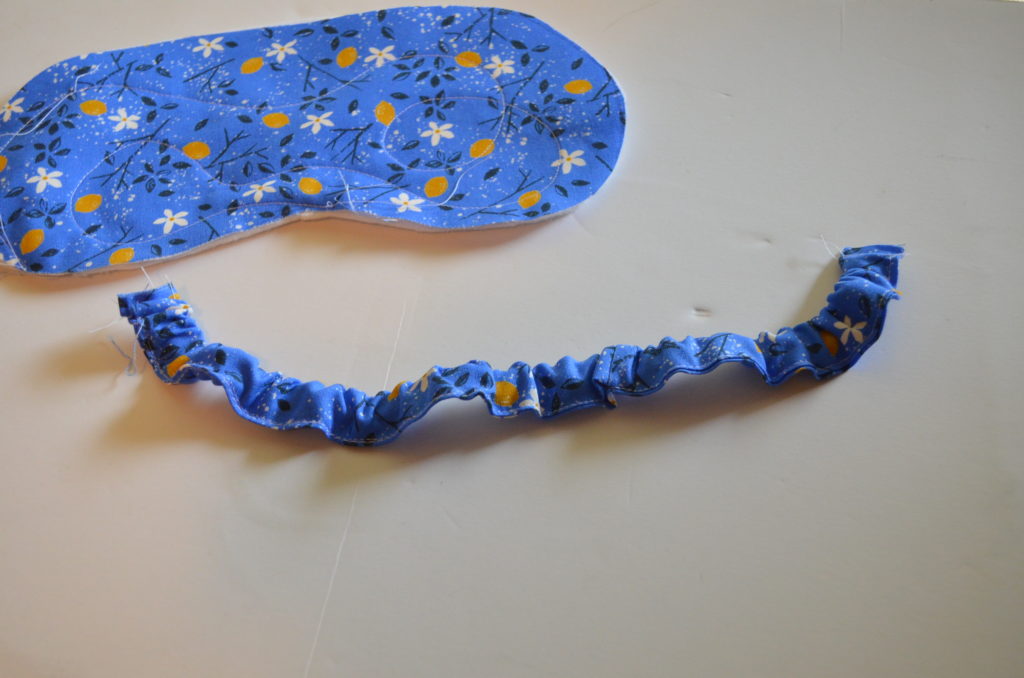
14. Place the strap on the top of the sleeping mask (the one with the batting added)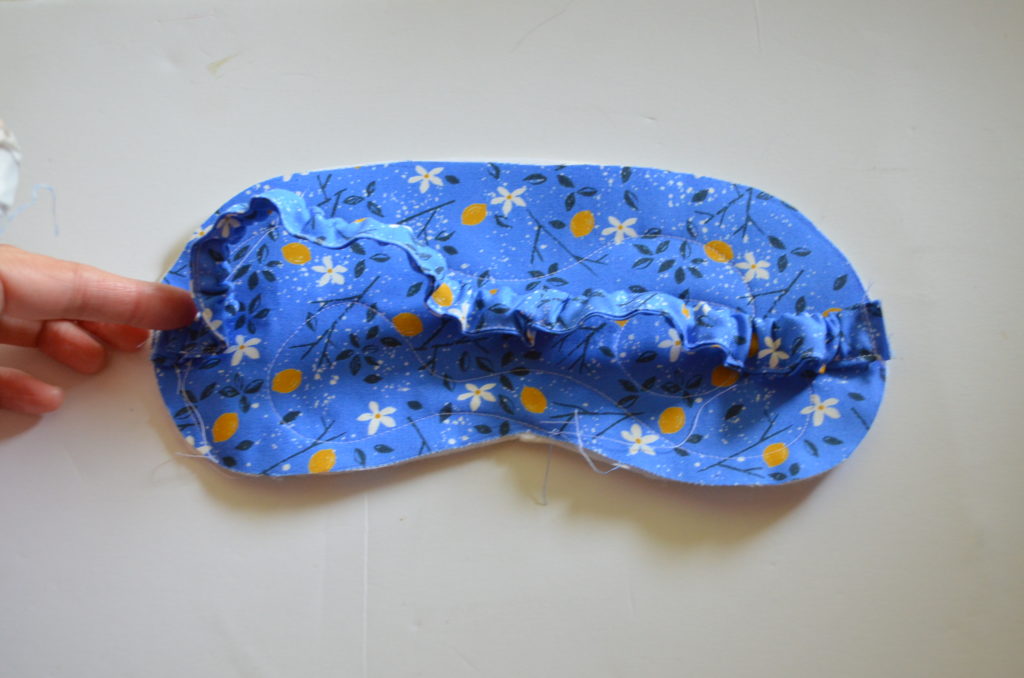
15. Stitch the strap to the sleeping mask. 
16. Place the other side of the sleeping mask on top of it.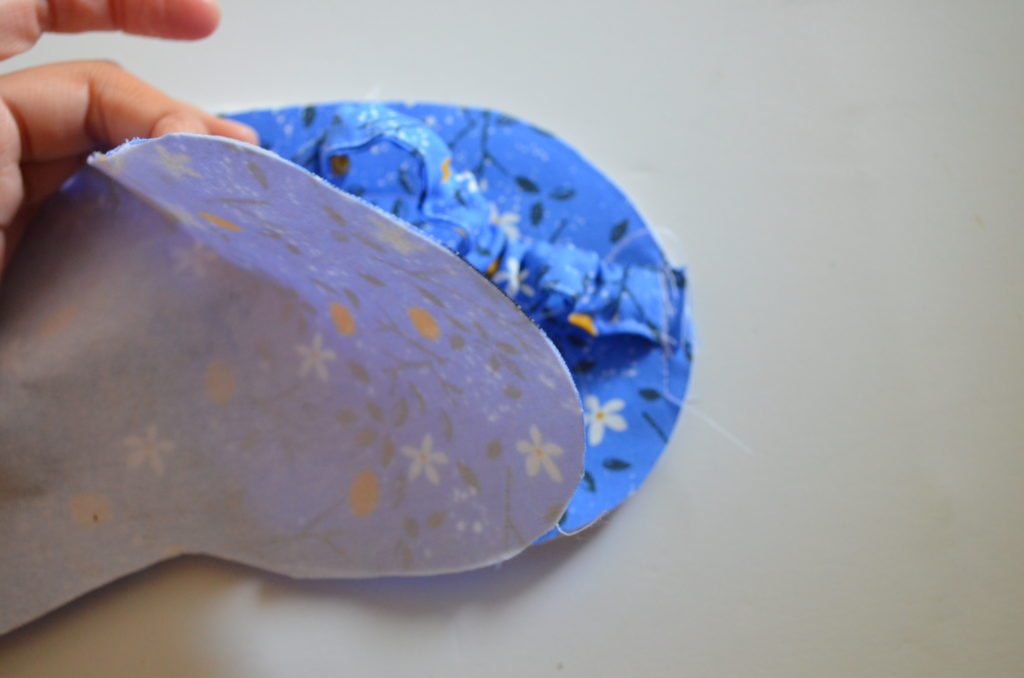
17. Stitch around the mask border, 1/4 inch from the edge.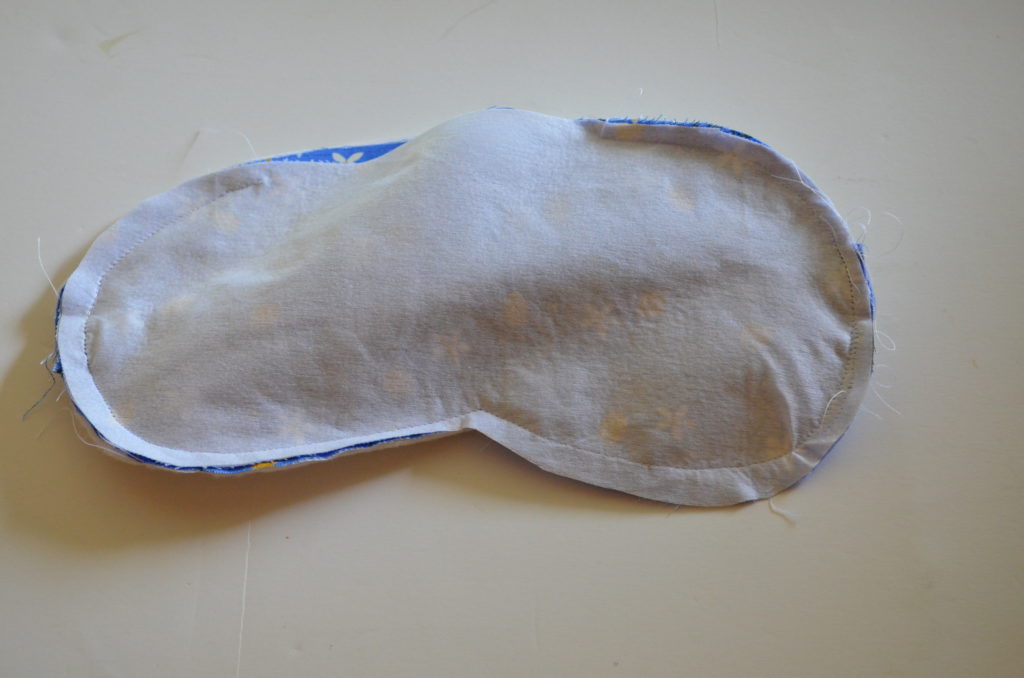
18. Leave 4” opening on the top of the mask, to turn to the right side.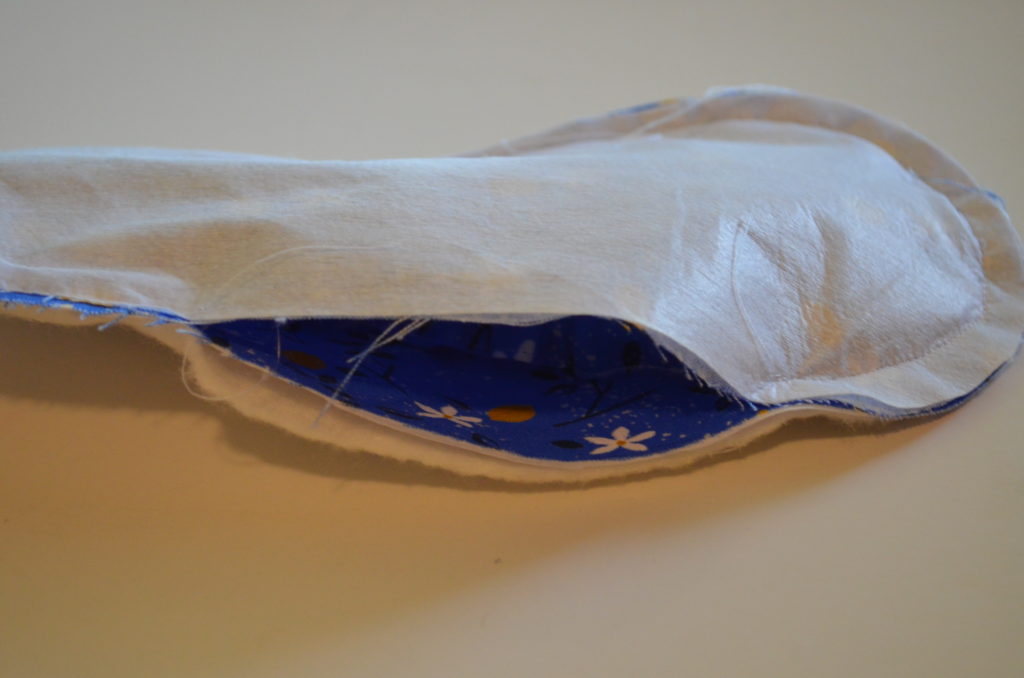
19. Turn it to the right side, and fold the 4” opening.
20. Stitch around the sleeping mask, about 1/8 inch from the edge.
And it is done!
Thank you for visiting and please, remember to check the other fun tutorials and free patterns from our blog.




nice instructions — but the download did not have a pattern — just a repeat of the instructions
where is the actual pattern for the mask?
thx
Sorry about that! The PDF has been fixed.
Happy Sewing!
Thanks for sharing this sleep mask tutorial. We have an apartment facing the street and too much light gets in, so this is pretty much important to us. It’s really easy to make with your instructions. I am going to make this sleep mask by following your tutorial.