Hello there,
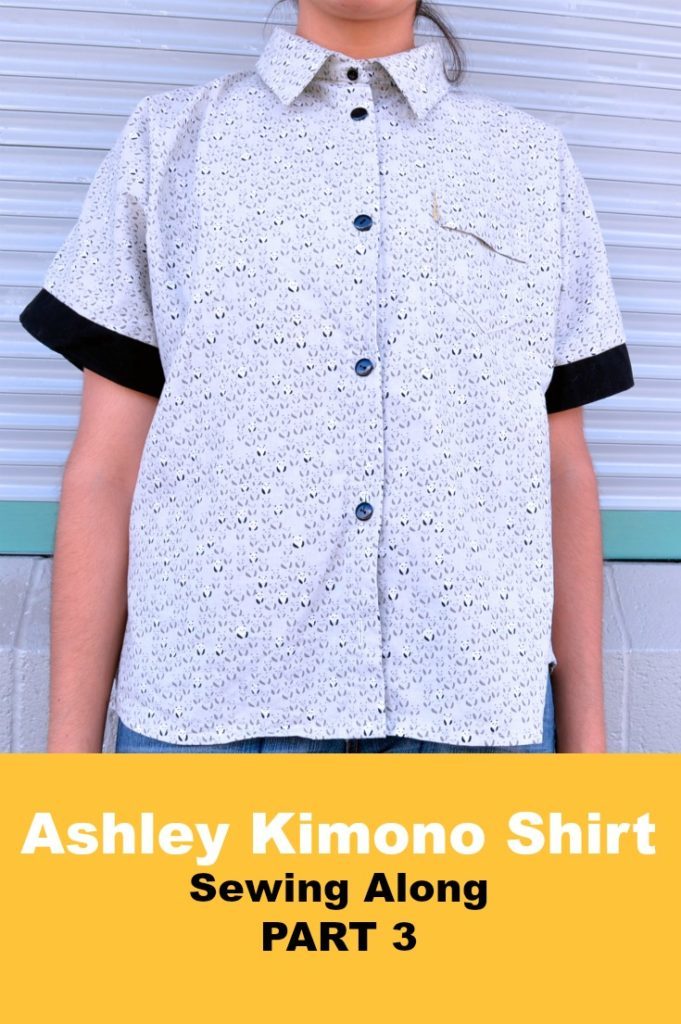
Thank you for stopping by today at On the Cutting Floor. This is the Ashley Kimono shirt and dress – Sew along part 3.
For PART ONE, click here
For PART TWO, click here
If this is your first time in our blog, remember to check our FREE SEWING PATTERNS page.
On that page you will find our collection of free sewing patterns for women, kids and men.
You can also visit our SEWING TUTORIALS and our SEWING REVIEWS.
We also have an ETSY STORE, where you will find unique and modern sewing pattern for women.
The Ashley Kimono Shirt
The Ashley Kimono Shirt and Dress PDF pattern is a loose fitted Kimono shirt. The PDF pattern has 4 views where different collar combinations and cuff styles.
Ashley Kimono Shirt and dress PDF pattern is available in our ETSY Store.
THE SHIRT AND DRESS PATTERN FEATURES:
Features a loose fit kimono shirt and dress shirt with 4 variations
a) View A: waist length with front tucks and double collar
b) View B: waist length with small front pocket and set in cuffs
c) View C: knee length with front tucks and double collar
d) View D: knee length with front pocket and set in cuffs.
This is the FABRIC REQUIREMENT:
60’’ FABRIC FOLDED
VIEW A: 2 1/4
2. VIEW B: 2 1/4
3. VIEW C: 3 1/4
4. VIEW D: 3 1/4
FABRIC RECOMMENDED:
Light to medium weight woven fabric such as: challis, chambray, poplin, gingham, gauze, lawn, linen, shirting, denim (for dresses potions)
SALE
Buy this or any of our patterns 50% off using the code DGPATTERNS
- Place the collar stand on the neckline, right sides together and pin along.
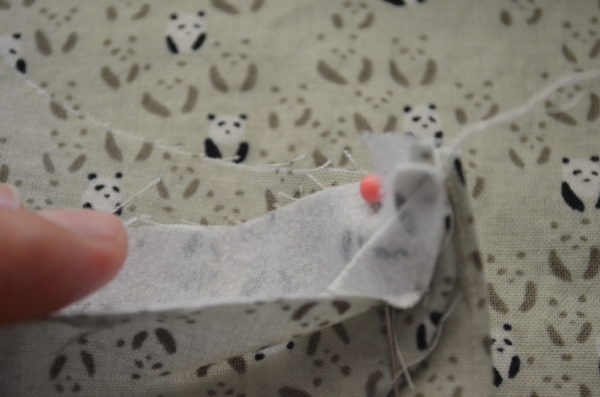 2. After the collar band is all pinned along the neckline, stitch it in place with a 3/8 seam allowance.
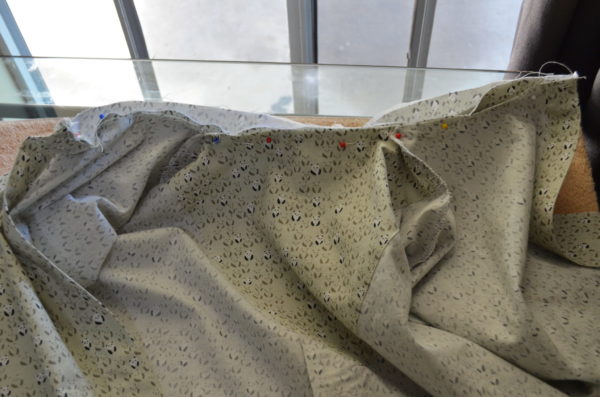
3. Now, press the collar stand to the wrong side.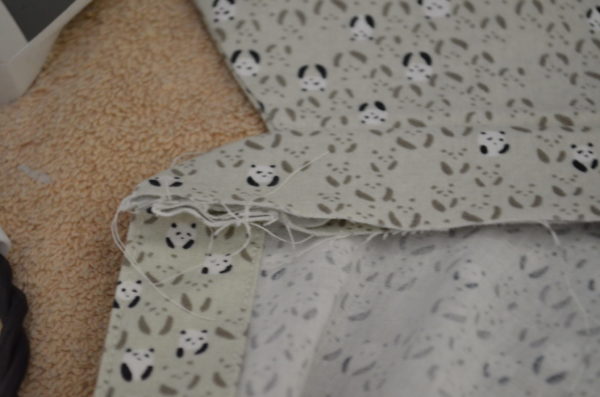
4. Fold the collar stand inside 3/8 inch and pin along carefully.
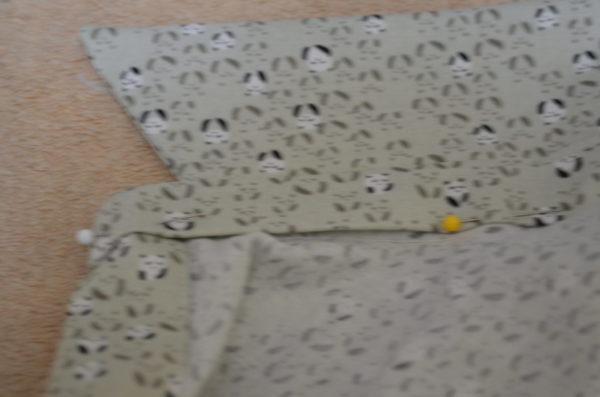
5. Then, stitch along the neckline 1/8 inch from the edge.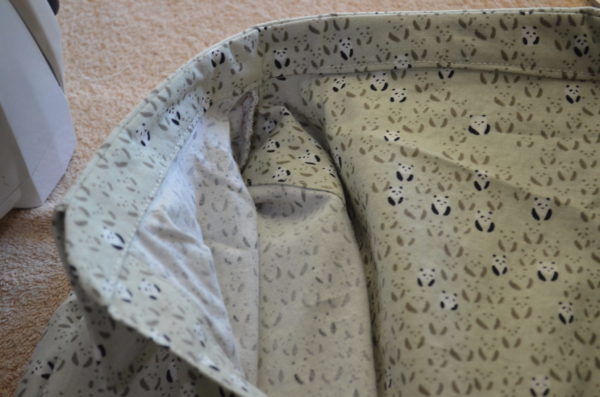
6. HEMLINE:
Baste the hemline 3/8 inch from the edge.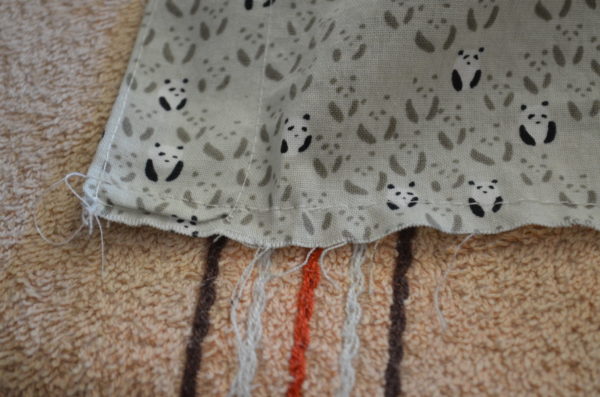
7. By using a longer stitch, you will be able to gather the hemline a bit. This will help with the curve part of it.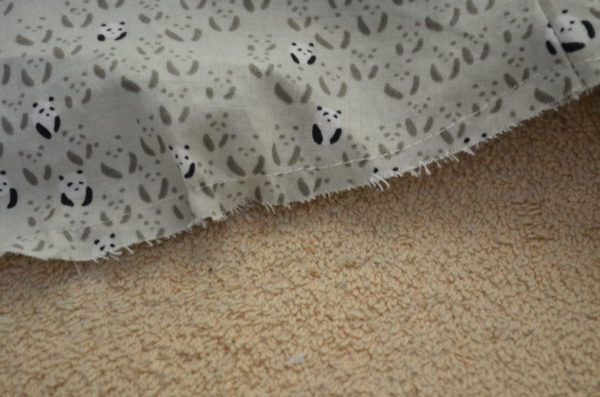
8. Turn the shirt to the wrong side and, using your iron, press the hemline on the basted line.
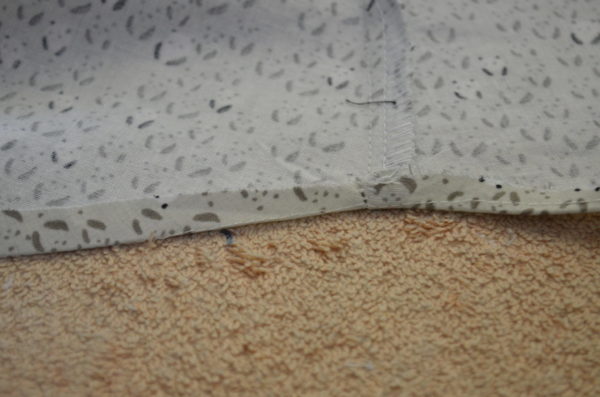
9. After you finished this step, fold one more time 3/8 inch inside and press.
10. Stitch along the hemline 1/8 inch from the folded line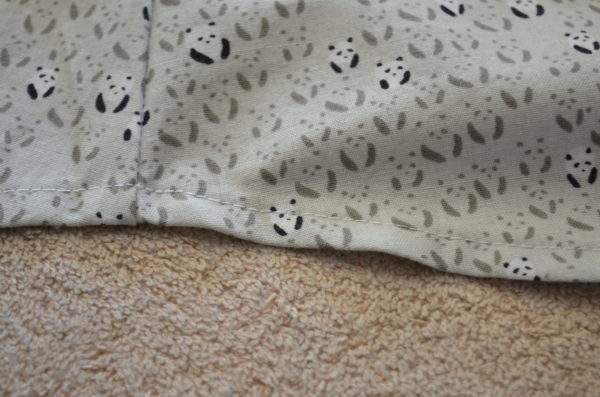
11. Carefully press it with your iron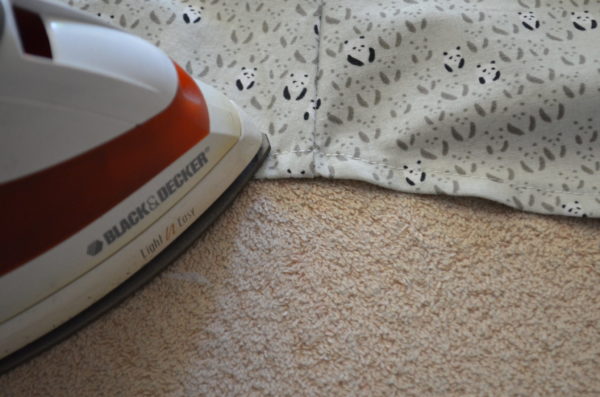
12. CUFFS:
Place two pieces of the cuffs together, right sides facing and sew along the sides.
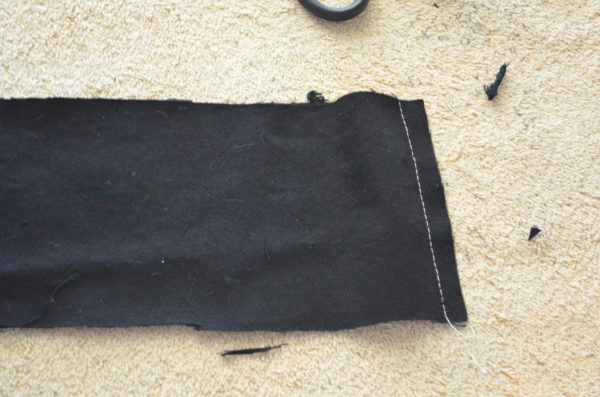
13. Fold them in half and press with your iron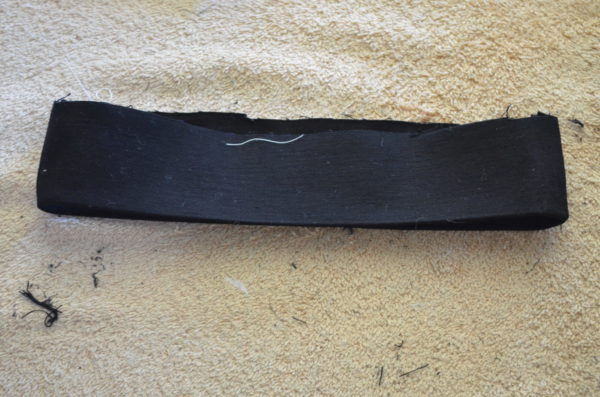
14. Place the cuffs on the shirt and stitch along the sleeves as shown on the image below:
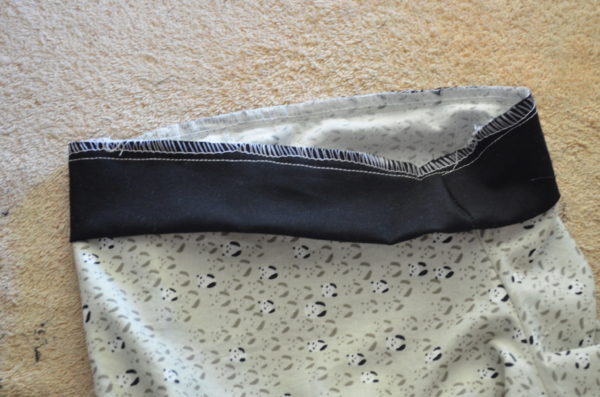
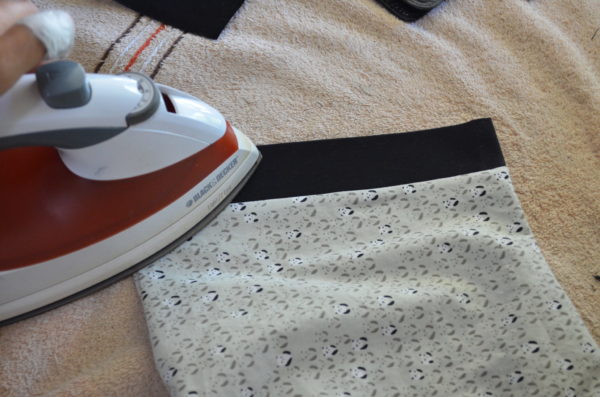
15. Now, turn the cuffs to the right side and press again
16. BUTTONS AND BUTTONHOLES:
Mark the buttonholes and the buttons on the shirt.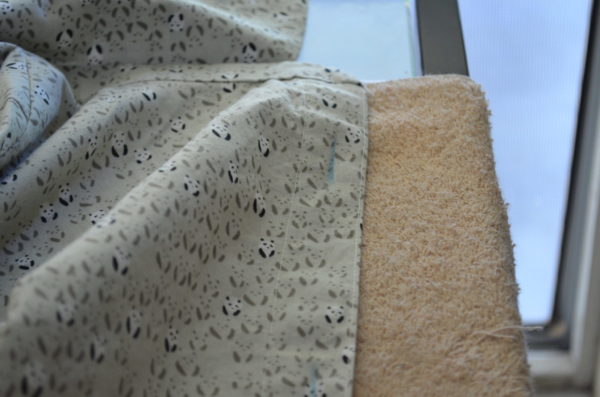 17. Create the buttonholes by following your sewing machine instructions manual.
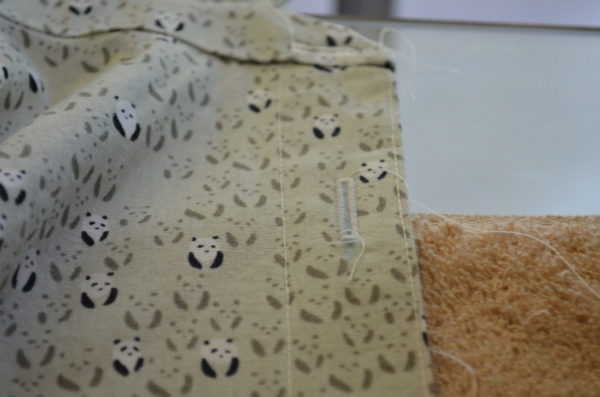
18. The buttonholes on the placket will be placed vertically, the one on the collar stand (smallest one) will be placed horizontally 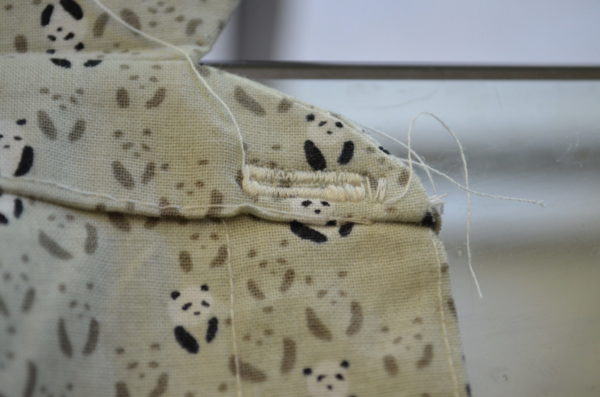
19 Test that the buttonholes and the marks for the buttons match by trying the shirt on you. Also check that the front is adequate to your neck. 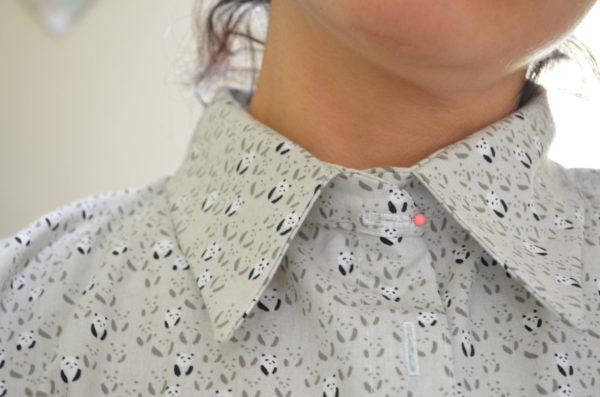
And that is all for now.
Thank you for reading this sew along and remember to check all our patterns from our ETSY STORE<
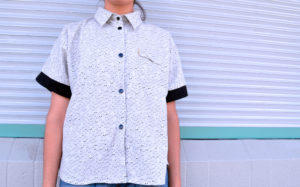

Leave a Reply