Hi there,
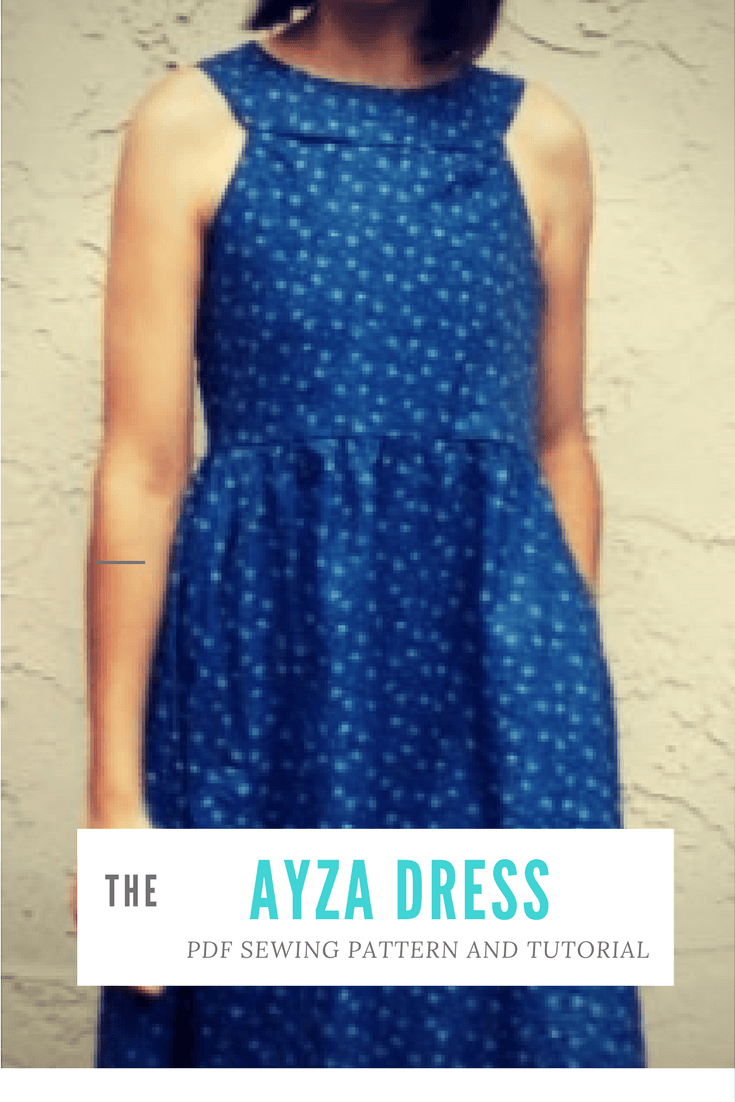
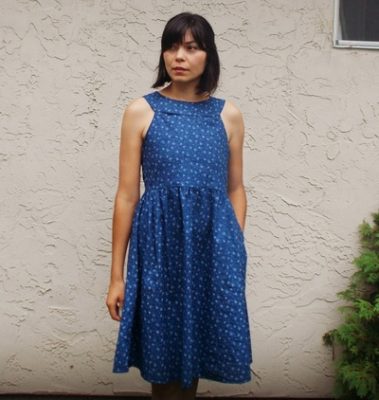
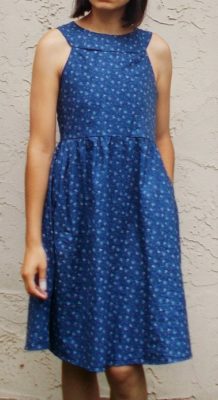
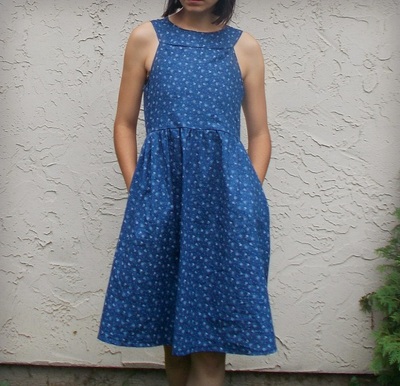
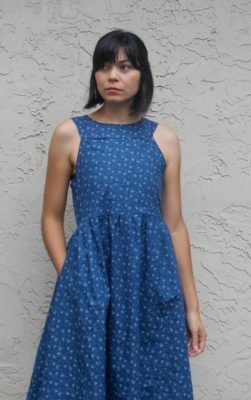
Today, I am excited to introduce my Ayza Dress pattern.
I have created this dress thinking about the Summer/Fall transition and the ideal dress to layer with your favorite cardigan and tights.I have worked in collaboration with Shabby Fabrics to create something unique and flattering.
For some reason, it reminds me of the 90’s, and I will explain why:
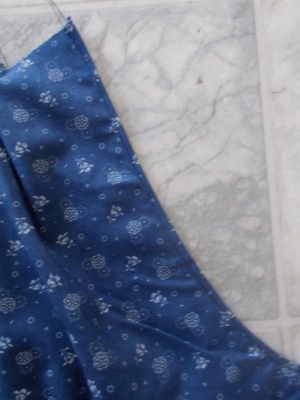
I love how feminine it was, all tough it up with a pair of black military boots. It was, by far, my favorite outfit.I wanted to re-create the feeling of femininity of that dress. So, I hope it worked out well :)Do you want to know more about this fabric? Click here
Printed patterns
Matching thread
Scissors
This will be the layout of your pattern:It will print 25 pages. Wait until all the pages are printed before taking them from the printer; it will make it easier to assemble.When finish printing, place the pages as the layout below. Then use tape to put them together. Now cut the pieces.
Sometimes, there are problems with the printing process and the patterns come in the wrong size (a little bit smaller).
To avoid this, check the 1 inch square inside of the front bodice pattern. It will help you to see if the patterns are the correct size.
The PDF pattern comes in sizes from 4 to 22 (US Size). If you have any doubts about the sizes, please refer to the body measurement chart above.
The colors for each size are:
Size
4: Black
6: Red
8: Green
10: Blue
12: Orange
14: Purple
16: Yellow
18: Pink
20: Light Green
22: Brown
This pattern comes with a 1/2 inch seam allowance, unless indicated otherwise.
Yardage:
For 45” wide fabric: 2 3/4 yards

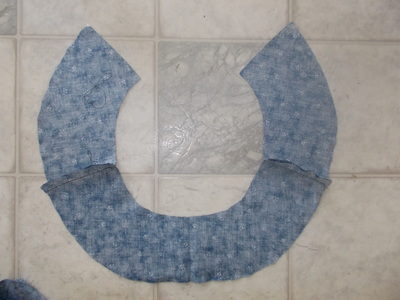
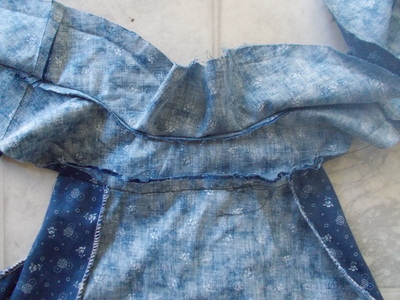
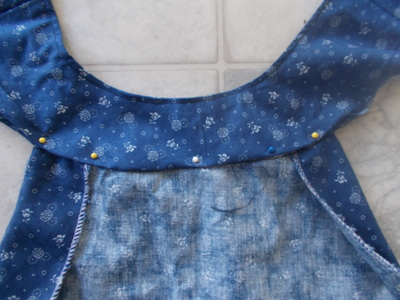
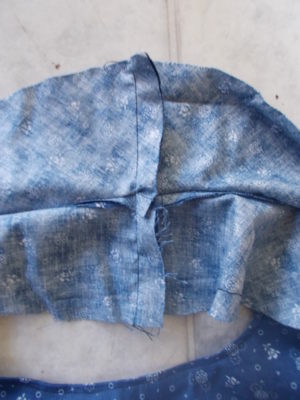
Hi Daniela
I love this dress and have a piece of similar material that I’ve had for a few years just waiting for the right pattern and thanks to you I’ve found it.
cheers Annette
Thanks Annette!
Sorry to be so dim. I am making a trial of this dress from old sheeting. I am confused about the back. You don’t mention joining the back seam on the bodice, or attaching the neckline piece to the back. There’s no mention of a zip either. Can you help me please?
Hi Jean,
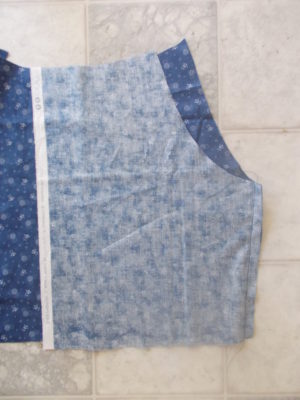
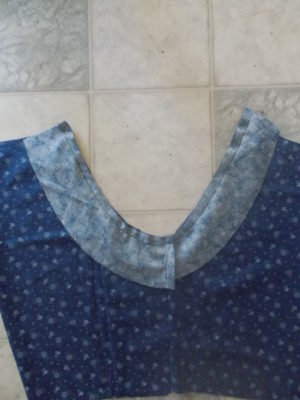
Thanks for your comment. I am in the process of updating the tutorials in most of my patterns. The back pieces must be stitched together and then, the neckline piece is attached by pinning the outside neckline piece to the back of the dress, right sides facing. After that, you sew along the front and back neckline.
To attach the rest of the yoke, the inside of it must be folded by 3/8 inch and sew along as it was the front part.
The zipper should be attached on the right side of the dress.
Thanks again for your comment 🙂
Daniela
Hi Daniela, I love this pattern! Do you think it would suit a cup D bust or would I need some adjustment? I am currently in the making of Pauline dress (Still consructing the pattern, actually) and I think I’ll change the neck a bit to give a little more coverage :/
Hi Laura,
Thank you for your question. I think you will need to add a bust dart for the pattern. The Ayza dress is a pattern that will need that adjustment (and update) For the Pauline Dress, you can also check on the Paula Dress bodice that it is a bit higher than the Pauline. It will also help to add a dart on the V-neck area.
Thanks a lot Daniela. It’s awesome to have the chance to sew a pattern while keeping in touch with the author for suggestions 🙂
I love this dress. It is gonna be my first sewn dress and I am very confused with the back part and neck. Could it be possible to see a picture of the back? Thanks in advance!
Elena
Hi Elena,
Thank you so much for your message. At the moment, I do not own any pictures of the back of the dress.