• Skip to primary navigation
  • Skip to main content
  • Skip to primary sidebar

On the Cutting Floor: Printable pdf sewing patterns and tutorials for women

Online Printable PDF sewing patterns for beginners, crafts and printables for kids

  • DG PATTERNS STORE
  • SEWING
    • PATTERNS FOR SALE
    • FREE PATTERNS
    • TUTORIALS
    • REVIEWS
    • FUN PROJECTS
    • ROUNDUPS
    • PRINTABLES
  • FABRIC STORE
  • CRAFTS
    • PRINTABLES
    • KIDS’ CORNER
    • MACRAME
  • FOOD
  • MONEY
  • PATTERNMAKING SERVICES
  • ABOUT US
    • ABOUT ME
    • HOW TO DOWNLOAD THE FREE PATTERNS
    • WORK WITH US
    • CONTACT US
    • SITEMAP
    • TOS and Privacy Policy
    • CONTRIBUTE
    • Cookie Policy
  • SUPPORT OUR SITE!
Home » Fun Projects » Page 2

Fun Projects

FREE EASY SEWING PATTERN: the Boston Messenger Bag

November 19, 2019 by Daniela Leave a Comment

FREE EASY SEWING PATTERN: the Boston Messenger Bag

Hello everyone,

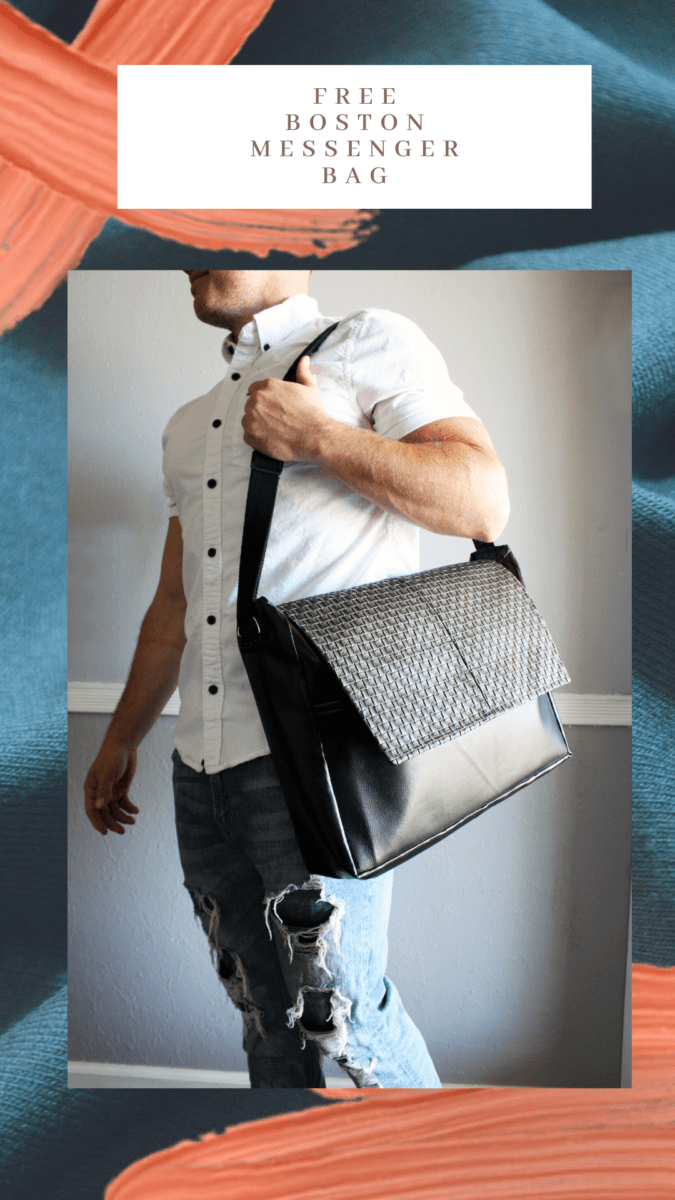
We are happy to introduce today a great free sewing pattern, designed and drafted by Lisa at  CreativeFashionBlog.com .
FREE EASY SEWING PATTERN: the Boston Messenger Bag

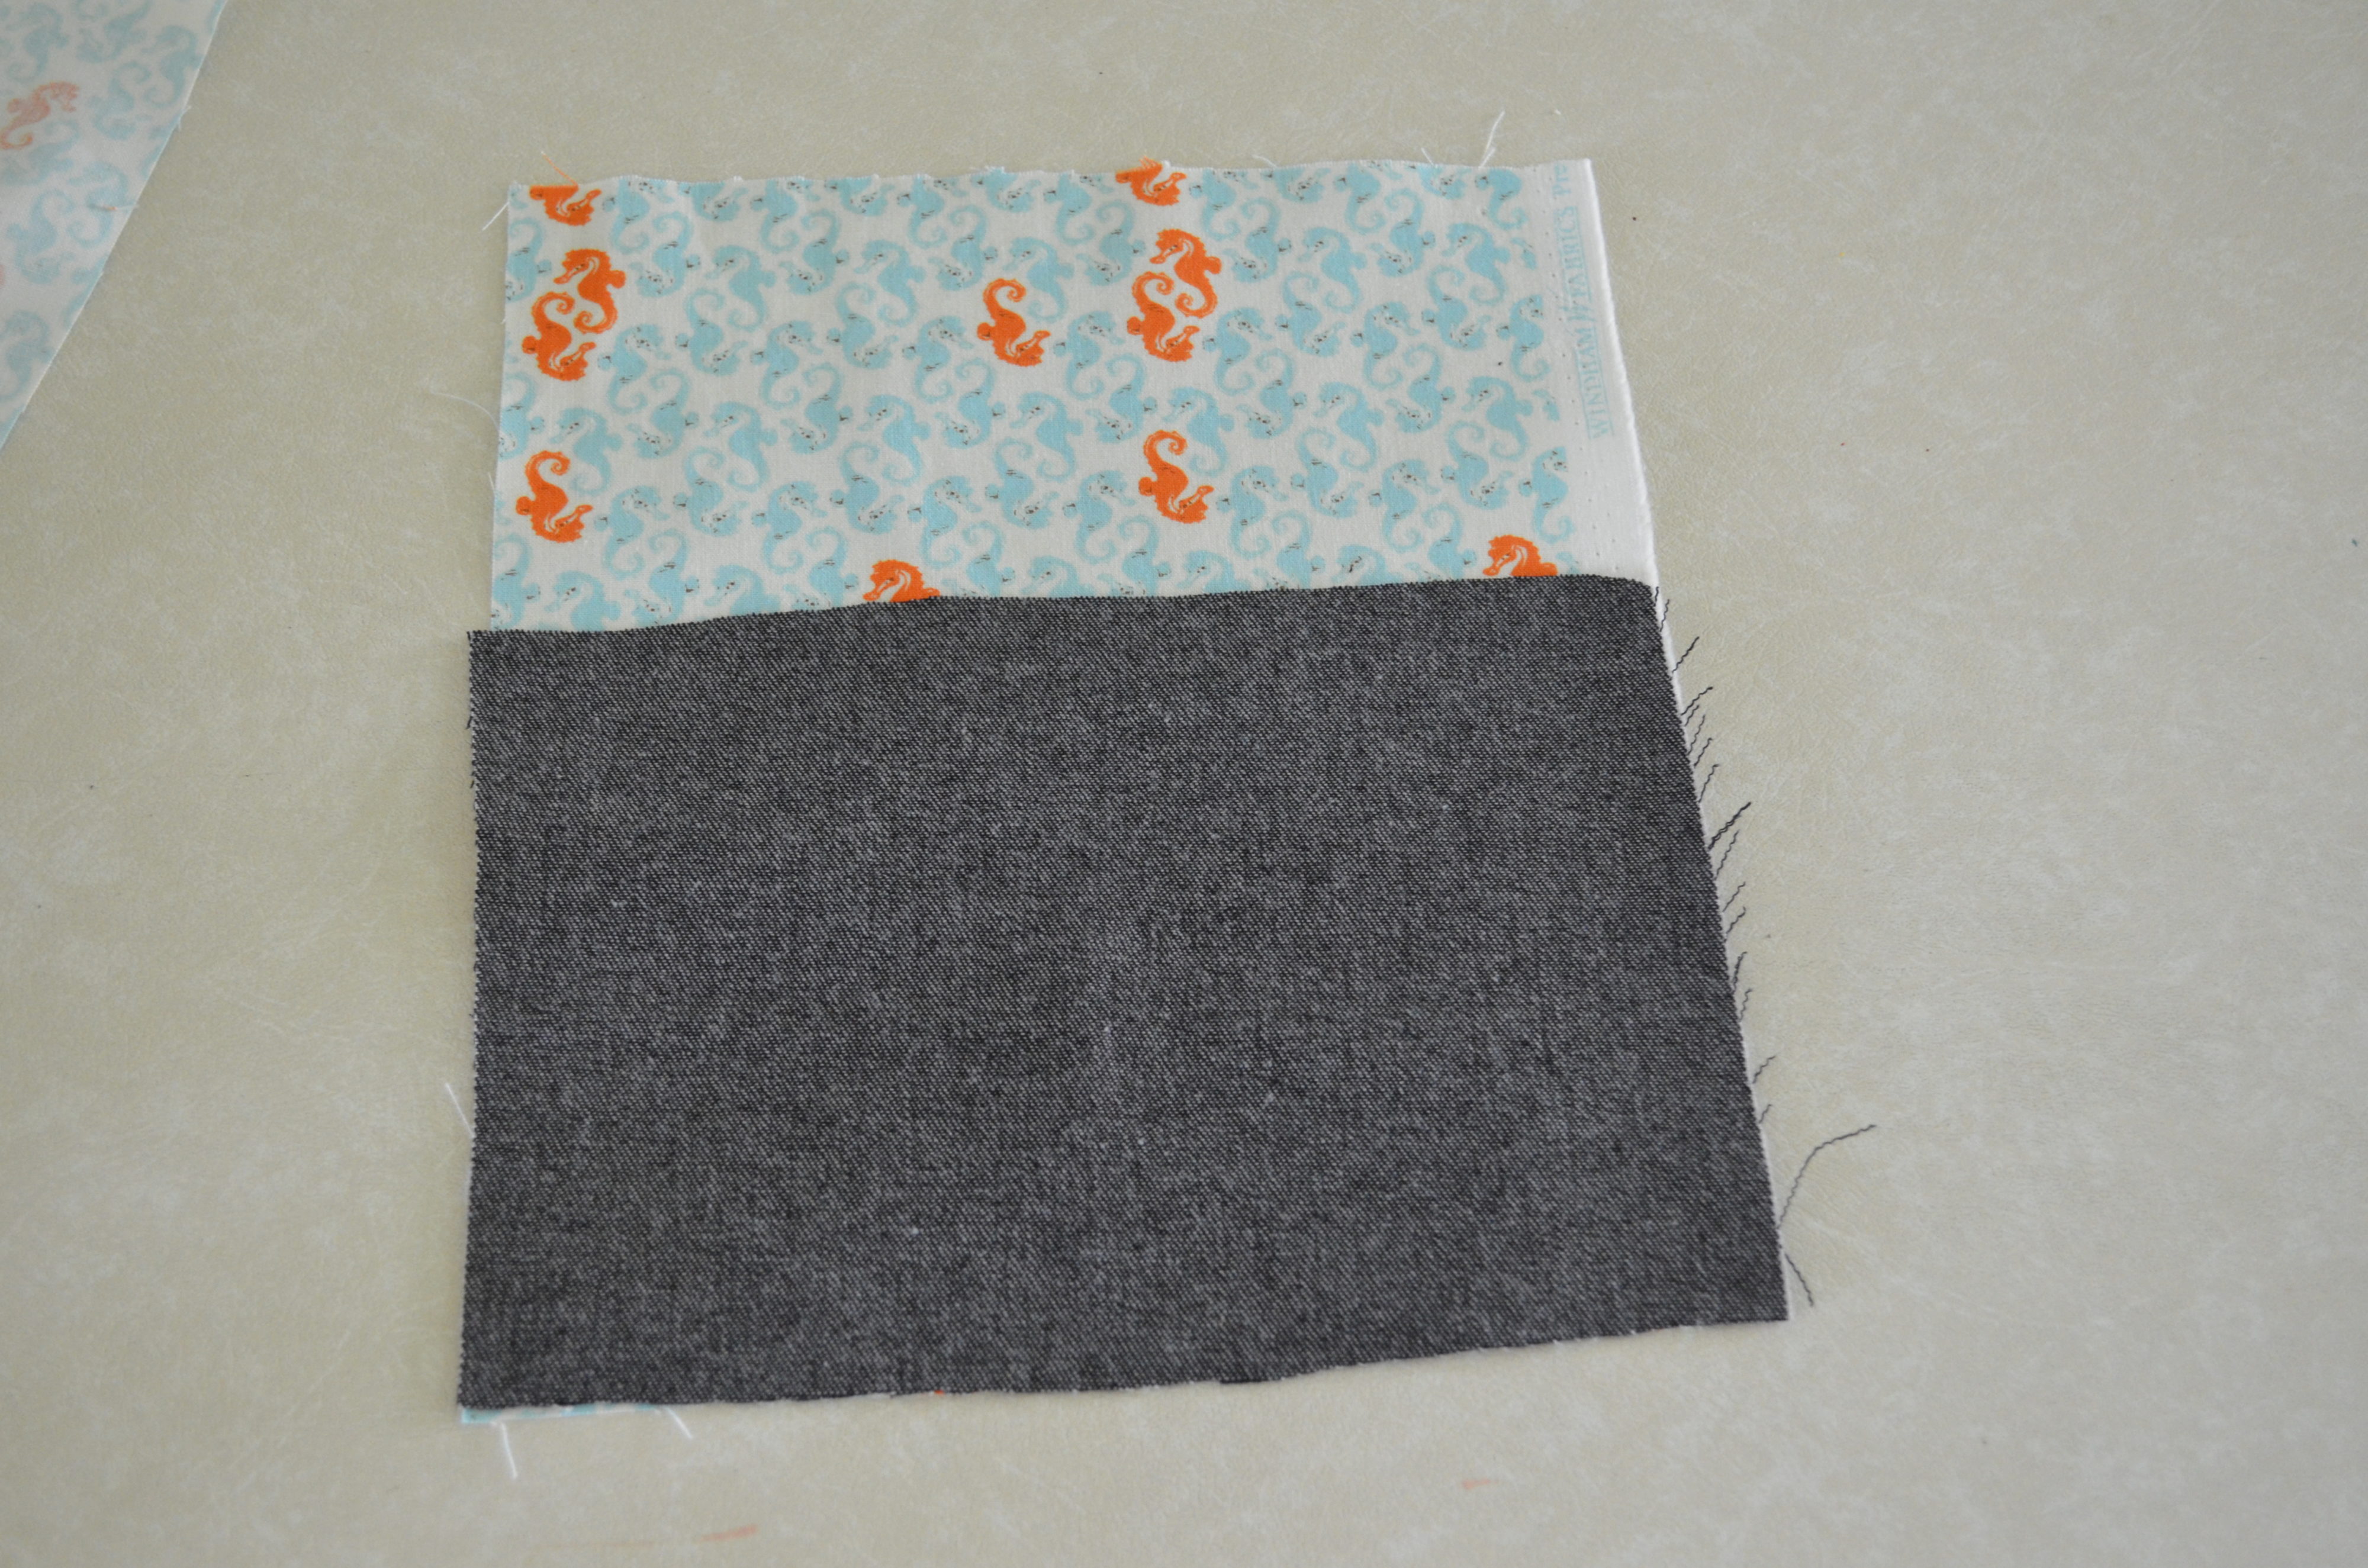
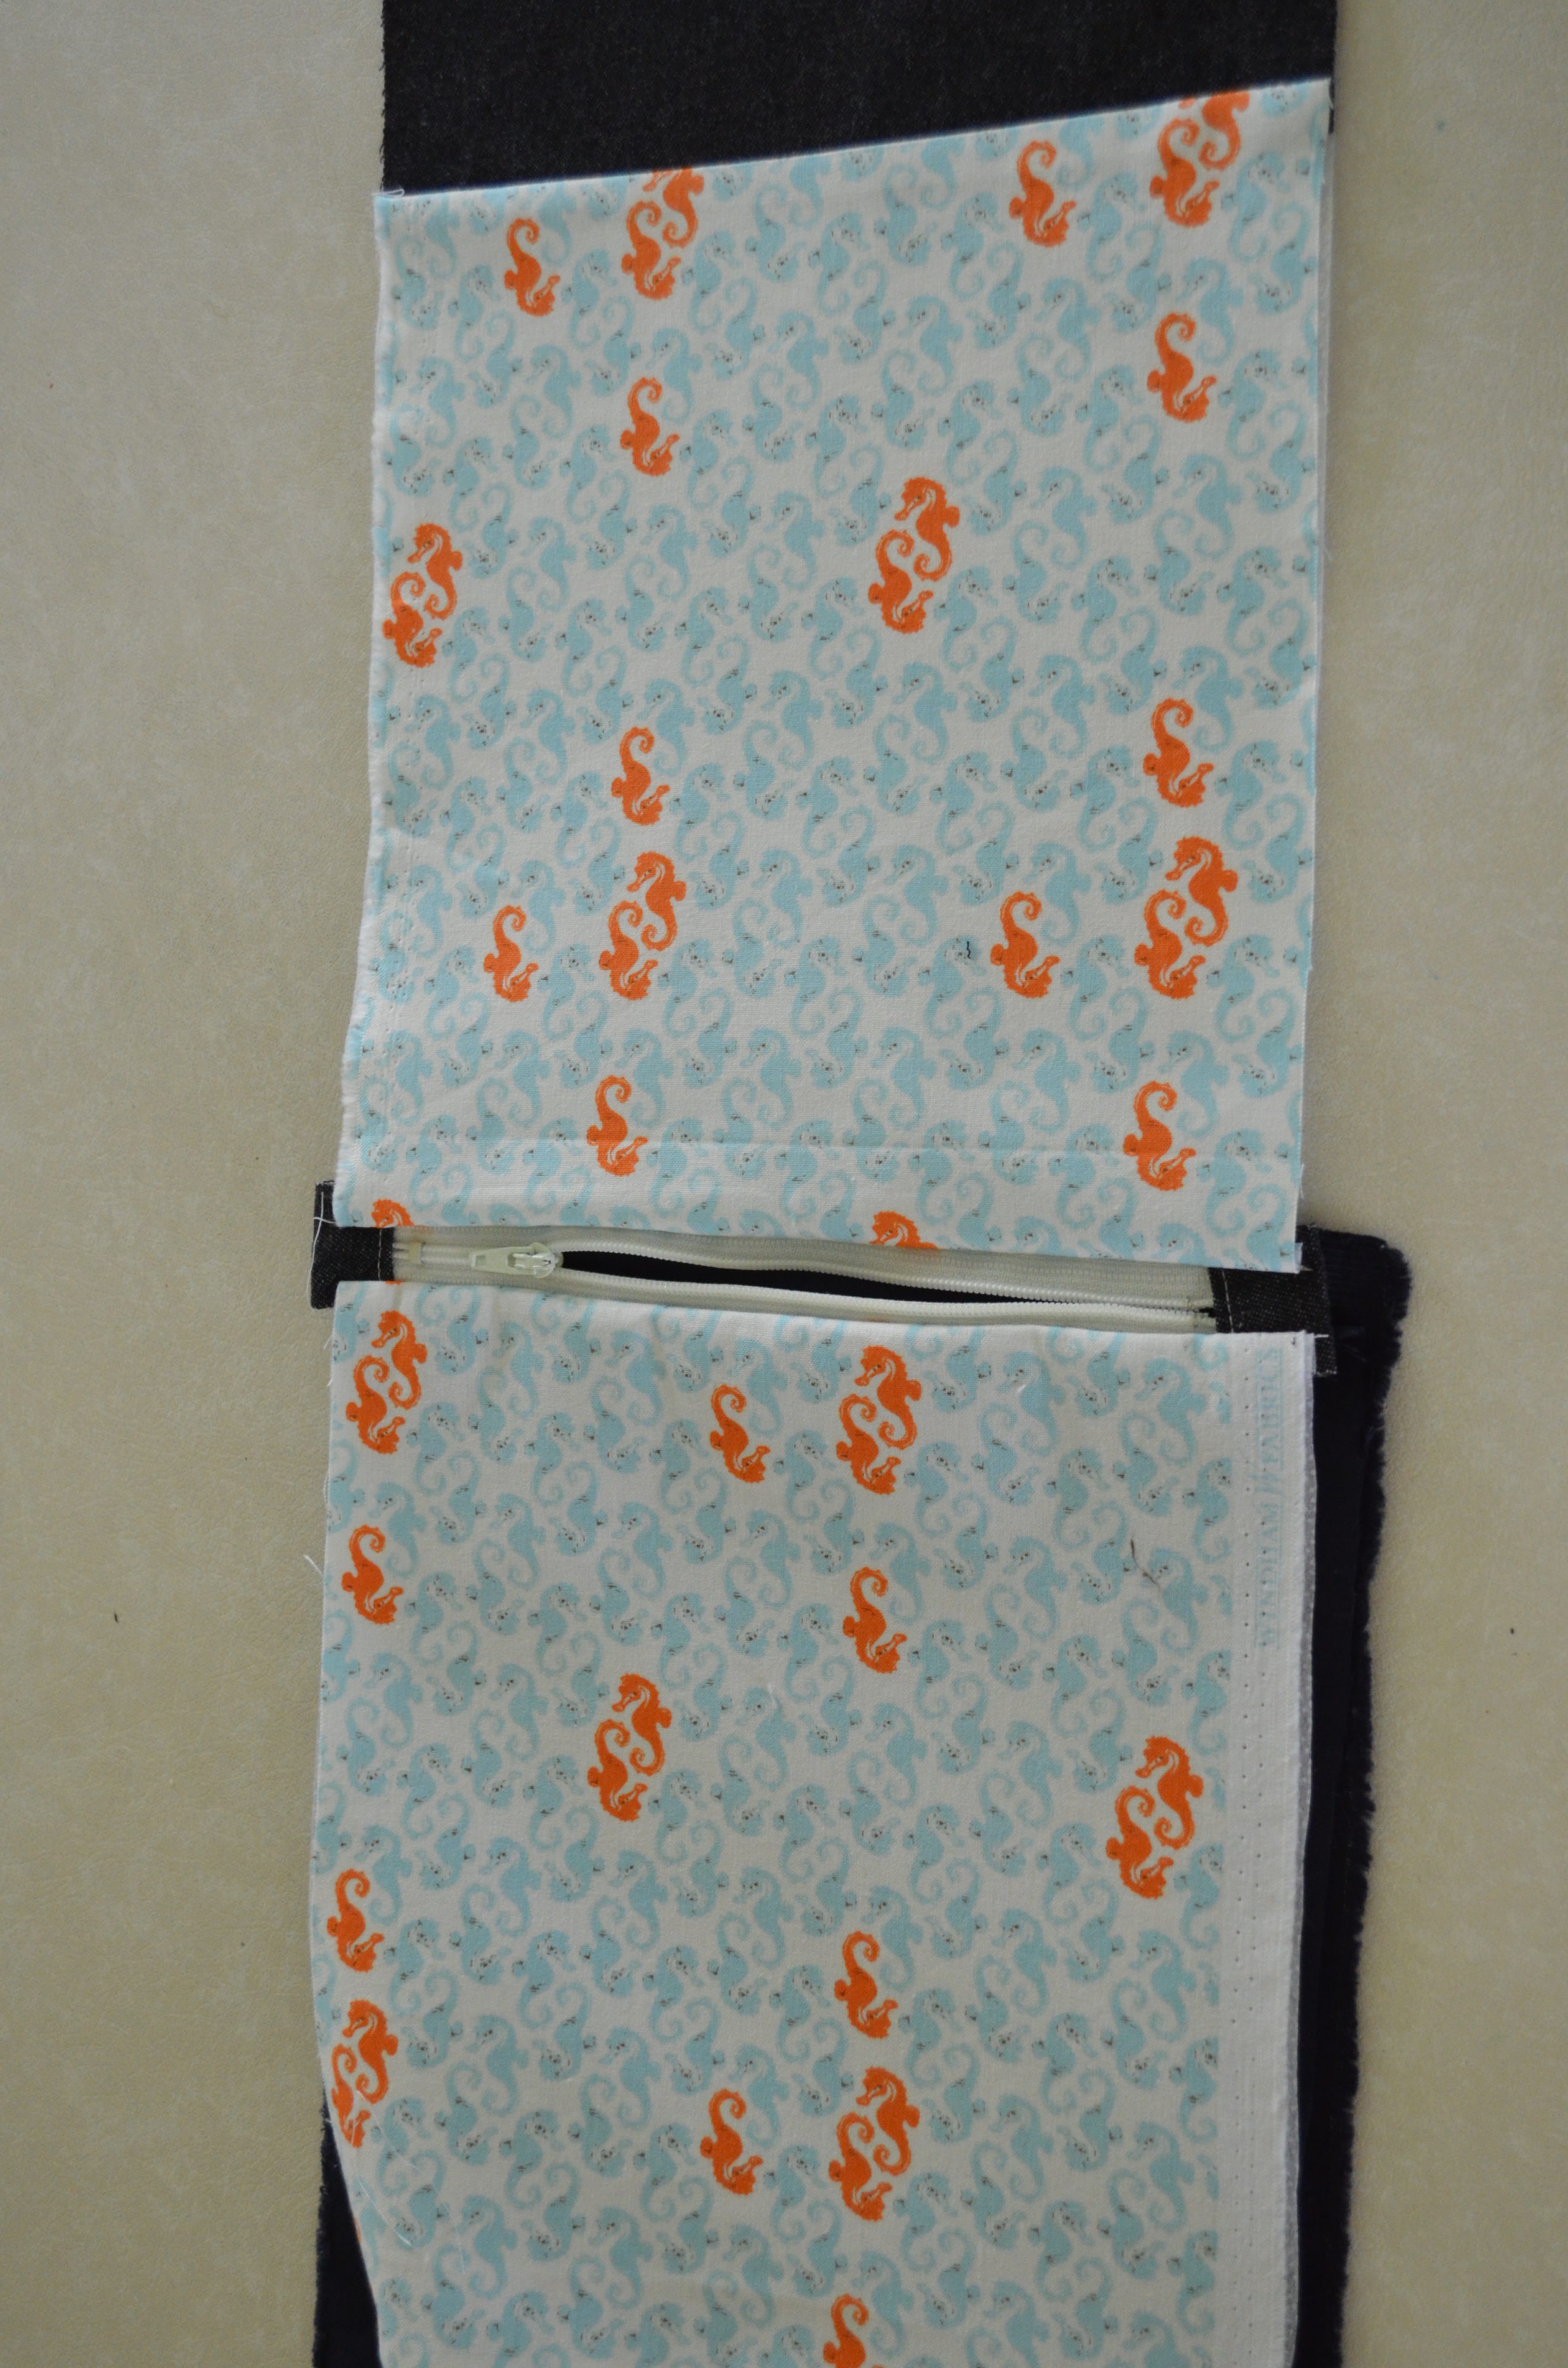
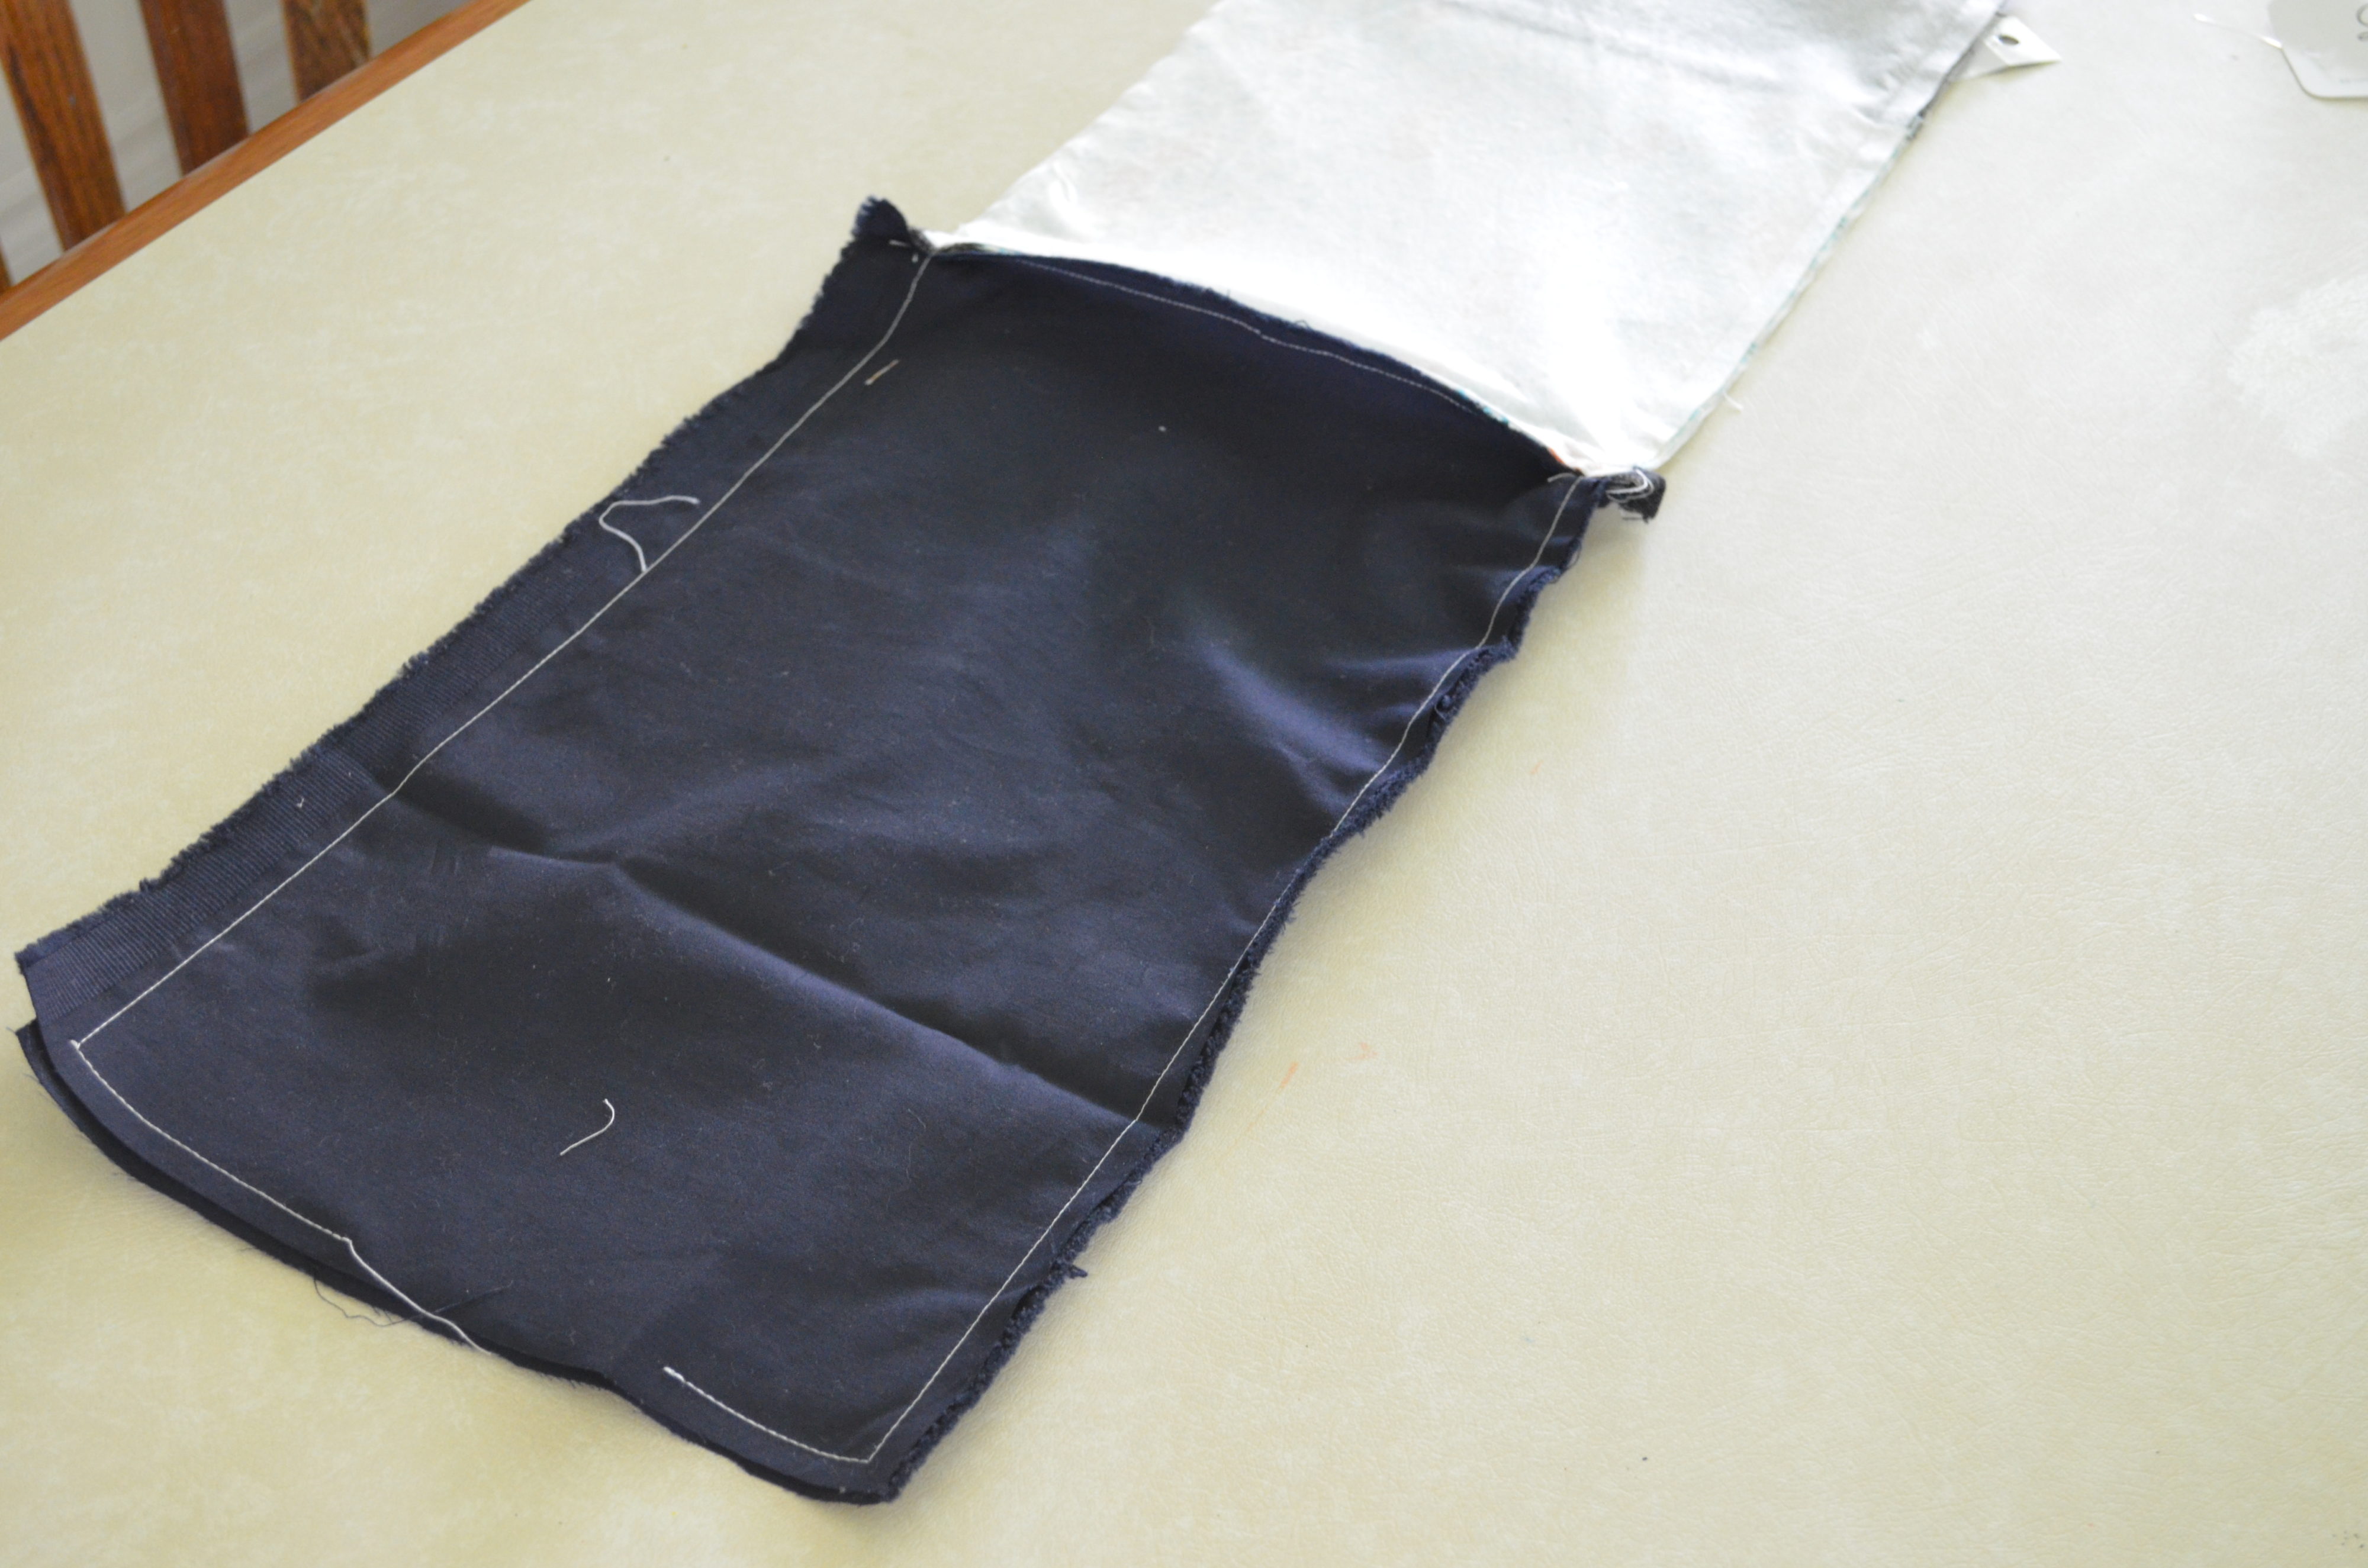
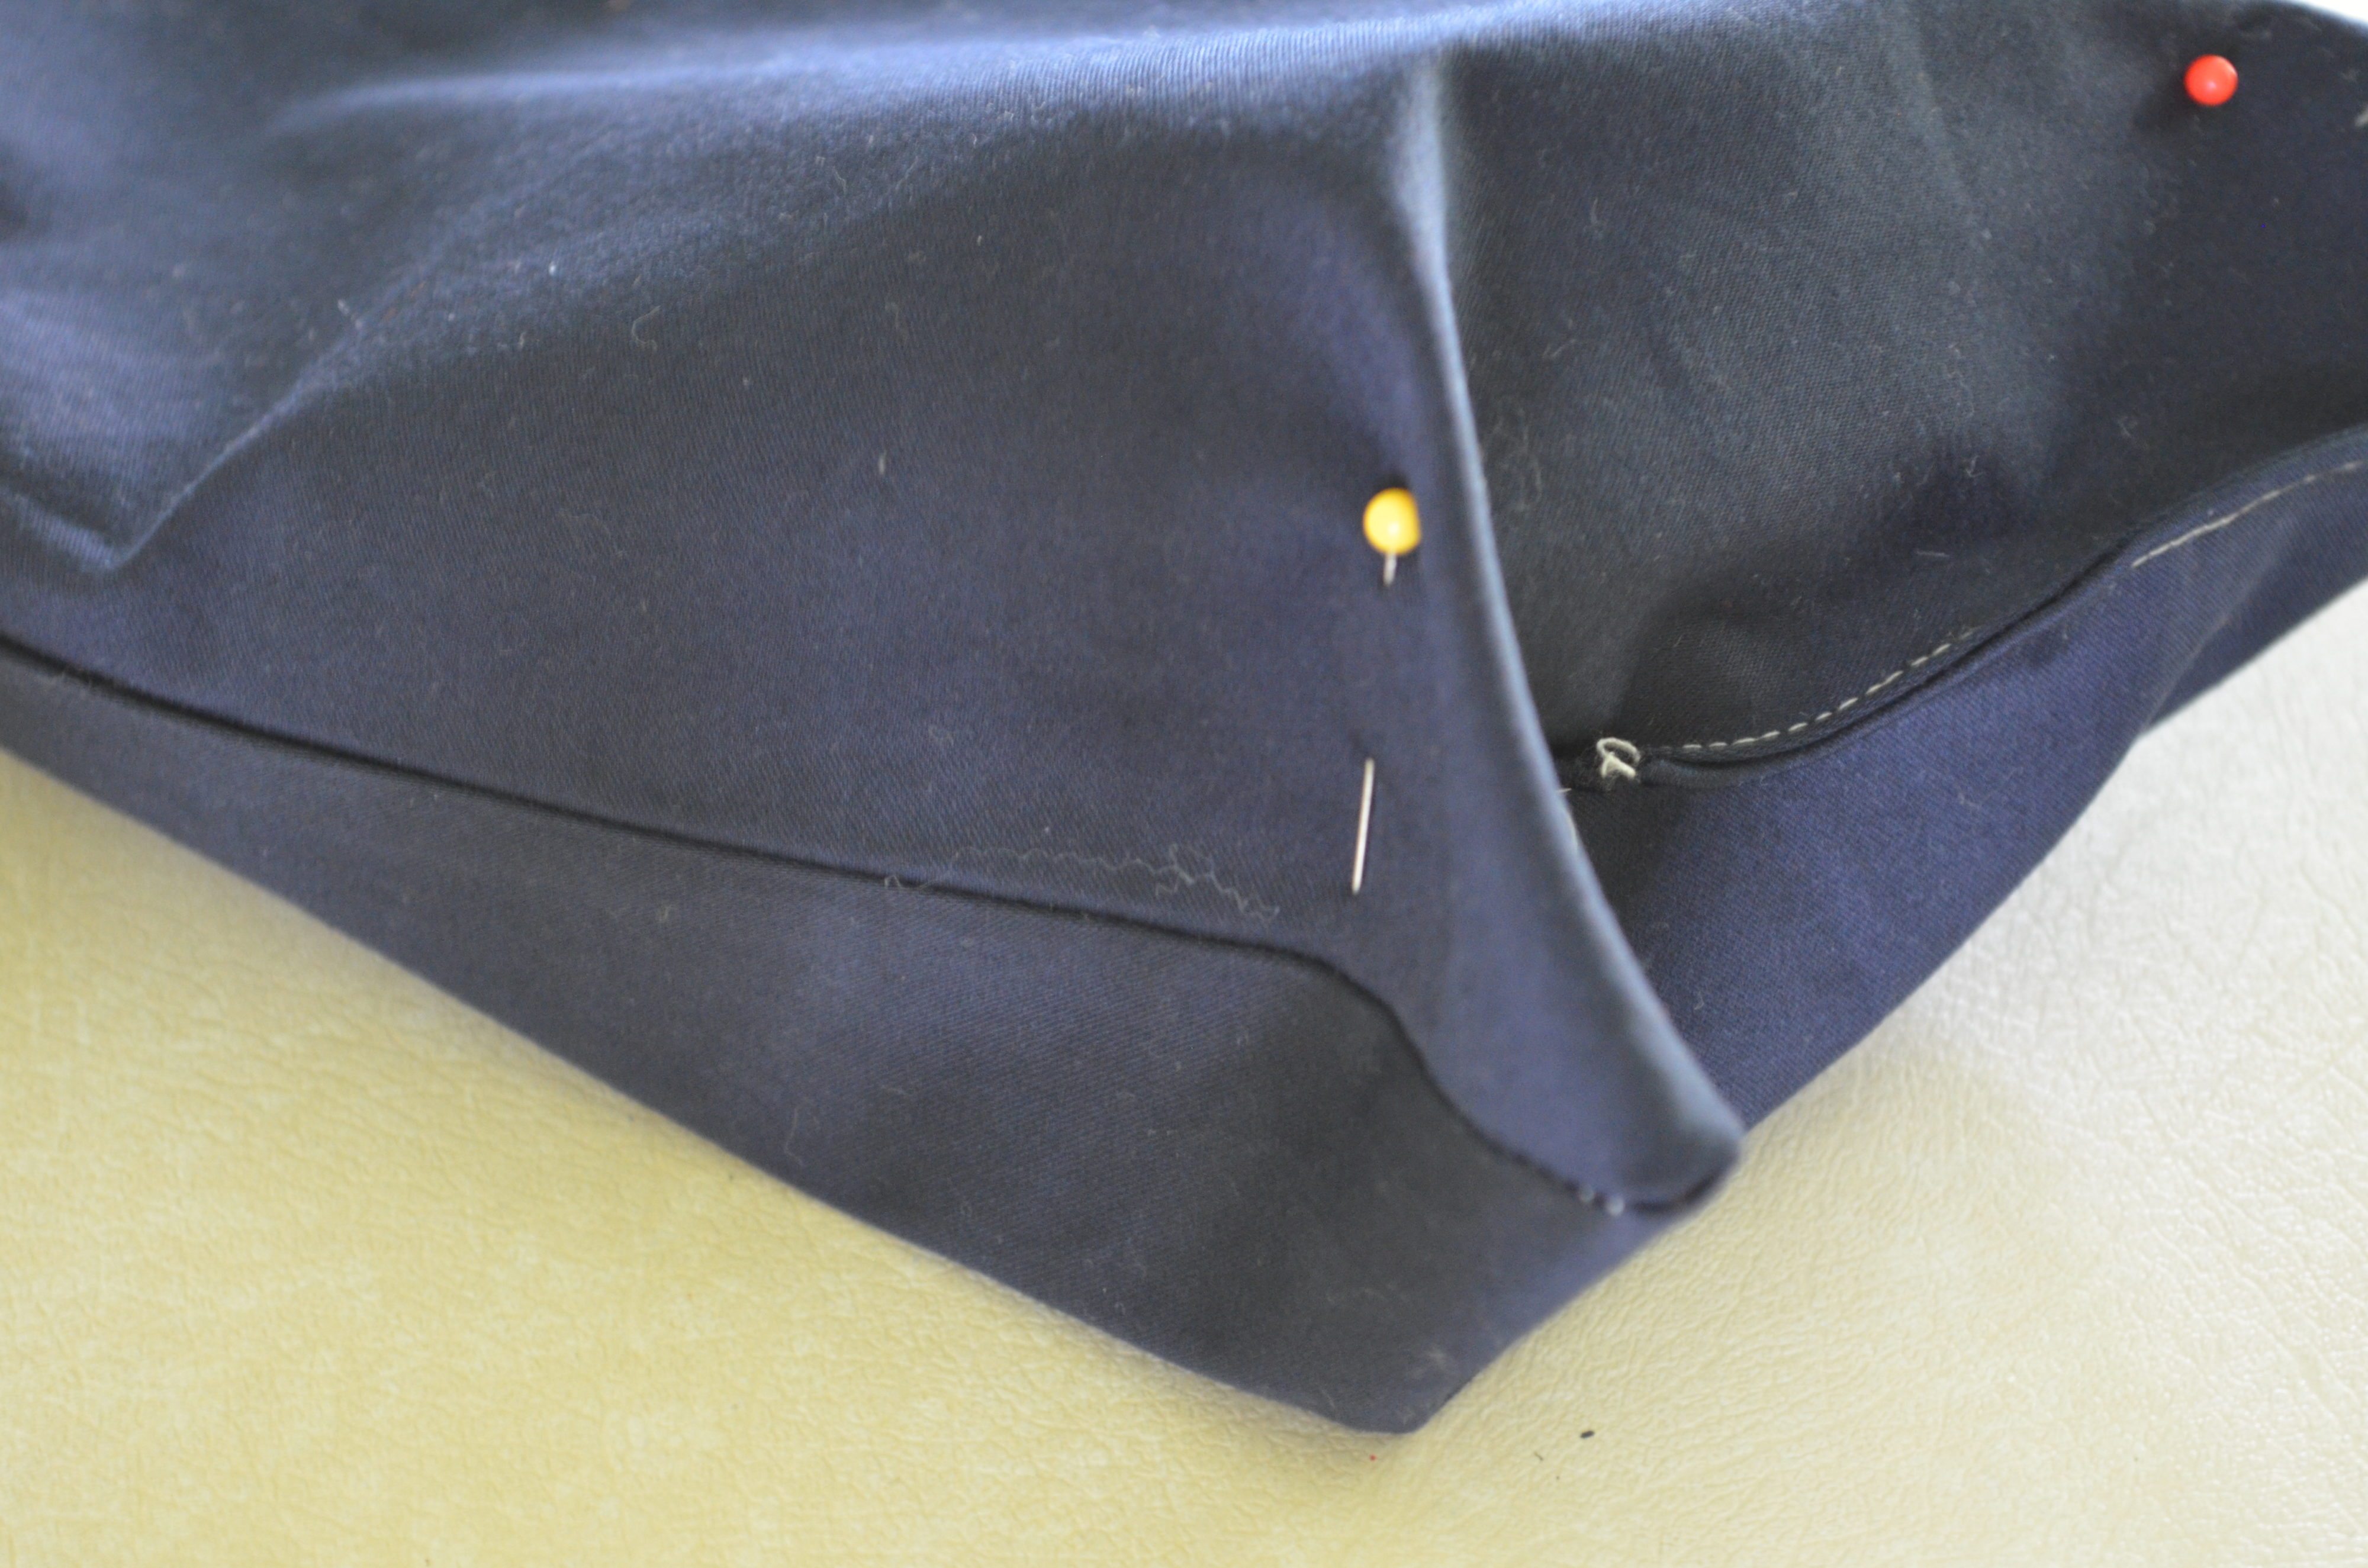
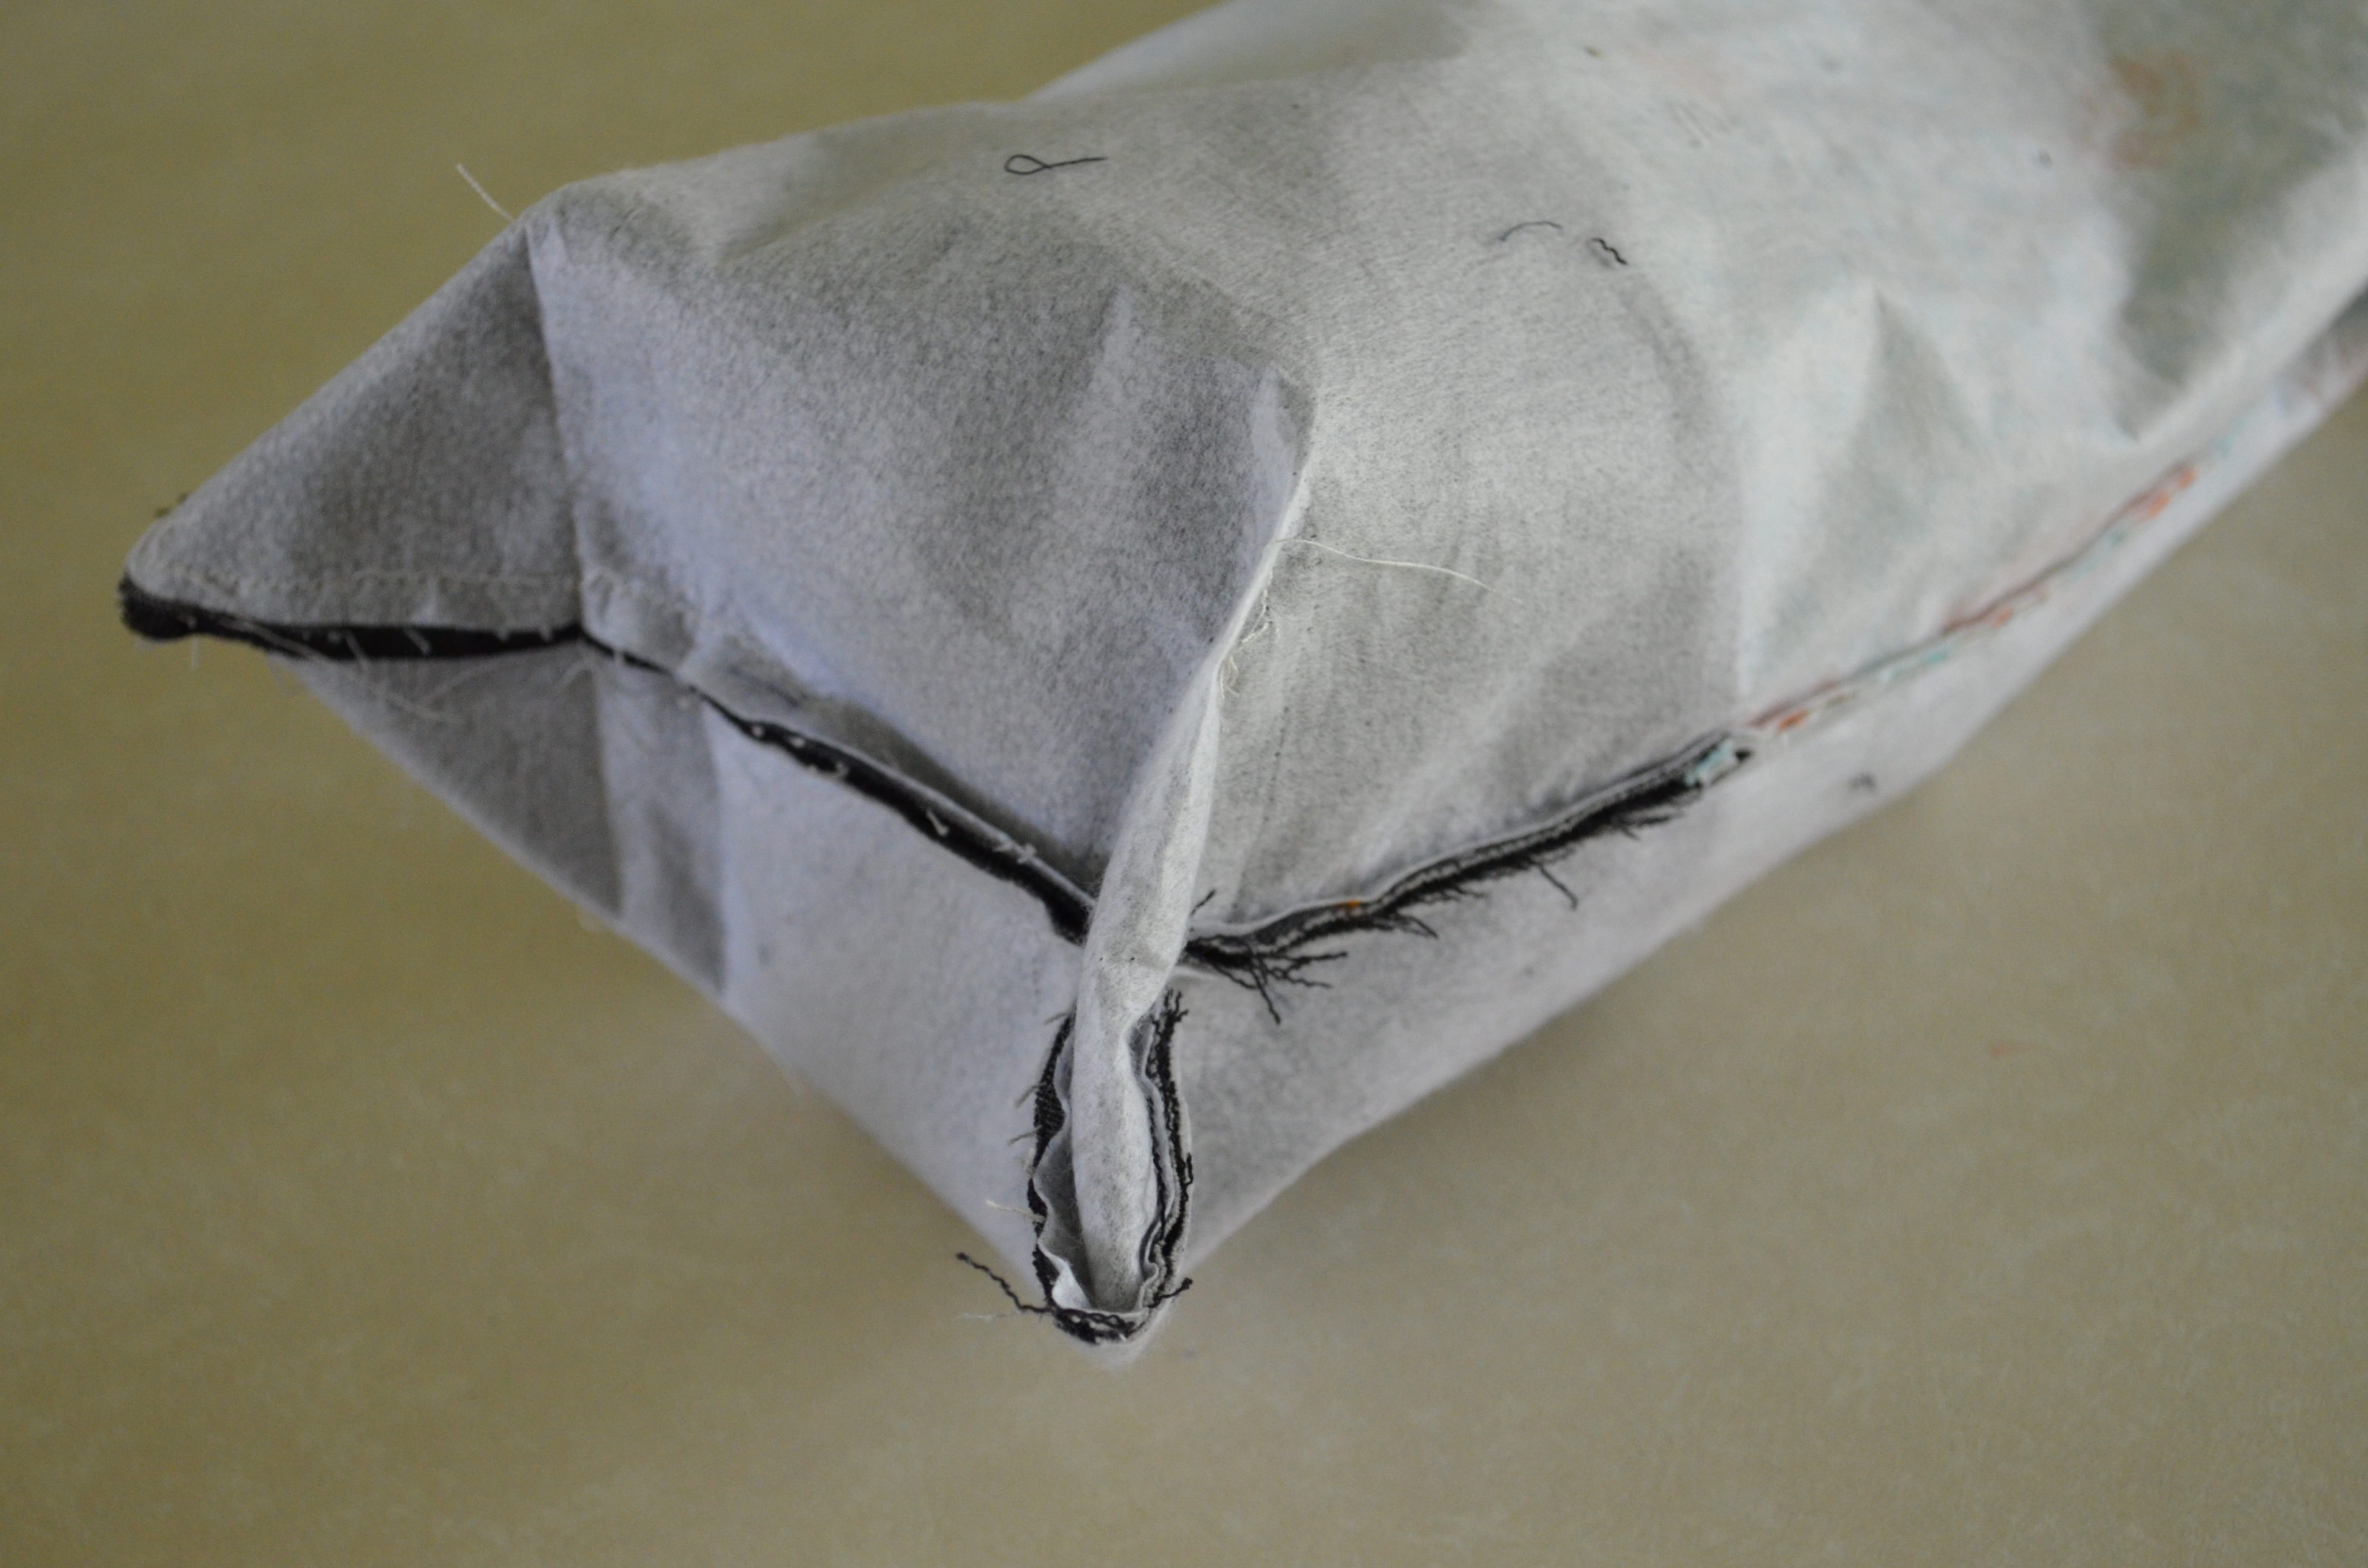
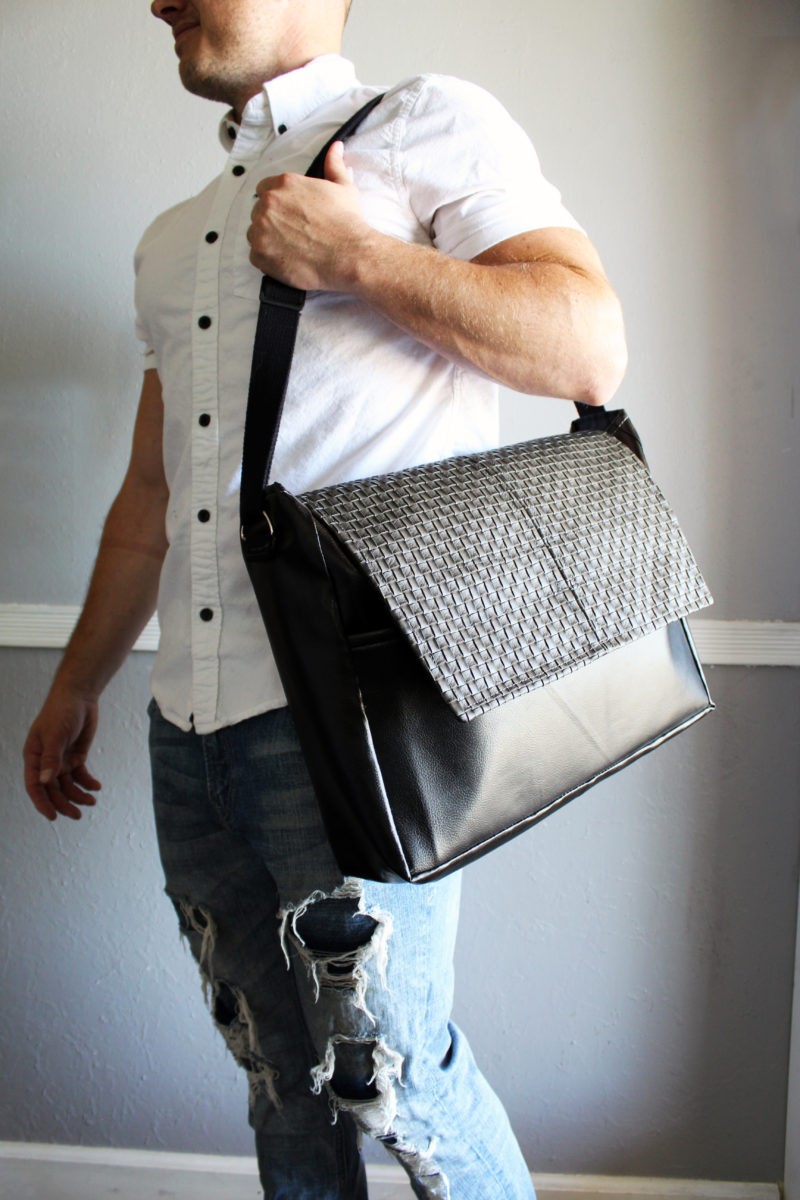
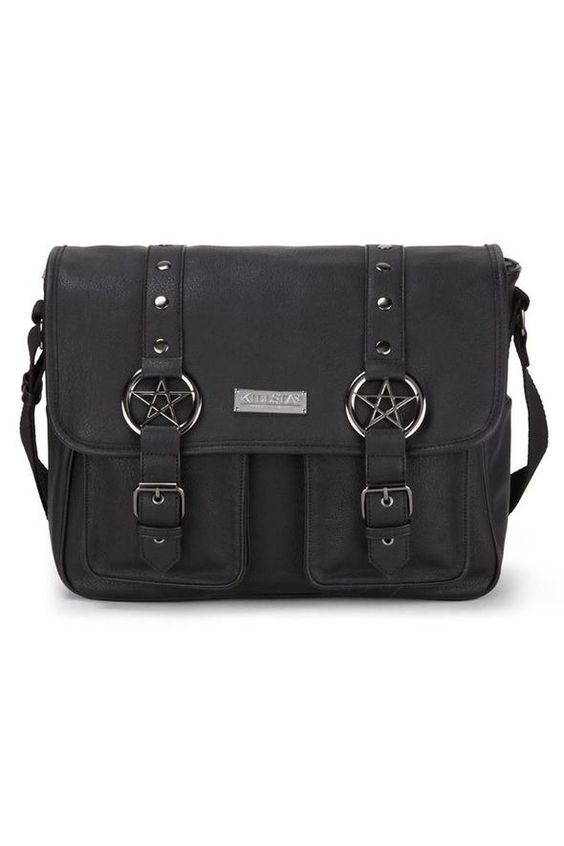
She is contributing today a great Messenger bag that you can download here.

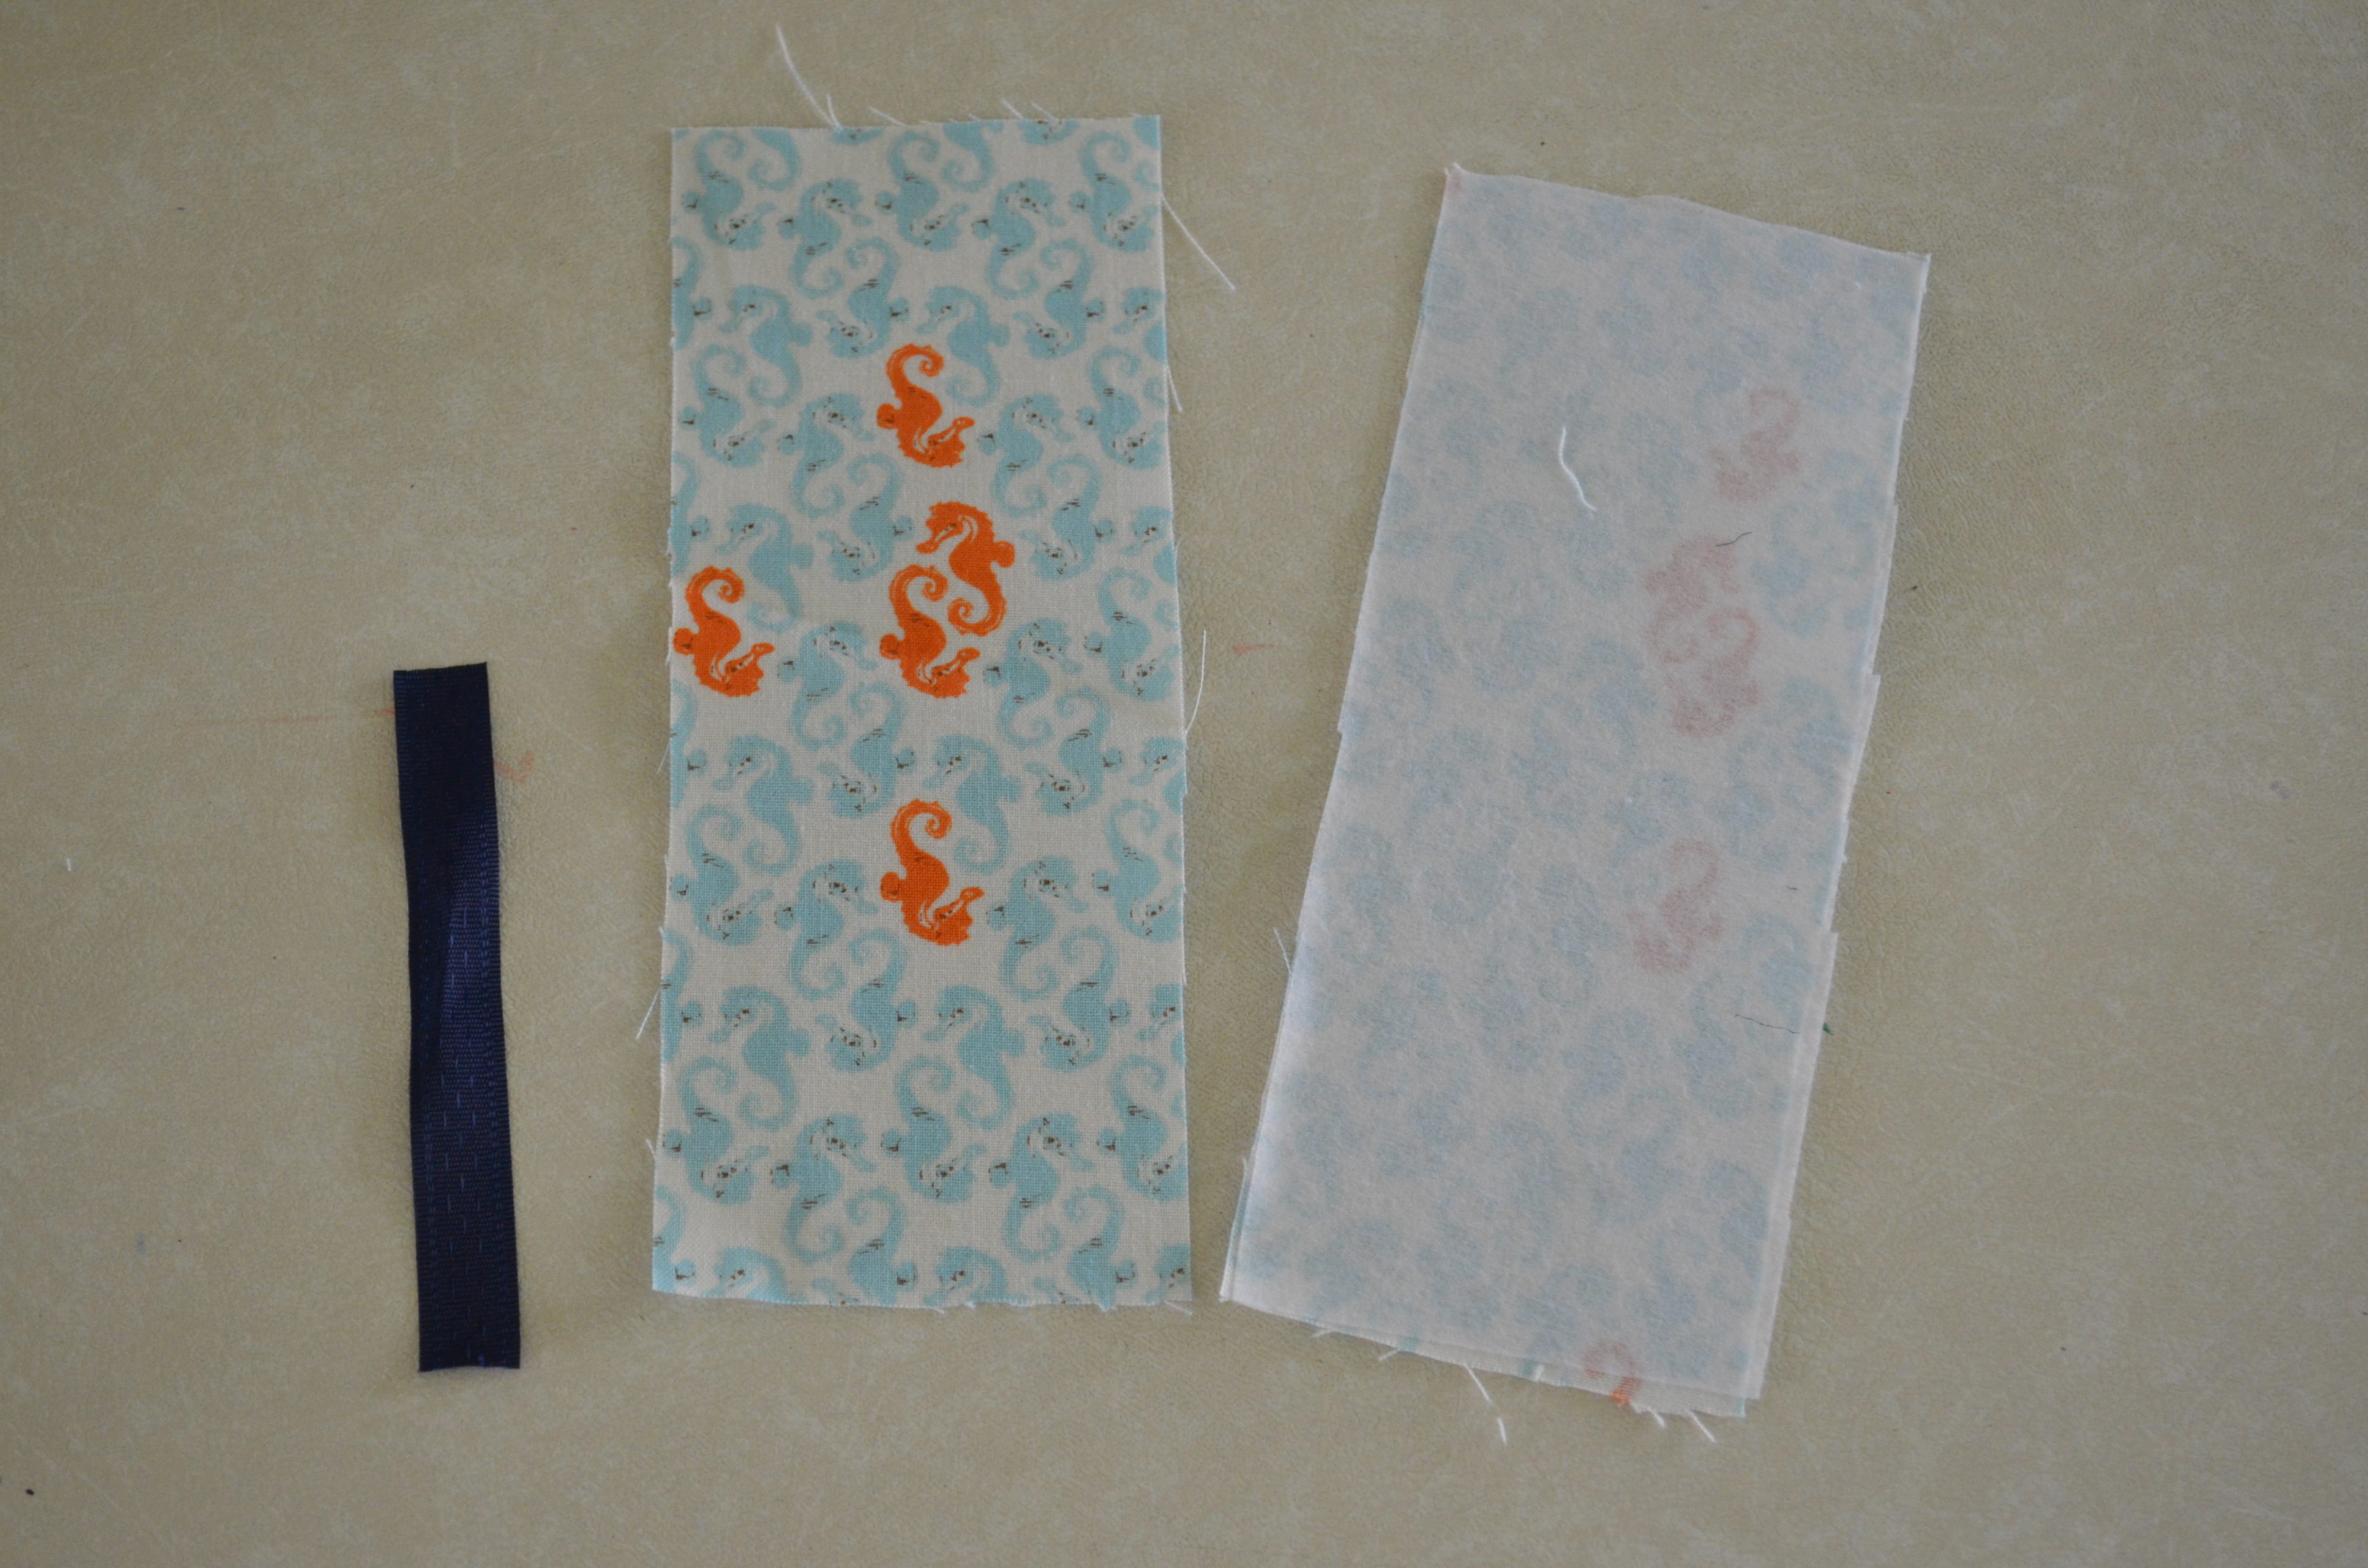
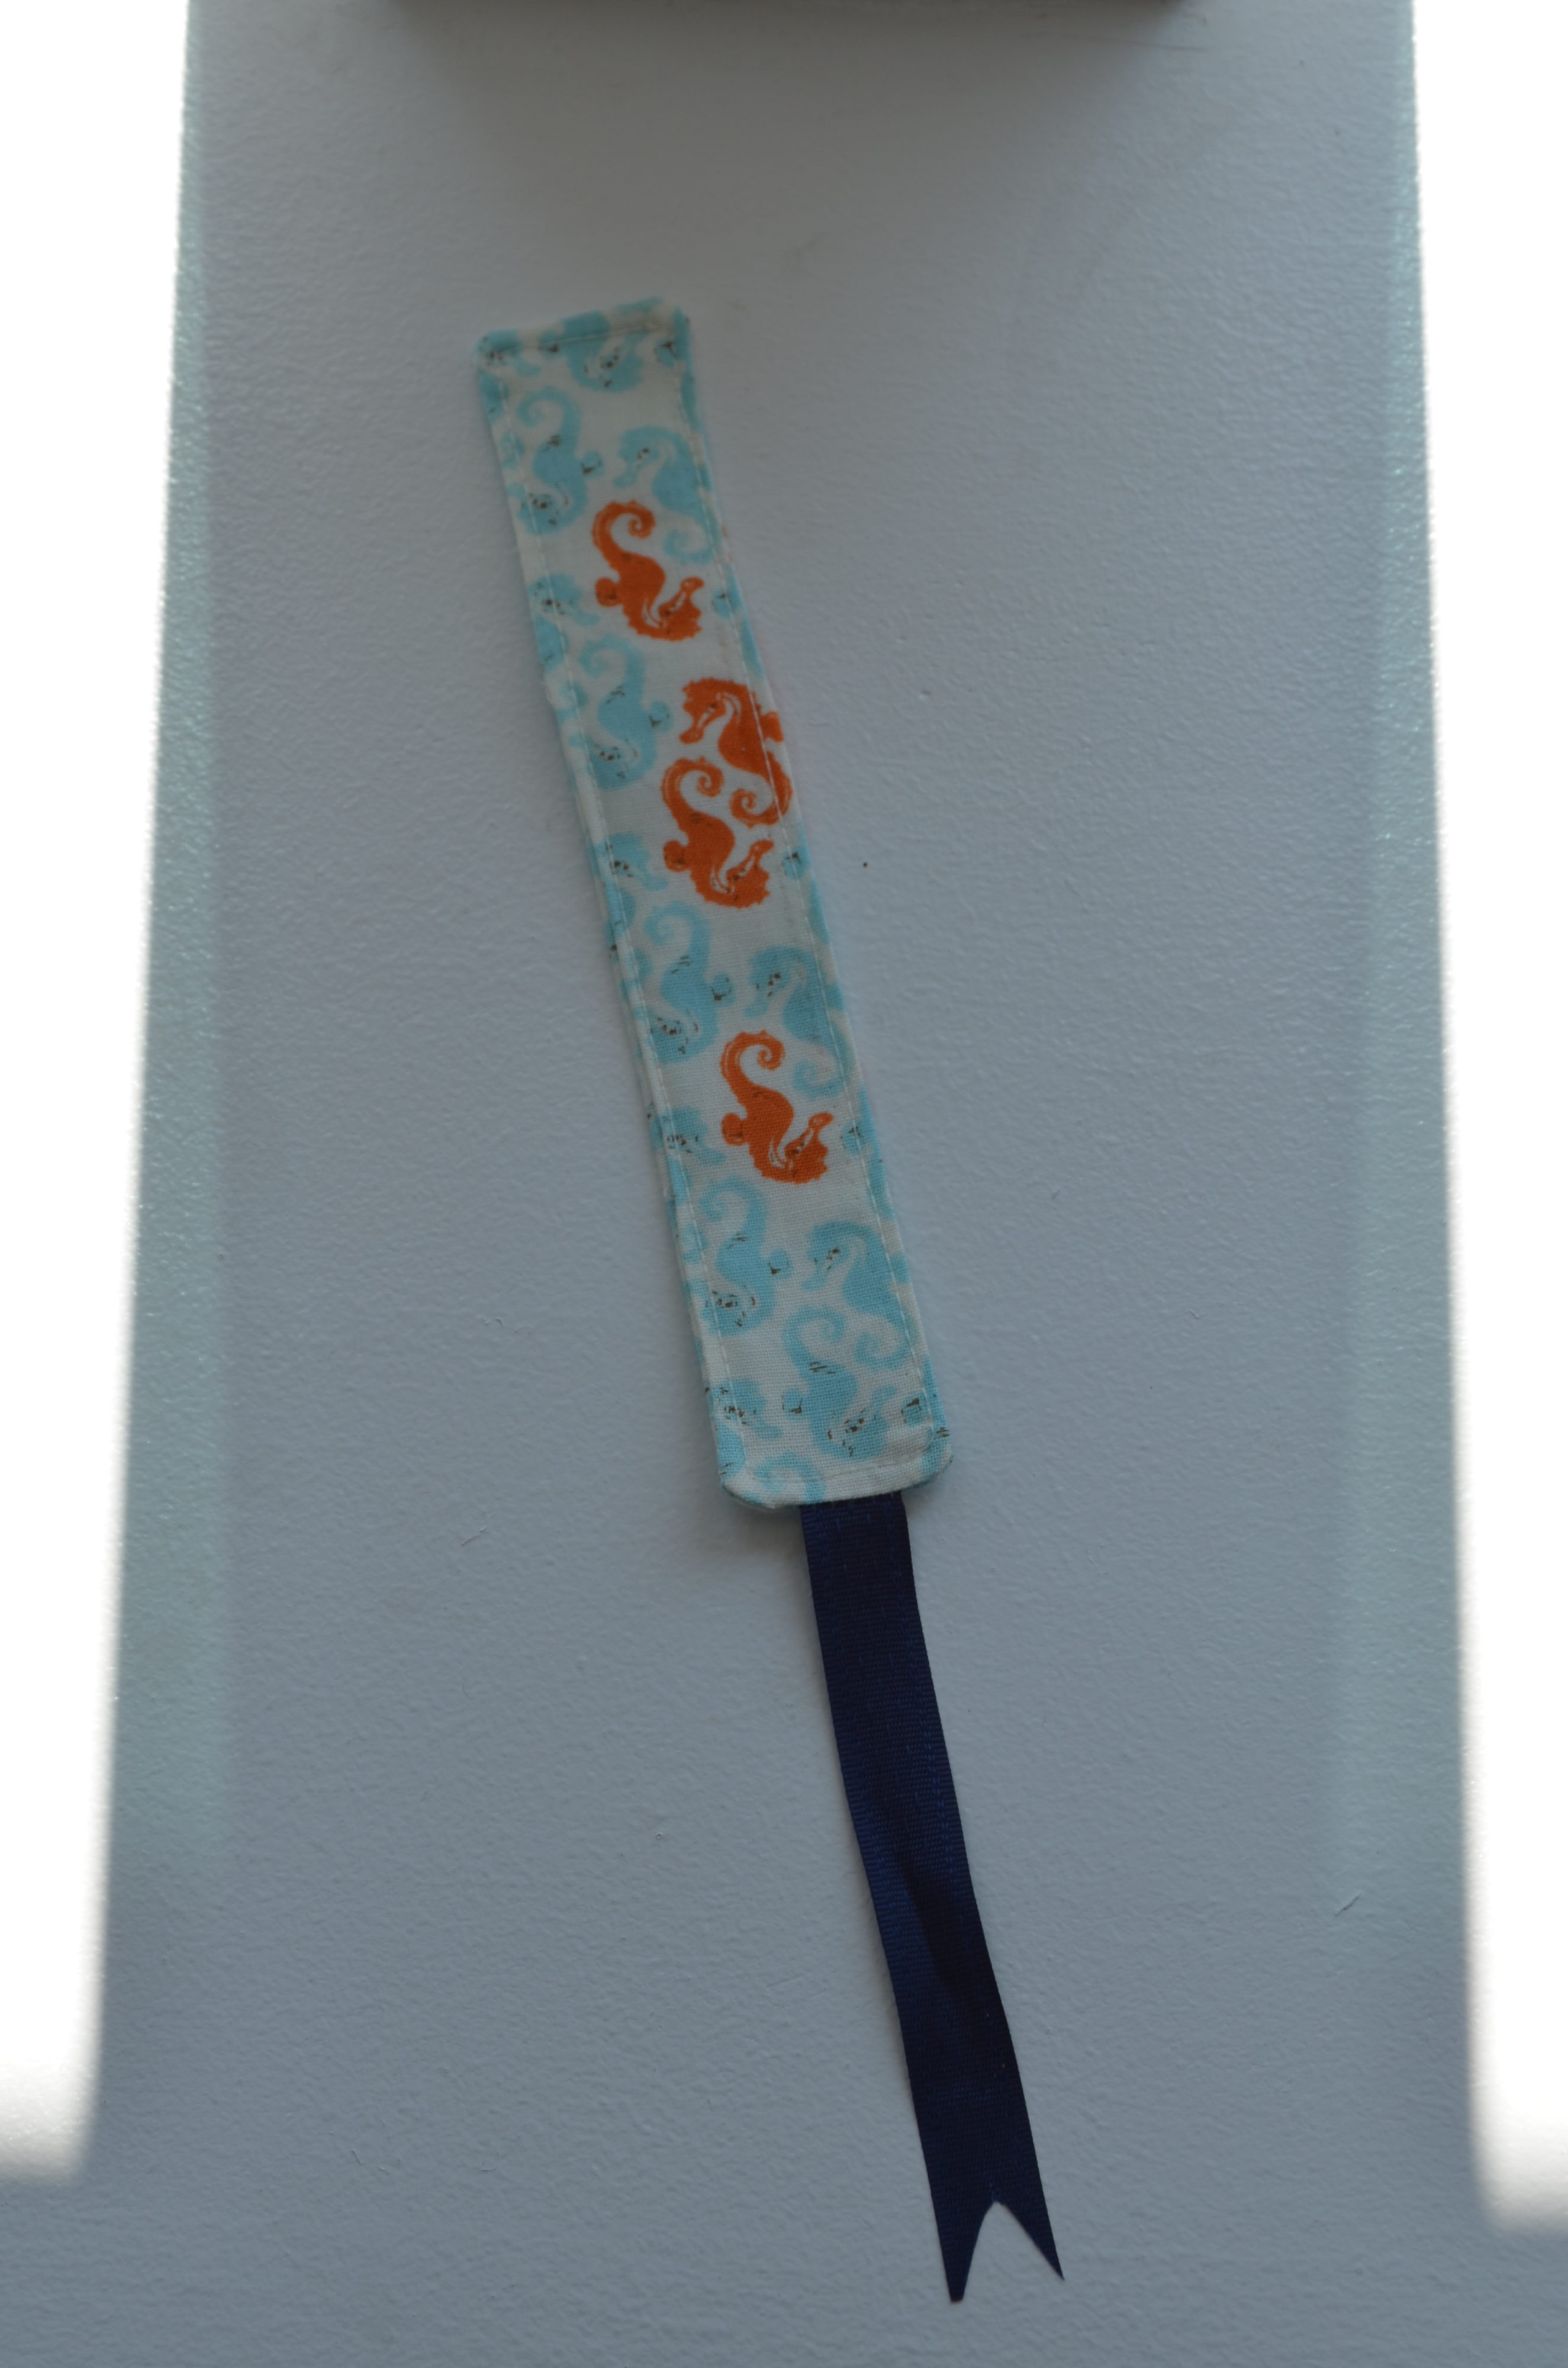
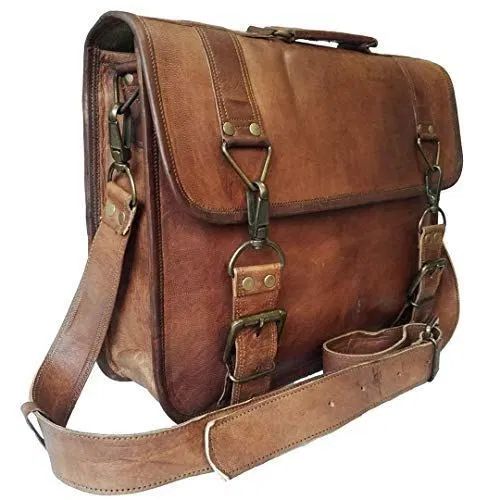
MESSENGER BAG INSPIRATION

FREE EASY SEWING PATTERN: the Boston Messenger Bag

If you want to learn more about Lisa and her beautiful free projects, please visit her here.

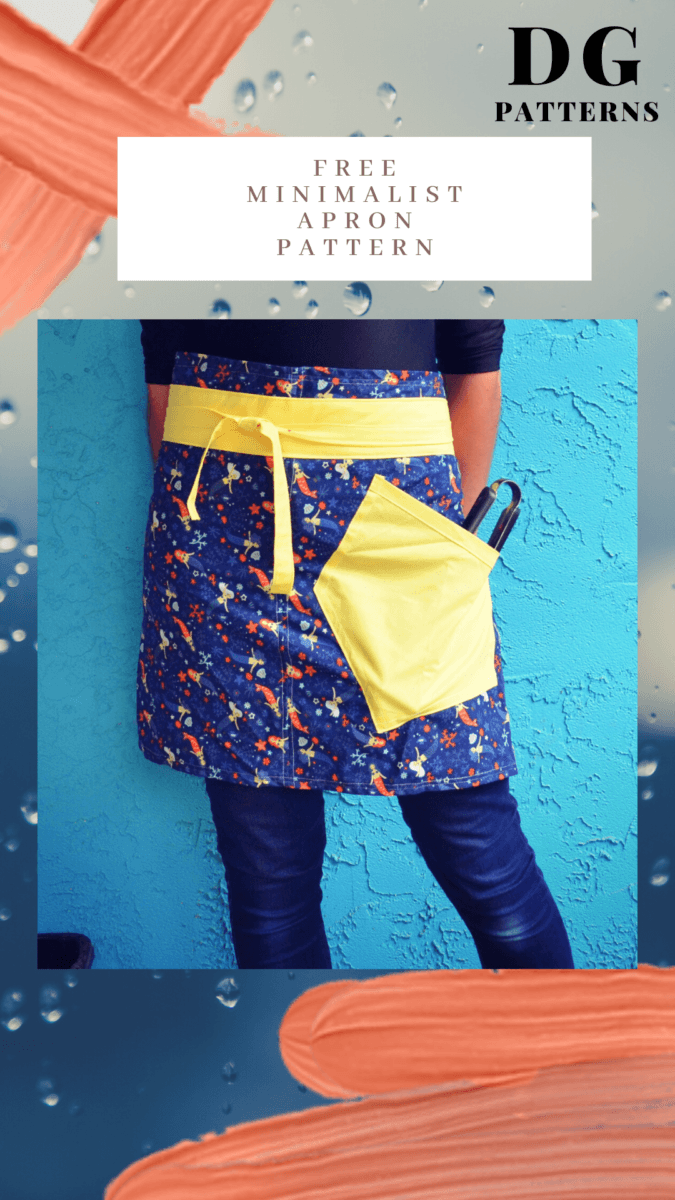
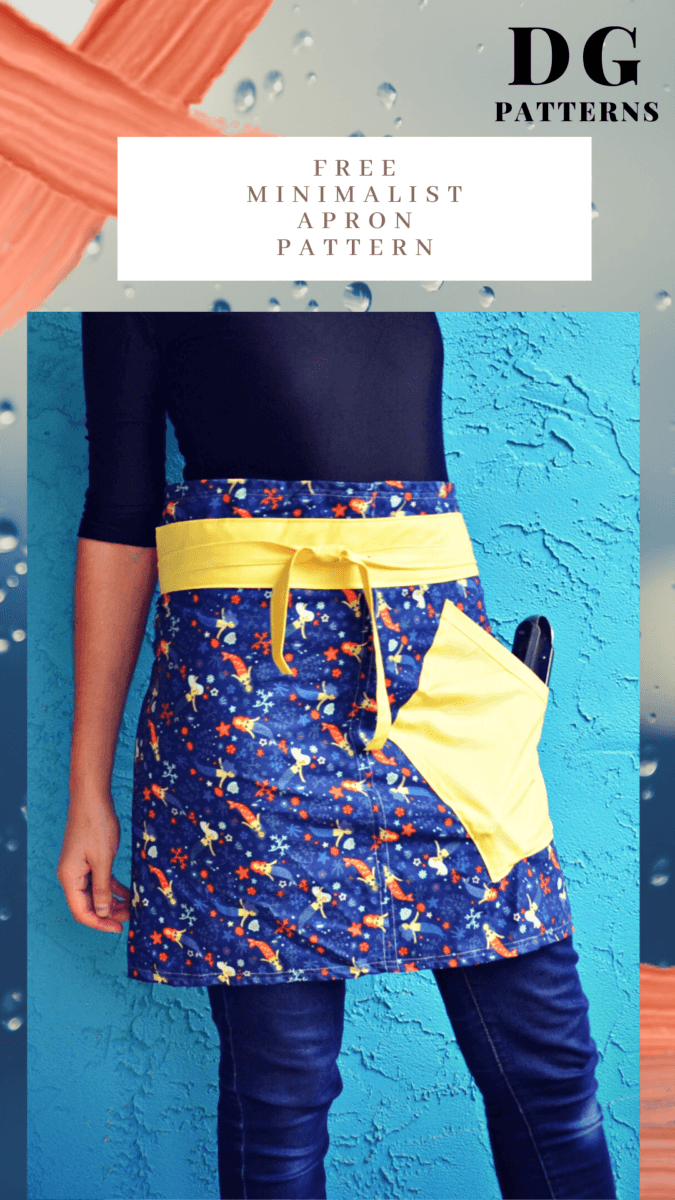
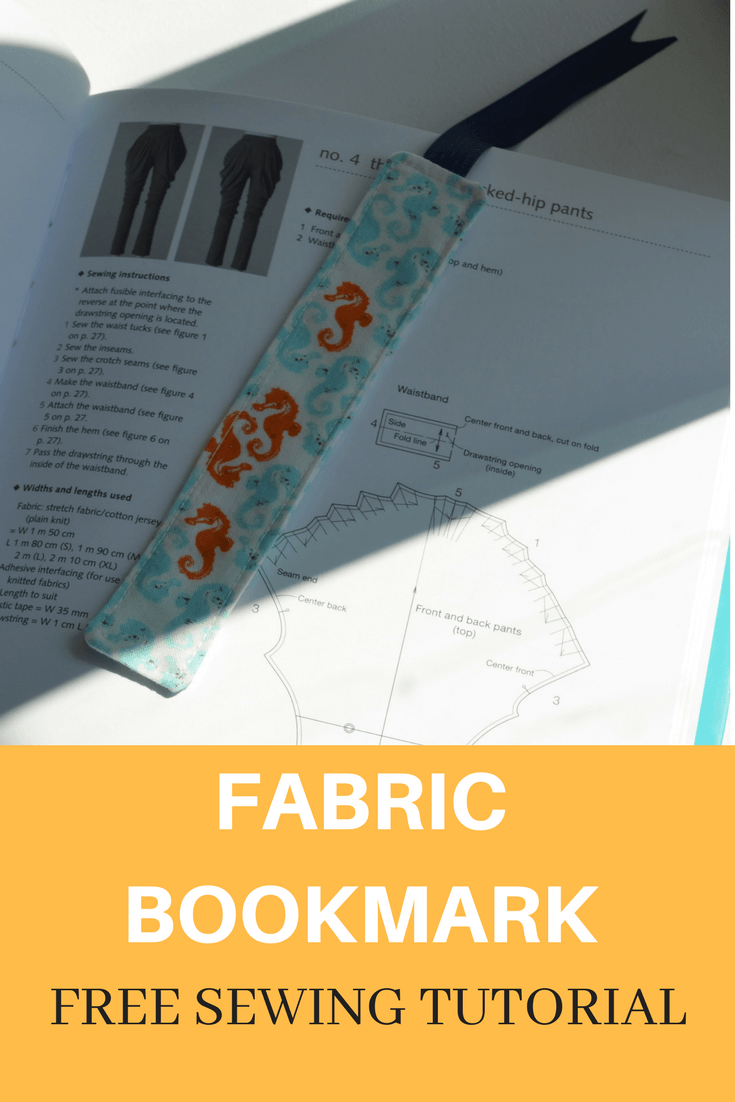
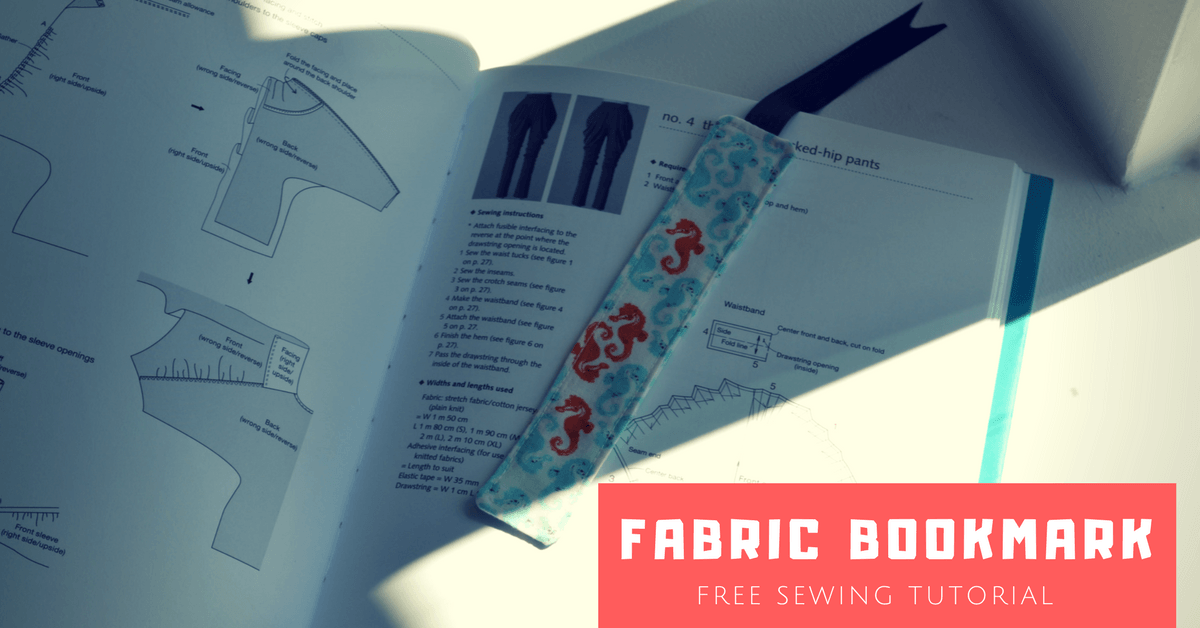
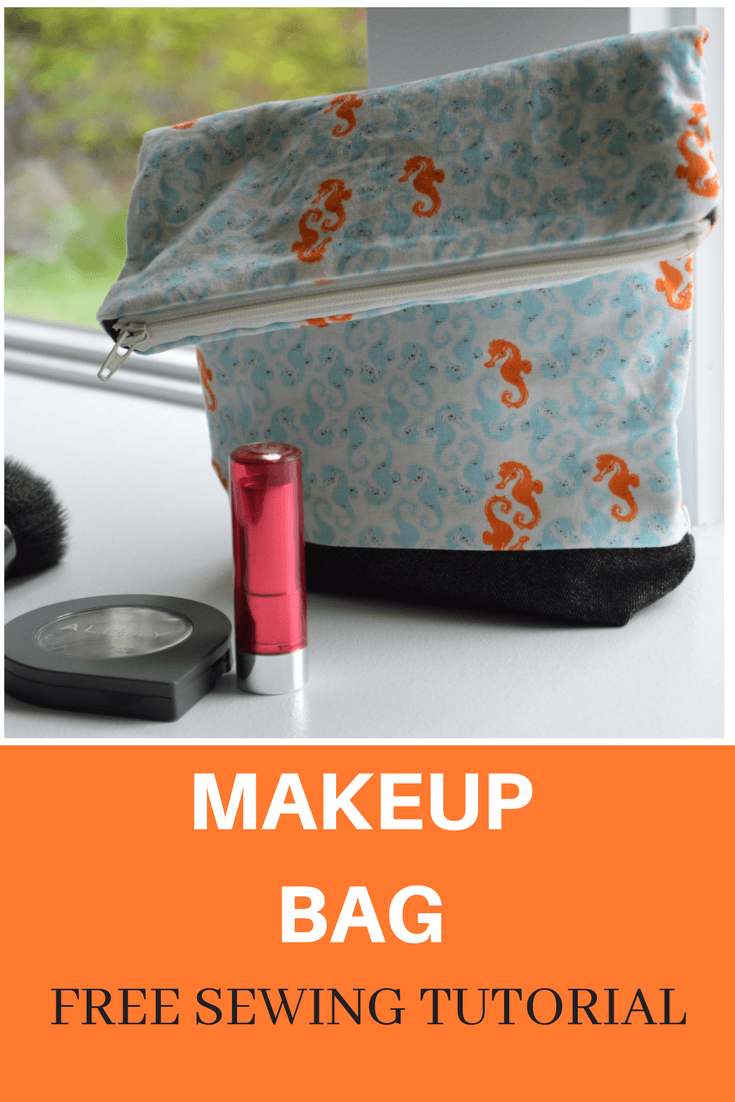
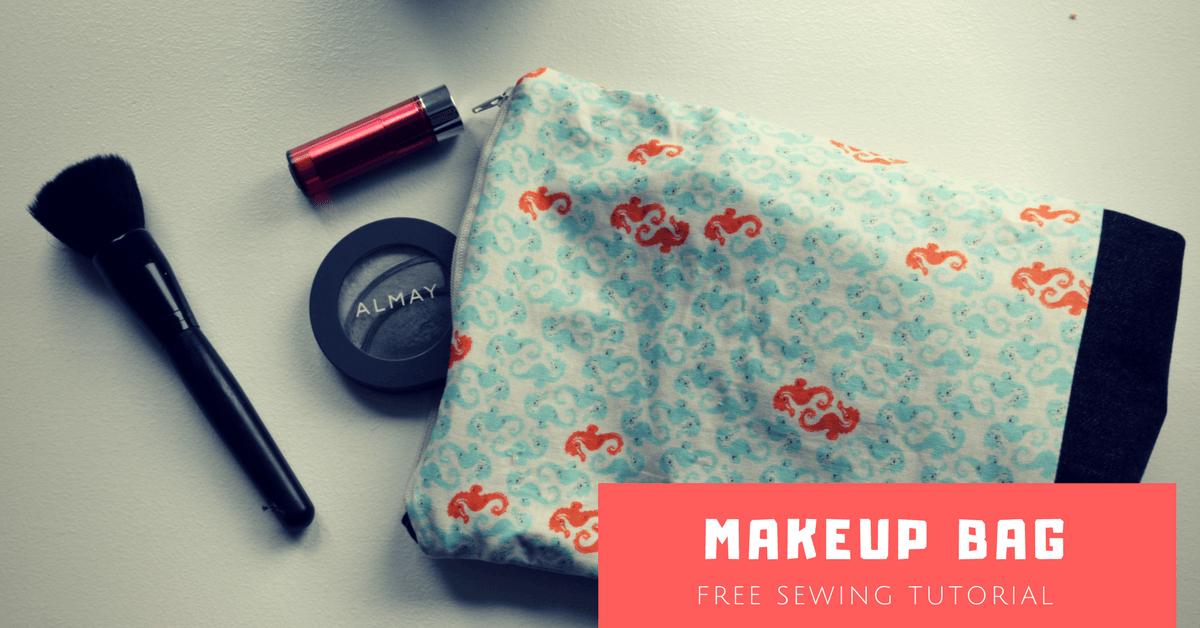
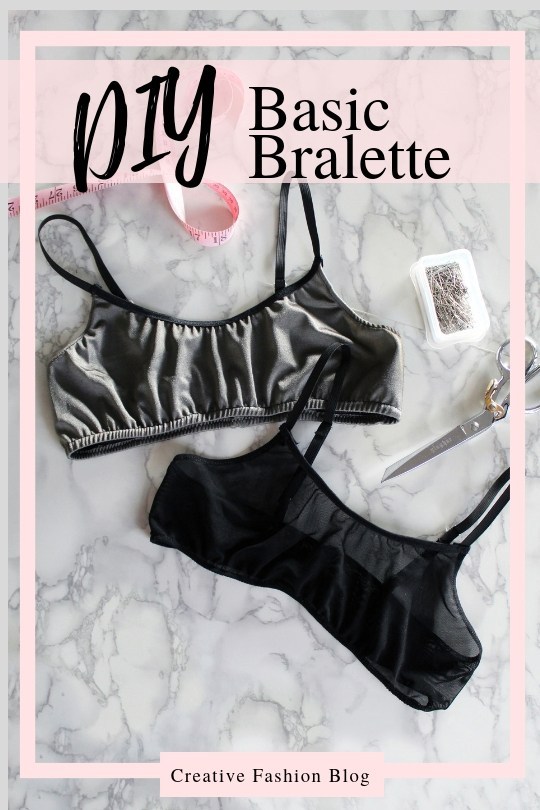
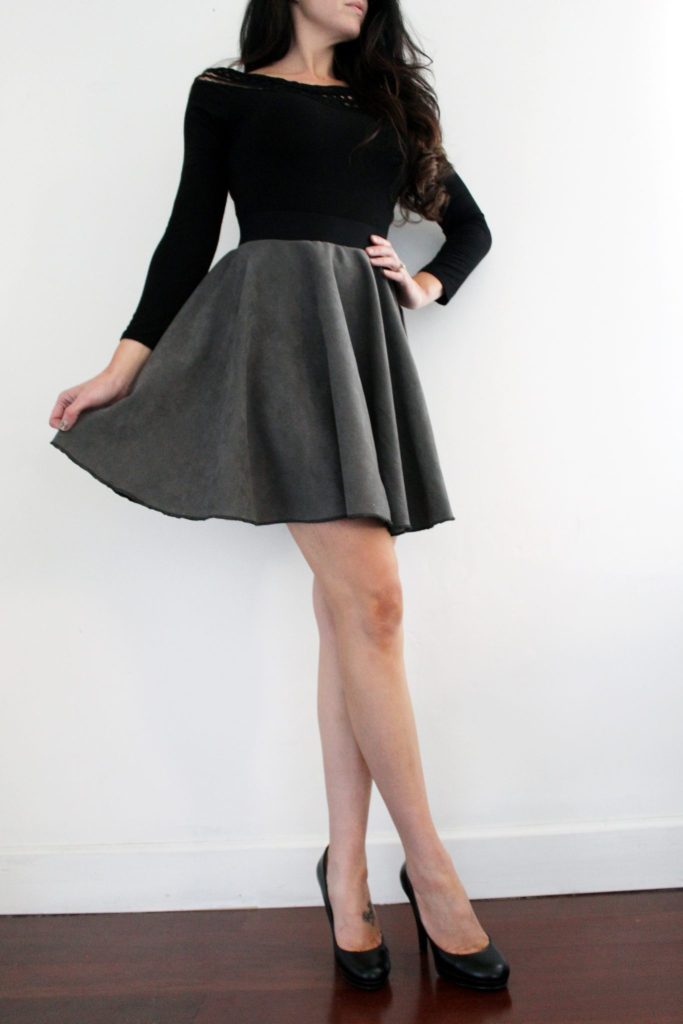
SOME RECOMMENDED PROJECTS:

FREE EASY SEWING PATTERN: the Boston Messenger Bag

I hope you enjoyed this FREE EASY SEWING PATTERN: the Boston Messenger Bag

Happy Sewing!

Filed Under: Fun Projects, Sewing

FREE SEWING PATTERN: The minimalist apron

October 29, 2019 by Daniela Leave a Comment

FREE SEWING PATTERN: The minimalist apron

FREE SEWING PATTERN: The minimalist apron

Hello there,

Thank you for visiting On the Cutting Floor today. I am happy to present this compilation of Free Women’s Cardigan Patterns. Enjoy!

FREE PATTERN ALERT: The minimalist apron

If this is your first time on our blog, remember to check our FREE SEWING PATTERNS page.

On that page you will find our collection of free sewing patterns for women, kids, and men.

You can also visit our SEWING TUTORIALS and our SEWING REVIEWS.

We also have an ETSY STORE, where you will find high quality fabrics and unique and modern sewing patterns for women.

PLEASE, CLICK ON THE IMAGES BELOW TO BE DIRECTED TO THE ORIGINAL POST.

Here is a super simple, easy and cute apron pattern.

This pattern is ideal for Christmas and birthday gifts to your loved ones.

The stash -busting project can me made with less than 1 yard!

SEWING TUTORIAL:

Place both main pieces together, right sides facing and stitch them with a 3/8 inch seam allowance.

Then, press and open the seams flat.

Fold and press the side seams and the bottom seam with a 1/2 inch seam allowance.

Then, stitch the seams with a straight stitch and regular length. Press flat.

Bring the pocket to the table and press the seams. Then stitch them with regular stitch length and 3/8 inch seam allowance.

Now, fold the top of the pocket with a 1” seam allowance and press flat.

Place the pocket on your apron and stitch it with 1/8 inch seam allowance.

Fold the straps and add them to the apron.

DOWNLOAD THE PATTERN HERE

FREE SEWING PATTERN: The minimalist apron

I hope you enjoyed this FREE SEWING PATTERN: The minimalist apron and create your own apron for the upcoming holidays! Your loved ones will appreciate the effort 😉

Filed Under: Fun Projects

FREE SEWING TUTORIAL: Easy Fabric Bookmark

May 31, 2018 by Daniela Leave a Comment


MATERIALS:

1. 2 1/2 ” x 7” quilting cotton fabric

2. 2 1/2 ” x 7” batting

3.  4” piece of ribbon

4.  Coordinating thread

INSTRUCTIONS:

  1.  Gather all materials to make an easy fabric bookmark


2.  Add the batting to the fabric on both sides.

3.  Place the ribbon in between the two pieces of fabric and pin both fabrics together.


4.   Leave only a 1” opening to turn the bookmark to the right side of the fabric


5.  Turn the fabric to the right side and press flat.


6.  Stitch the sides of the bookmark with a 1/8 inch seam allowance.

And that is ready!


Thank you for reading our blog and happy sewing


Filed Under: Fun Projects

EASY SEWING TUTORIAL: Makeup bag

May 24, 2018 by Daniela Leave a Comment

Hello there,

Thank you for visiting On the Cutting Floor today. I am happy to present this easy sewing tutorial for a cute and simple pincushion.

EASY SEWING TUTORIAL: Makeup bag


If this is your first time on our blog, remember to check our FREE SEWING PATTERNS page.

On that page you will find our collection of free sewing patterns for women, kids, and men.

You can also visit our SEWING TUTORIALS and our SEWING REVIEWS.

We also have an ETSY STORE, where you will find unique and modern sewing patterns for women.


EASY SEWING TUTORIAL:

Makeup bag


MATERIALS:

FABRICS:

  1. 10” x 6” main fabric piece
  2. 4” x 6” for the bottom fabric (main side)
  3. 14” x 6” for the facing fabric

Coordinating thread

14”  x 6” Batting

Regular Needles

7” regular zipper


INSTRUCTIONS:

  1. Follow the tutorial on HOW TO ADD A ZIPPER TAB here to prepare your zipper for the project.


2. Place the main fabric and the bottom fabric together, right sides facing and pin the bottom area with a 3/8 inch seam allowance.


3. Stitch the bottom and main fabrics together and press the seam flat.


4.  Then open and press the seam upwards.

5.  Repeat this process with the other side of the makeup bag and add the batting to them.


6.  After this, place the makeup bag main fabric, zipper and lining together, right sides facing.  Make sure the zipper teeth are facing the main fabric


7.  Stitch the fabrics and zipper together, with a 3/8 inch seam allowance.


8.  Turn the fabric to the right side and press them flat.  Open the zipper.

9.  Now, add the other makeup bag main fabric and lining on the other side of the zipper.  Stitch them together with a 3/8 inch seam allowance.


10. Open the makeup bag main fabric and lining and press flat.


11.  Now, place facing pieces and main fabric pieces together, right sides facing.  Remember that the zipper must be open to do this.  Stitch the makeup bag around the sides and bottoms, only leaving a 2 to 3 inches opening to turn the bag to the right side of the fabric.


12.  Take the corners of the makeup bag sideways and pin with a 2” length from the bottom to the top.  Pin it and stitch it with a regular length stitch.


13.  Repeat this with the main bag


14.  Trim the corners leaving only about 1/8 inch seam allowance.


14.  Turn the bag to the right side of the fabric.


Filed Under: Fun Projects

FREE PATTERN ALERT: Taco Zipper Pouch

May 17, 2018 by Daniela Leave a Comment

Hi there,

Thank you for reading our blog!

Today I am so excited to present Melissa, from Mahlica Designs with a cool and easy Taco Zipper Pouch project!

Enjoy!

FREE PATTERN ALERT:

Taco Zipper Pouch

Hi,  I am Melissa from mahlicadesigns .  I have created this cute and easy sewing tutorial for us. If you want to get great sewing inspiration, check out Melissa’s instagram

Finals collage

Supplies

Quilting cottons in taco shell tan/yellow, lettuce green, sour cream white, & taco meat brown.
4 x 4in squares of felt in tomato red, lettuce green, and cheesy yellow.
Heavy weight fusible interfacing; 7in zipper, and basic sewing supplies.

Prep your pieces

Cotton wovens:
Cut 2 green pieces: 8in X 1.75in
Cut 4 white pieces: 1.5in X 2.75in
Cut 4 brown pieces: 1.75in X 2.75in
Cut 2 tan pieces using the template
Cut 2 interfacing pieces using the template
Cut 1 tan piece 7in X 2.5in
Cut 1 interfacing piece 7in X 2.5in
Cut tomato, lettuce, and shredded cheese shapes from the felt

Apply the fusible interfacing to the corresponding wrong side of the tan shell pieces.
Measure and mark 1/2in beyond the top and bottom zipper stops and trim away the excess zipper tape.

Mark the seam lines along the corners of the rectangle tan piece.

Supplies and prep collage 2

Assemble your Taco Zipper Pouch

1/2 inch seam allowance used throughout. Press as needed after each step.

Zipper strip collage 1

Match up long edge of green fabric with edge of zipper tape (right side of fabric facing top side of zipper) and stitch next to the zipper teeth. Repeat for the other side.

Sandwich and center each end of the zipper strip between the white pieces. Right sides of the white facing each other. Stitch, being careful to avoid the zipper stops.

Sandwich and center each end of the zipper strip between the brown pieces. Right sides of the brown facing each other. Stitch.

Trim & square up the long sides of the zipper strip to a total finished width of 2.5in.

Assembly collage 1

Place your felt toppings on the right sides of the tan shell pieces, making sure the toppings are pointing toward the center of the shell pieces, and that they will be caught in the seamline. Pin in place.

Right sides together. Place the long edge of the zipper strip along the curved edge of the shell piece. Pin in place and stitch. Back stitch at each end. Unzip your pouch if you haven’t already. Repeat with the second curved shell piece.

Topstitch along the seamline, catching the seam allowance beneath the tan fabric. Use pinking shears to trim the seam allowance if desired.

Assembly collage 2

Right sides together, stitch the long edge of the remaining tan strip to the long bottom edge of the shell. Starting and stopping at the corners you marked and backstitching. Make sure your zipper is open. Repeat for the other long side.

Now stitch the short ends of the zipper strip and the tan strip closed, right sides facing. Starting and stopping at the marked corners. Backstitch. Use pinking shears to trim the seam allowance if desired. Turn right side out and gently push out your bottom corners.

Final 1.1

You’re finished! Now everyday can be Taco Tuesday.


Filed Under: Fun Projects

FREE SEWING TUTORIAL: Easy Pincushion

May 3, 2018 by Daniela Leave a Comment


Hello there,

Thank you for visiting On the Cutting Floor today. I am happy to present this easy sewing tutorial for a cute and simple pincushion.

FREE SEWING TUTORIAL: Easy Pincushion


If this is your first time on our blog, remember to check our FREE SEWING PATTERNS page.

On that page you will find our collection of free sewing patterns for women, kids, and men.

You can also visit our SEWING TUTORIALS and our SEWING REVIEWS.

We also have an ETSY STORE, where you will find unique and modern sewing patterns for women.


MATERIALS:

  1. Fabric scraps
  2. Coordinating thread
  3. Polyester filling
  4. Assorted buttons
  5. Regular hand needle


INSTRUCTIONS:


  1. Gather the materials to create the pincushion.  You can use your scraps to make this.


2.  Cut squares or circles with a 4”x 4” measurement. Stitch the sides or the circle circumference, leaving a 2” opening on one side.


3.  Turn the pincushion to the right side of the fabric and press it flat.


4. Insert the stuff filling on your pincushion

5. Close the pincushion 2” opening


6. Then, mark the center of the pincushion and stitch it, sending the thread to the side, making a cross in the middle of it.  Pull the thread and finally, place the button on the center of the pincushion.


And that is ready!


Thank you for reading our blog and happy sewing 🙂


Filed Under: Fun Projects

  • « Go to Previous Page
  • Page 1
  • Page 2
  • Page 3
  • Page 4
  • Interim pages omitted …
  • Page 9
  • Go to Next Page »

Primary Sidebar

RSS On the Cutting Floor: Printable pdf sewing patterns and tutorials for women

  • Petunia Skirt PDF sewing pattern and Tutorial
  • Standford Dress PDF sewing pattern
  • Ivonne Knit top PDF sewing pattern
  • The Cony Bouse PDF sewing pattern and sewing tutorial
  • FREE PATTERN: Basic Blouse
  • Advertise with Us!
  • Contribute – On the Cutting Floor
  • Income
  • SITEMAP

Copyright © 2025 · Genesis Sample on Genesis Framework · WordPress · Log in