Hi Guys,
Thank you for visiting us today. This is: PatternMaker Tutorial: Basic Blocks collection patterns Men
This post is about the Basic Blocks Collection of the Patternmaker USA.
IF you want to know more about Patternmaker USA, please visit its website today.

ABOUT THE COLLECTION:
The Basic Blocks collection
I have chosen this collection because it was the most useful collection I could find. It provides a set of basic bodice blocks for babies, juniors, children, men and women; it also has different ease specifications and interchangeable collars.
HOW TO USE THE COLLECTION:
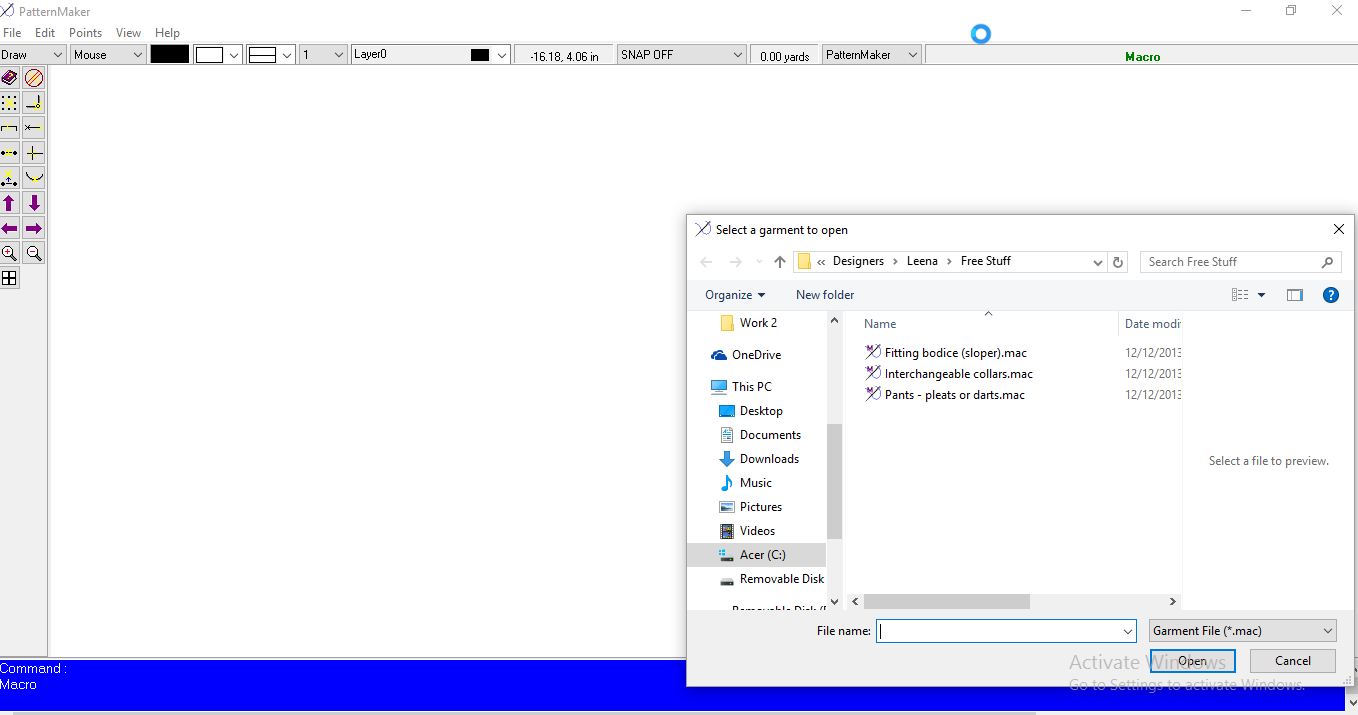
Start by clicking on the PatternMaker Icon on your screen. If you have not download the PATTER MAKER VIEWER for free software yet, click here.
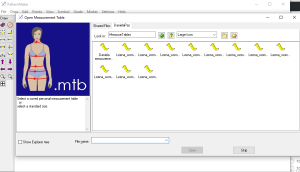
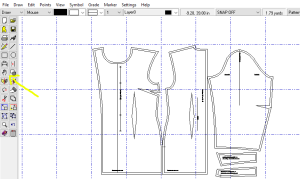
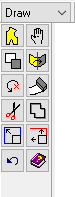
After opening the Basic Viewer, you will see the yellow bodice icon on the left side bar. Click on it.
Then, open the Basic Blocks collection, you will see the following options:
Collars,
Babies,
Children,
Juniors,
Men,
Women
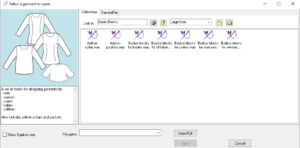
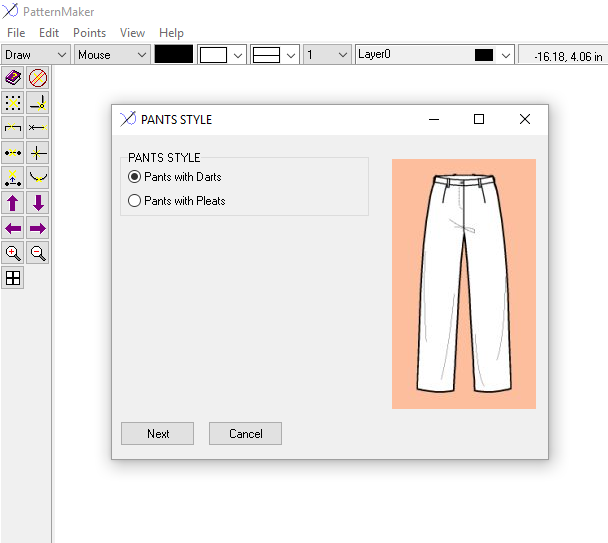
I choose the men’s basic blocks collection
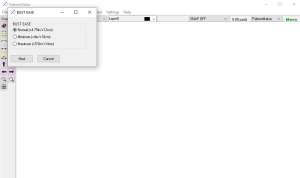
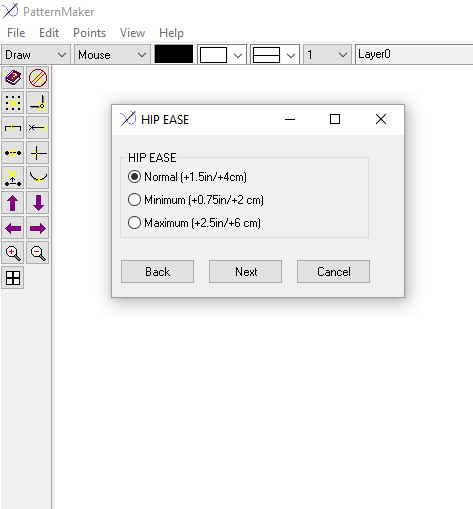
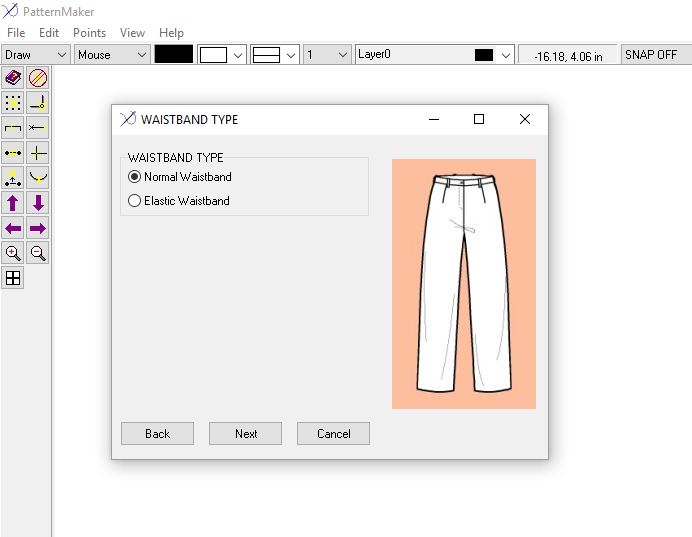
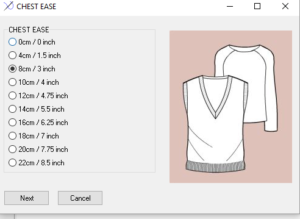
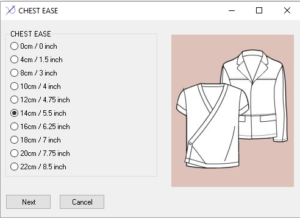
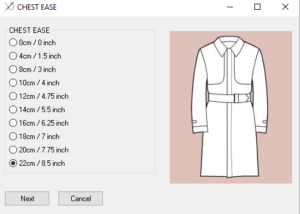
Now, choose the amount of ease (based on chest)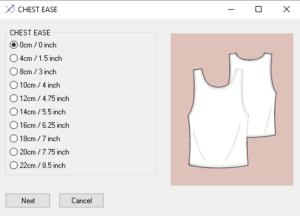
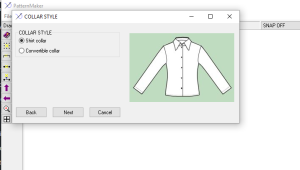
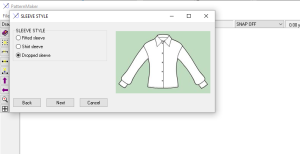
You will have a great amount of options to choose from. Take advantage of the sample garment illustrations shown on each category.
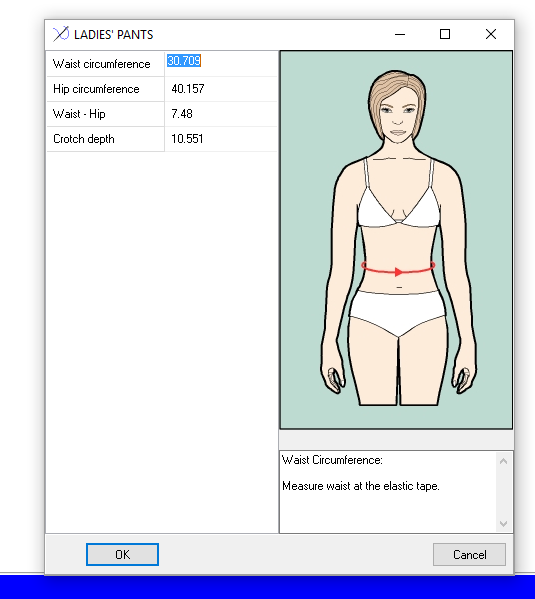
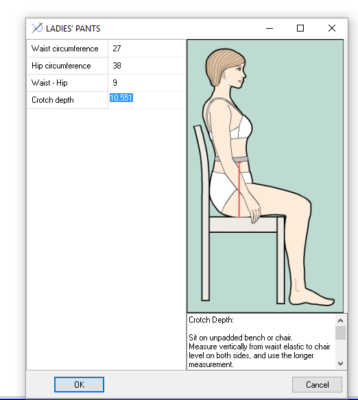
After that, you will need to choose the size based on the standard measurement charts or a specific one you have entered to the program, prior starting with the basic blocks.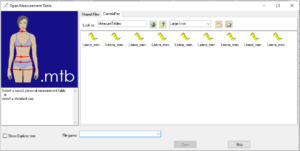
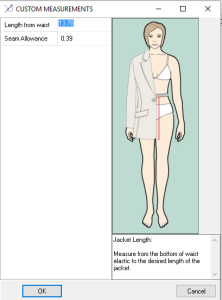
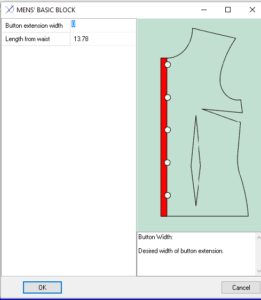
Add button extension and length from waist:
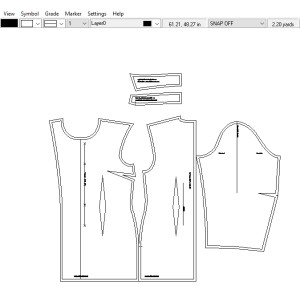
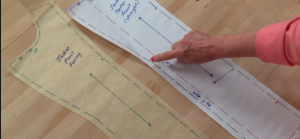
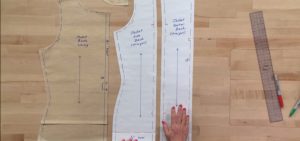
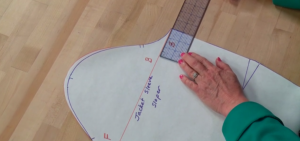
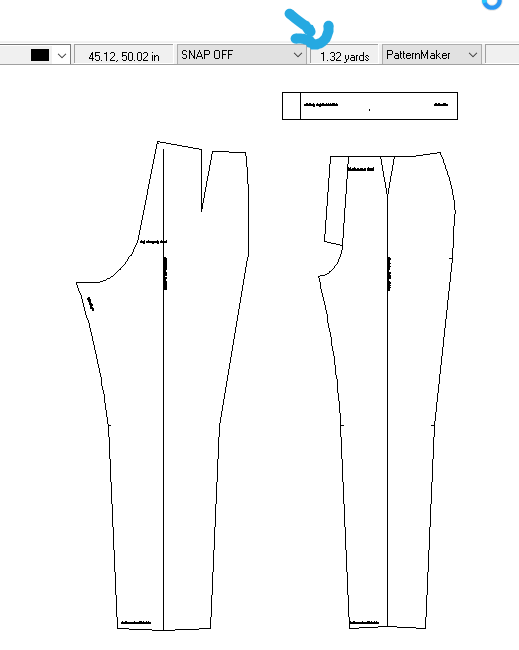
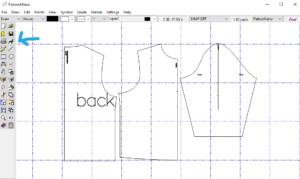
And voila! You will have the basic blocks pattern pieces displayed on the screen.
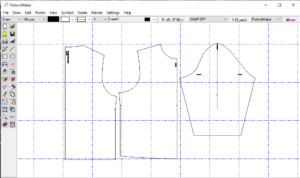
Now, the basic blocks collection will not give you the seam allowance option as the other collection. 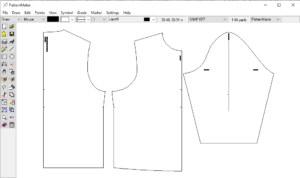
Click in VIEW ICON on the top main bar, to see the PAGE GRID ( check on the page setup to know the correct size of page you are looking at!
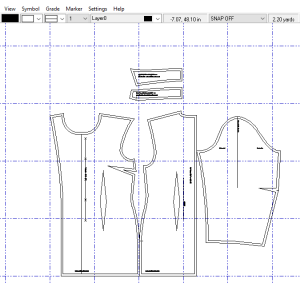
If you need to move the pieces to arrange them in a better way, click on the HAND ICON. Then, click on the pieces you want to move. After choosing them, click on your mouse right button. Press DONE SELECTING and move the items on the screen.
You can also add texts to your pattern pieces, so you know exactly what you are looking at later.
ADDING SPECIFIC MEASUREMENT:
Click on SETTINGS in the main bar
Click ADD MEASUREMENTS.
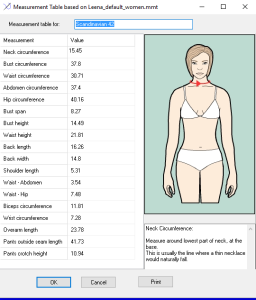
After finished, press OK. You can also print them for reference!
And that is all for today!
I hope you enjoy it.
Happy Sewing!