• Skip to primary navigation
  • Skip to main content
  • Skip to primary sidebar

On the Cutting Floor: Printable pdf sewing patterns and tutorials for women

Online Printable PDF sewing patterns for beginners, crafts and printables for kids

RSS On the Cutting Floor: Printable pdf sewing patterns and tutorials for women

  • FORMOSA JUMPSUIT PDF SEWING PATTERN
  • 10 Free sewing patterns for the Easter season
  • 1O FREE SPRING SEASON PATTERNS
  • ROUNDUP: from clutches to tote bags
  • NAVEA DRESS PATTERN
  • DG PATTERNS STORE
  • SEWING
    • PATTERNS FOR SALE
    • FREE PATTERNS
    • TUTORIALS
    • REVIEWS
    • FUN PROJECTS
    • ROUNDUPS
    • PRINTABLES
  • FABRIC STORE
  • CRAFTS
    • PRINTABLES
    • KIDS’ CORNER
    • MACRAME
  • FOOD
  • MONEY
  • PATTERNMAKING SERVICES
  • ABOUT US
    • ABOUT ME
    • HOW TO DOWNLOAD THE FREE PATTERNS
    • WORK WITH US
    • CONTACT US
    • SITEMAP
    • TOS and Privacy Policy
    • CONTRIBUTE
    • Cookie Policy
  • SUPPORT OUR SITE!
Home » On the Cutting Floor’s Blog » Ergonomic Face Mask Sewing pattern and step by step sewing tutorial

Ergonomic Face Mask Sewing pattern and step by step sewing tutorial

April 16, 2020 by Daniela Leave a Comment

Hello everyone,

I hope you are dowing well.

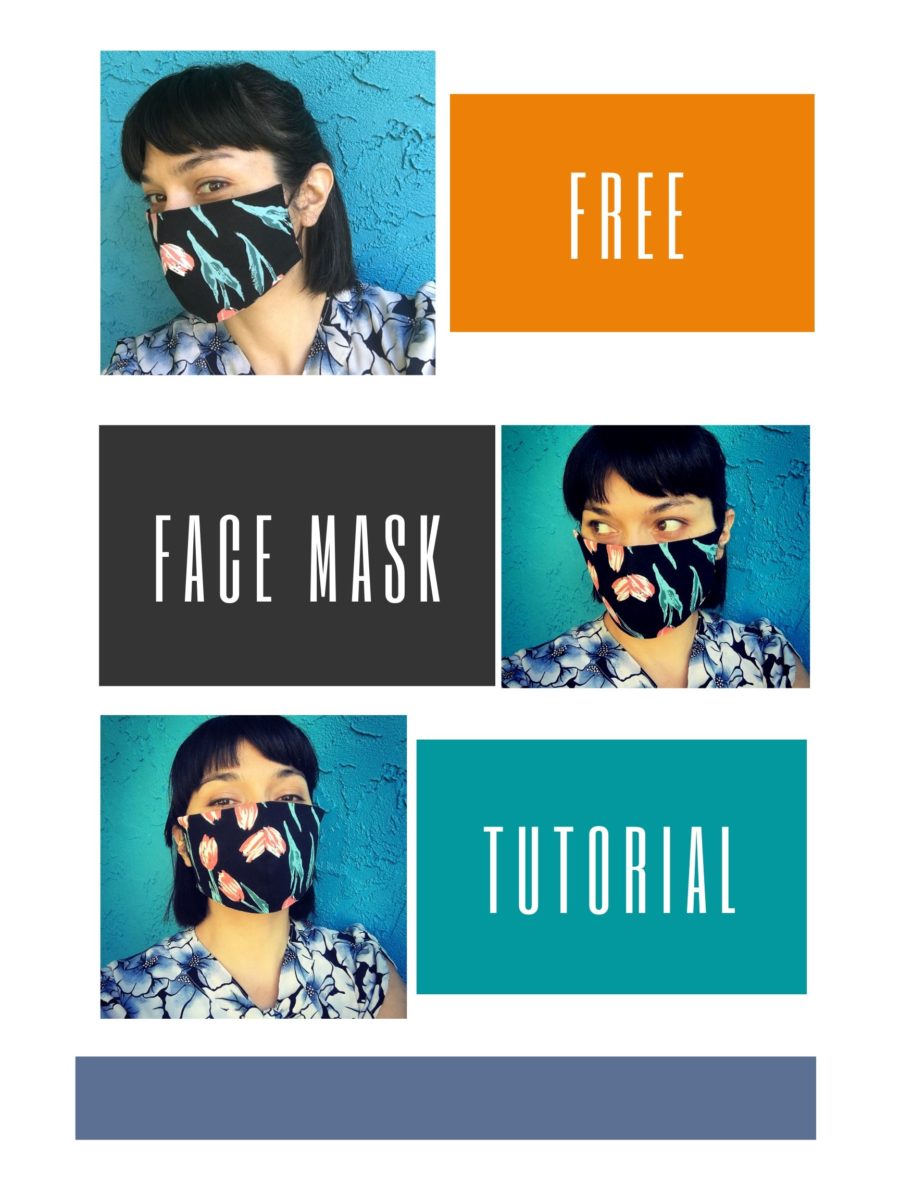
We have decided to add an easy Ergonomic Face Mask Sewing pattern and step by step sewing tutorial in two different adult sizes

DISCLAIMER: this is not a medical supply and should not use as a protective device

Here is the tutorial:

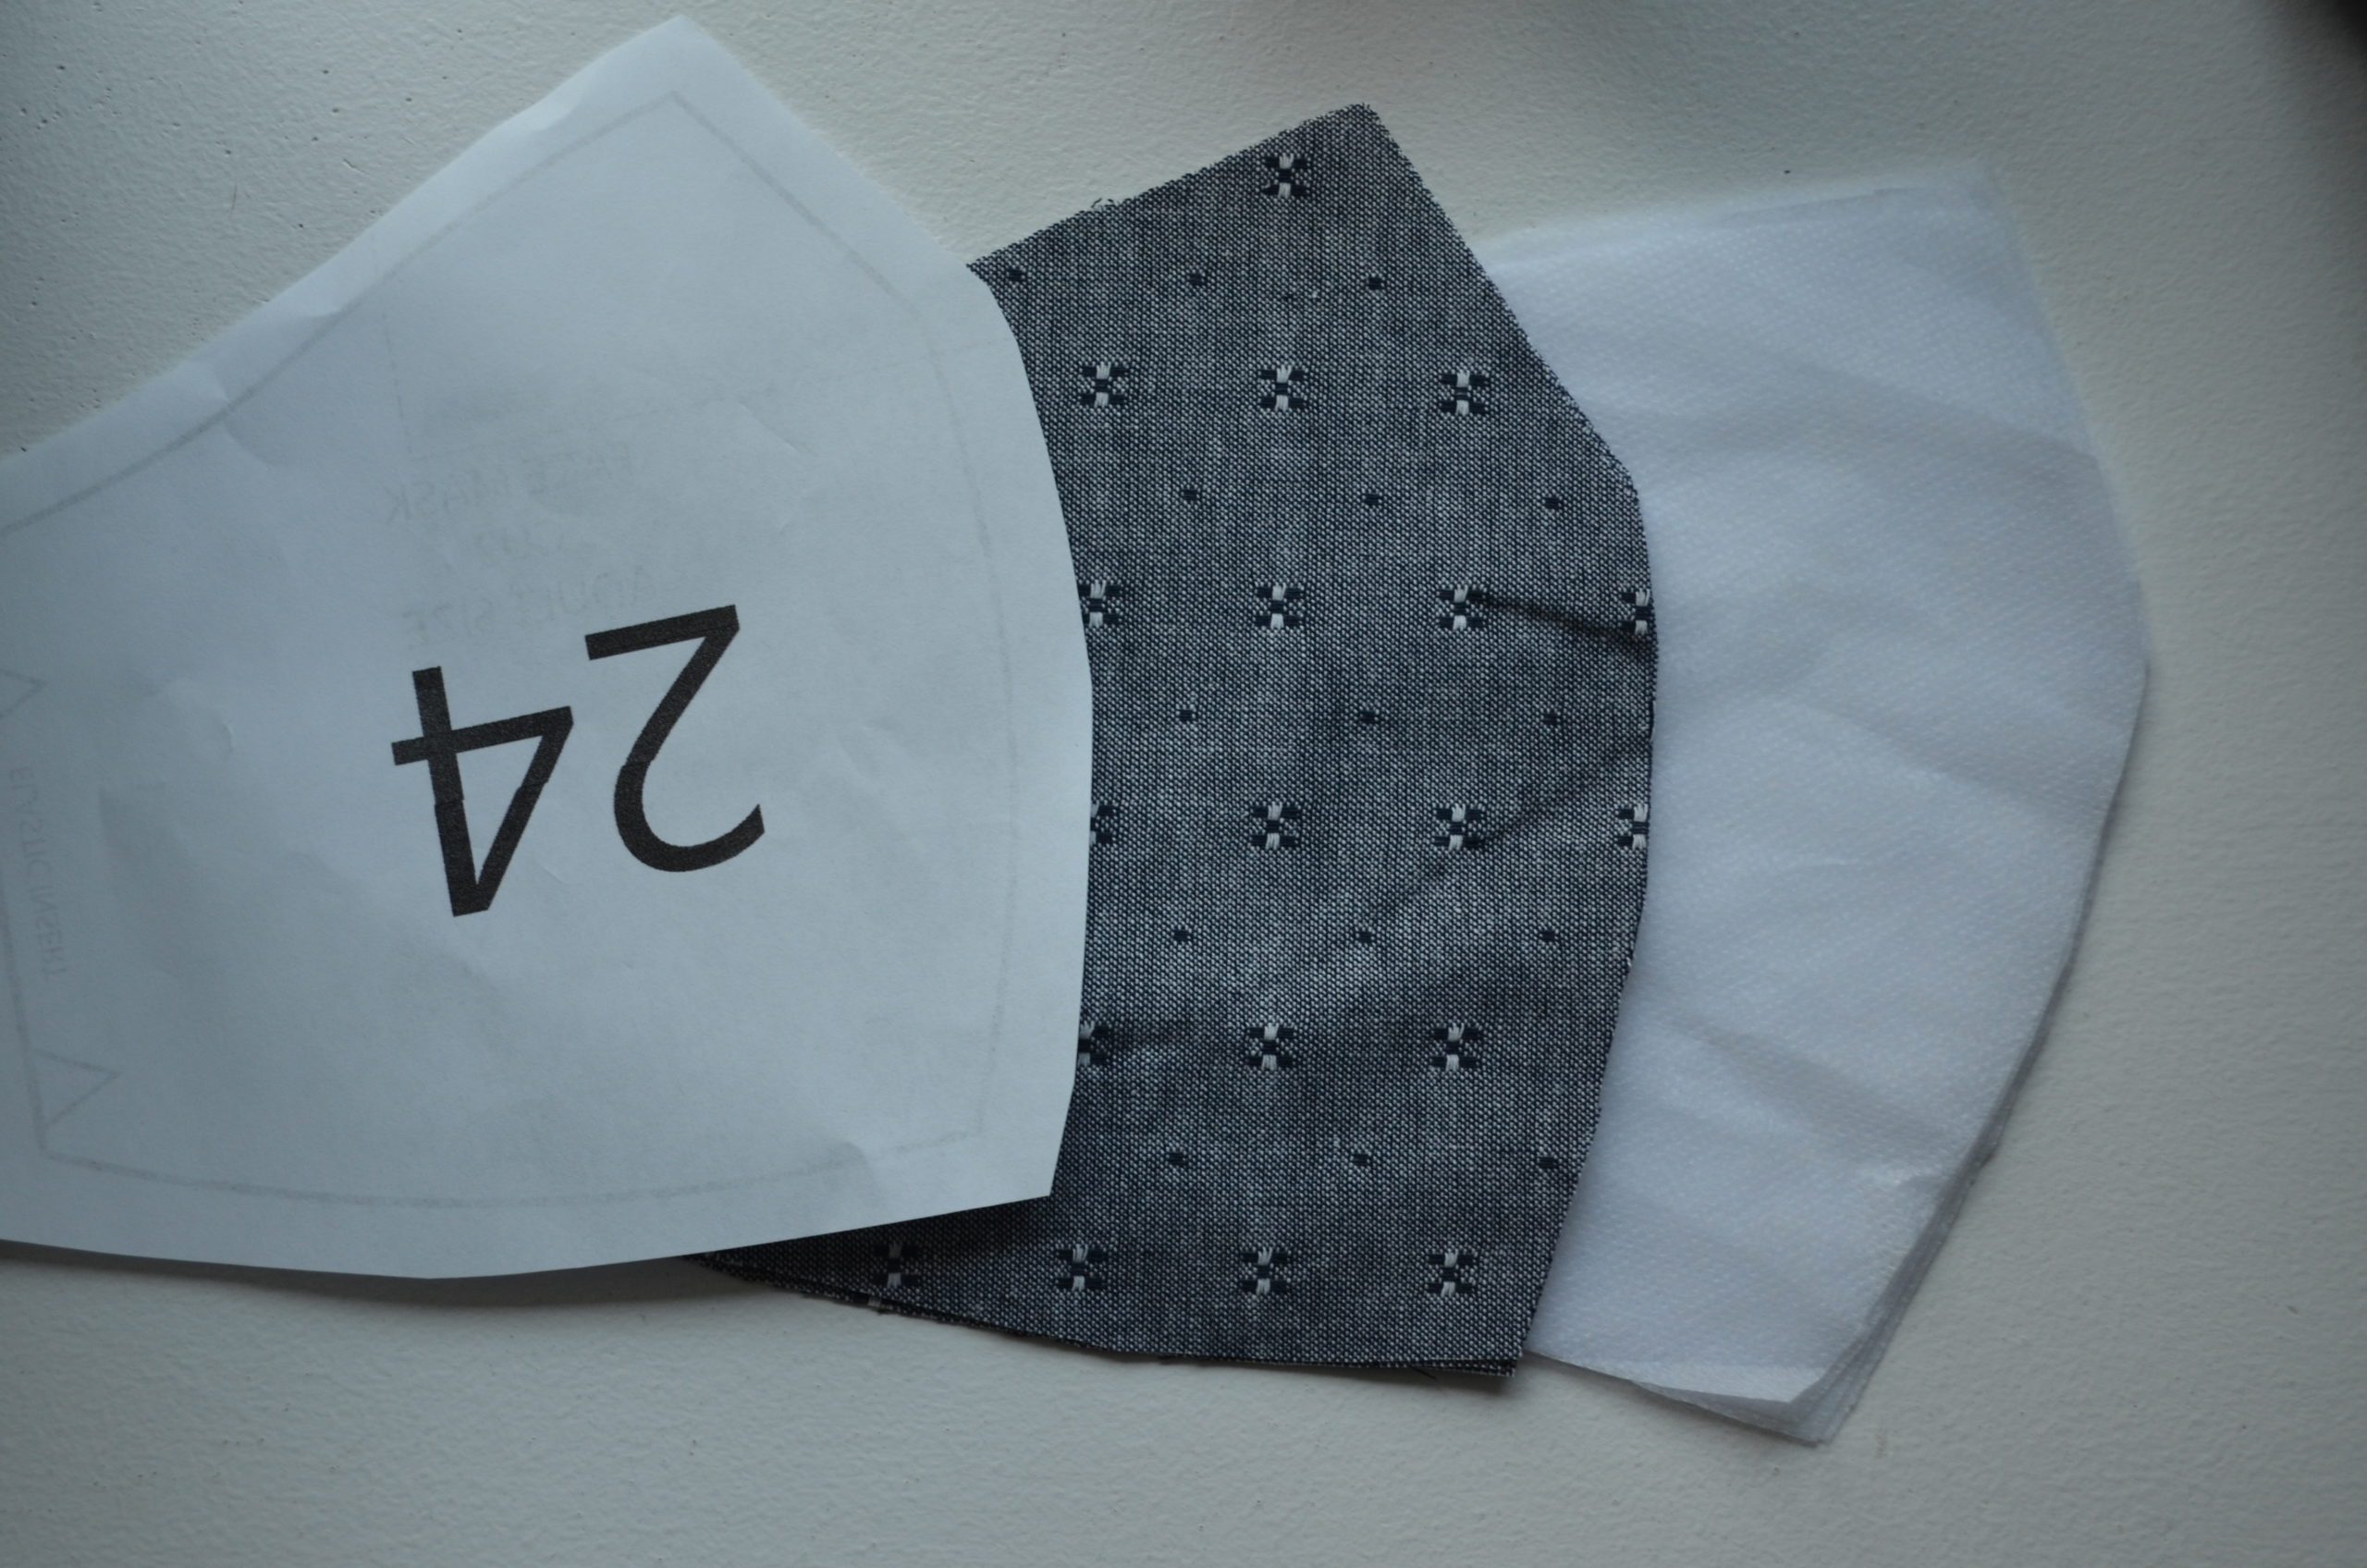
Cut 4 pieces of main fabric and 4 pieces of fusible interfacing to the table

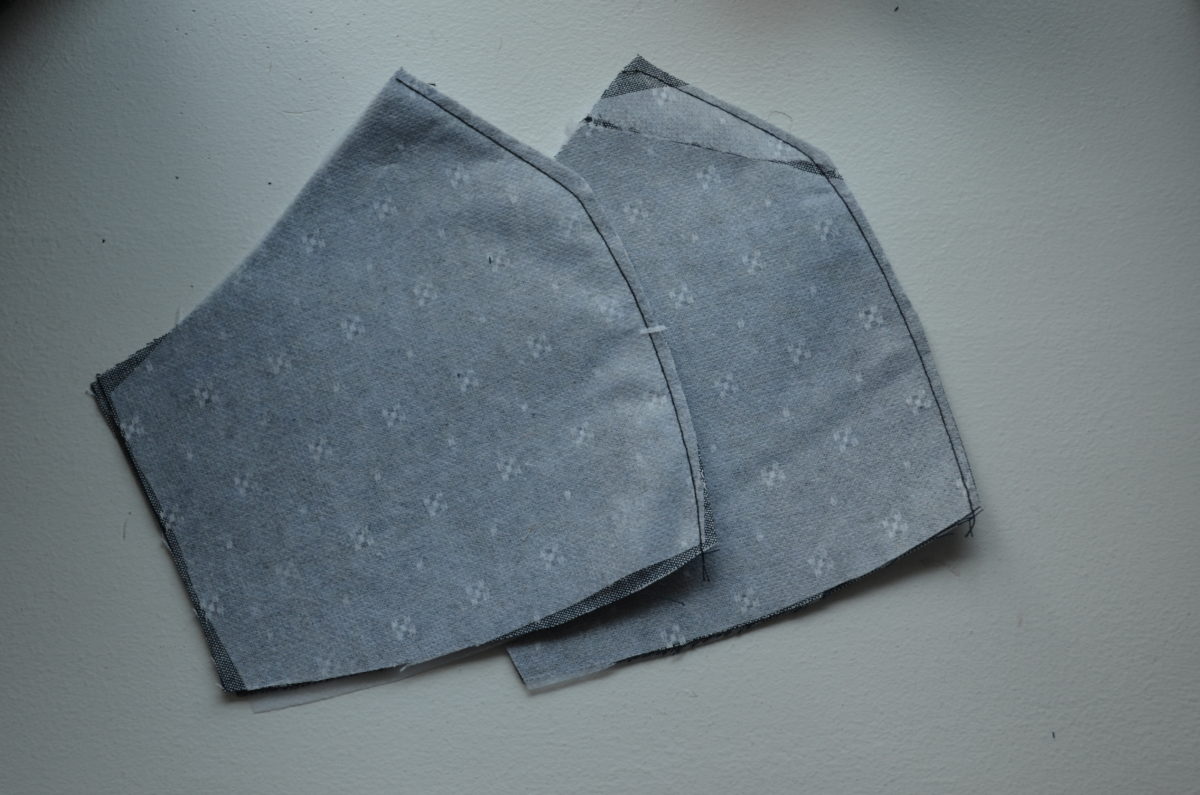
Add the fusible interfacing to the mask by ironing the interfacing on a mild temperature. Place both pieces of fabric together, right sides facing and stitch them with a 3/8 inch seam allowance. trim the excess fabric and press flat.

open flat.

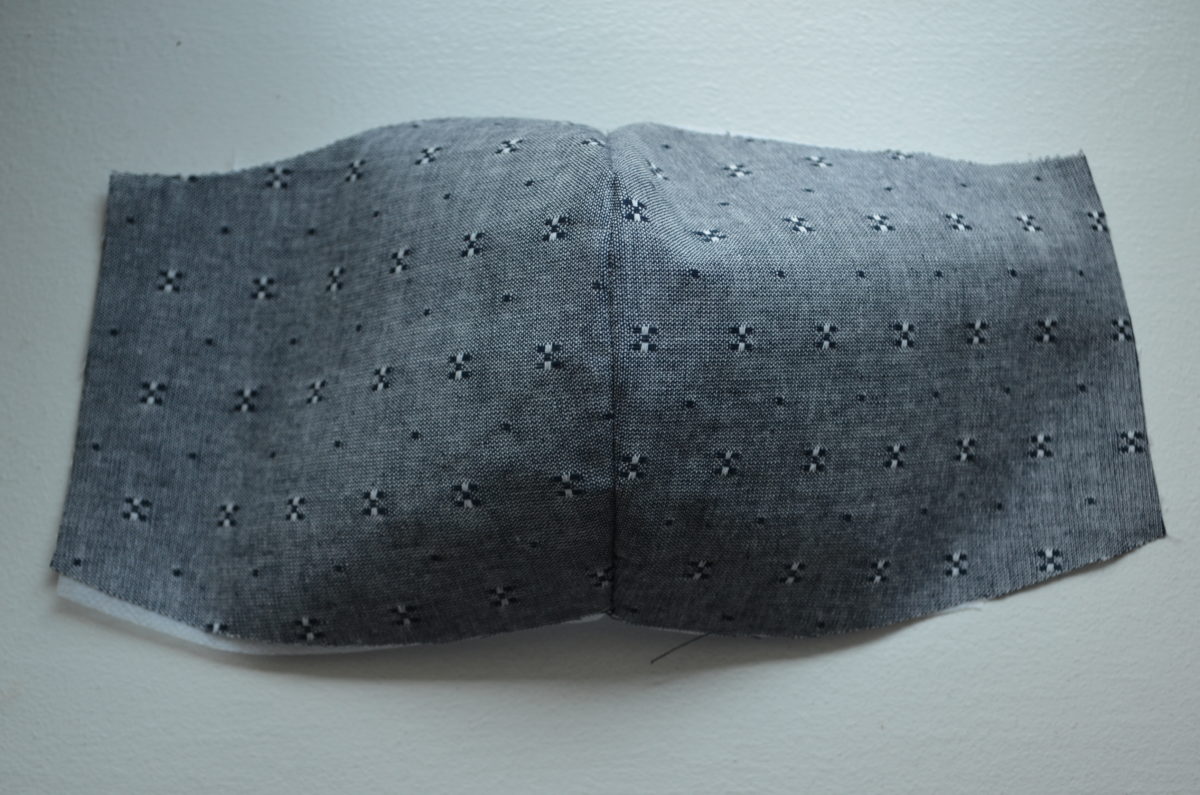
Stitch the pieces together with a 3/8 inch seam allowance. Press flat and trim t he excess fabric

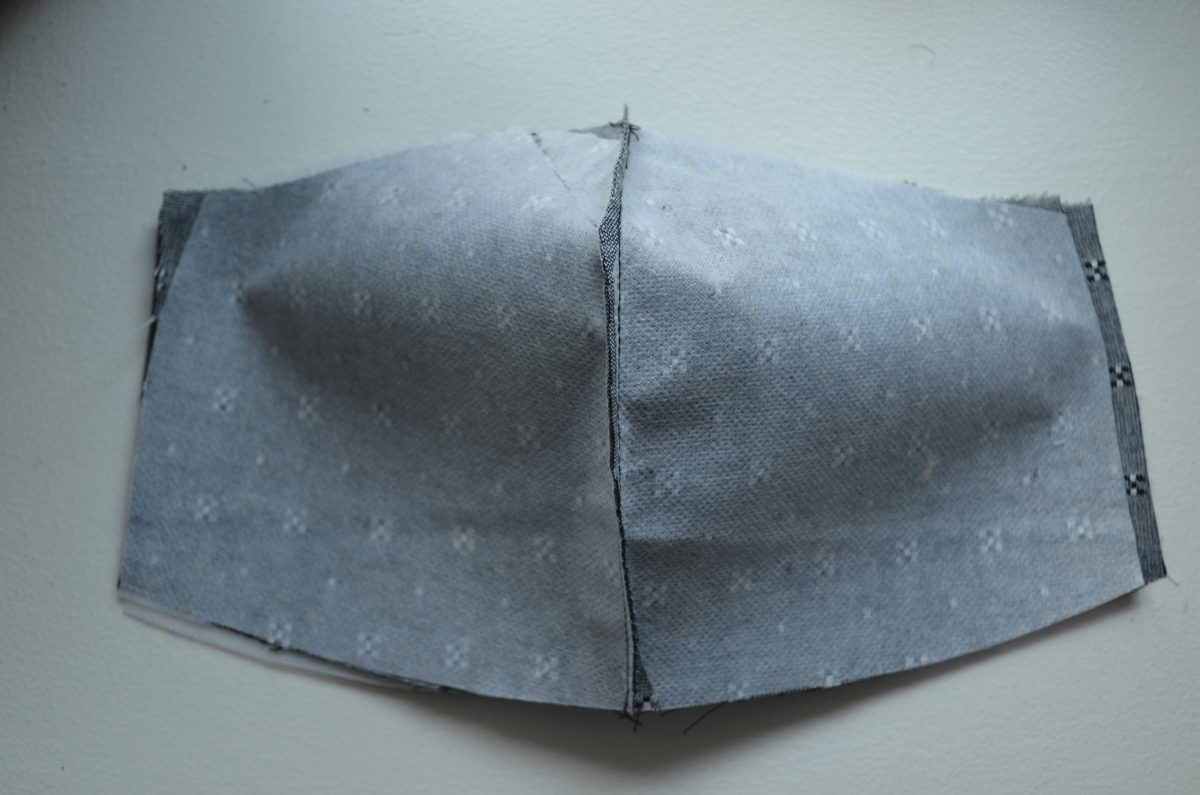
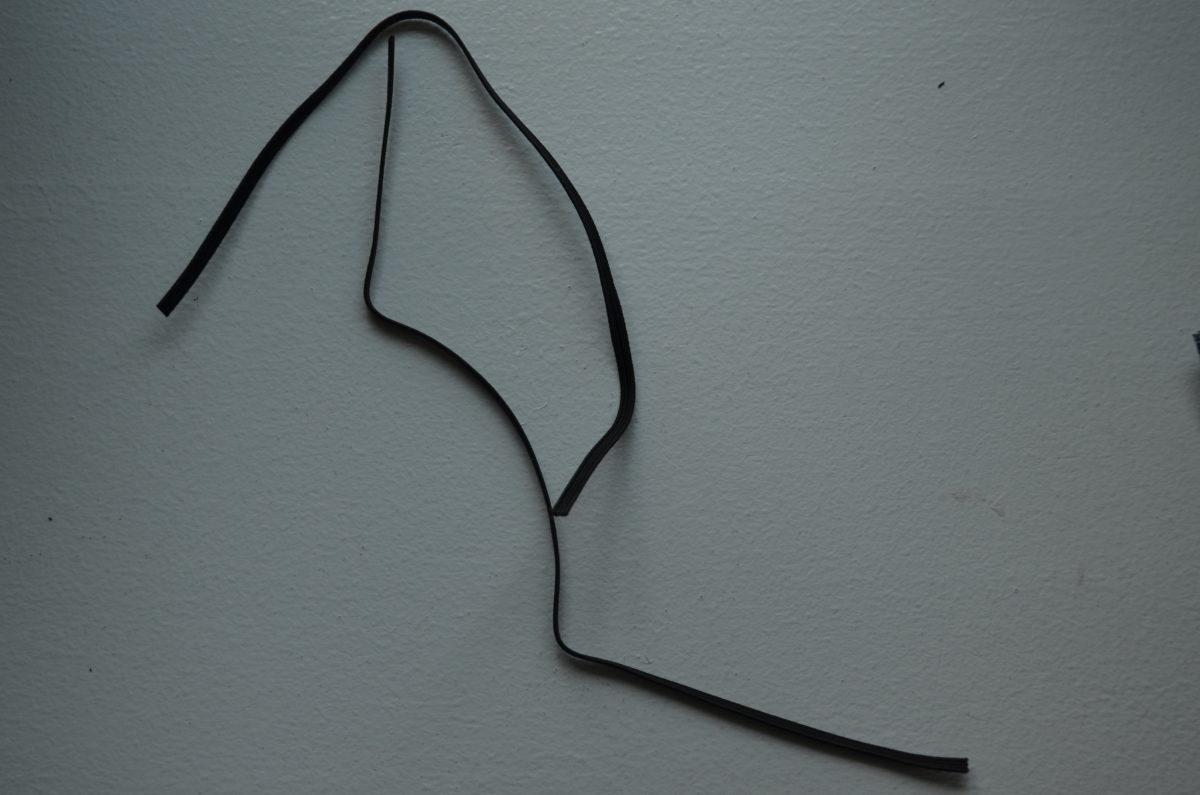
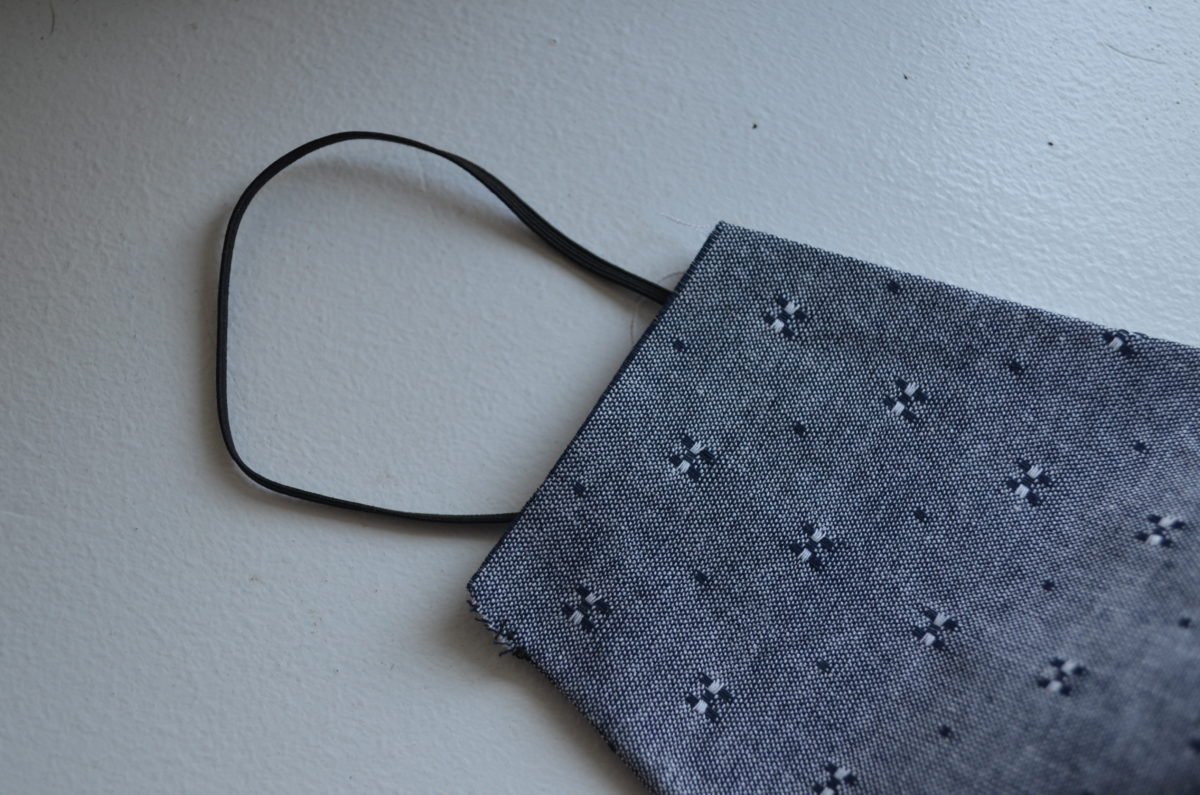
turn the fabric to the other side and press again. Bring the elastic to the table

Place both sides of the fabric together and stitch upper and lower seams with a 3/8 inch seam allowance.

Insert the elastic and place them on the notch. Stitch the sides with a 1/4 inch seam allowance.

And you are ready!

Download t he file below:

Filed Under: Sewing

Reader Interactions

Leave a Reply Cancel reply

Your email address will not be published. Required fields are marked *

Primary Sidebar

ON THE CUTTING FLOOR PATTERN SHOP

ON THE CUTTING FLOOR PATTERN SHOP
Follow
  • Advertise with Us!
  • Contribute – On the Cutting Floor
  • Income
  • SITEMAP

Copyright © 2023 · Genesis Sample on Genesis Framework · WordPress · Log in