Hello there,
Thank you for visiting On the Cutting Floor. This is the Sewing Tutorial: FREE SEWING PATTERN: THE FOXY PAJAMA
On that page you will find our collection of free sewing patterns for women, kids and men.
You can also visit our SEWING TUTORIALS and our SEWING REVIEWS.
We also have an ETSY STORE, where you will find unique and modern sewing pattern for women.


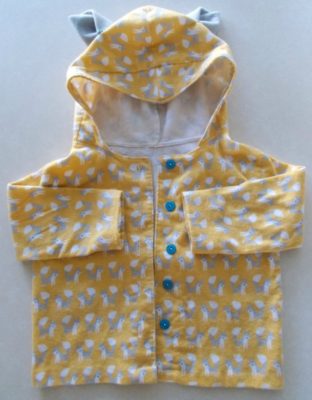
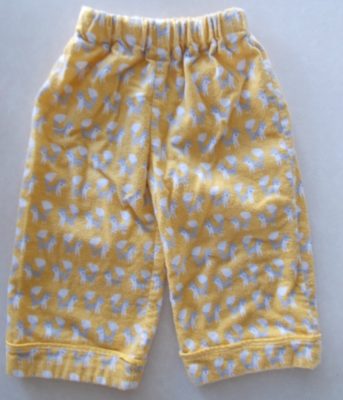
FREE SEWING PATTERN: THE FOXY PAJAMA
They are on letter size paper.To print this pattern, go the PDF document.
Select FILE — PRINT.
Here look for PAGE SIZING AND HANDLING and choose POSTER.
This will make the pages to overlap by 0.5 cms. Press PRINT.
Wait until all the pages are printed before taking them from the printer; it will make it easier to assemble.It will print 21 pages.
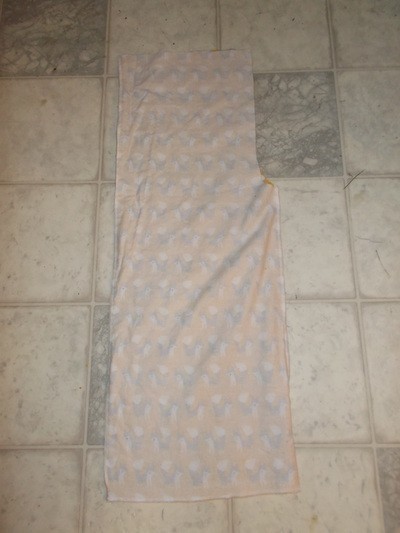
When finished printing, place the pages as the layout below.
Then use tape to put them together. Now cut the pieces.This will be the layout of the pattern:

2 years: red
3 years: green
4 years: blue
5 years: orange
6 years: purple
7 years: yellow
8 years: pink
Materials:
2. Scissors
3. Marker
4. Pins
5. elastic thread
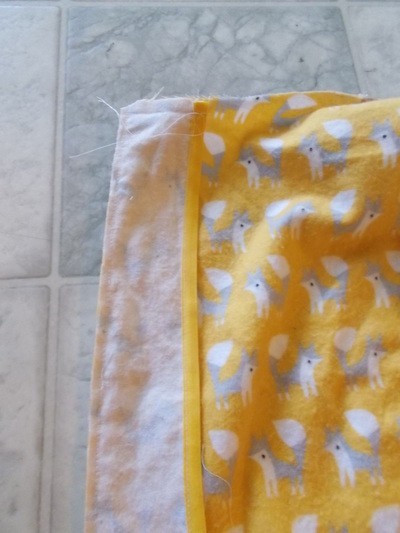
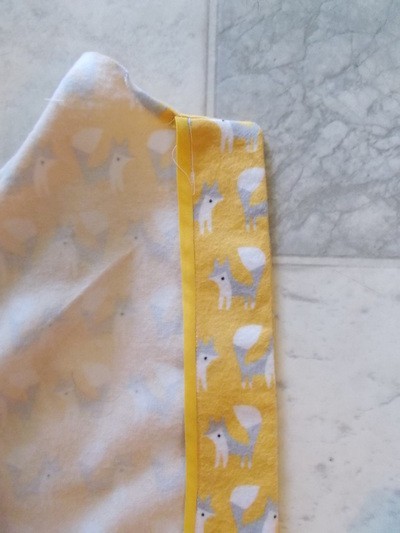
6. 1/2 yard of bias tape
Fabric 2 to 3 yards of Flannel
Yardage Calculation:
I used two yards for a size 4.
Not sure about the measurements? Check this body size chart to get a better idea.
TUTORIAL:
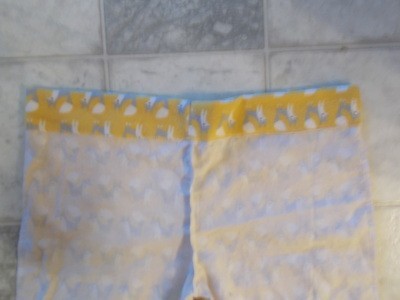
Place front and back pattern pieces together and close the sides

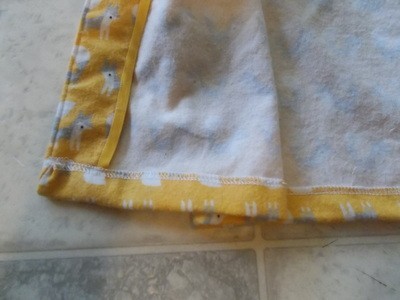
Place the bias tape at the bottom
Place both legs together and sew along the crotch
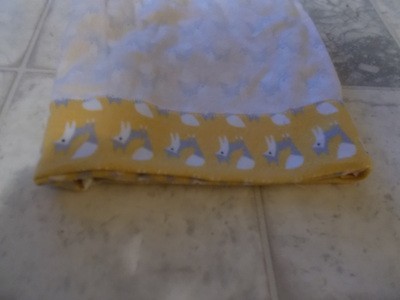
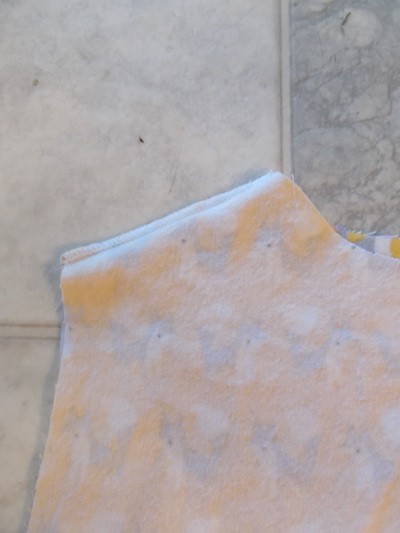
Fold the hemline by 3 inches and sew along
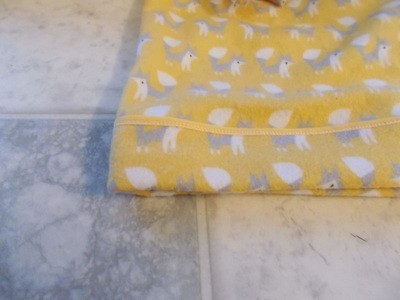
Fold the cuff again to the right side by 2 inches and make an invisible stitch just below the bias tape
Fold the elastic area and press flat
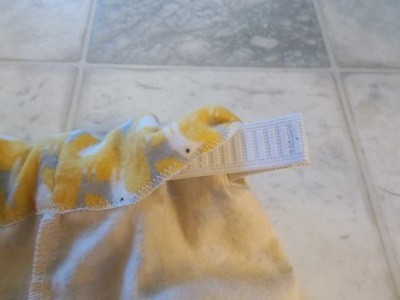
Encase the elastic.
Jacket: Place front and back bodice pieces together and sew the shoulders and sides.

Place the sleeves and sew along the armholes. Then, close the sides of the jackets

Facing: Place the bias tape on the edge of the facing.
Place the facing on the front jacket and sew lengthwise.
Turn around and press flat; then top stitch the area.
Hemline: Fold the hemline by 1 inch and sew along.
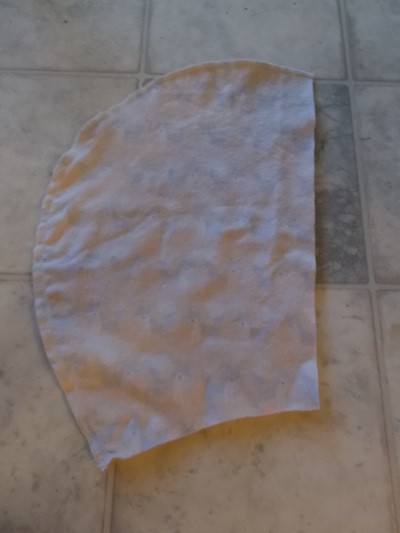
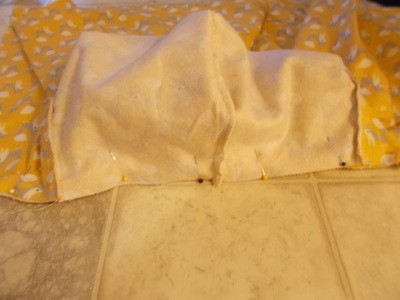
Hood: Place both pieces of the hood together and sew on the outer side.

Front of the hood: Place two pieces of the front hood together and sew along the top
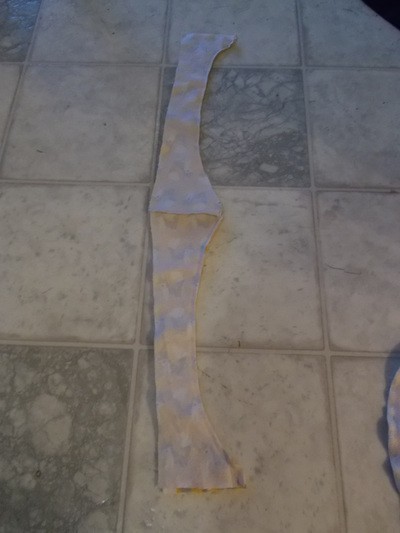
Repeat with the other two pieces. Then place them together, right sides facing and sew along the outer side.
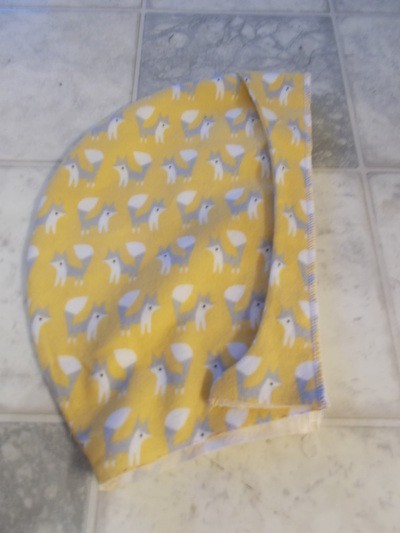
Turn this piece and press flat. Then, place it with the rest of the hood.
Place the hood on the jacket. Pin and sew along the neckline.
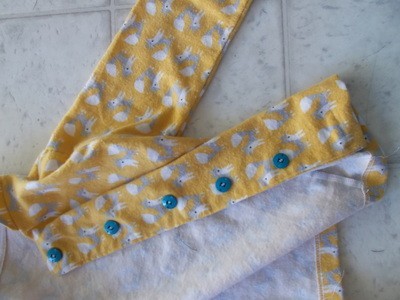
Place the buttons on the front jacket separated by 2 inches

Make the buttonholes on the other side.

You can make a decorative pair of ears to your hoodie as well 😉
DOWNLOAD THE PATTERN HERE
DOWNLOAD THE PATTERN HERE


Thank you so much for the great pajama pattern Can’t wait to try it!
Hi,
I sent an email but didn’t get a response. On the pattern it doesn’t tell you which lines are for which size? Can you please let me know?
Thanks!
Hi Britany,
The information about the sizing and the lines is on the post.
Happy Sewing!
i can’t see the pdf file on this post. ?
Hi Charline,
Please, click on the yellow button at the end of the post to receive the pattern on your email.
why the pdf pattern doesn’t come up with email? i dont receive this pattern, but only receive another newsletter, but not this pattern..
Hi,
Please check on your spam folder.
Hi ! Is this pattern still available? I’d love to make it….. help?
Thank you!
Kat