Hi there,
Thank you for visiting us today.
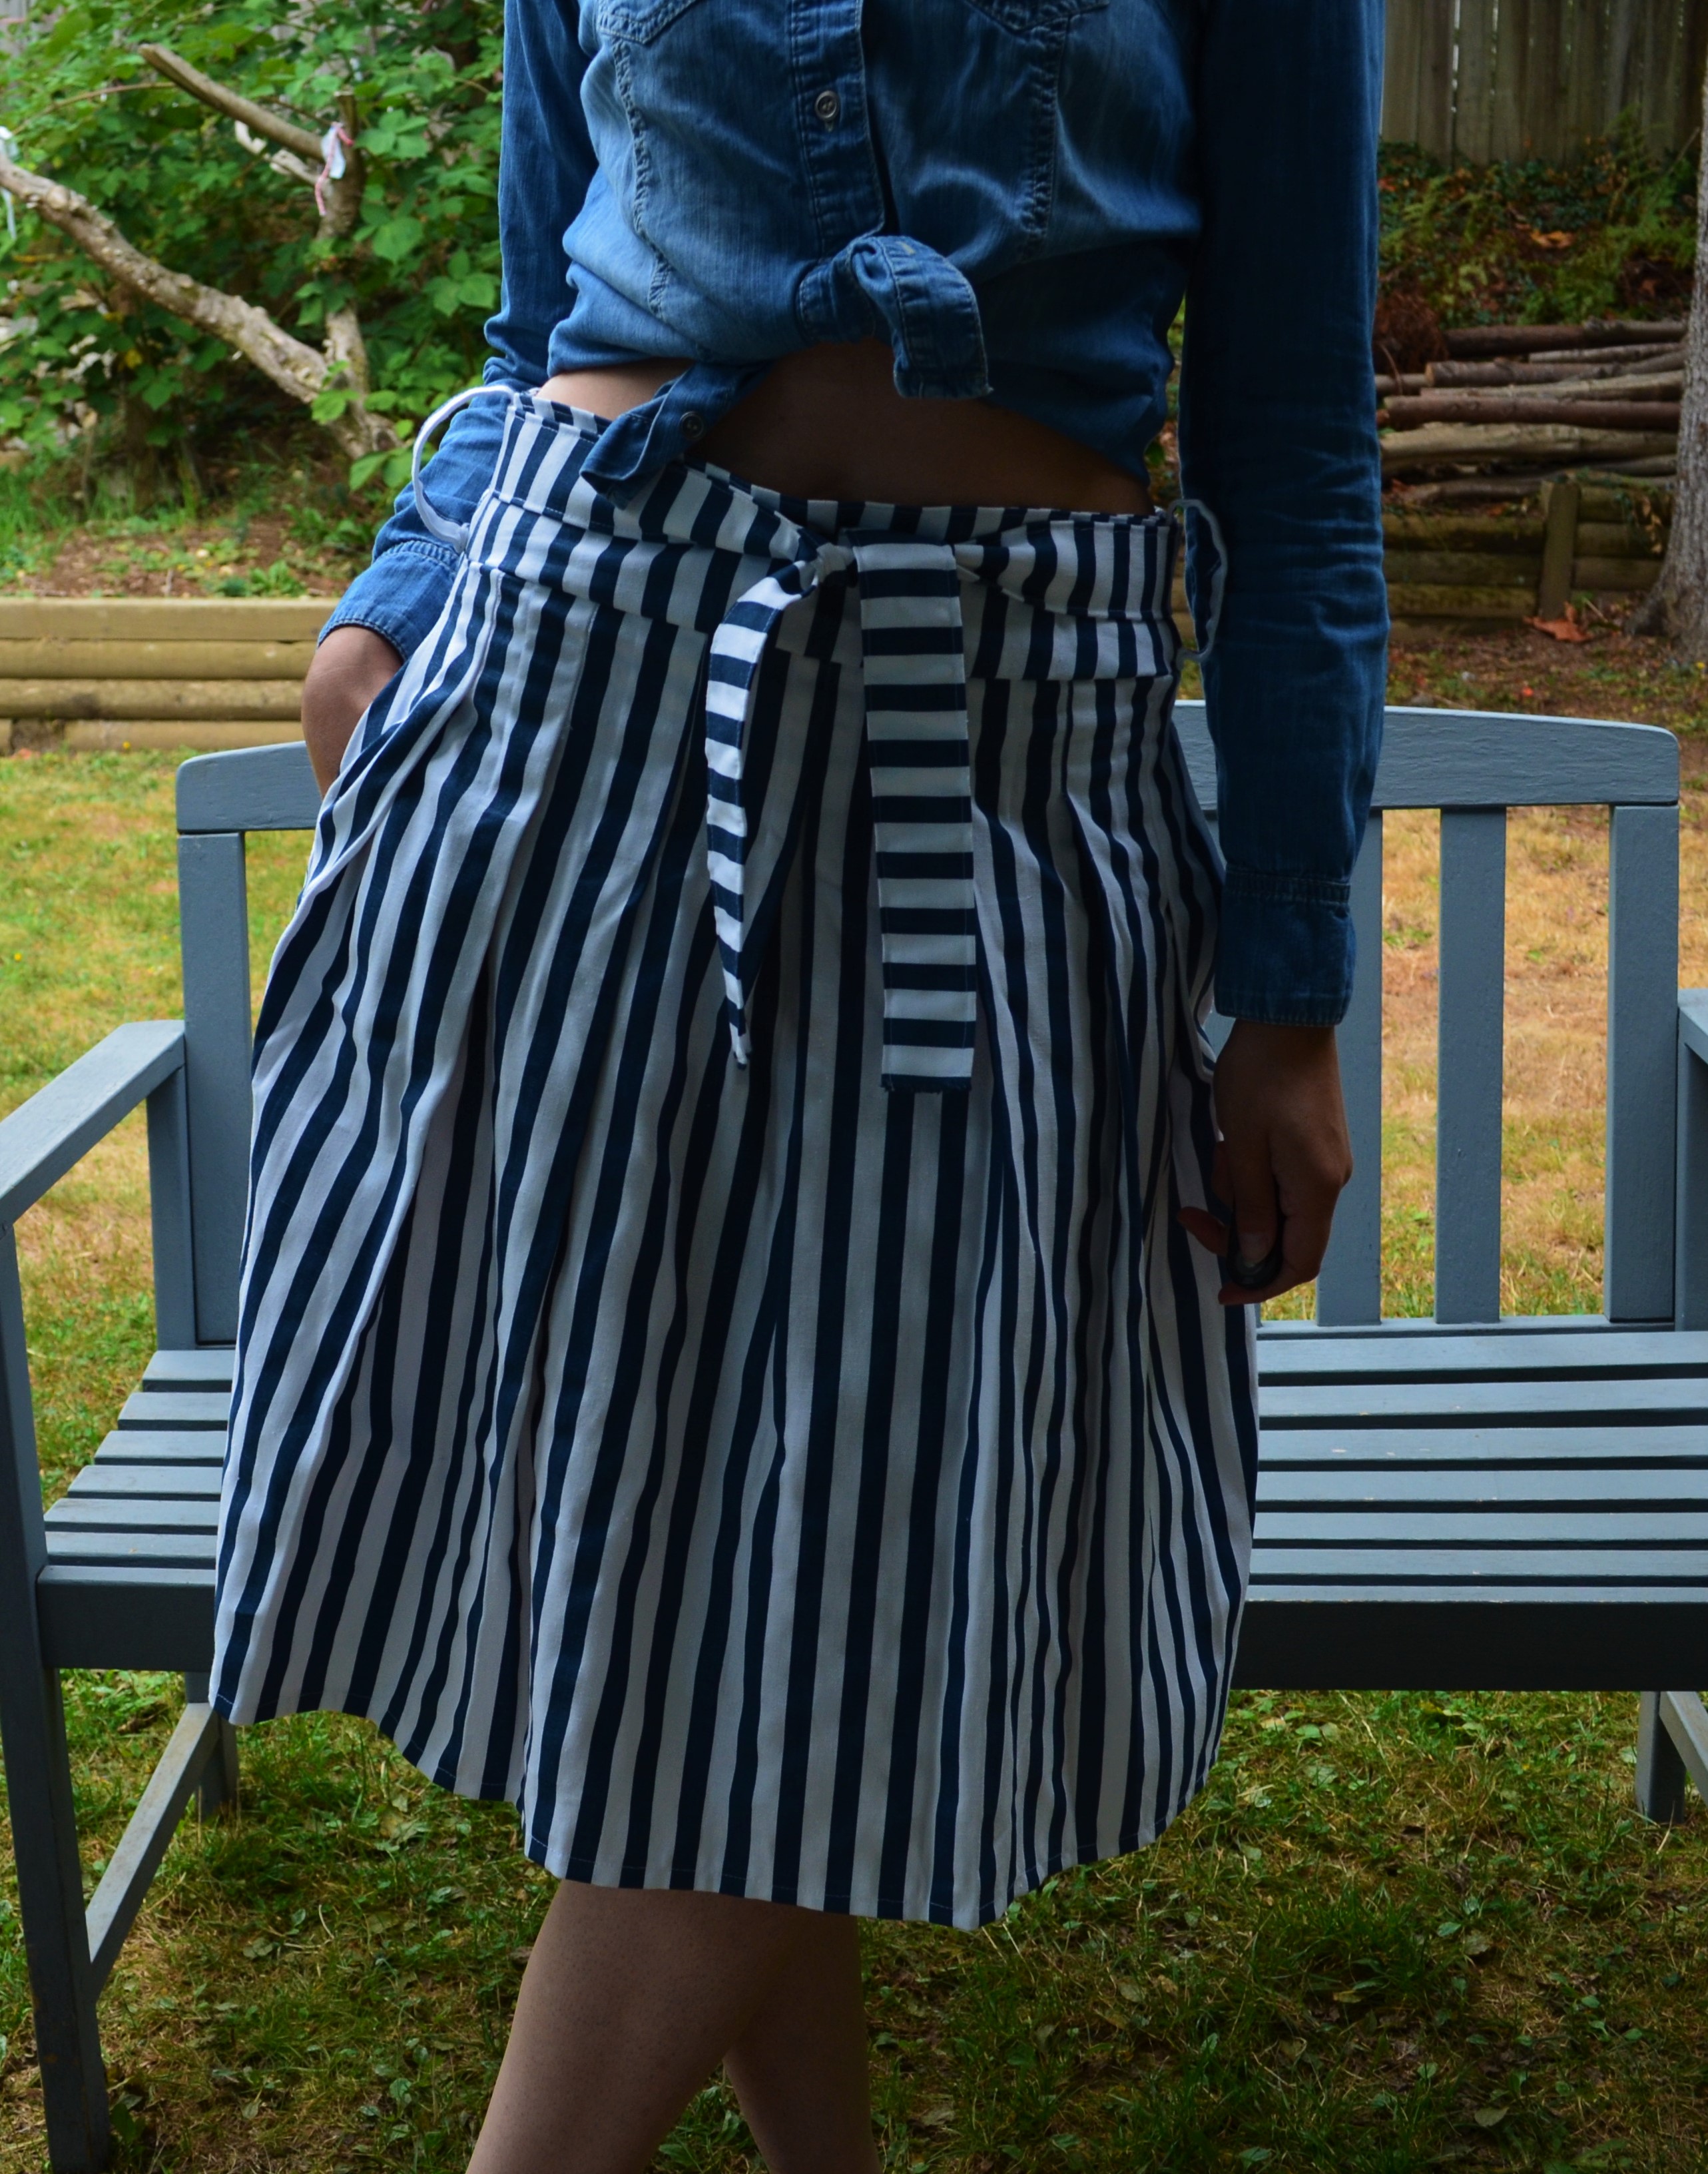
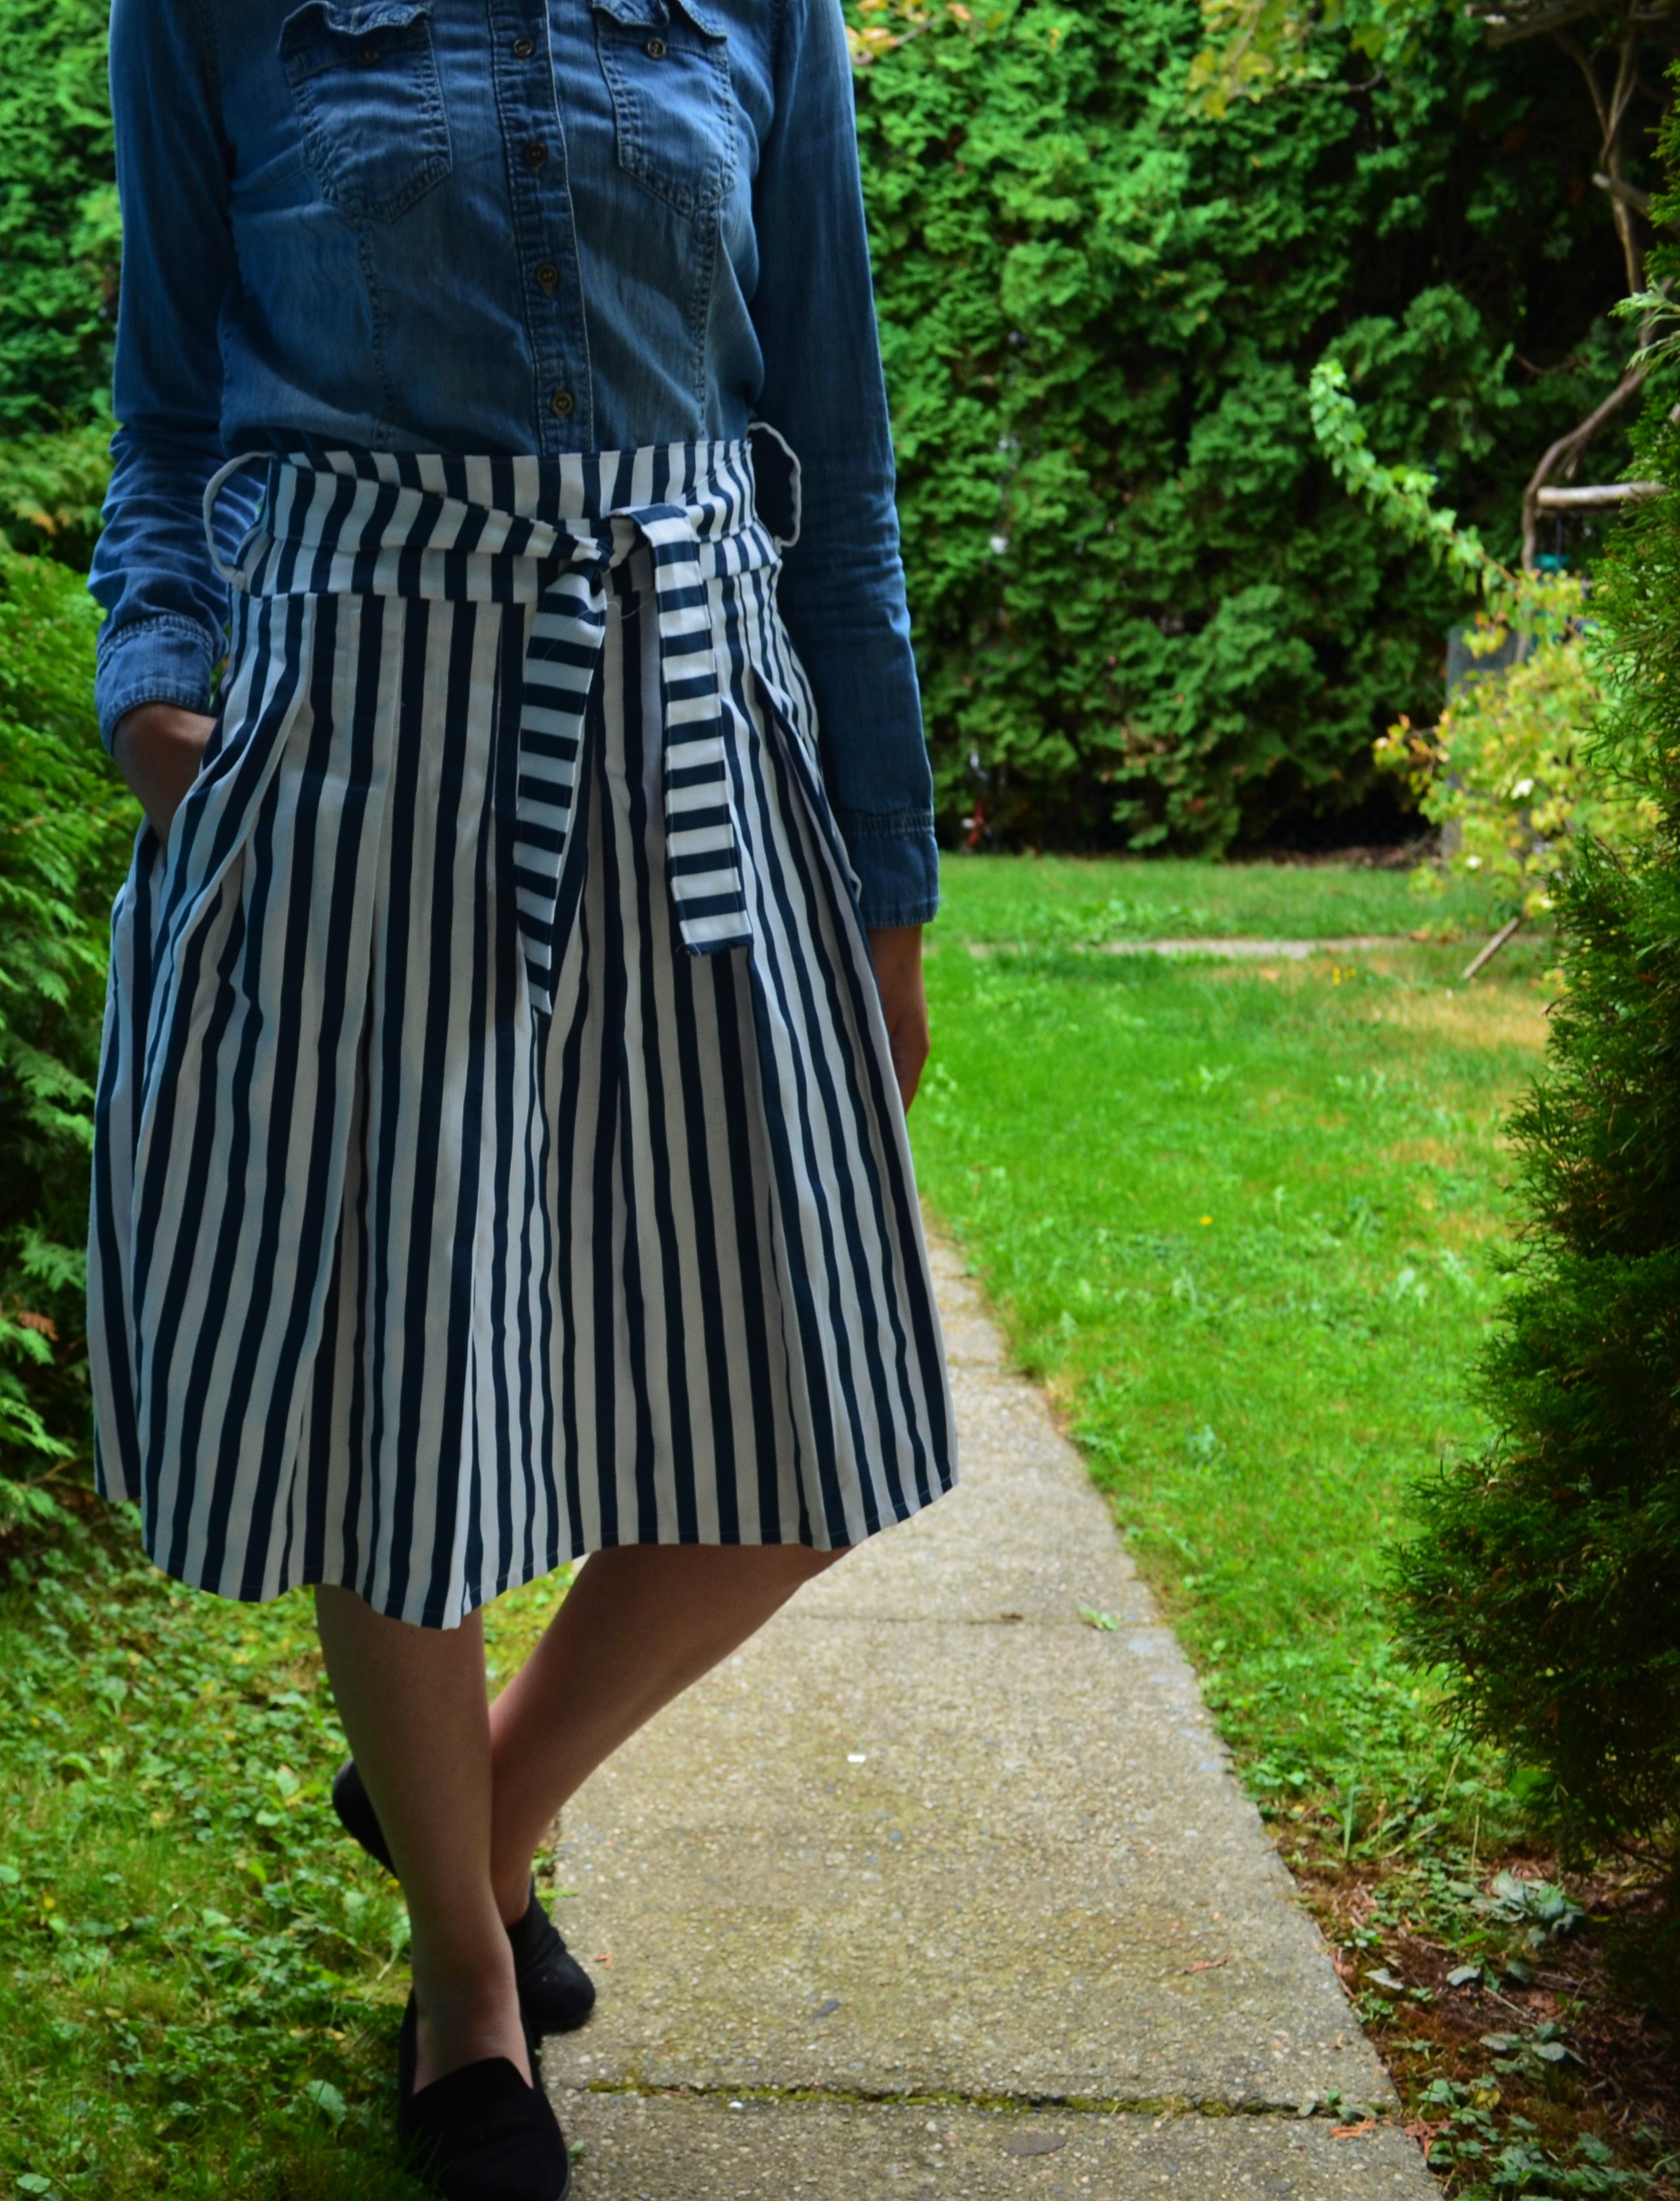
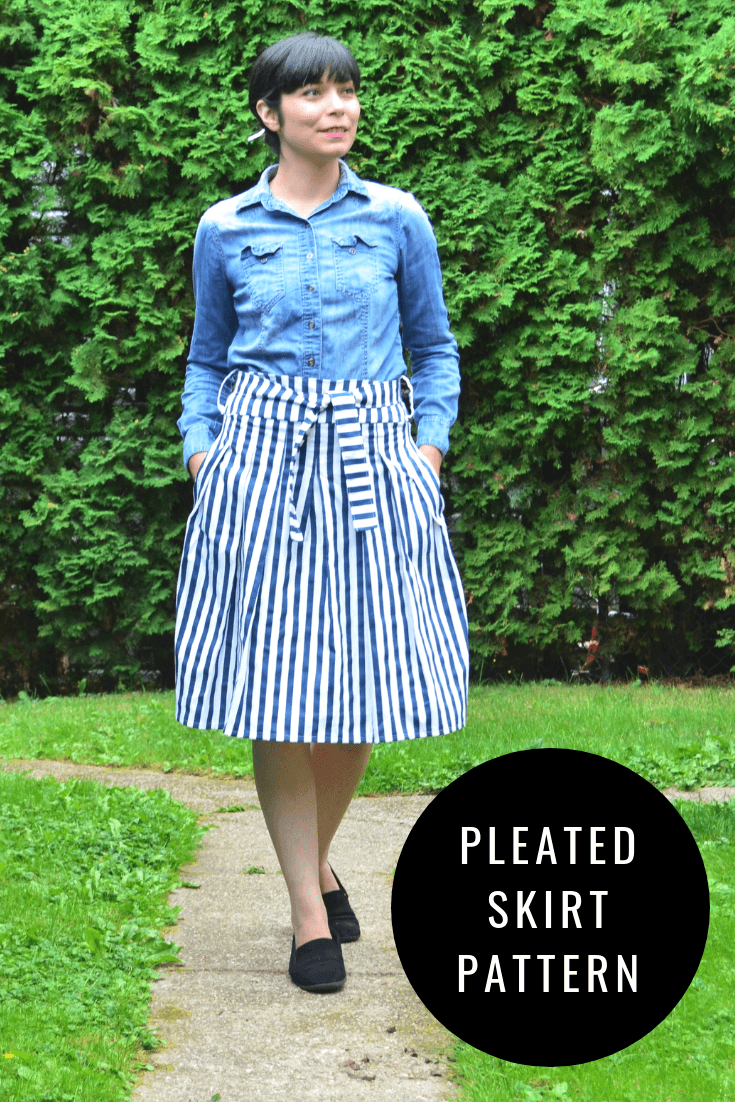
Here is our newest Free pattern: The Pleated skirt pattern
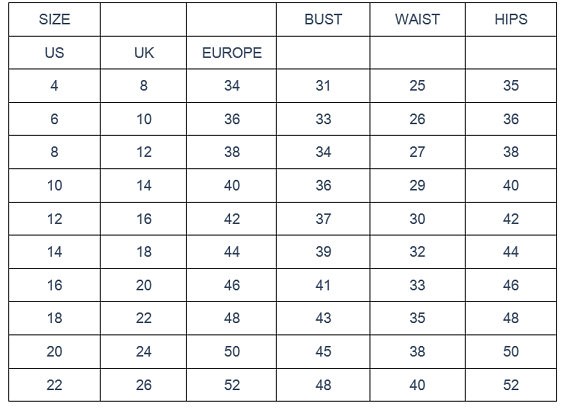
This pattern is available in sizes from 4 to 22. Please see the size chart below:

FREE SEWING PATTERN:
The Pleated skirt pattern
If this is your first time on our blog, remember to check our FREE SEWING PATTERNS page.
On that page you will find our collection of free sewing patterns for women, kids, and men.
You can also visit our SEWING TUTORIALS and our SEWING REVIEWS.
We also have an ETSY STORE, where you will find unique and modern sewing patterns for women.


Materials:
- Printed pattern
- 1. 75 yards or 2 meters of woven fabric.
- Matching thread
- 4 inches long zipper
- Light weight interfacing
- Pins\
- Measuring tape or ruler
- Scissors
- Place the pockets and the front skirt together, right sides facing.
- Stitch them together with a 3/8 inch seam allowance
- Then, place the pockets and the back skirt pieces together, right sides facing.
- Stitch the pockets to the back skirt pieces as well.
- Hand baste 6” on one of the side seams to add the zipper. Continue with side seam with a regular stitch.
- Then, stitch the zipper to the skirt side seam with a regular stitch, then, un-baste the side seam.
- After this, close the other side seam with a 3/8 inch seam allowance (including pockets)
- Double fold the skirt hemline with a 1” seam allowance.
- Press it flat and stitch the hemline with a 1/8 inch seam from the edge.
- Now bring the waistbands to the table and place front and back pieces together, right sides facing.
- Stitch them together with a 3/8 inch seam allowance.
- Then, repeat this with the other waistband pieces.
- After this, place both waistbands pieces together and match the upper part of it.
- Pin them an stitch it with a 3/8 inch seam allowance
- Fold the straps in half and press it flat.
- Then, open and fold the strap matching the edges to the center of the straps
- Press it flat again
- Then, fold the strap with a 3/8 inch seam allowance and press it again
- Now, stitch the strap with a 1/8 inch seam allowance on top, bottom and sides.
- Create the belt loops following the steps 15 to 19
Thank you for reading this post and enjoy your free pattern 🙂


Leave a Reply