Hello everyone,
Thank you for visiting us today. This is our FREE SEWING TUTORIAL: How to Make a zippered pouch.
If this is your first time in our blog, remember to check our FREE SEWING PATTERNS page.
On that page you will find our collection of free sewing patterns for women, kids and men.
You can also visit our SEWING TUTORIALS and our SEWING REVIEWS.
We also have an ETSY STORE, where you will find unique and modern sewing pattern for women.
FREE SEWING TUTORIAL:
How to Make a zippered pouch
- STRAPS: FOLD THE STRAP IN HALF AND PRESS IT FLAT WITH YOUR IRON
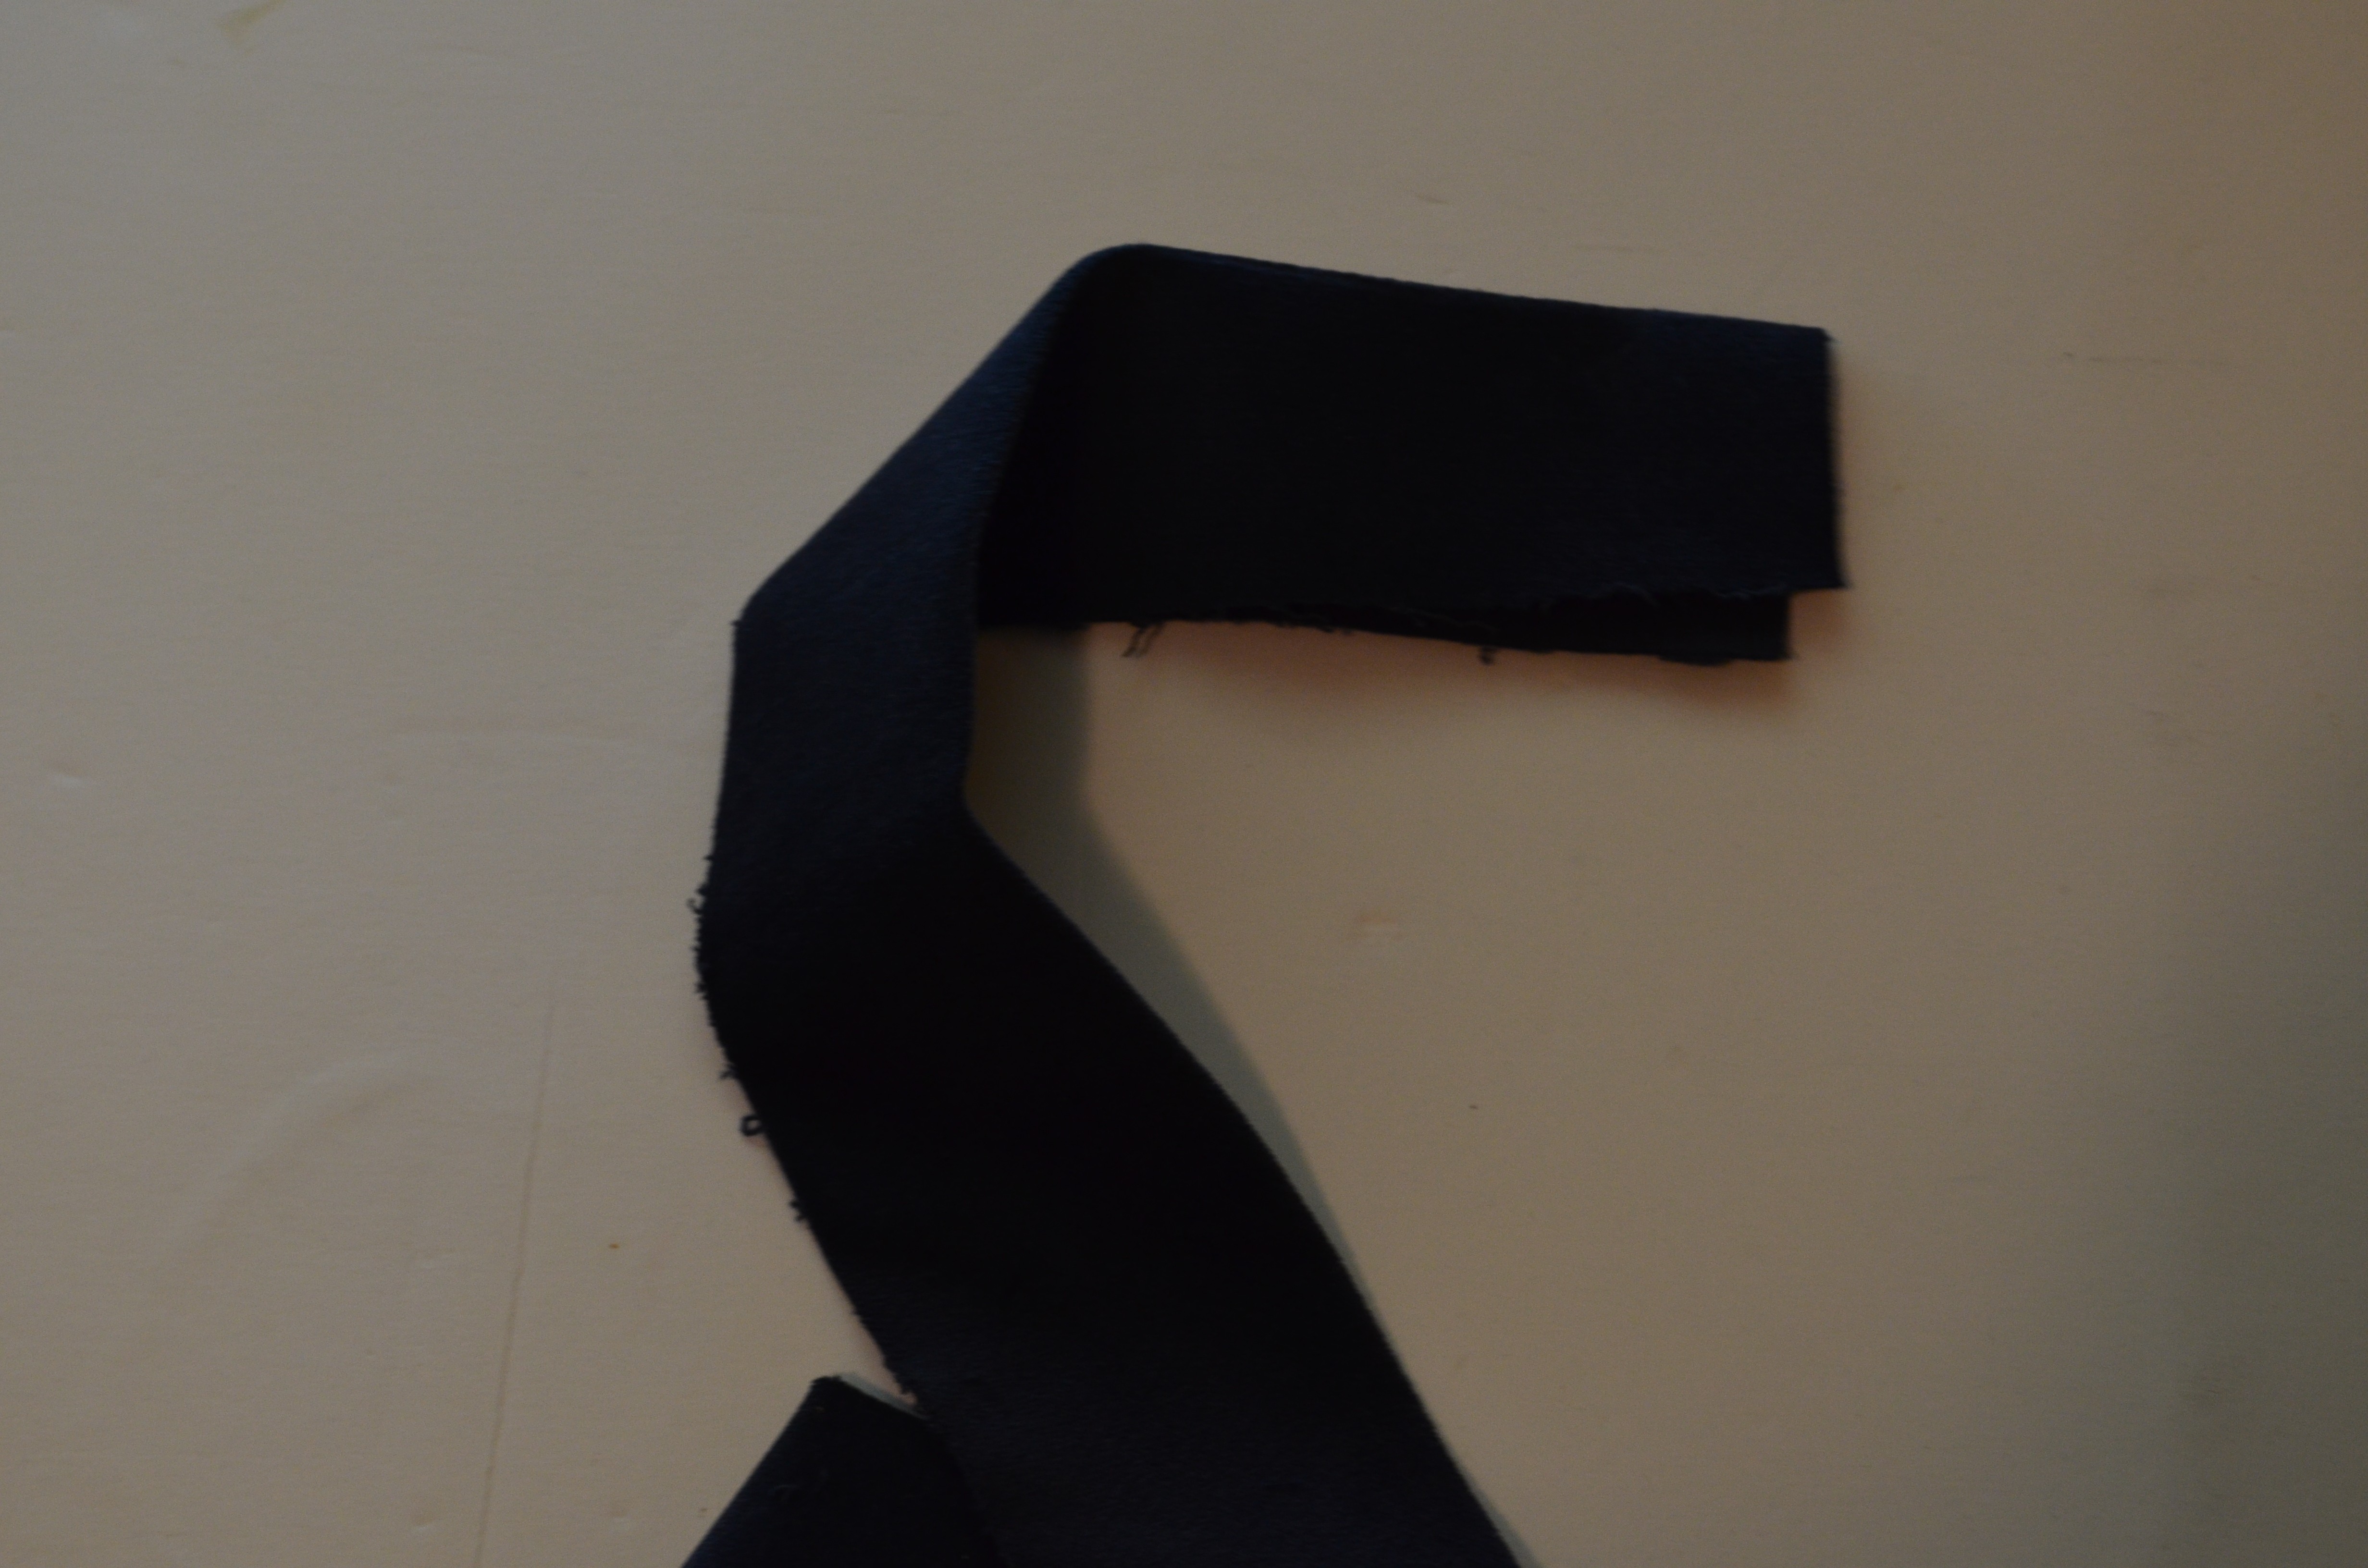
2. OPEN THE STRAP AND FOLD THE EDGES TO THE INSIDE OF THE FABRIC AND THEN PRESS AGAIN
3. THEN, FOLD THE STRAP ONCE AGAIN AND STITCH AROUND THE EDGES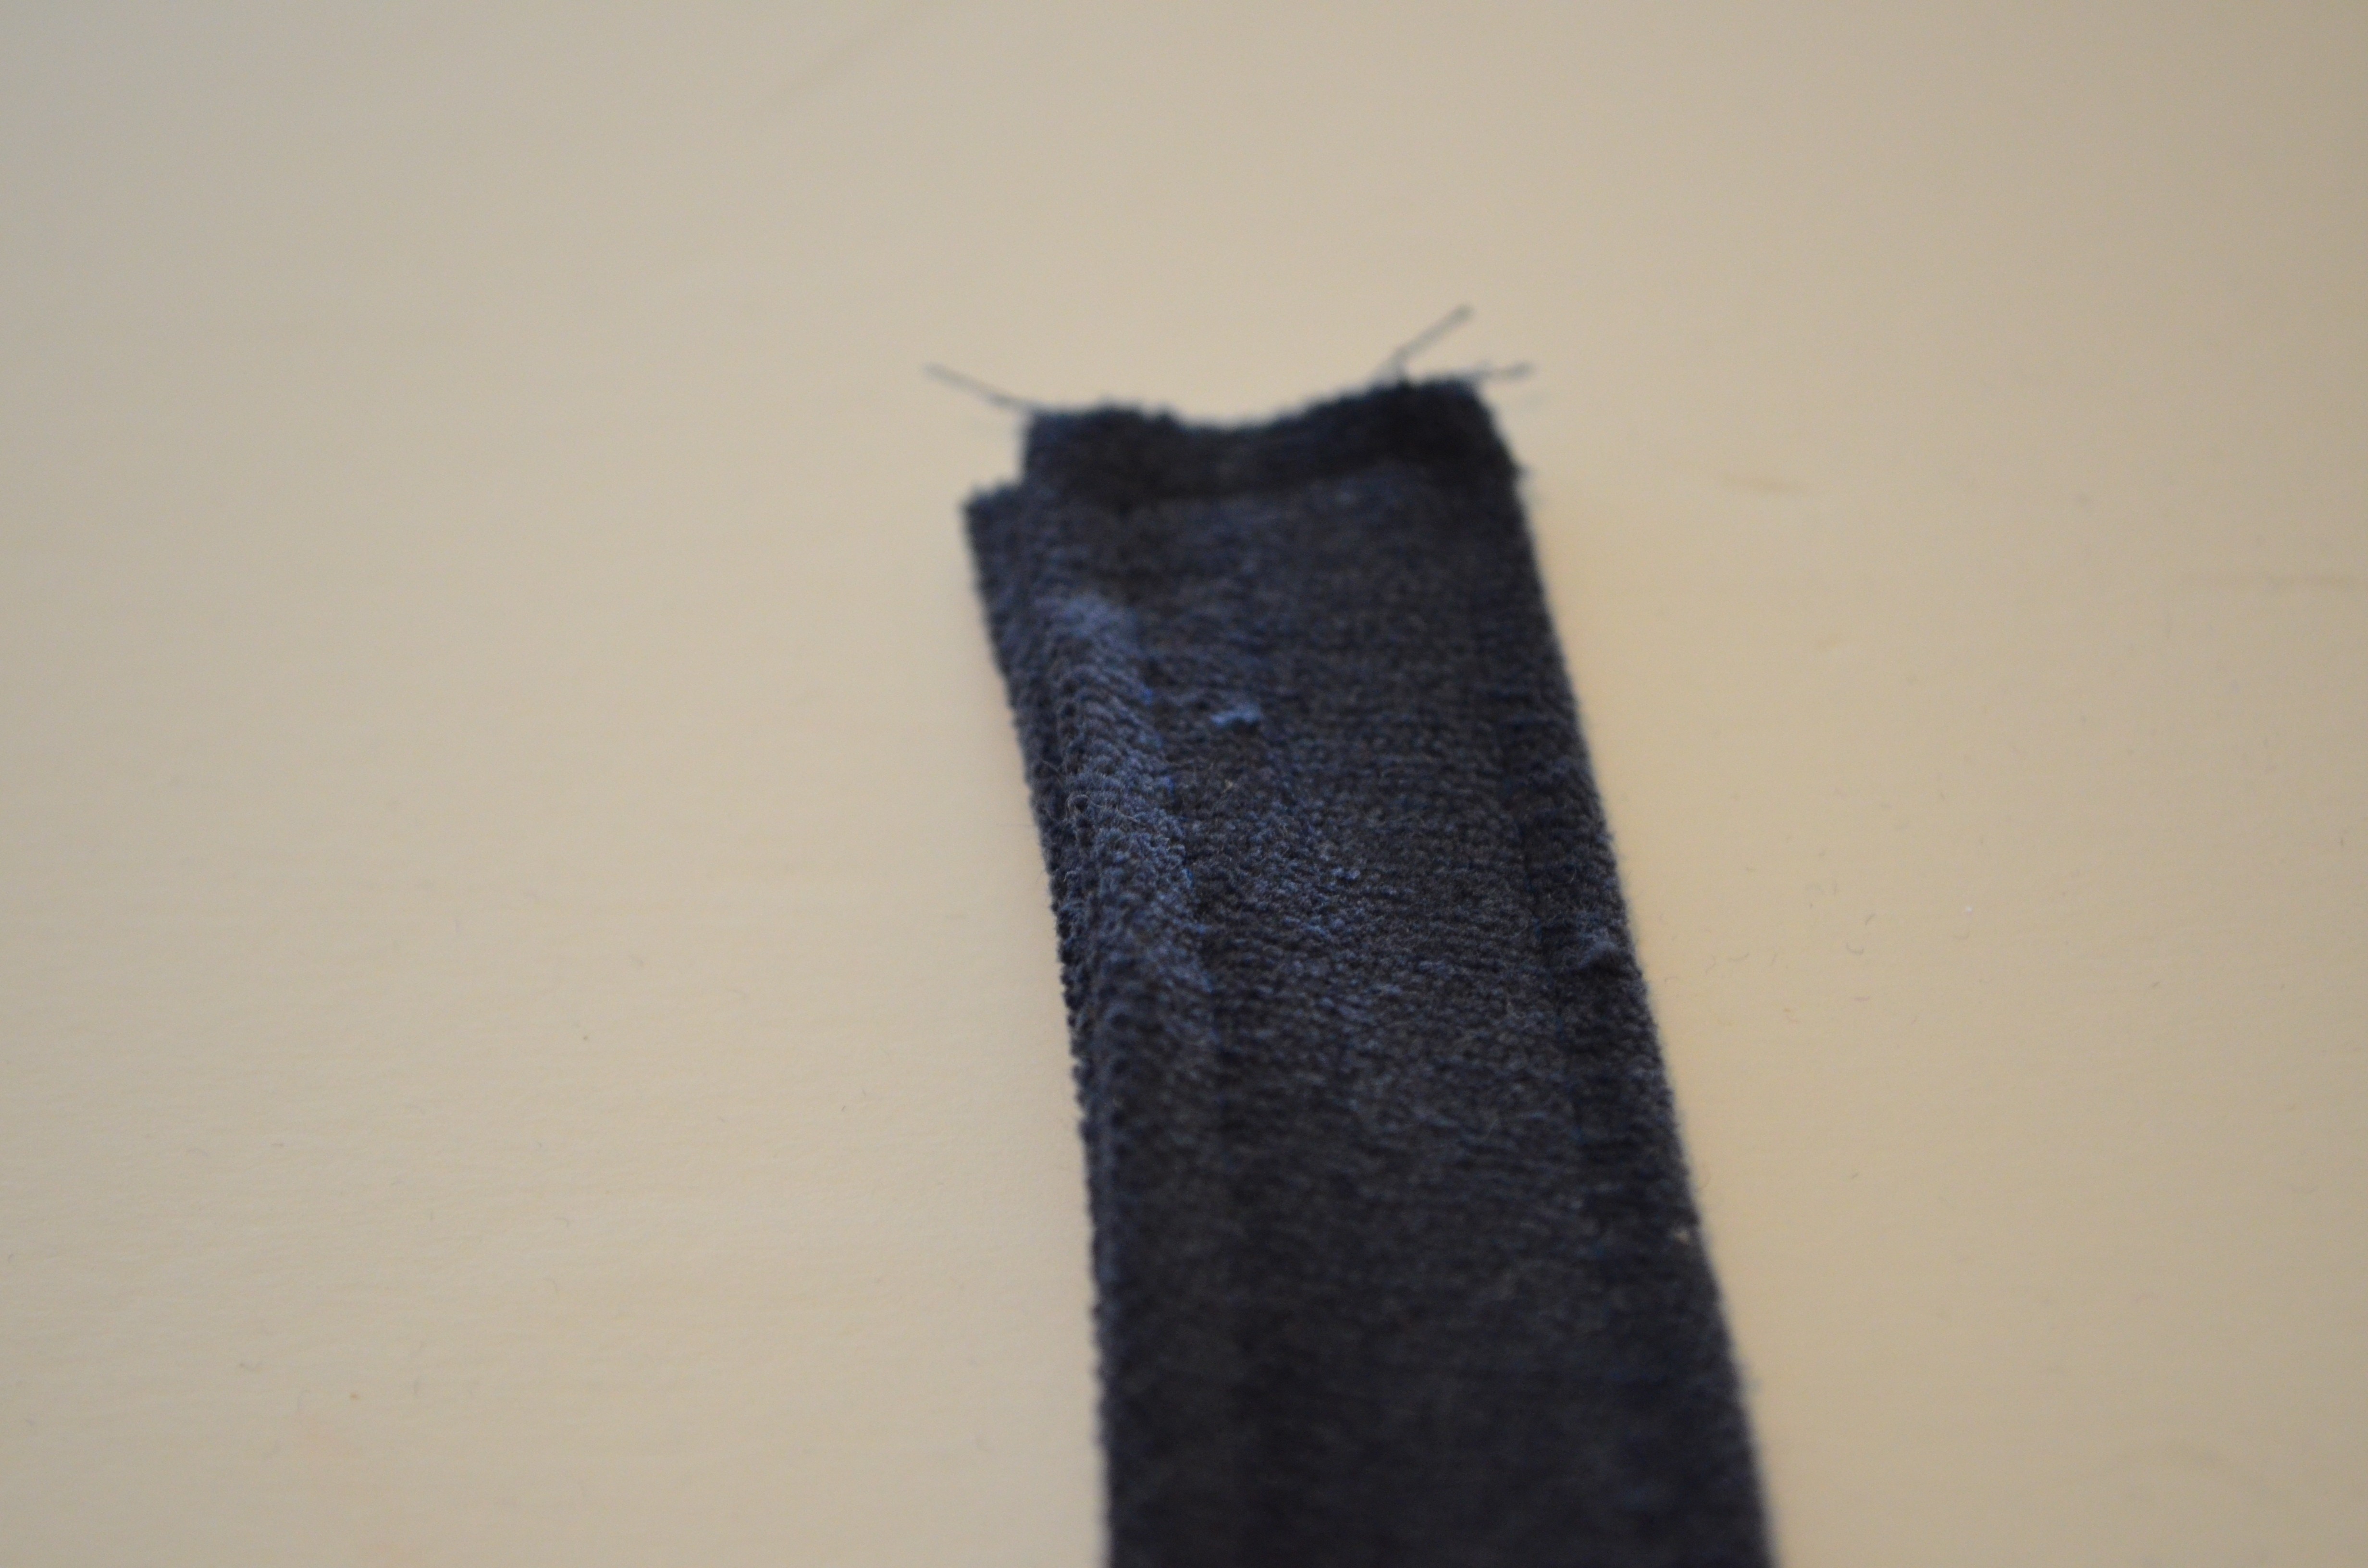
4. THE STRAP TAB: FOLD THE STRAP IN HALF AND STITCH ALONG THE TOP AND BOTTOM PLUS THE OPEN SIDE. REMEMBER TO LEAVE 1” OPENING TO TURN THE FABRIC TO THE RIGHT SIDE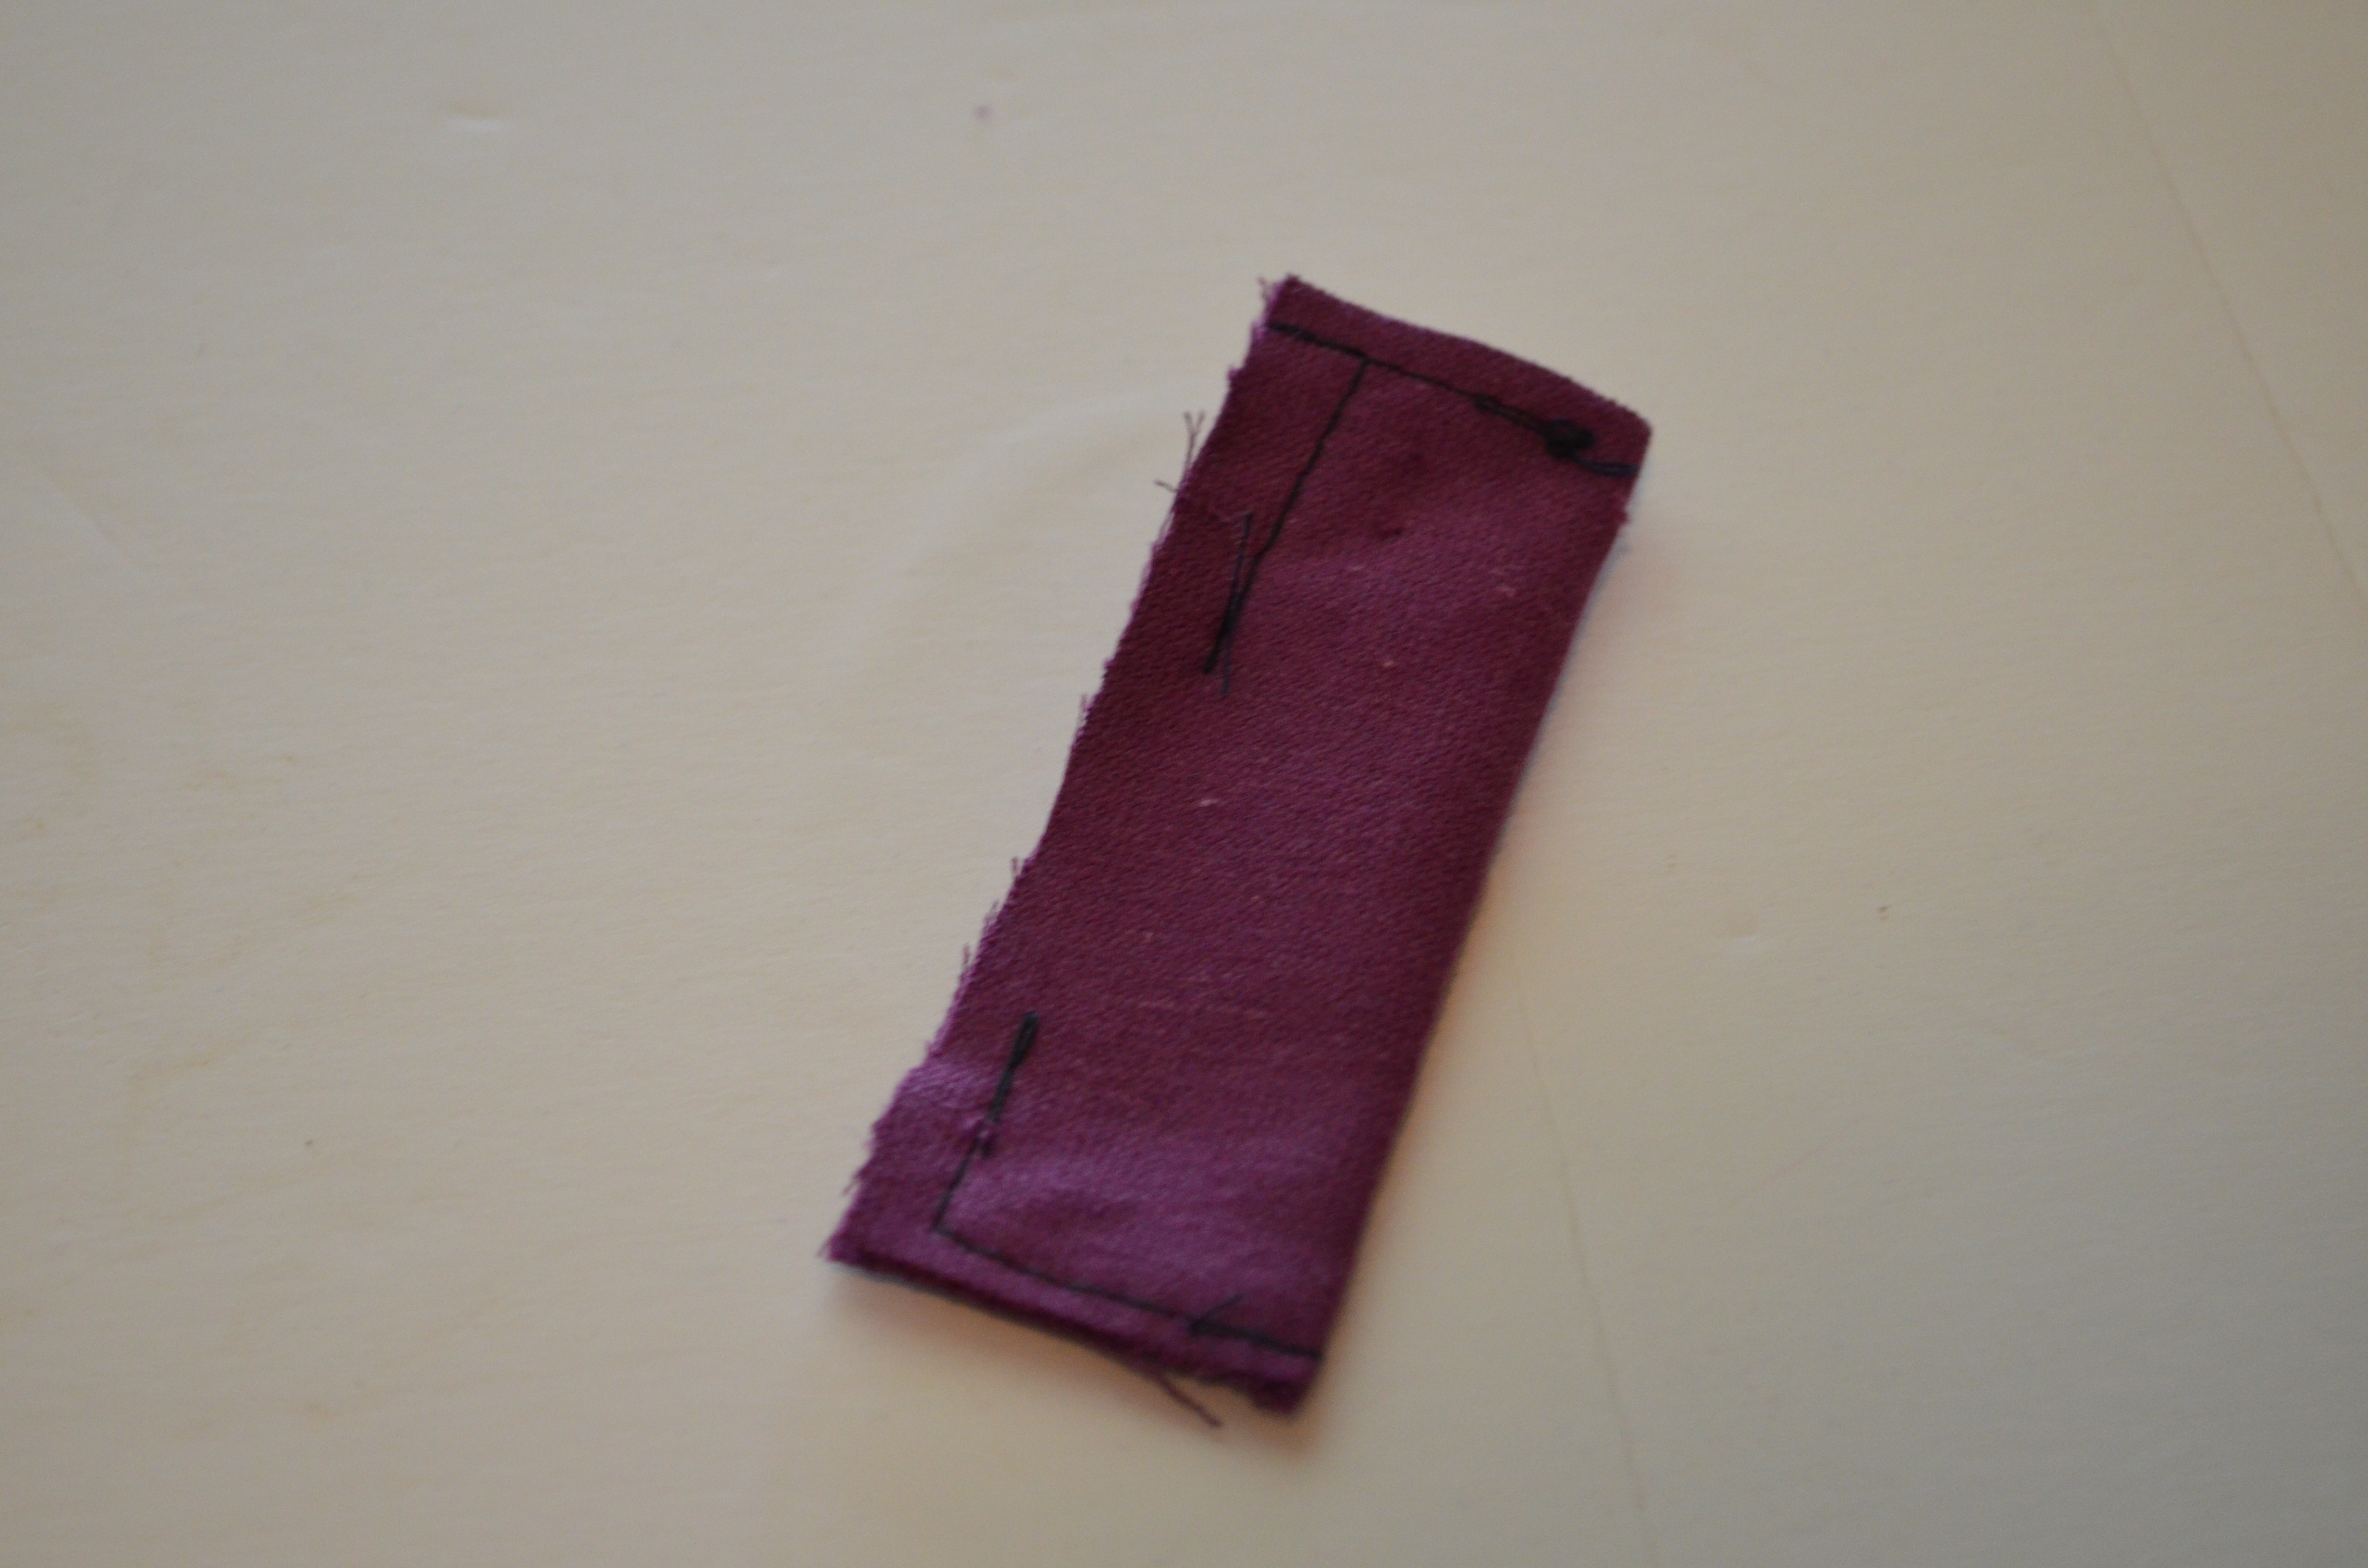
5. TURN TO THE RIGHT SIDE AND PRESS FLAT. THEN, STITCH THE SIDES, TOP AND BOTTOM.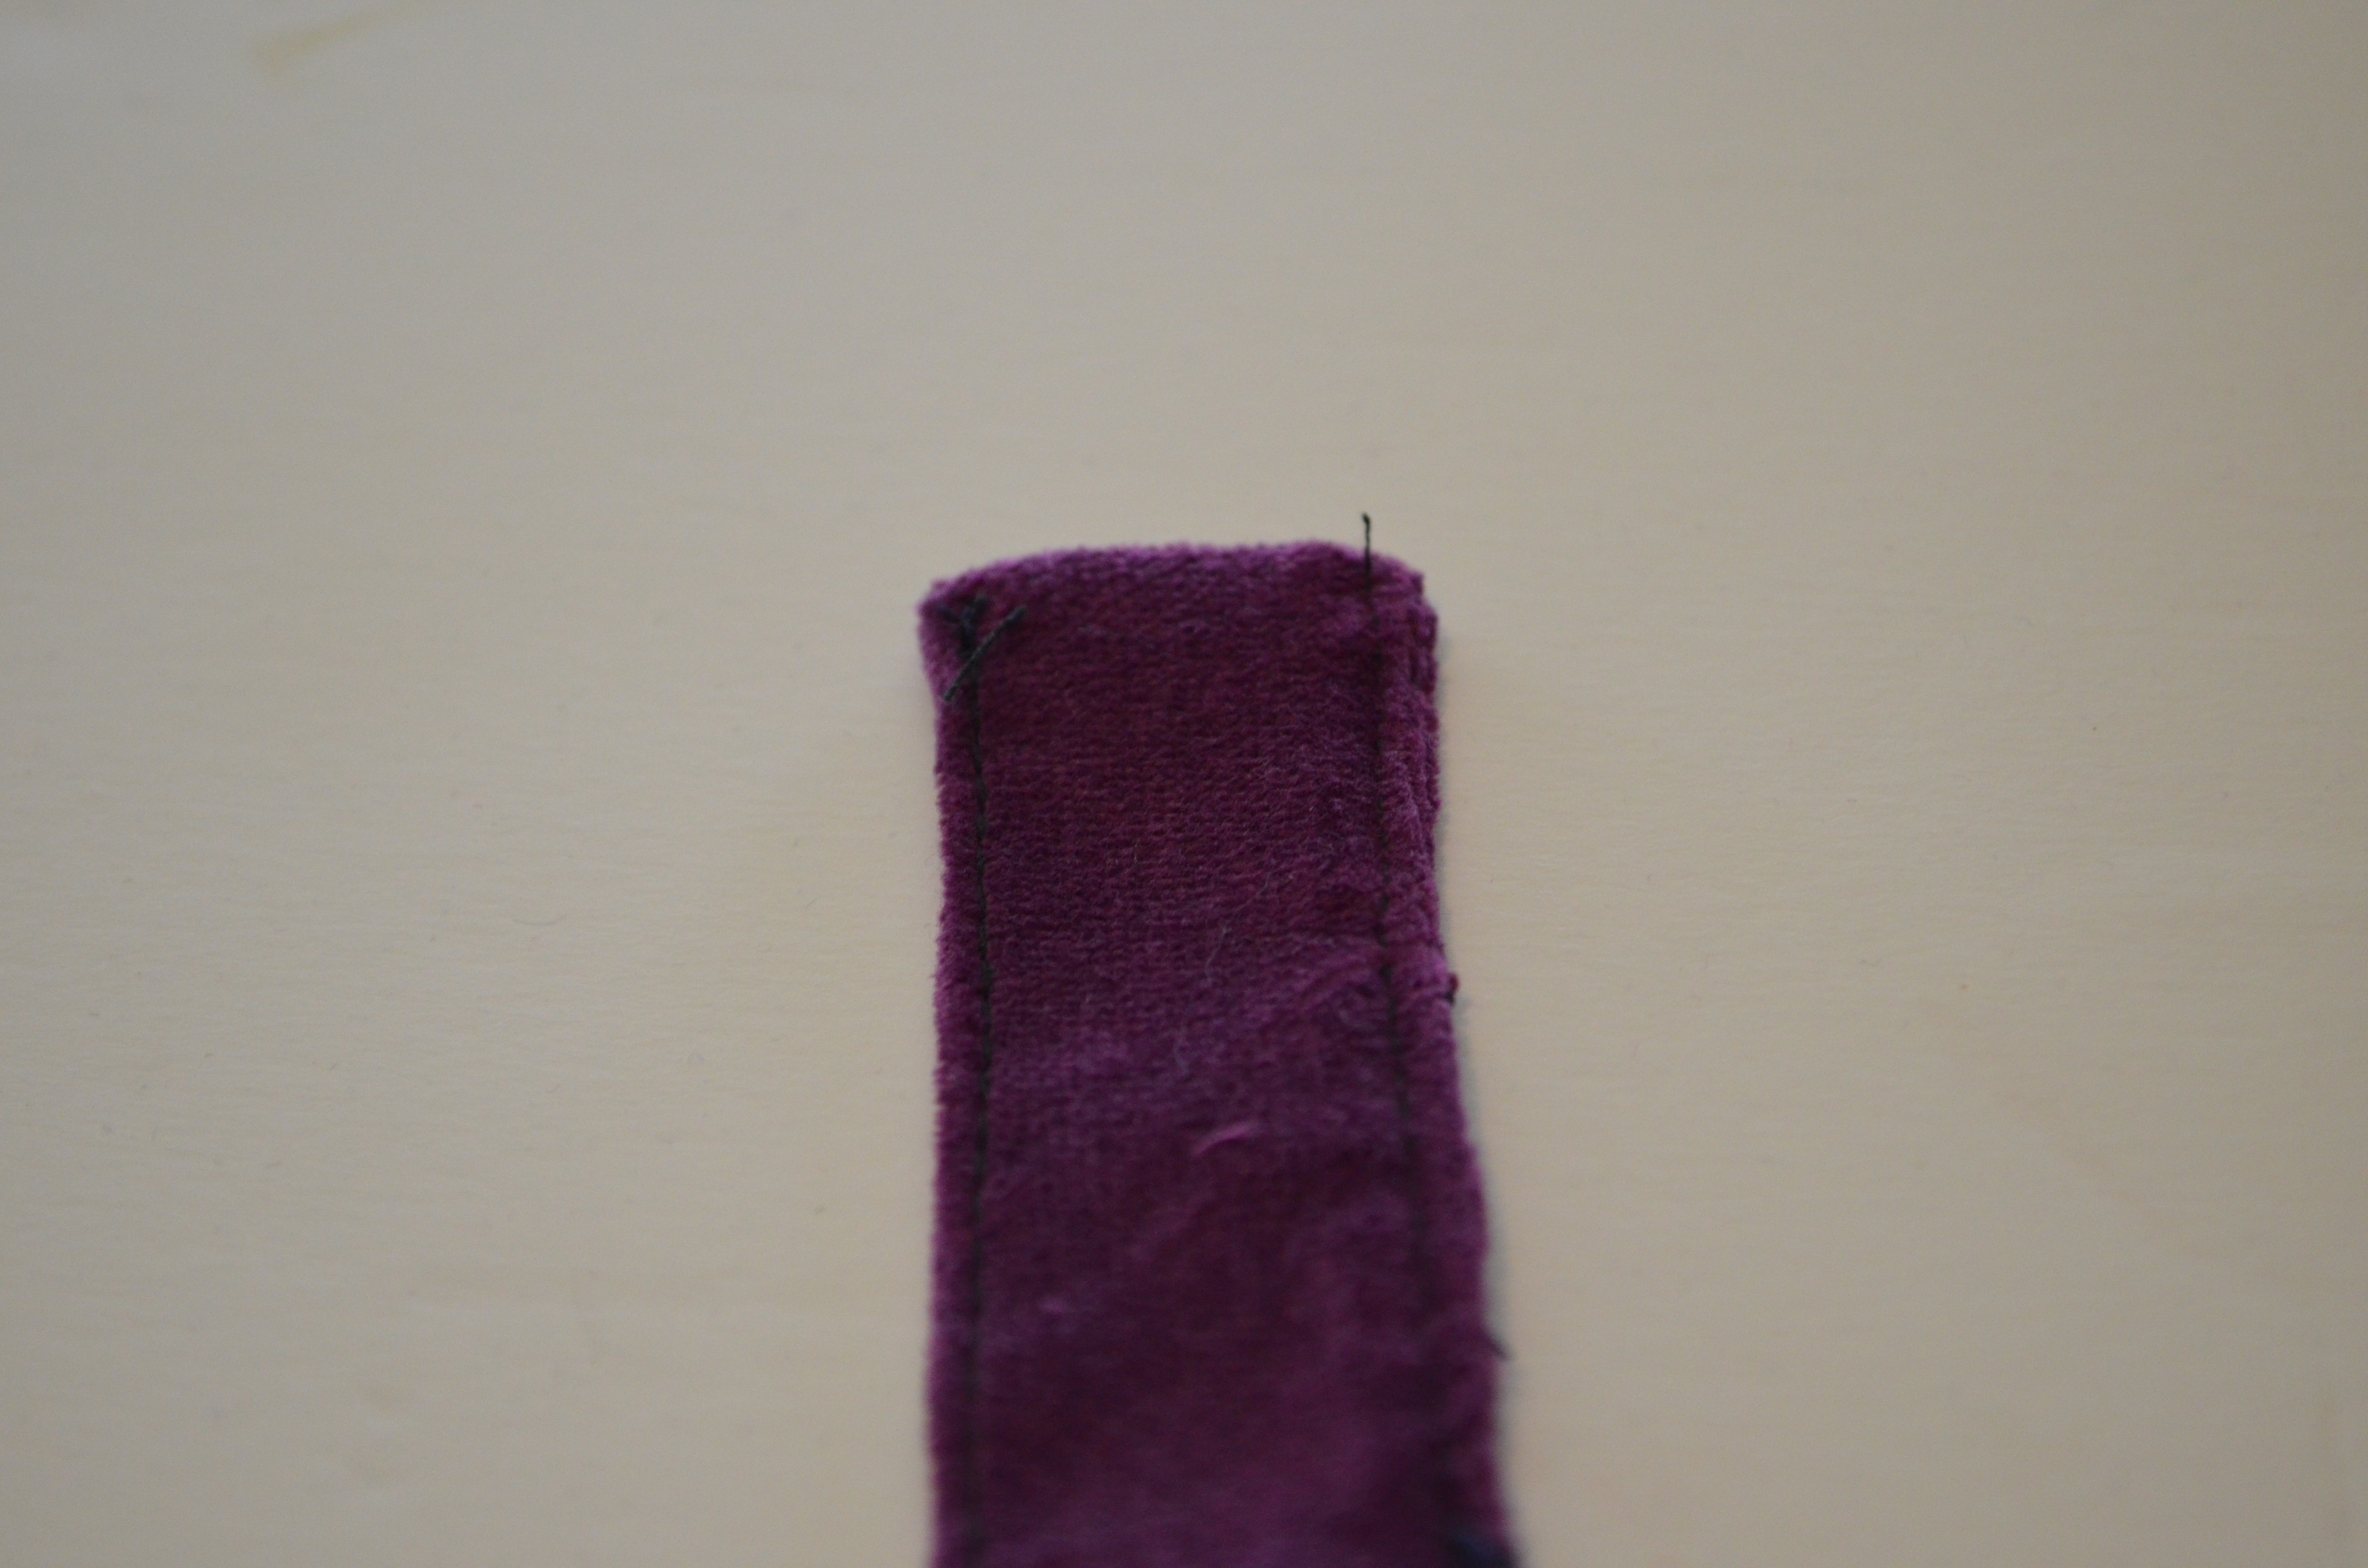
6. INSIDE POCKET: PLACE BOTH POCKET PIECES TOGETHER, RIGHT SIDES FACING AND STITCH THE SIDES, TOP AND BOTTOM, ONLY LEAVING A 1 1/2 INCH OPENING TO TURN TO THE RIGHT SIDE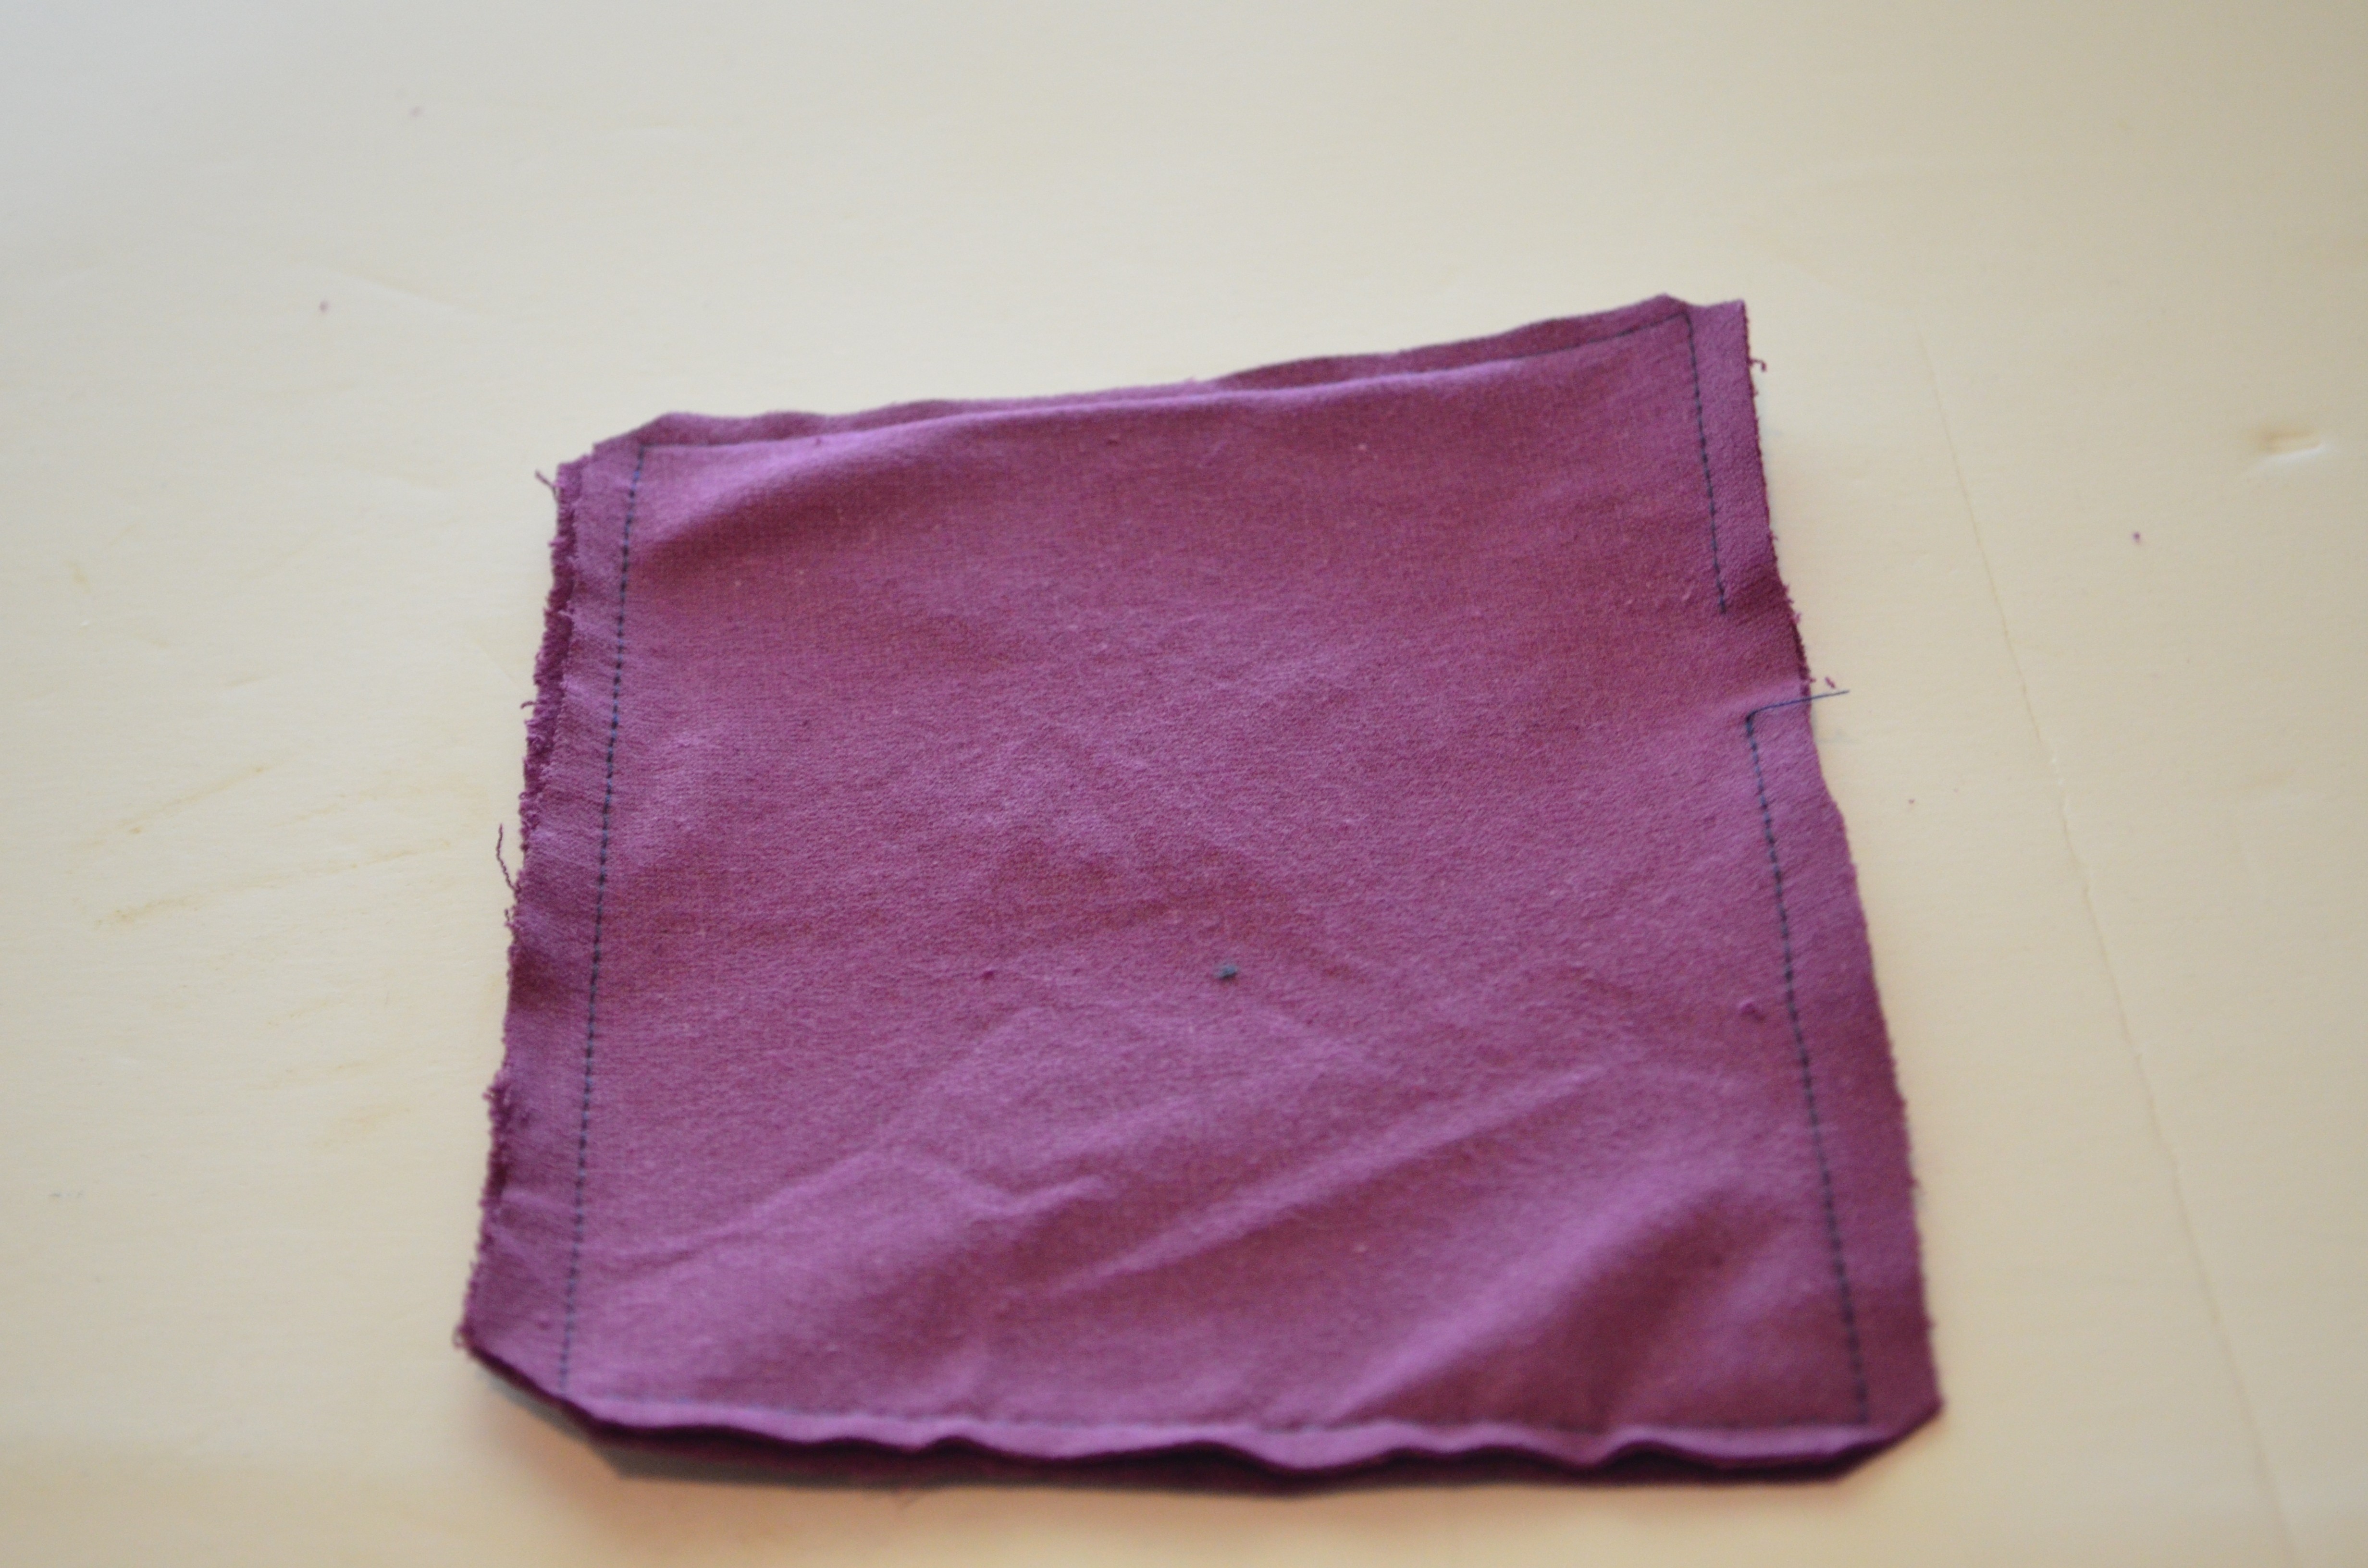
7. TURN TO THE RIGHT SIDE AND PRESS IT FLAT. THEN TOP STITCH IT WITH A 1/8 INCH SEAM ALLOWANCE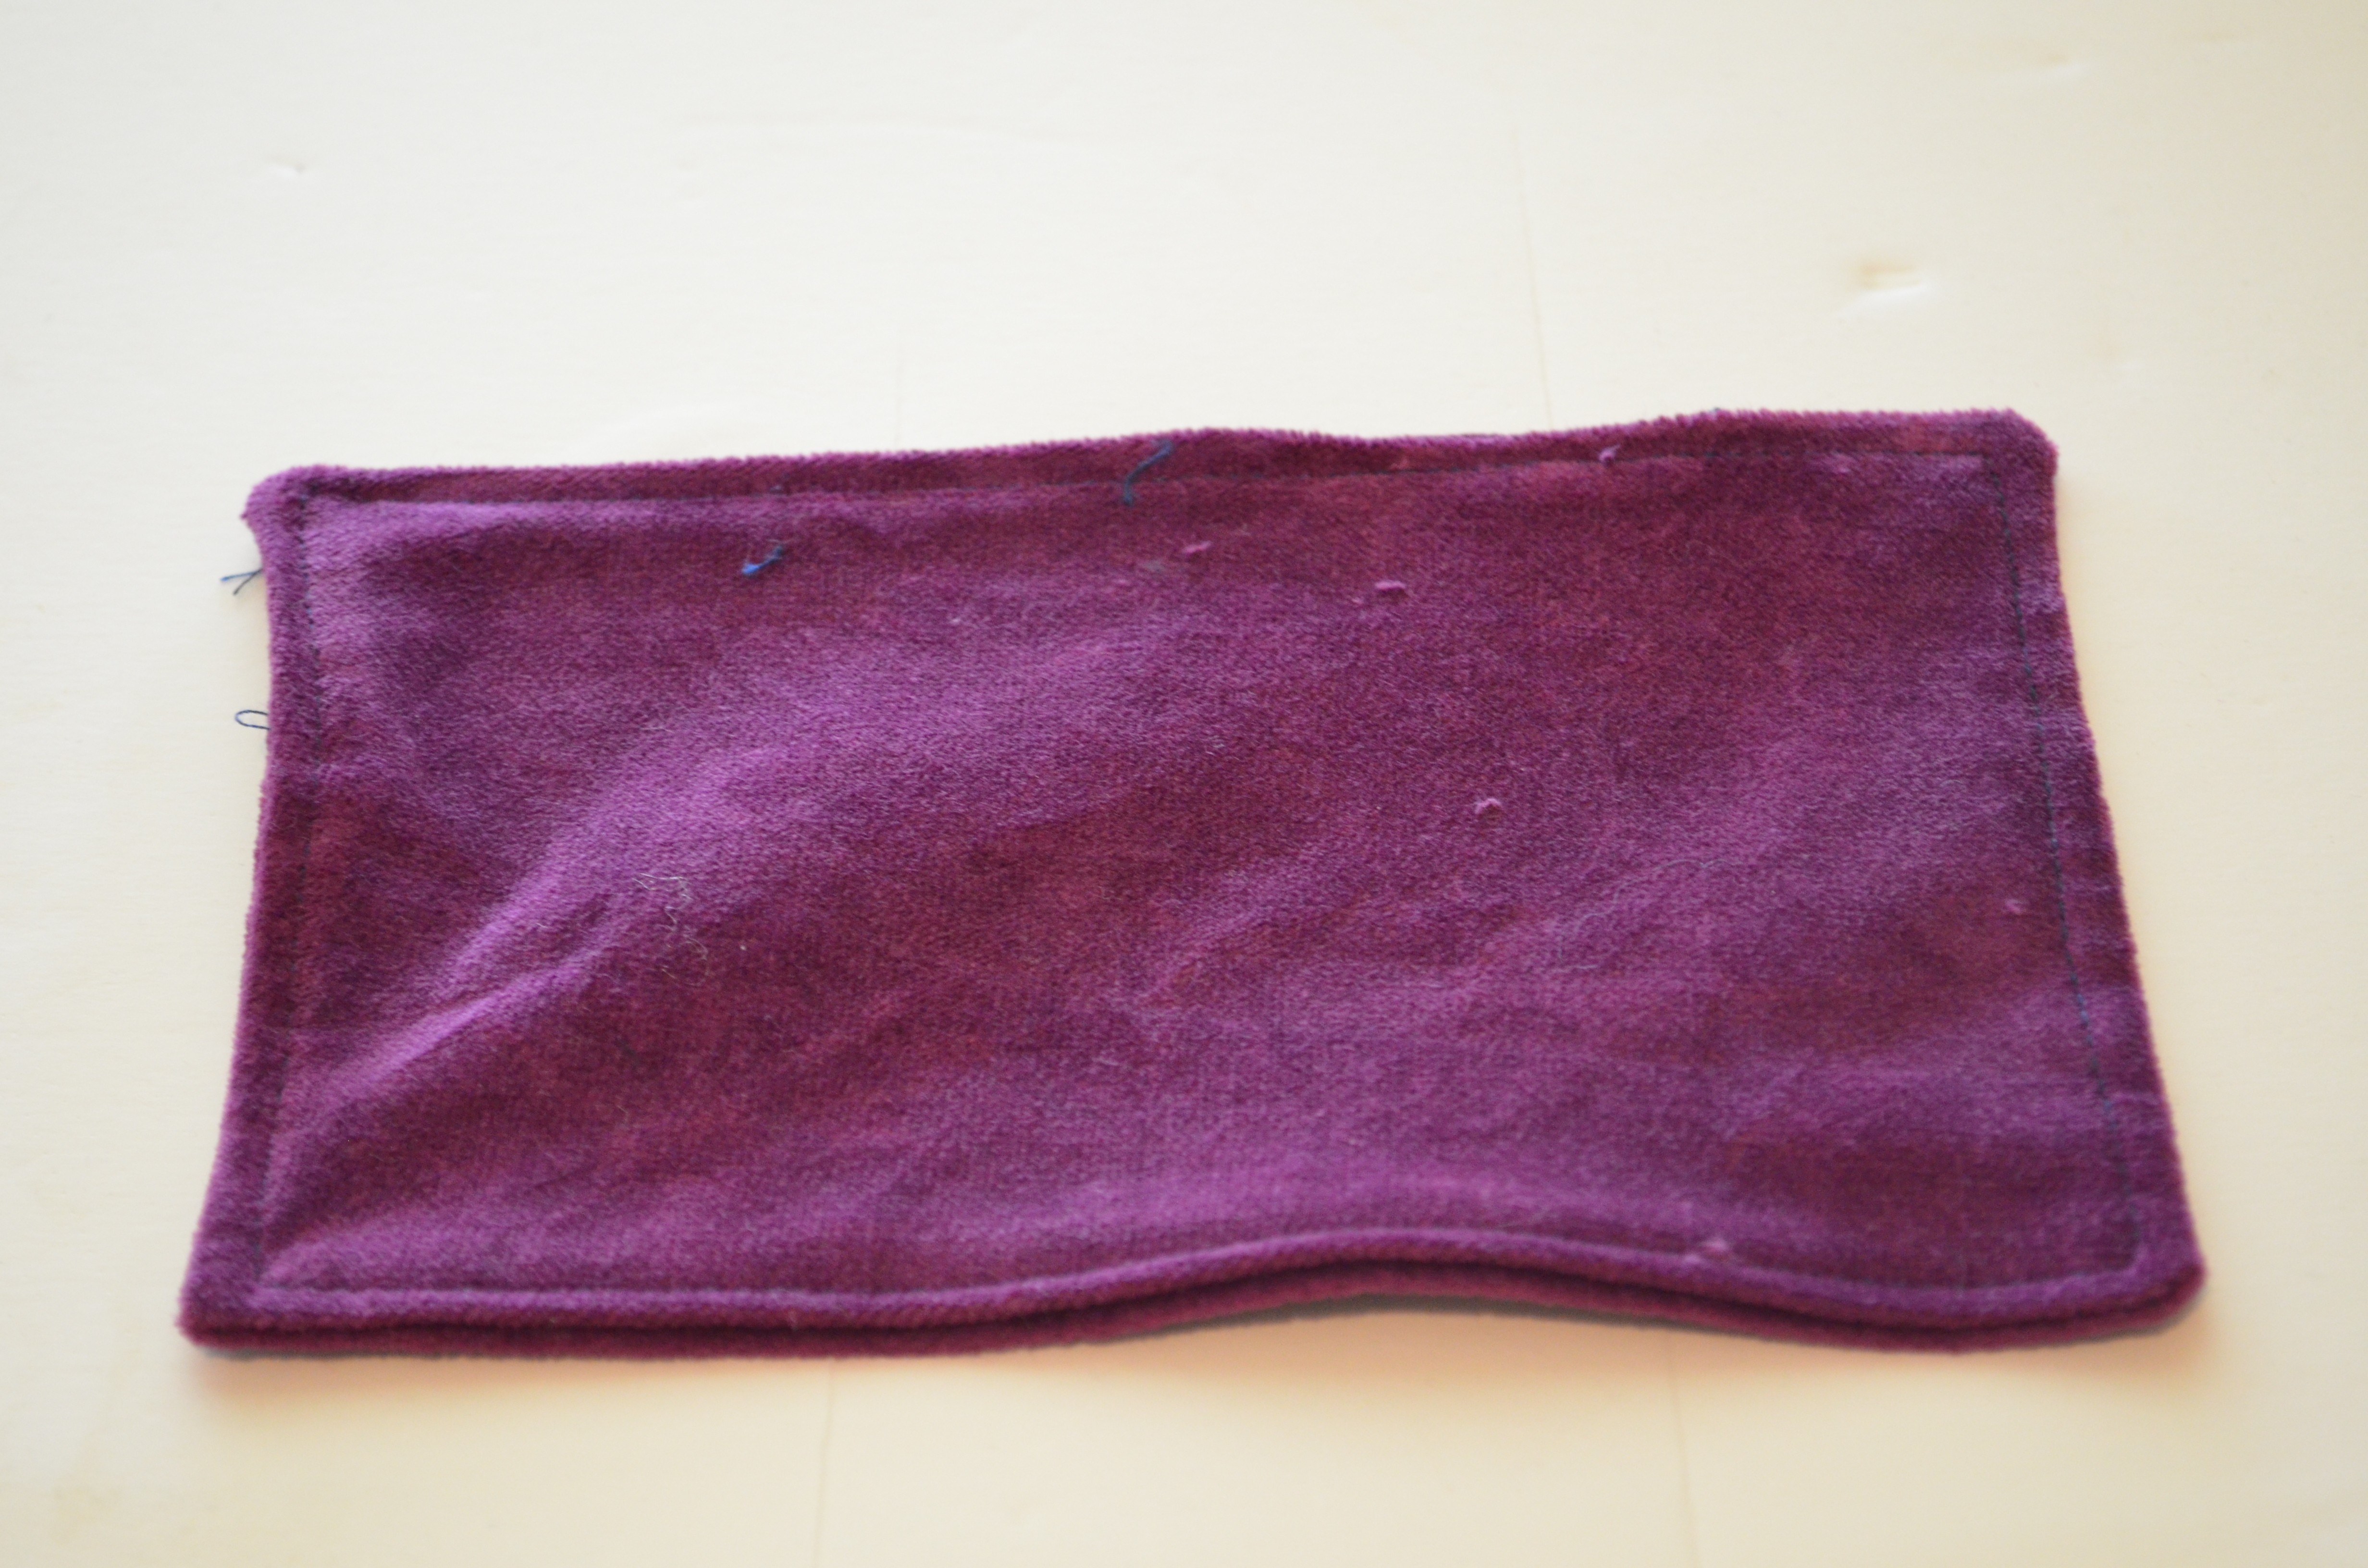
8. PLACE THE POCKET ON ONE SIDE OF THE DIVIDER AND STITCH SIDES AND BOTTOM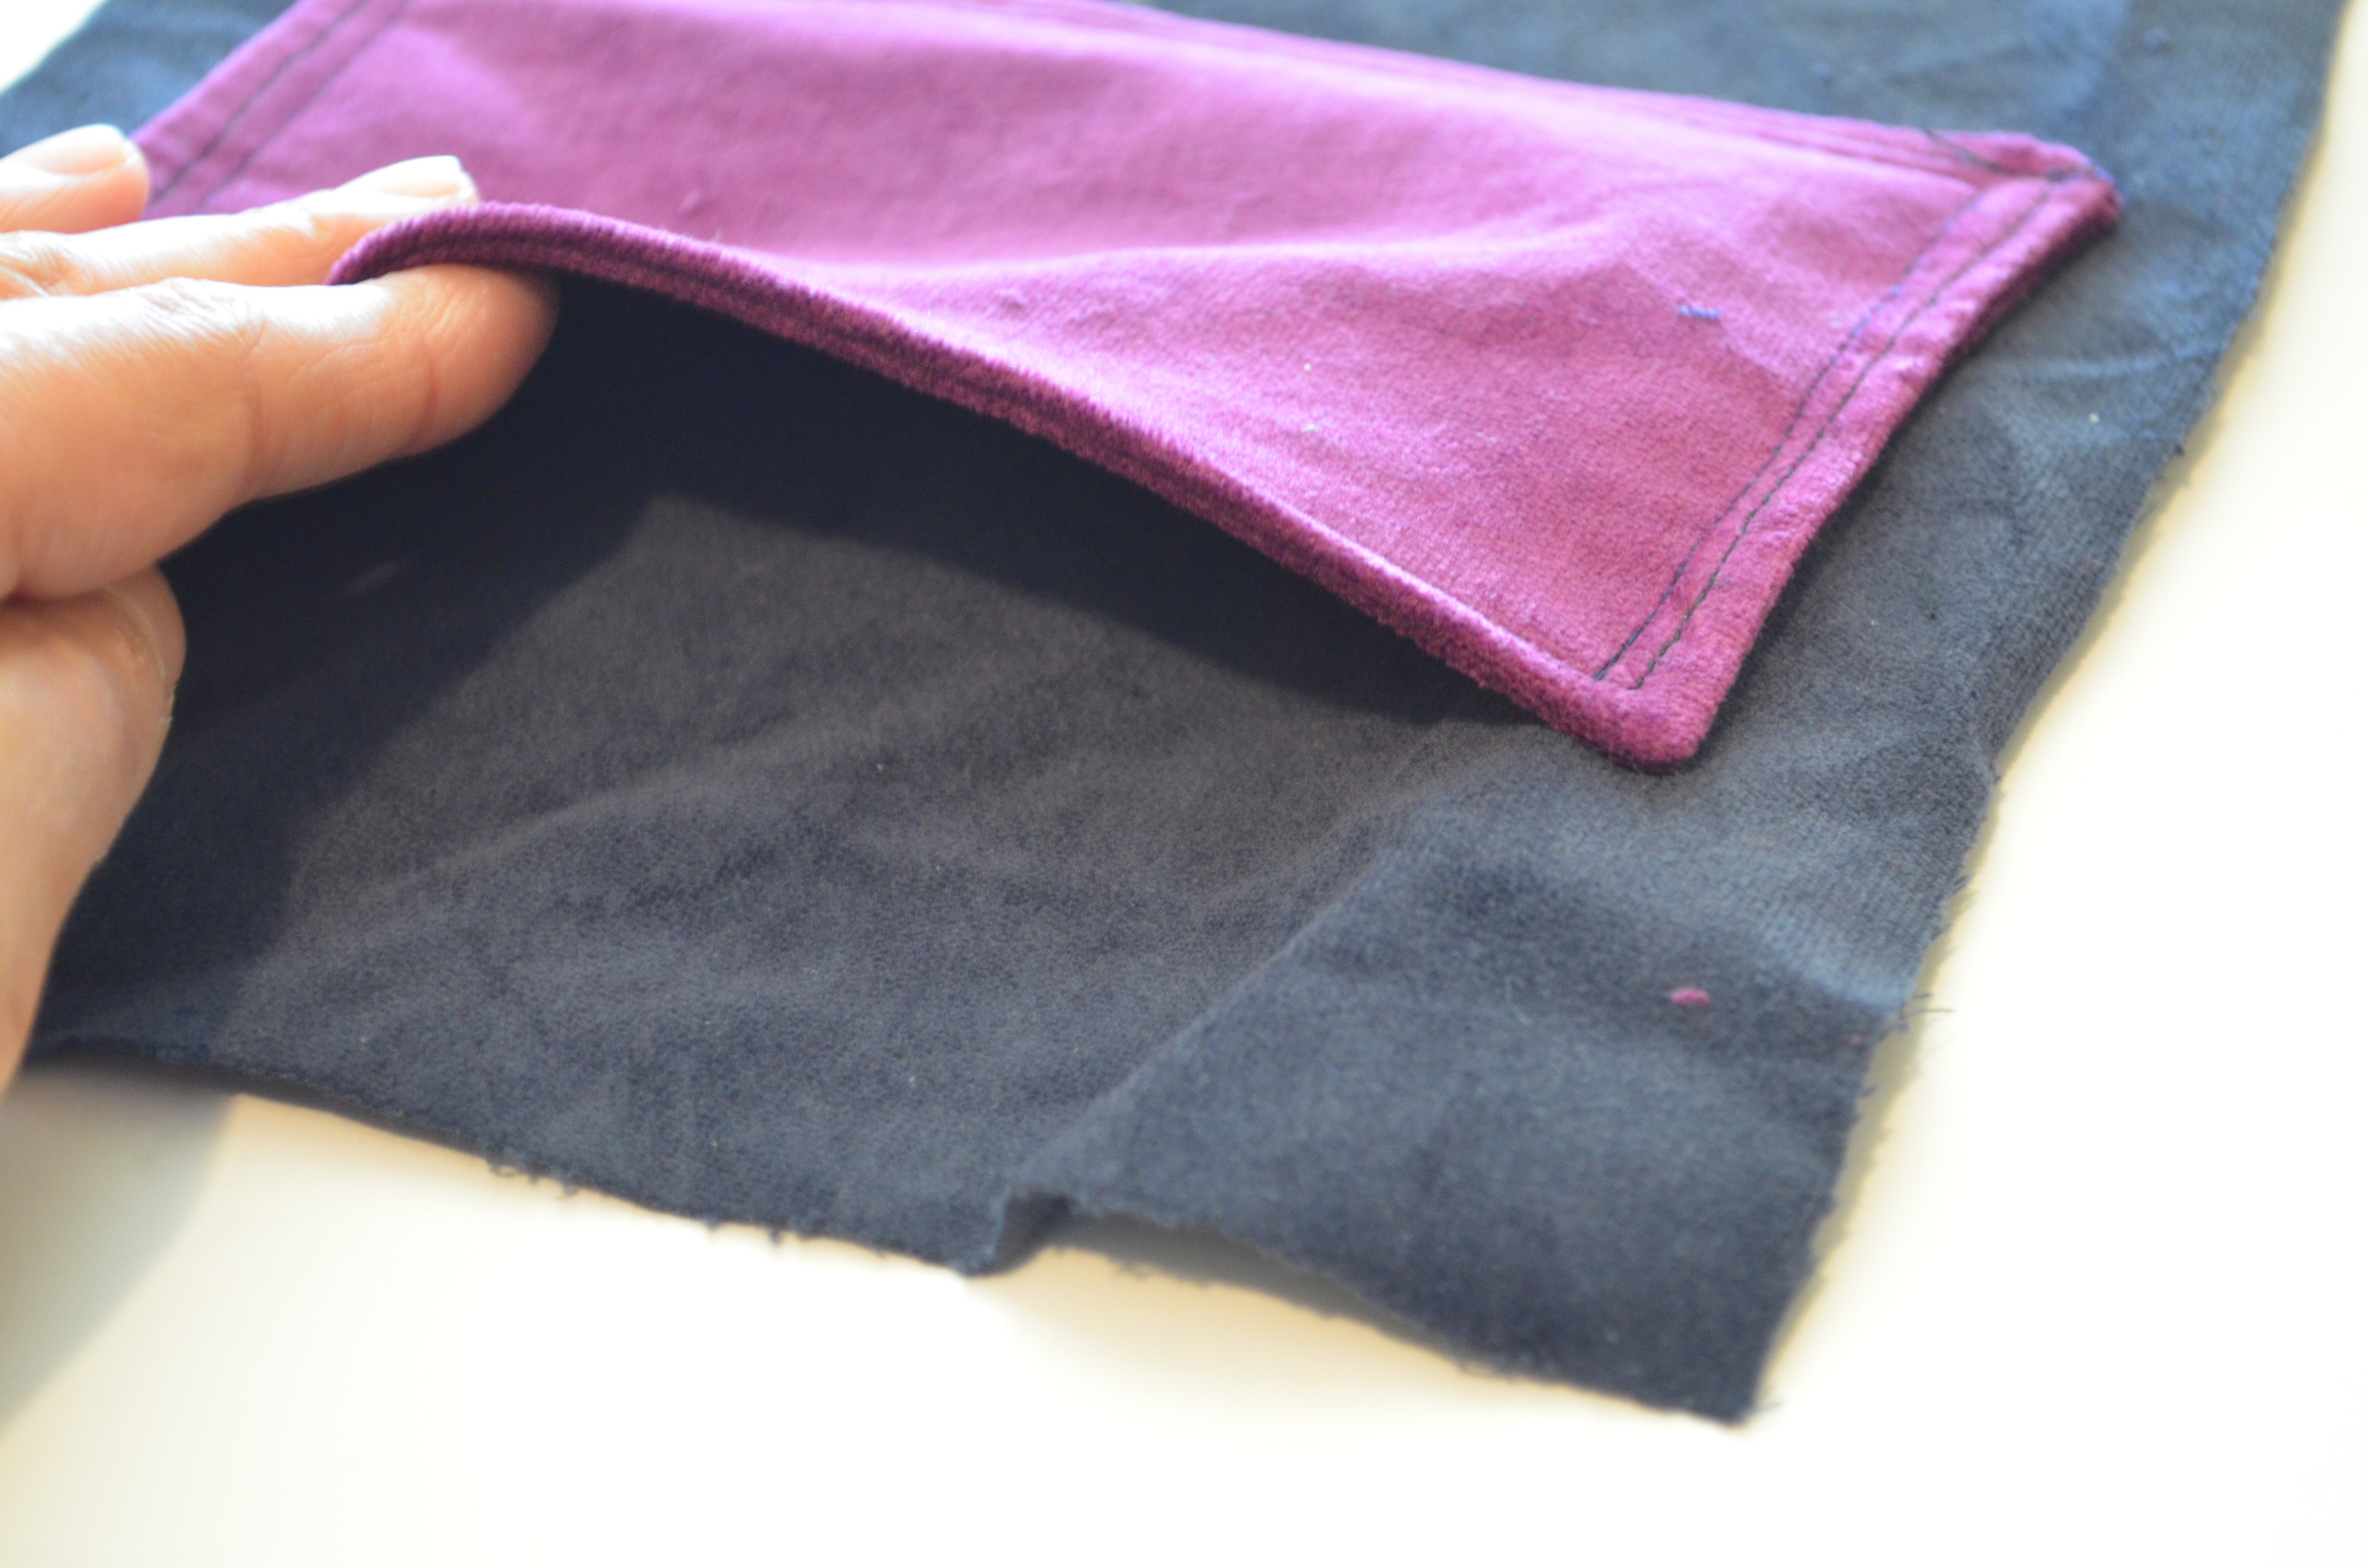
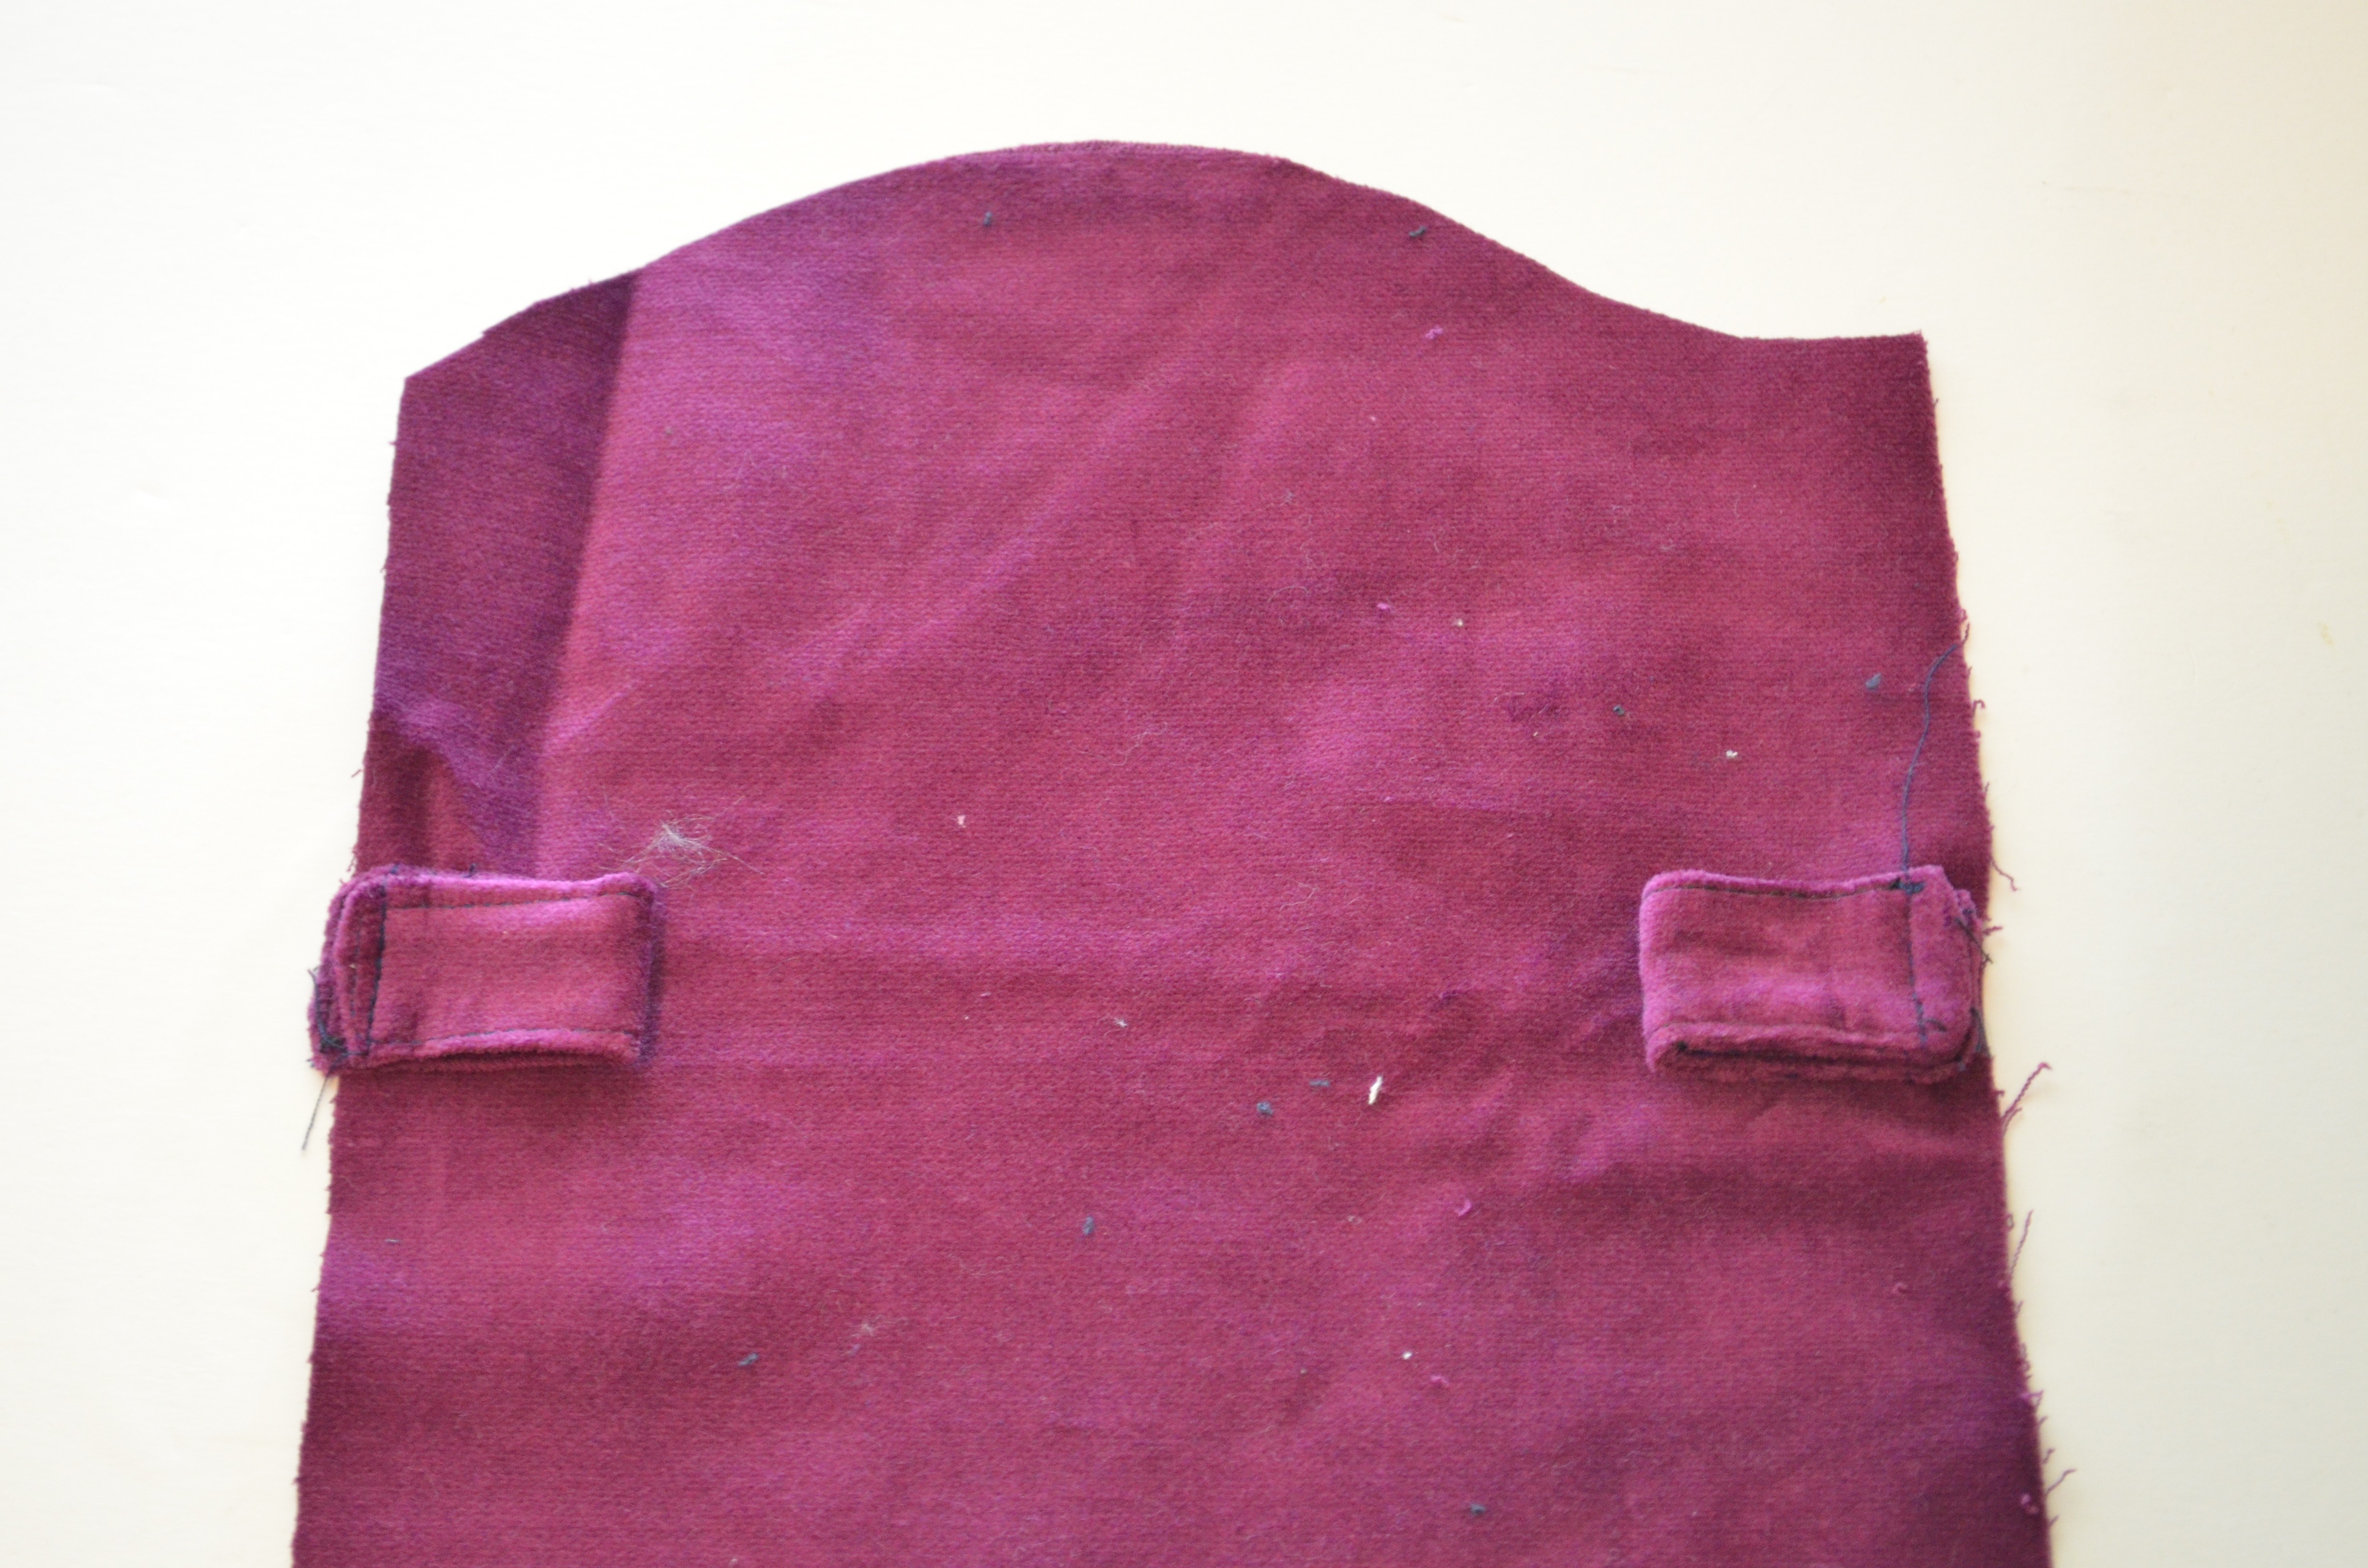
9. FOLD AND ADD THE TABS TO THE MAIN FABRIC, LEAVING A 2 1/2 INCH FROM THE TOP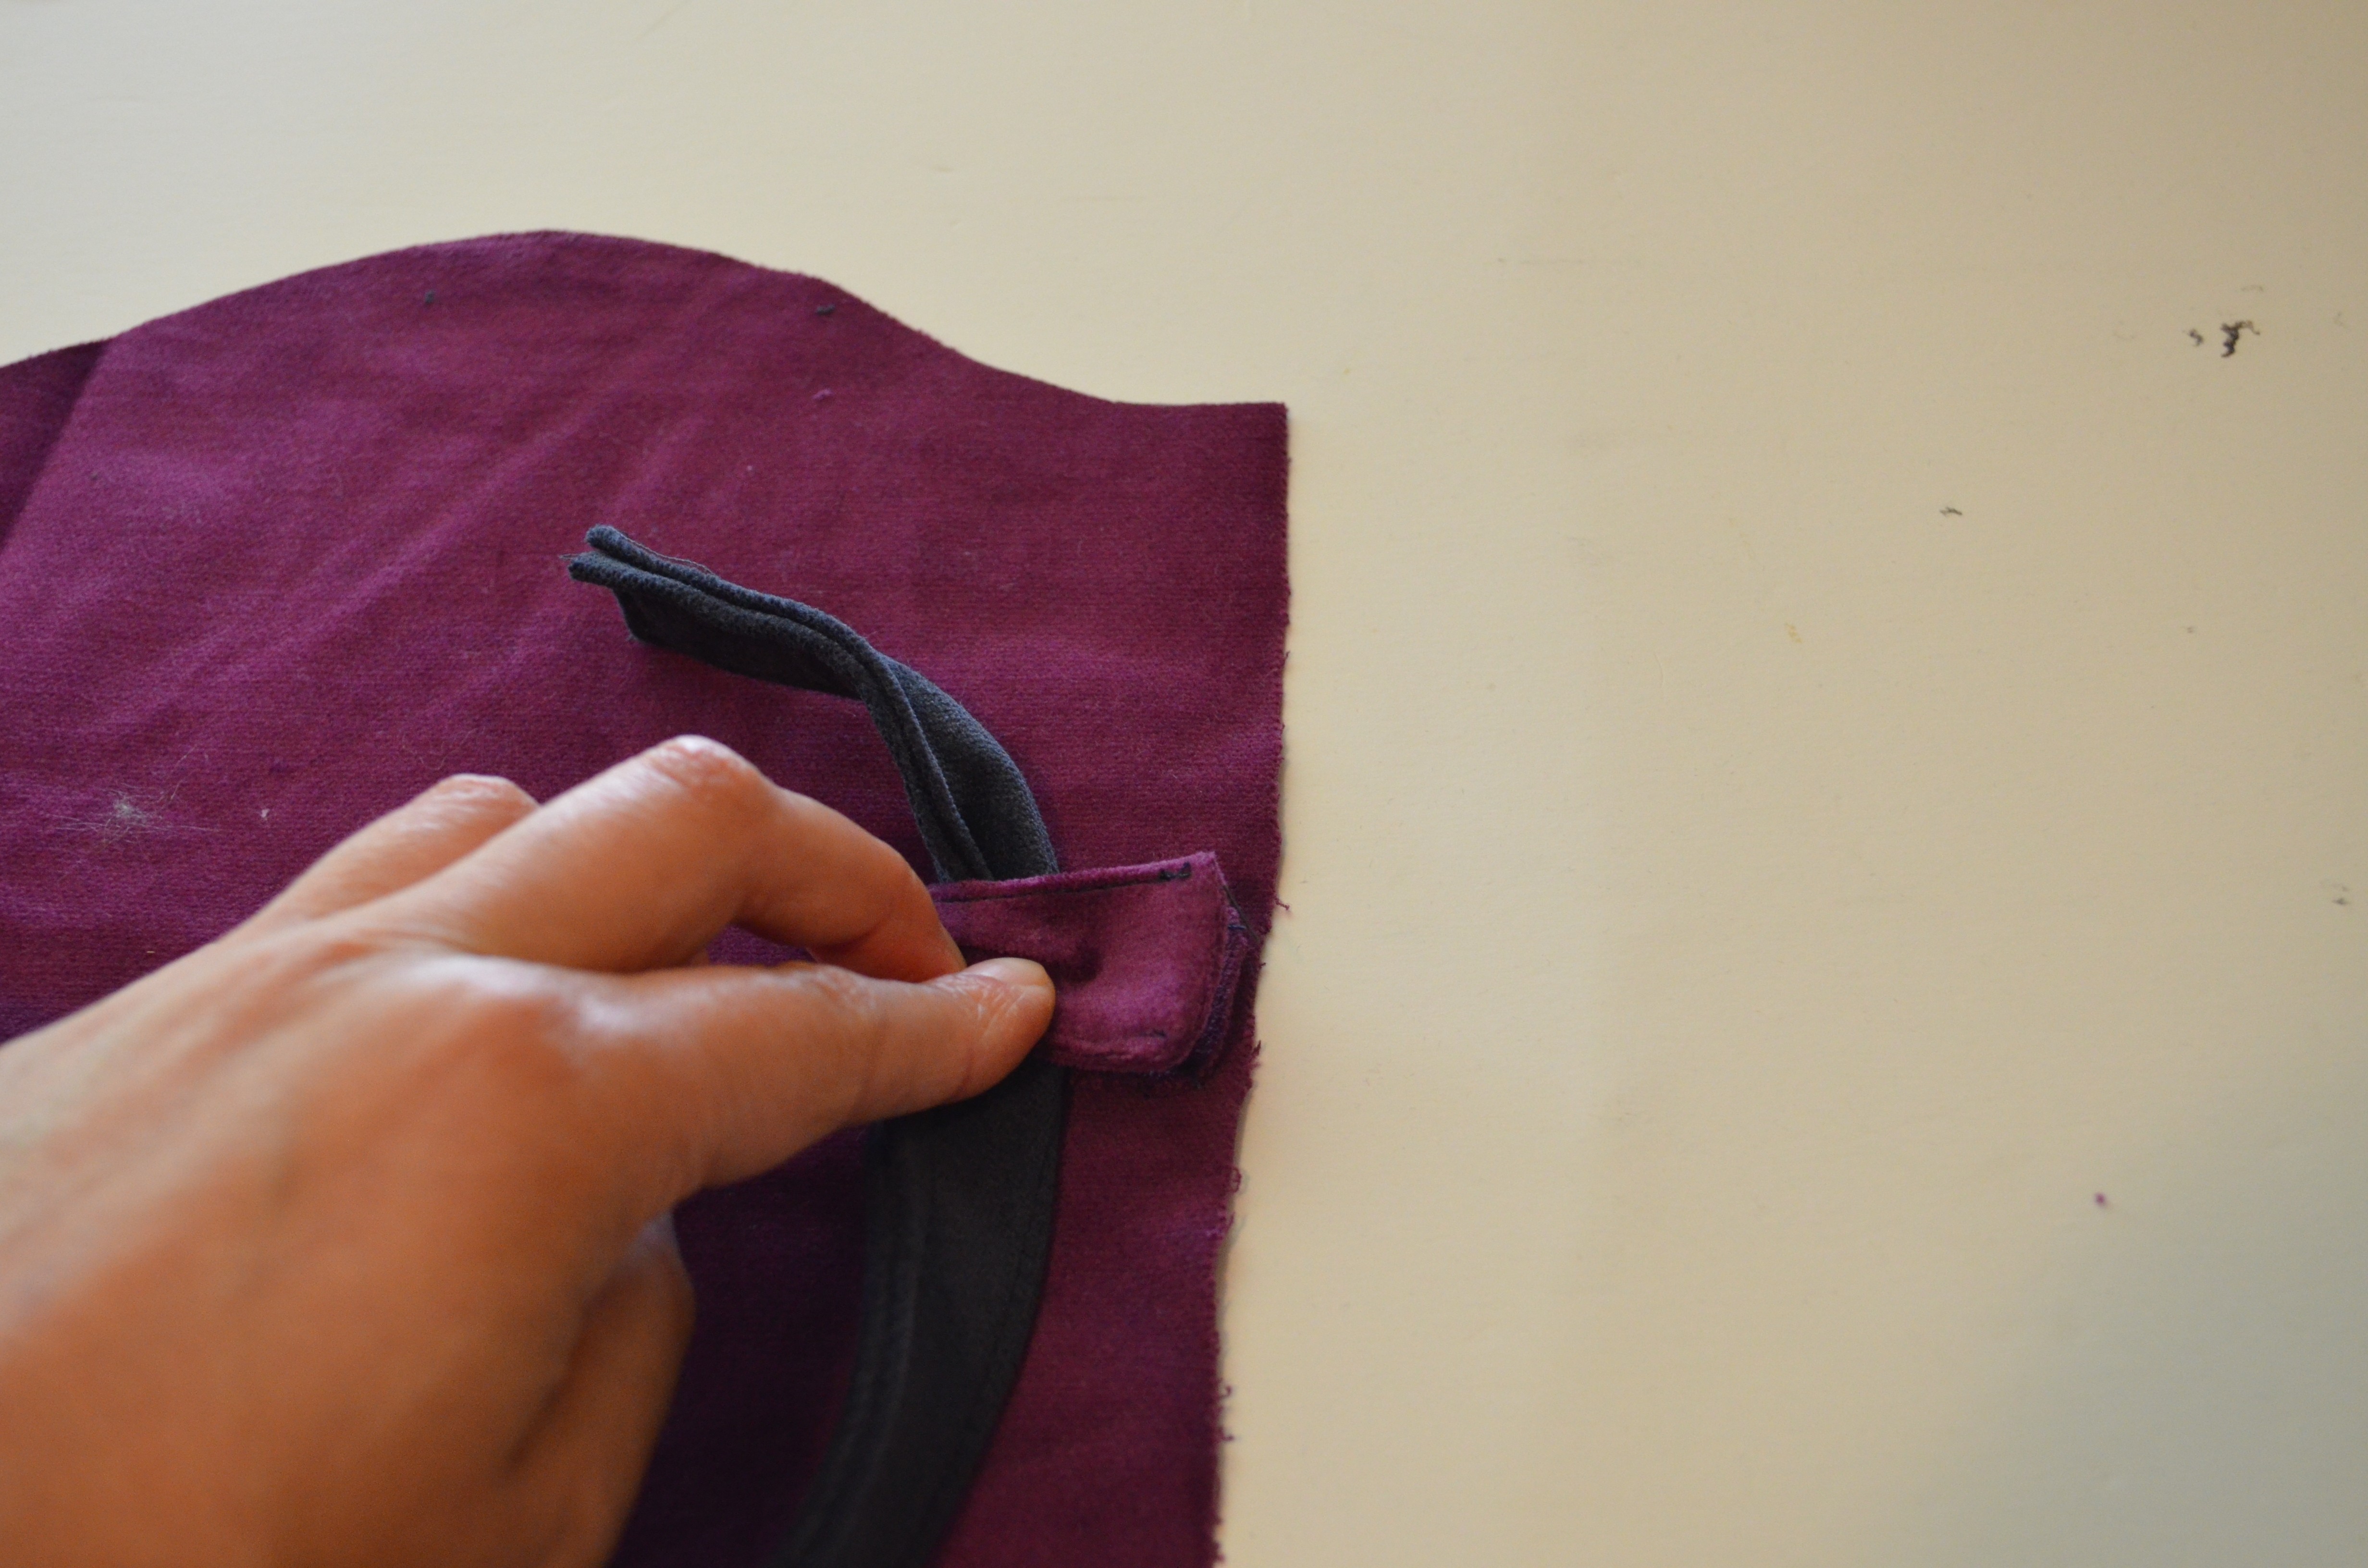
10. PLACE THE ZIPPER WITHIN THE MAIN FABRIC AND THE LINING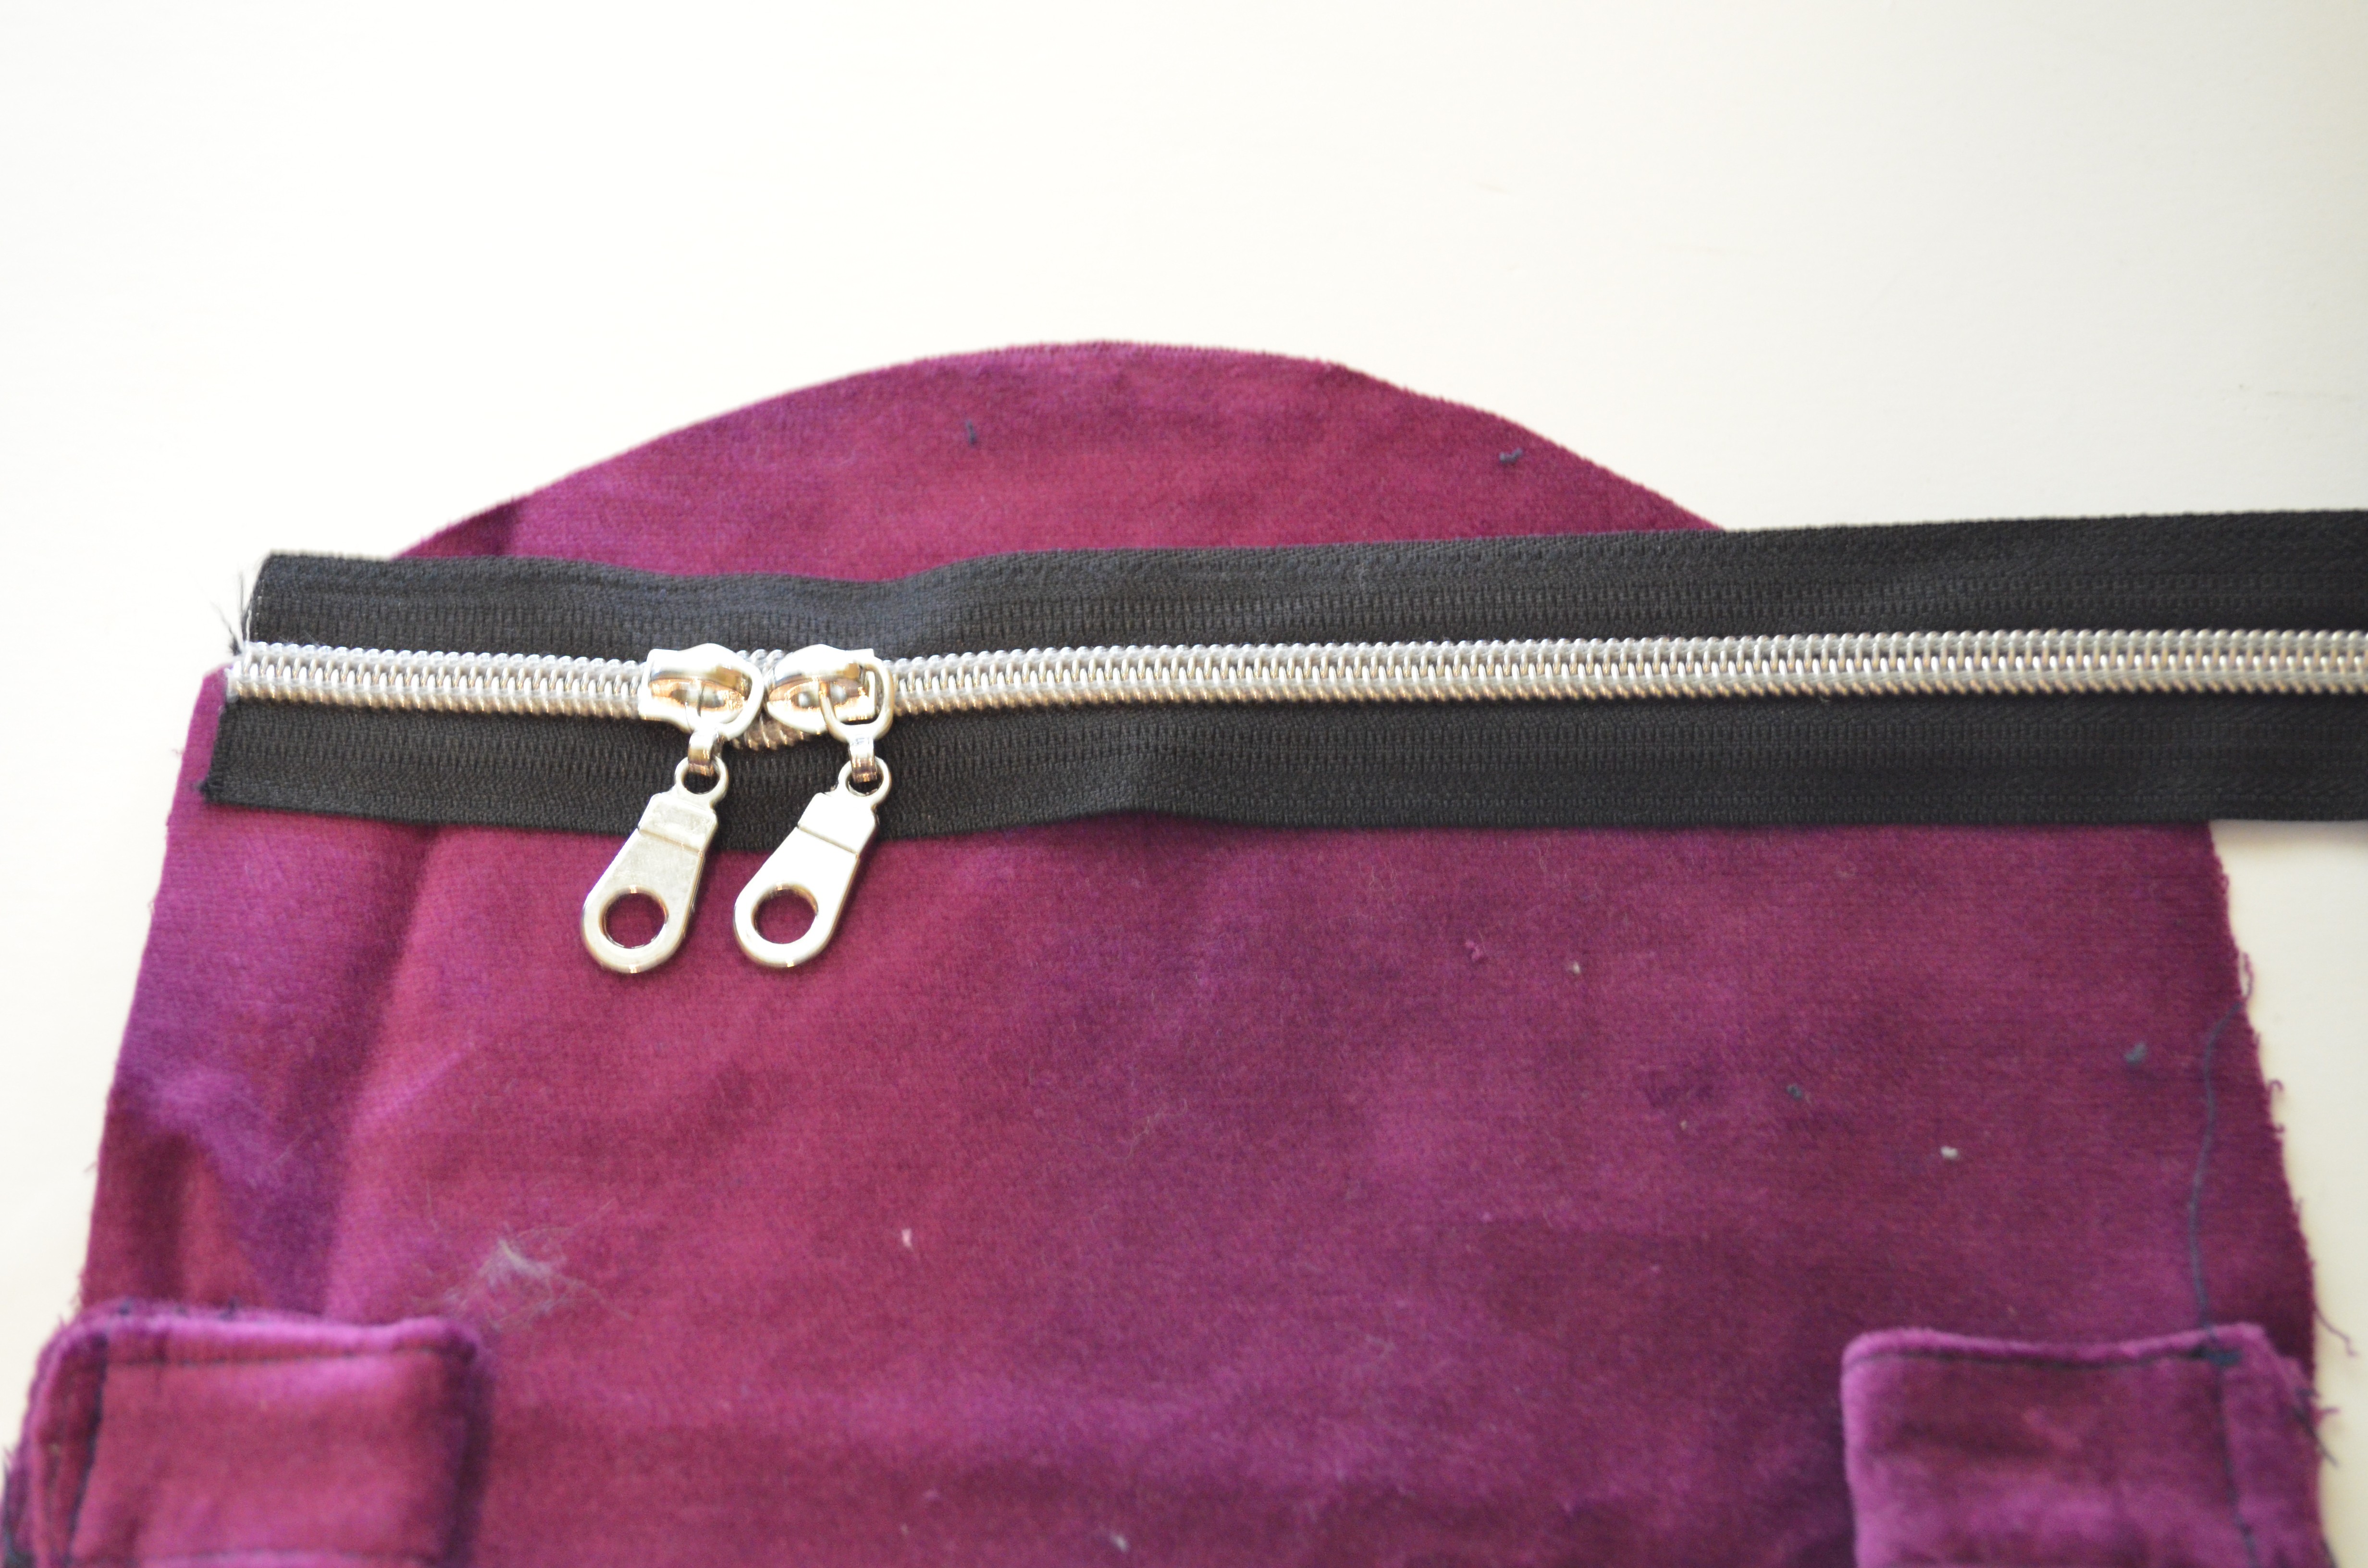
11. PIN IT CAREFULLY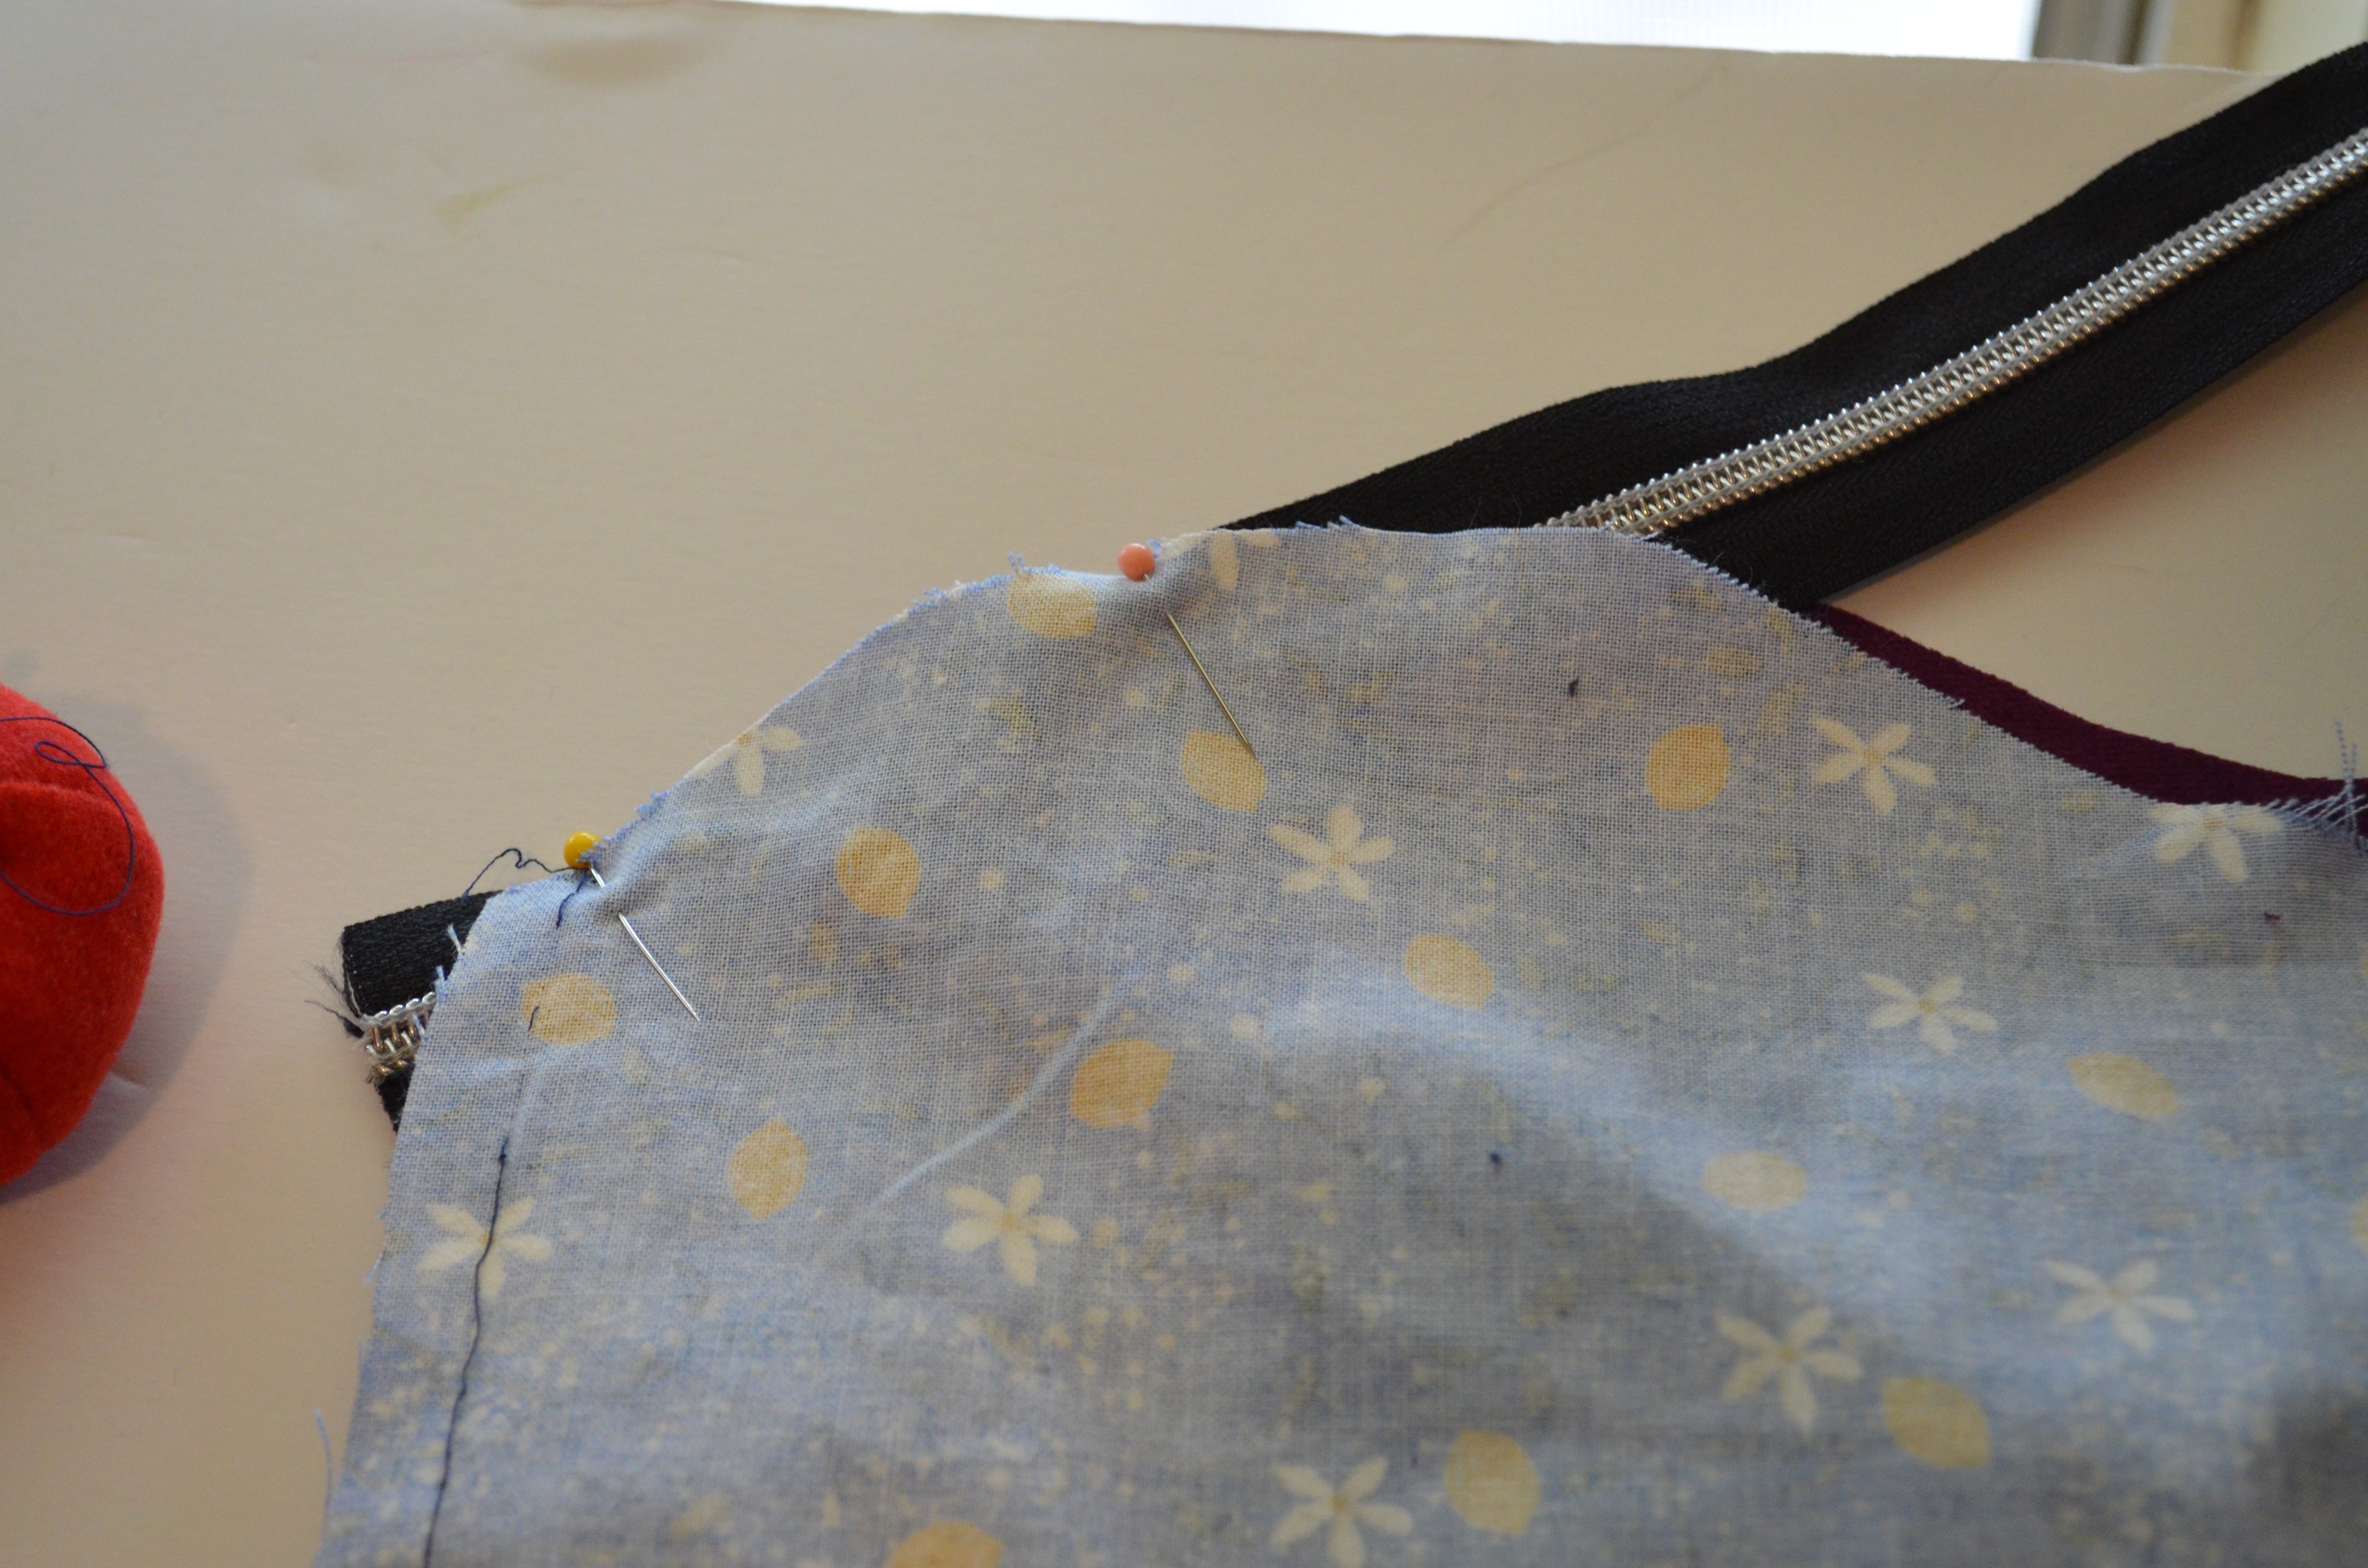
12. PRESS IT FLAT. 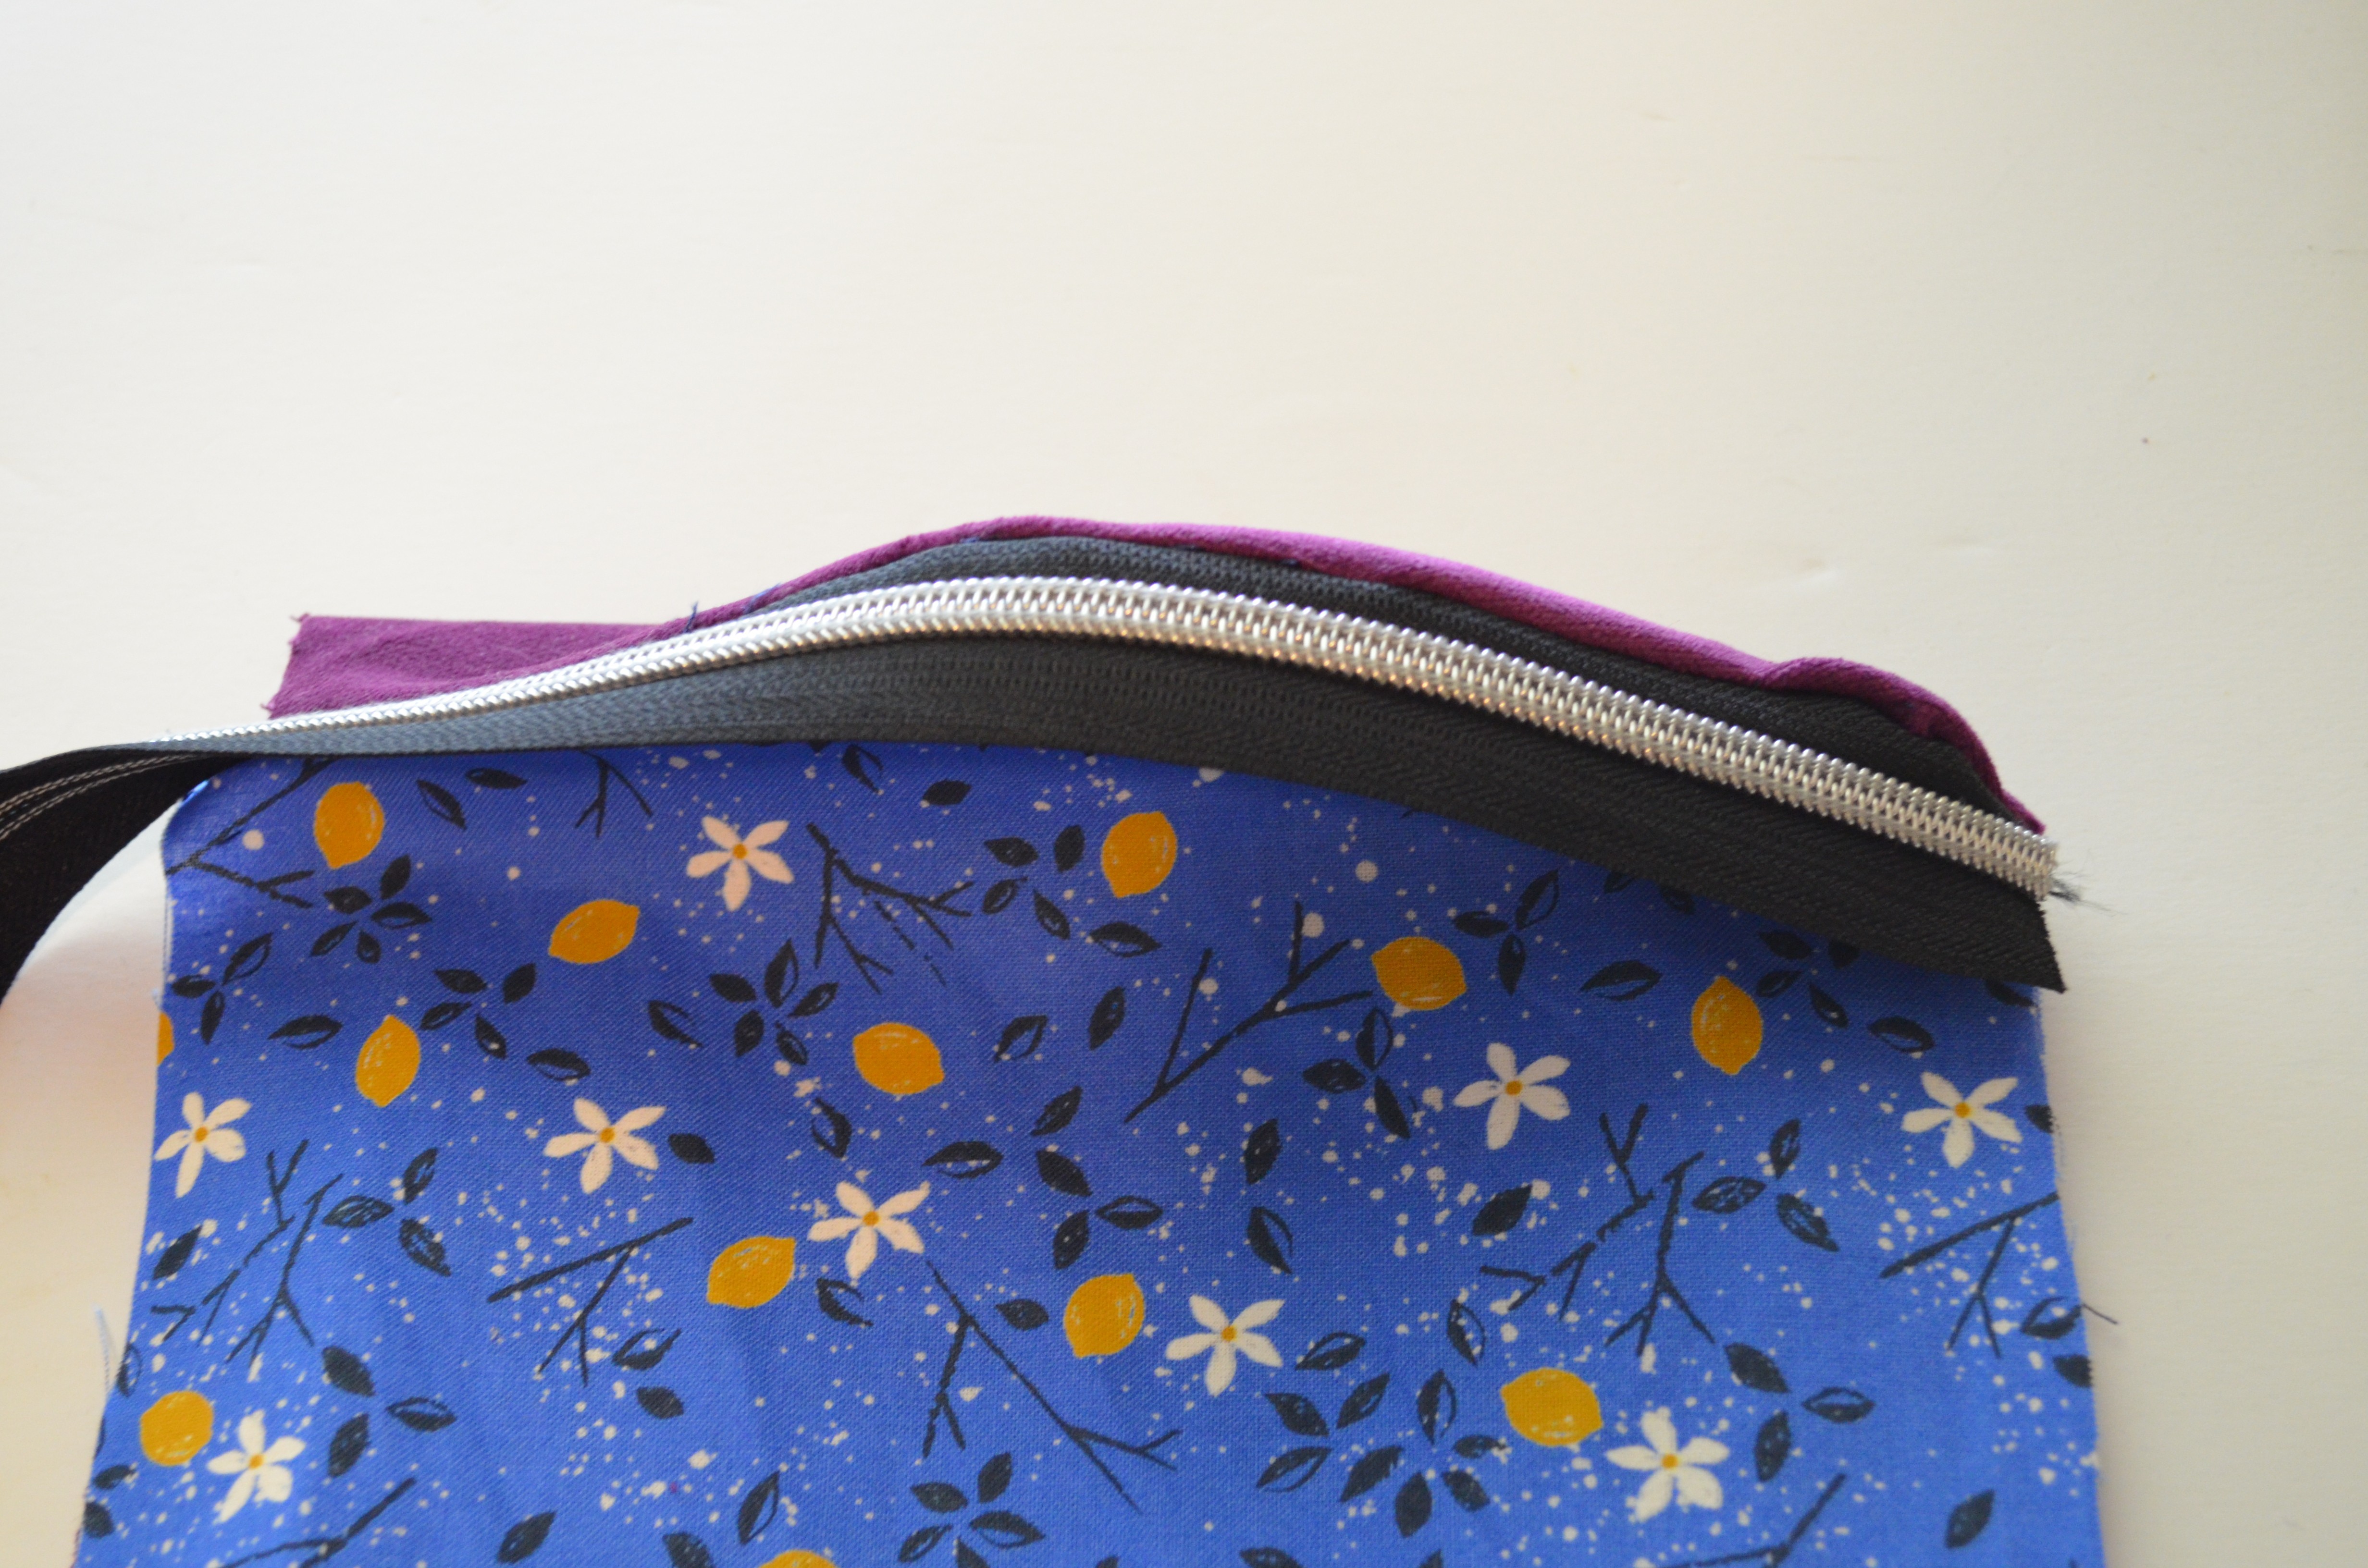
13. NOW YOU WILL NEED TO ADD PLACE THE ZIPPER WITHIN THE MAIN FABRIC AND THE LINING ON THE OTHER SIDE OF THE POUCH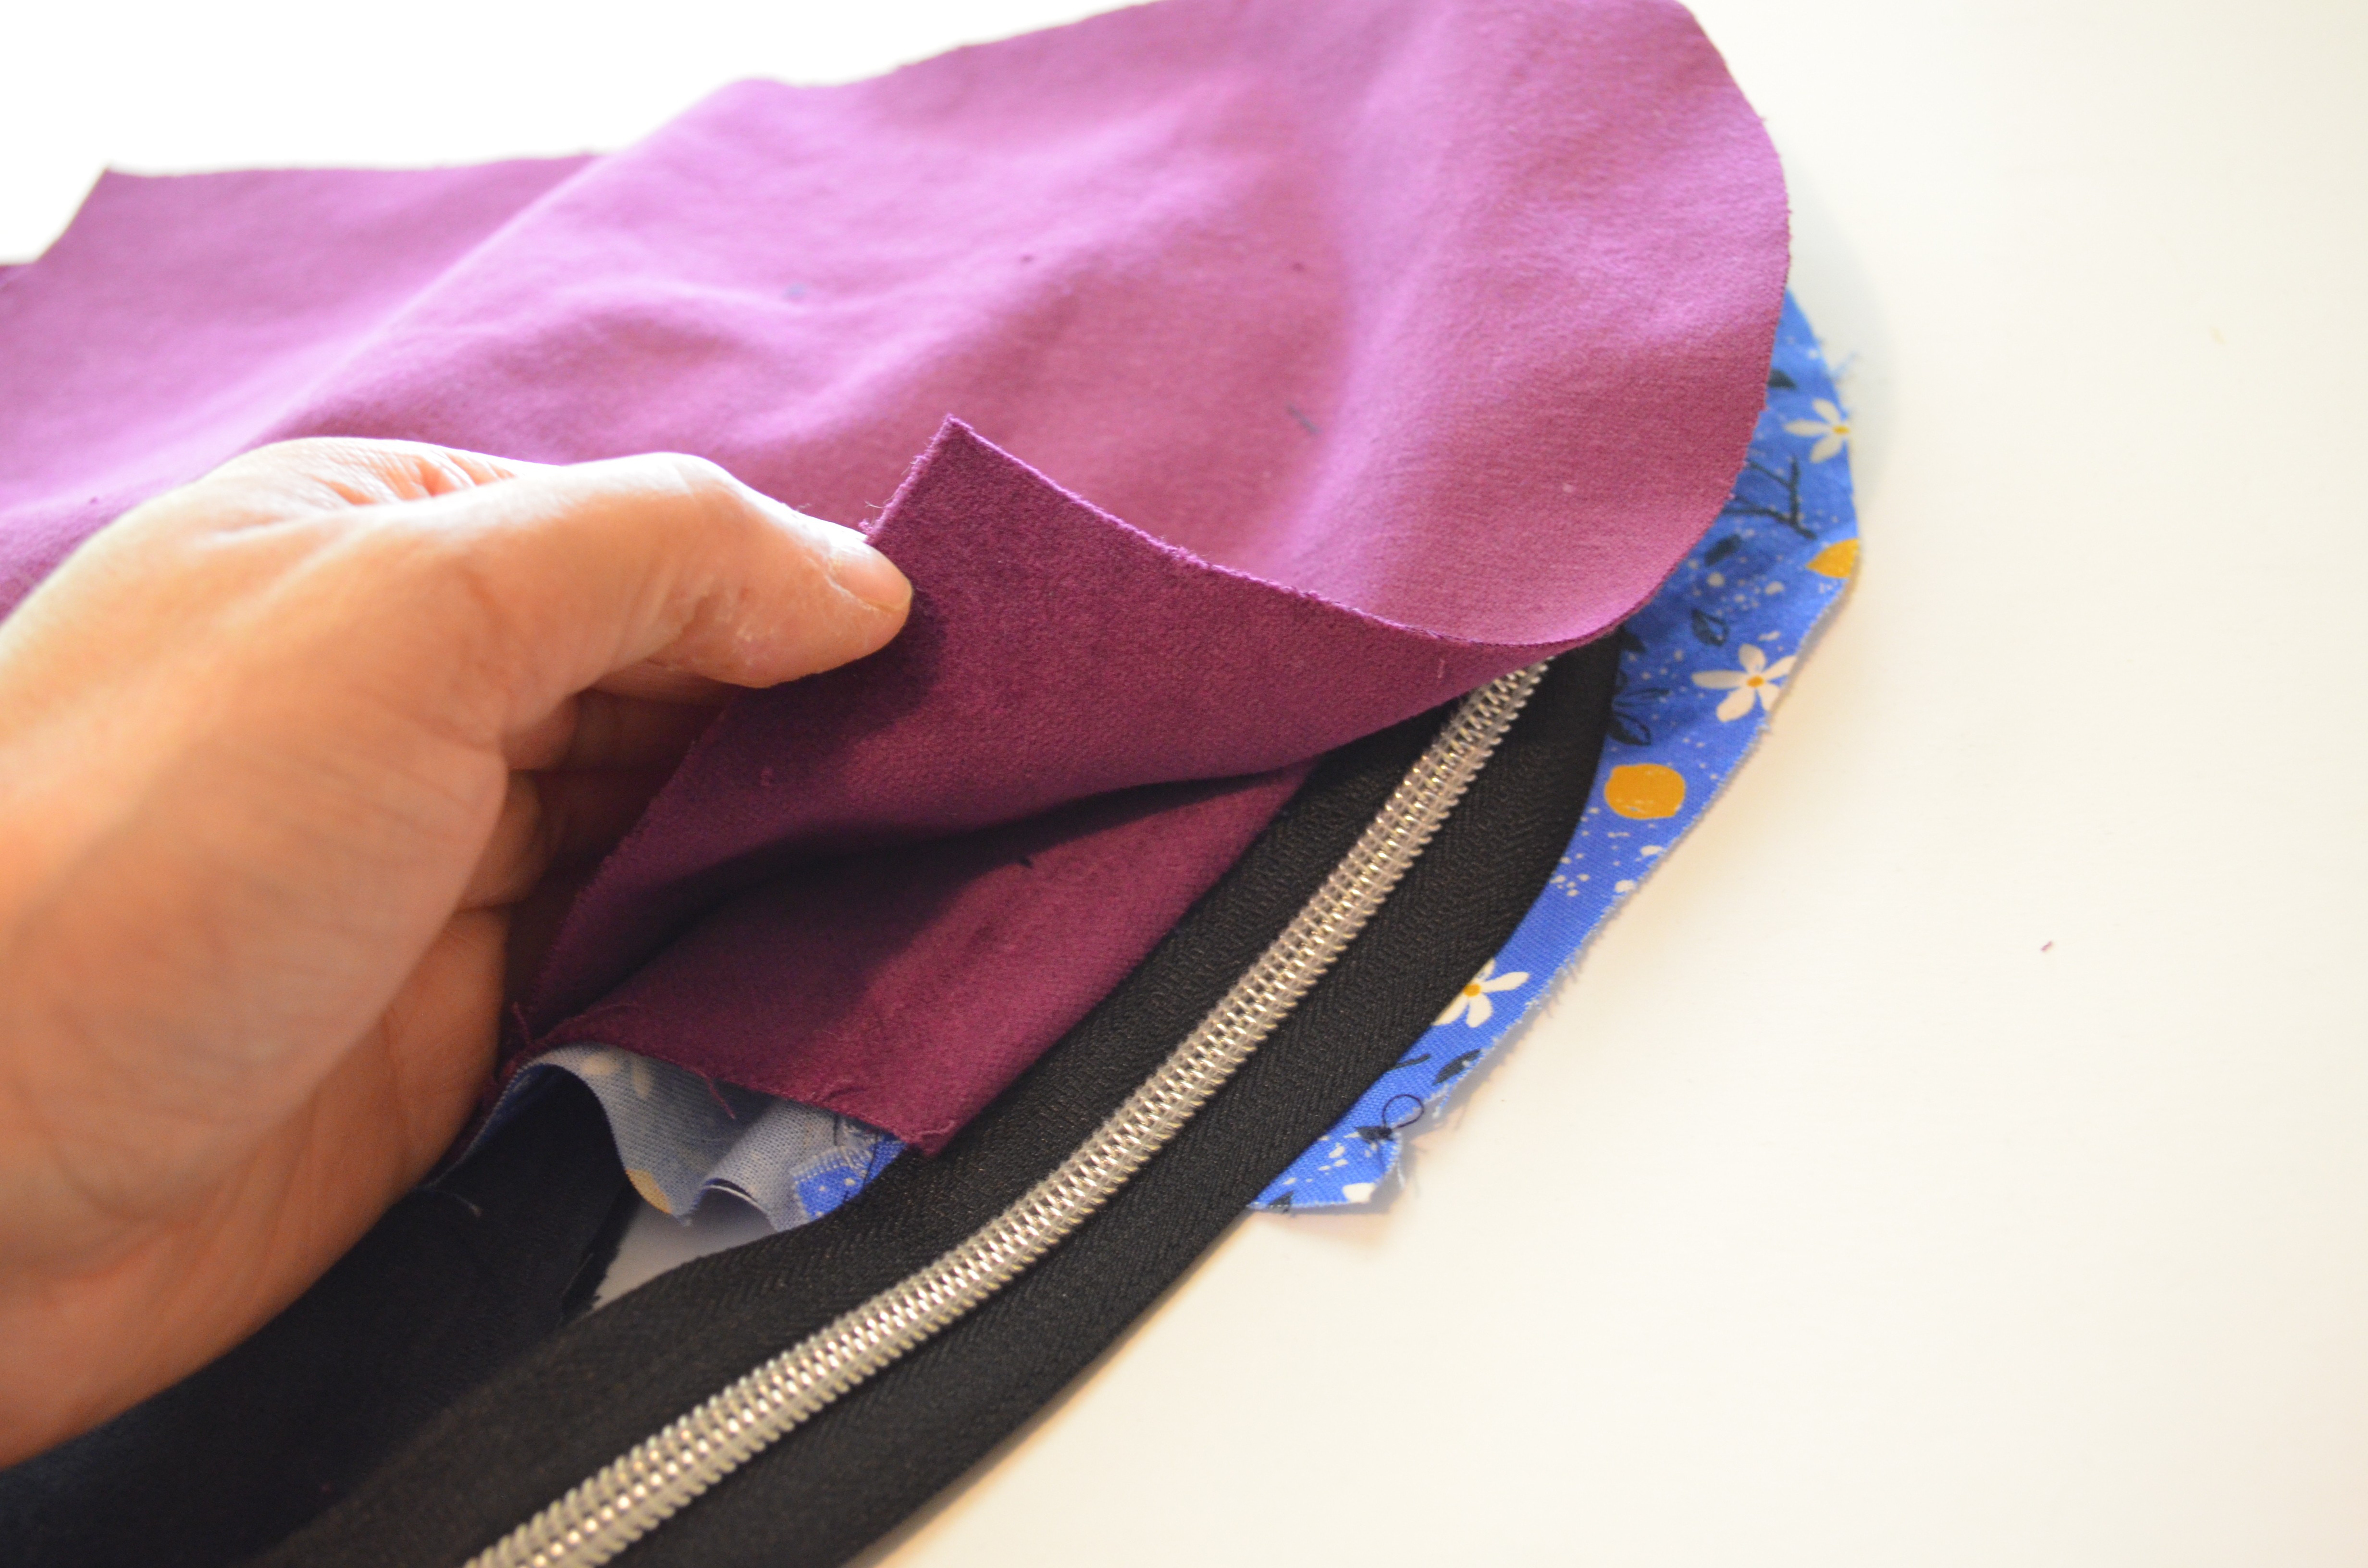
14. NOW BOTH SIDES SHOULD BE ATTACHED TO THE ZIPPER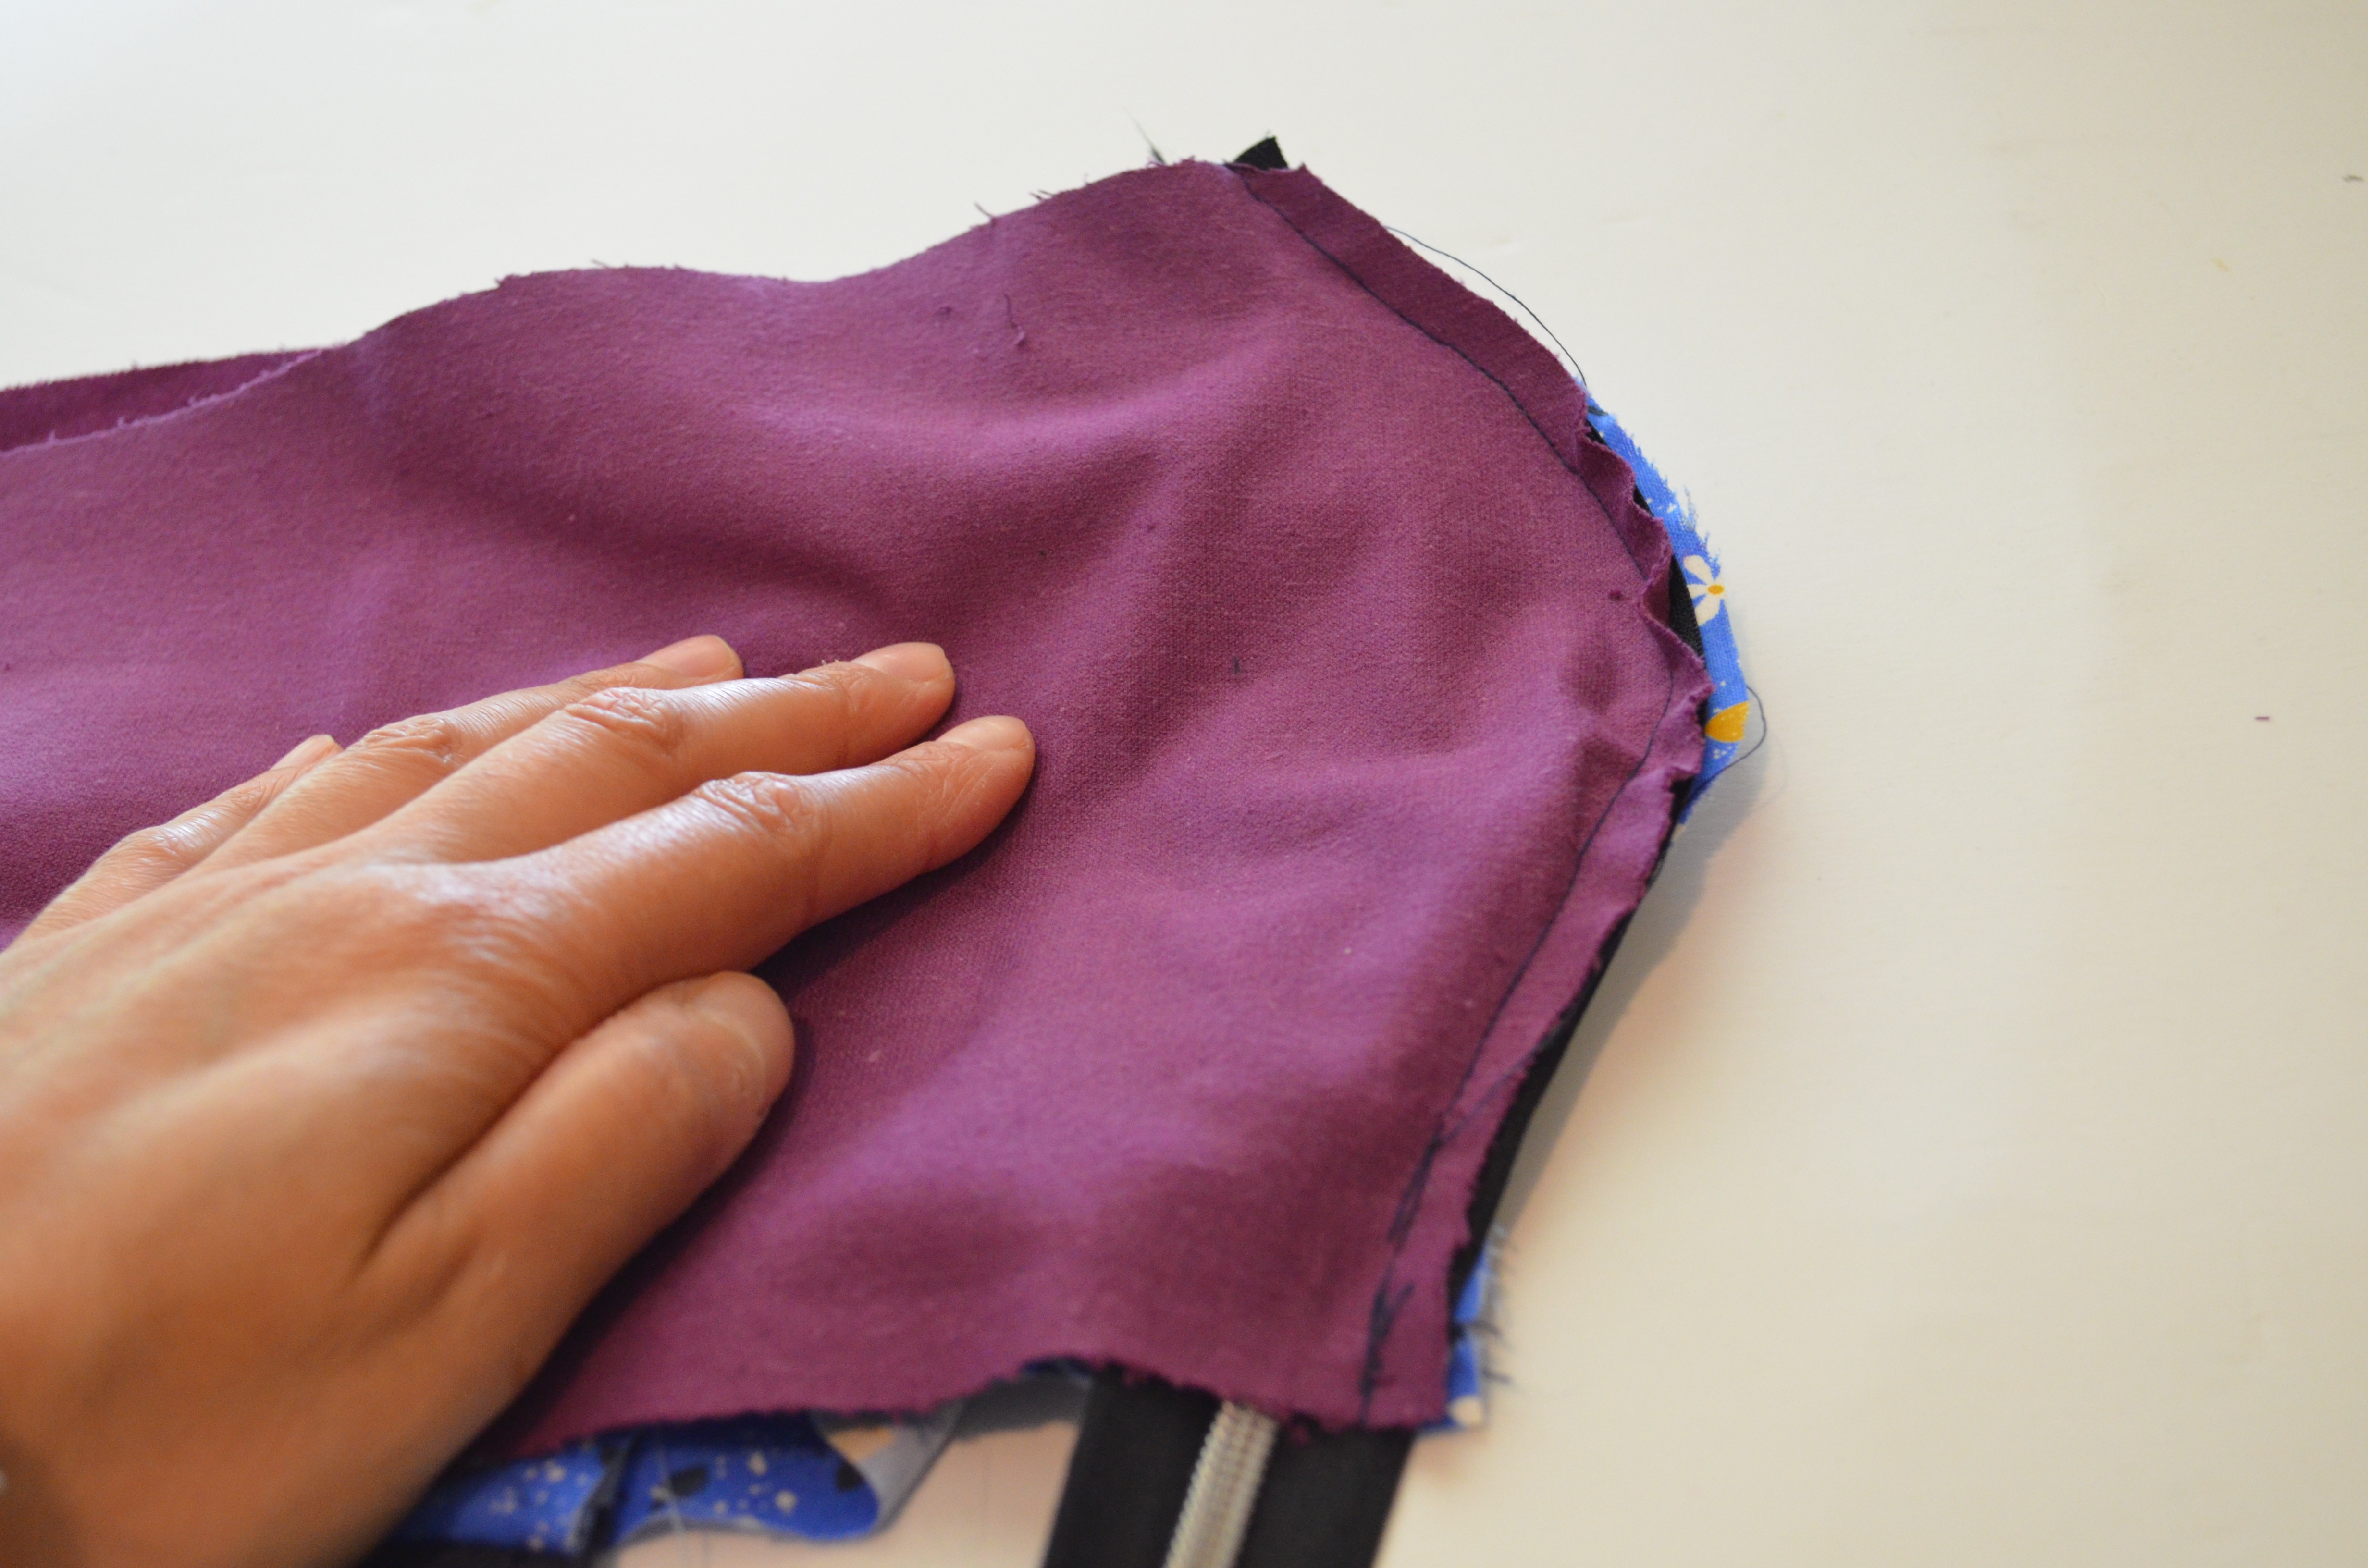
15. YOU CAN ALSO TOPSTITCH THE POUCH WITH A 1/8 INCH SEAM ALLOWANCE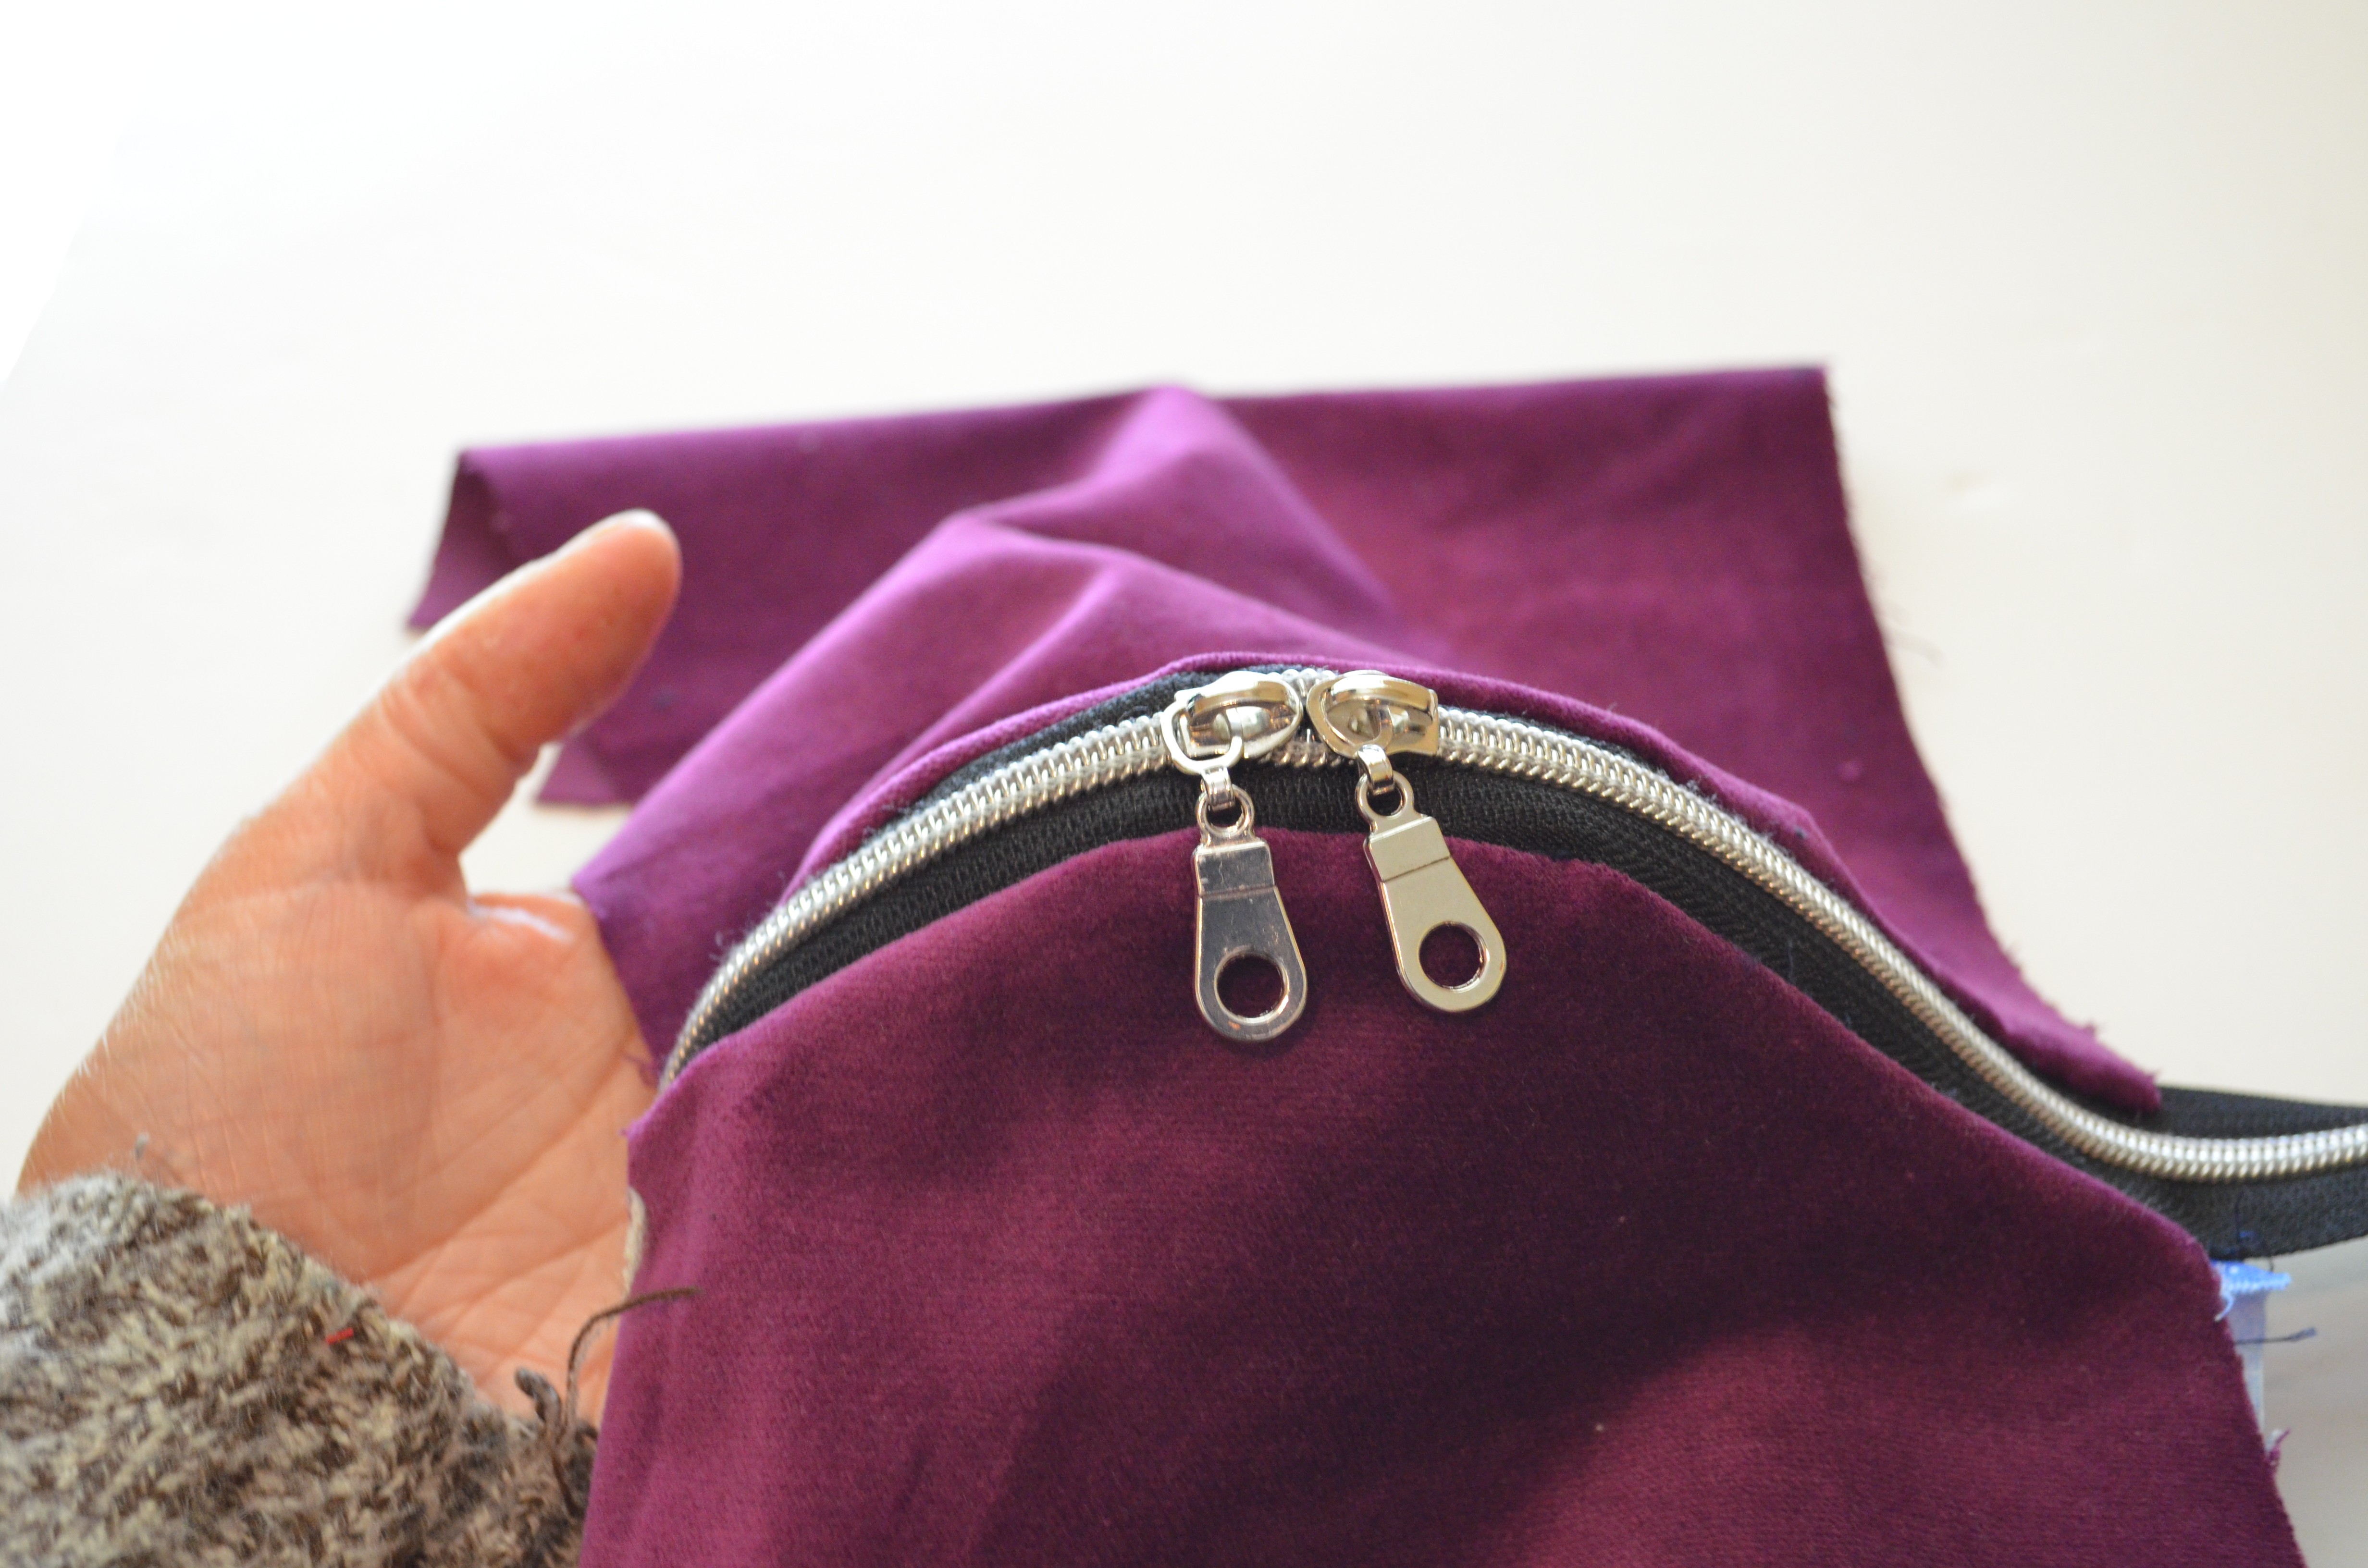
16. OPEN AND MATCH THE LINING FABRICS TOGETHER, RIGHT SIDES FACING. DO THE SAME WITH THE MAIN FABRIC. STITCH AROUND THE SIDES AND BOTTOMS, ONLY LEAVING AN 2” OPENING ON THE BOTTOM OF THE LINING.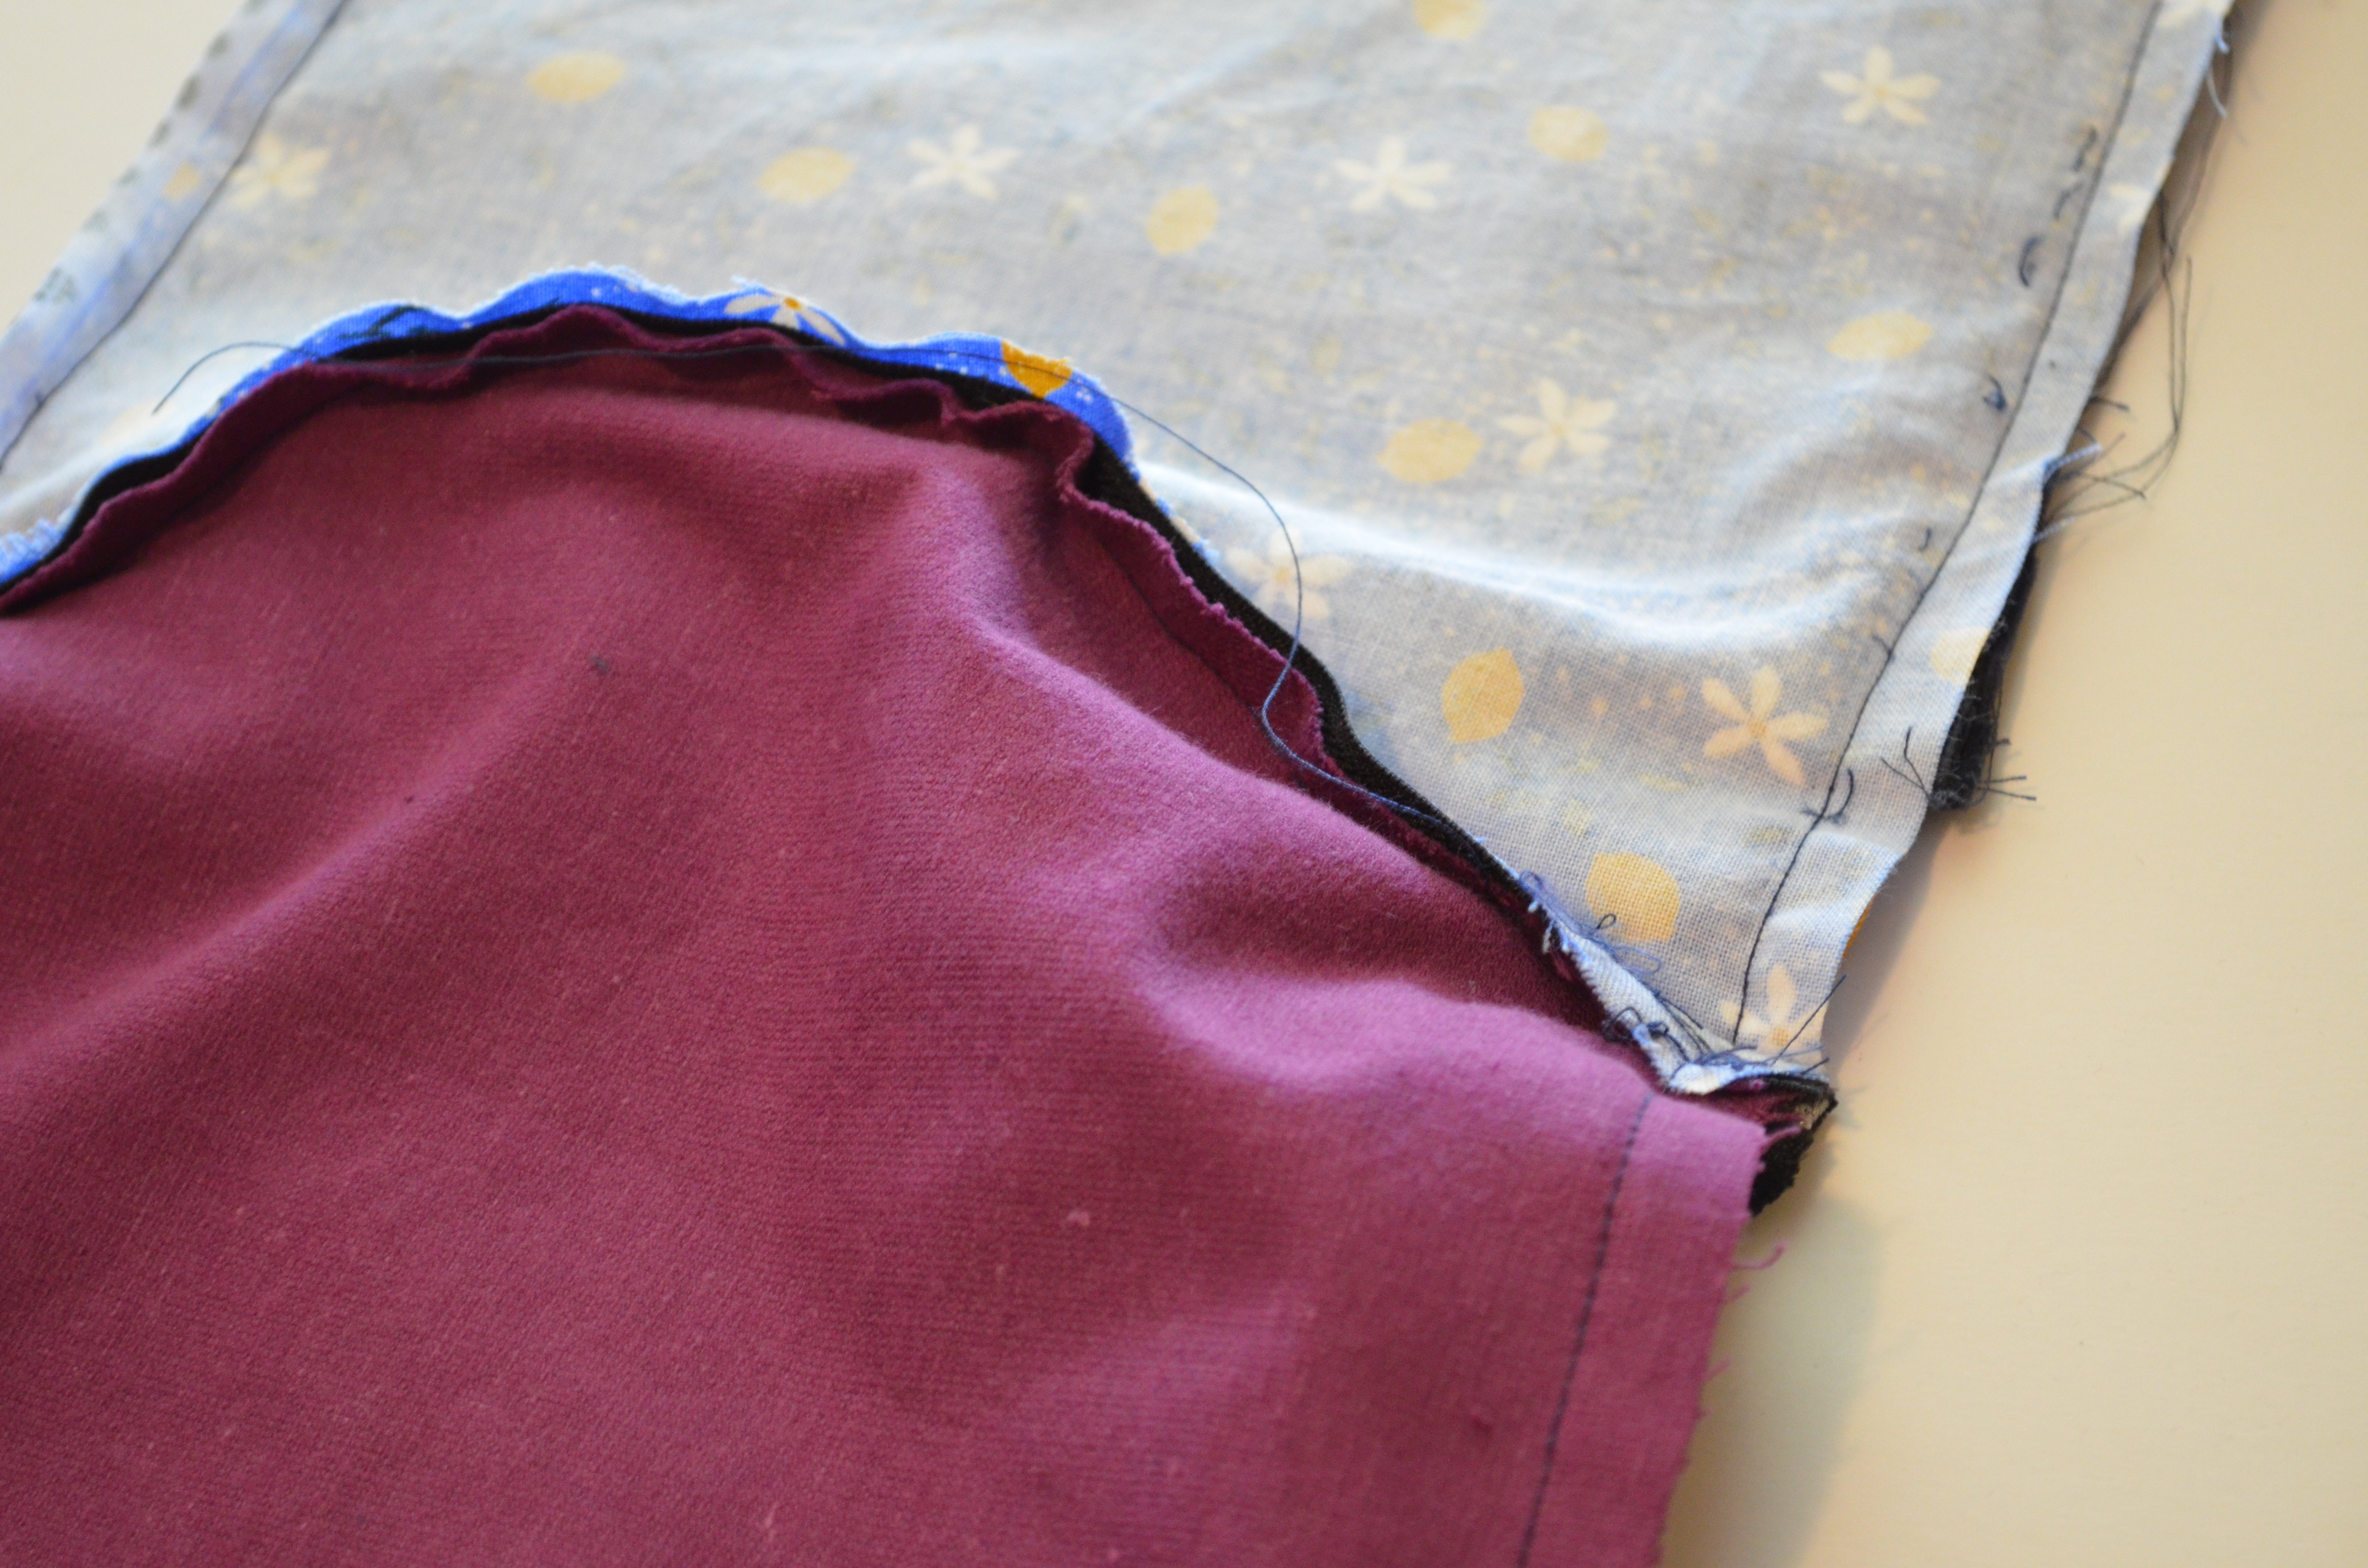
17. FROM THAT OPENING YOU WILL TURN THE POUCH TO THE RIGHT SIDE OF THE FABRIC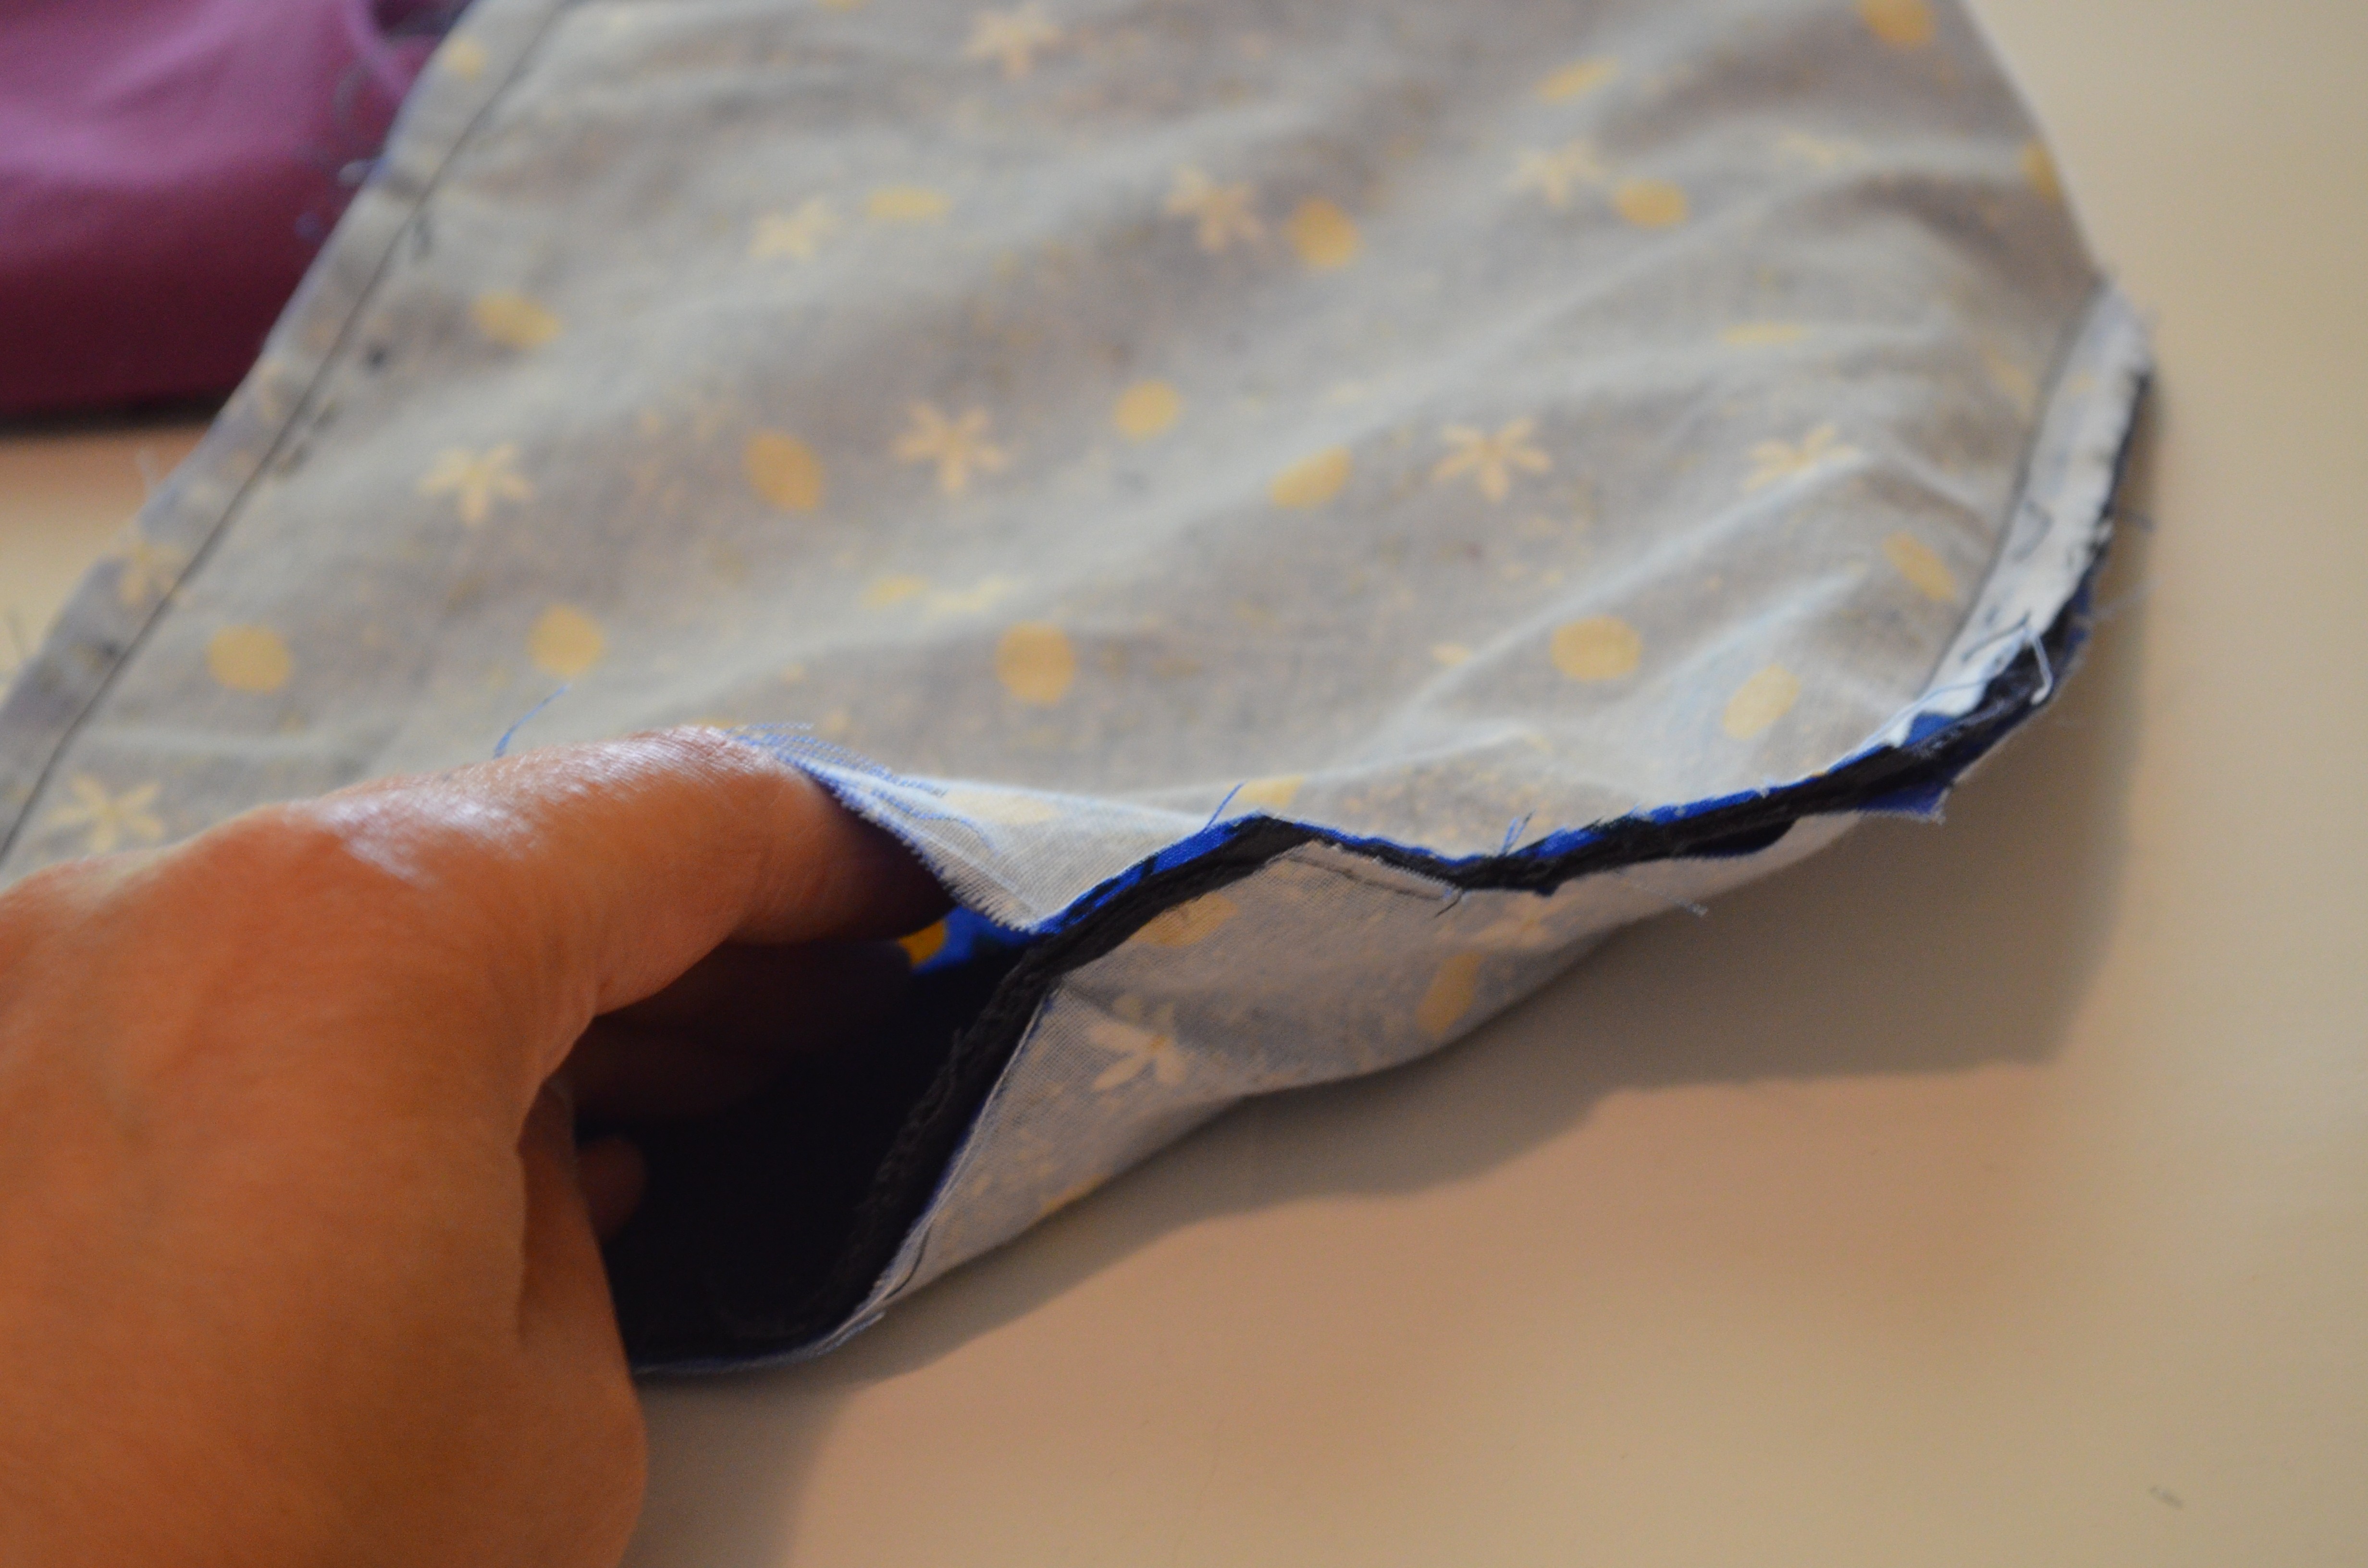
18. PRESS THE FABRIC OF THE POUCH AND FOLD THE OPENING TO THE INSIDE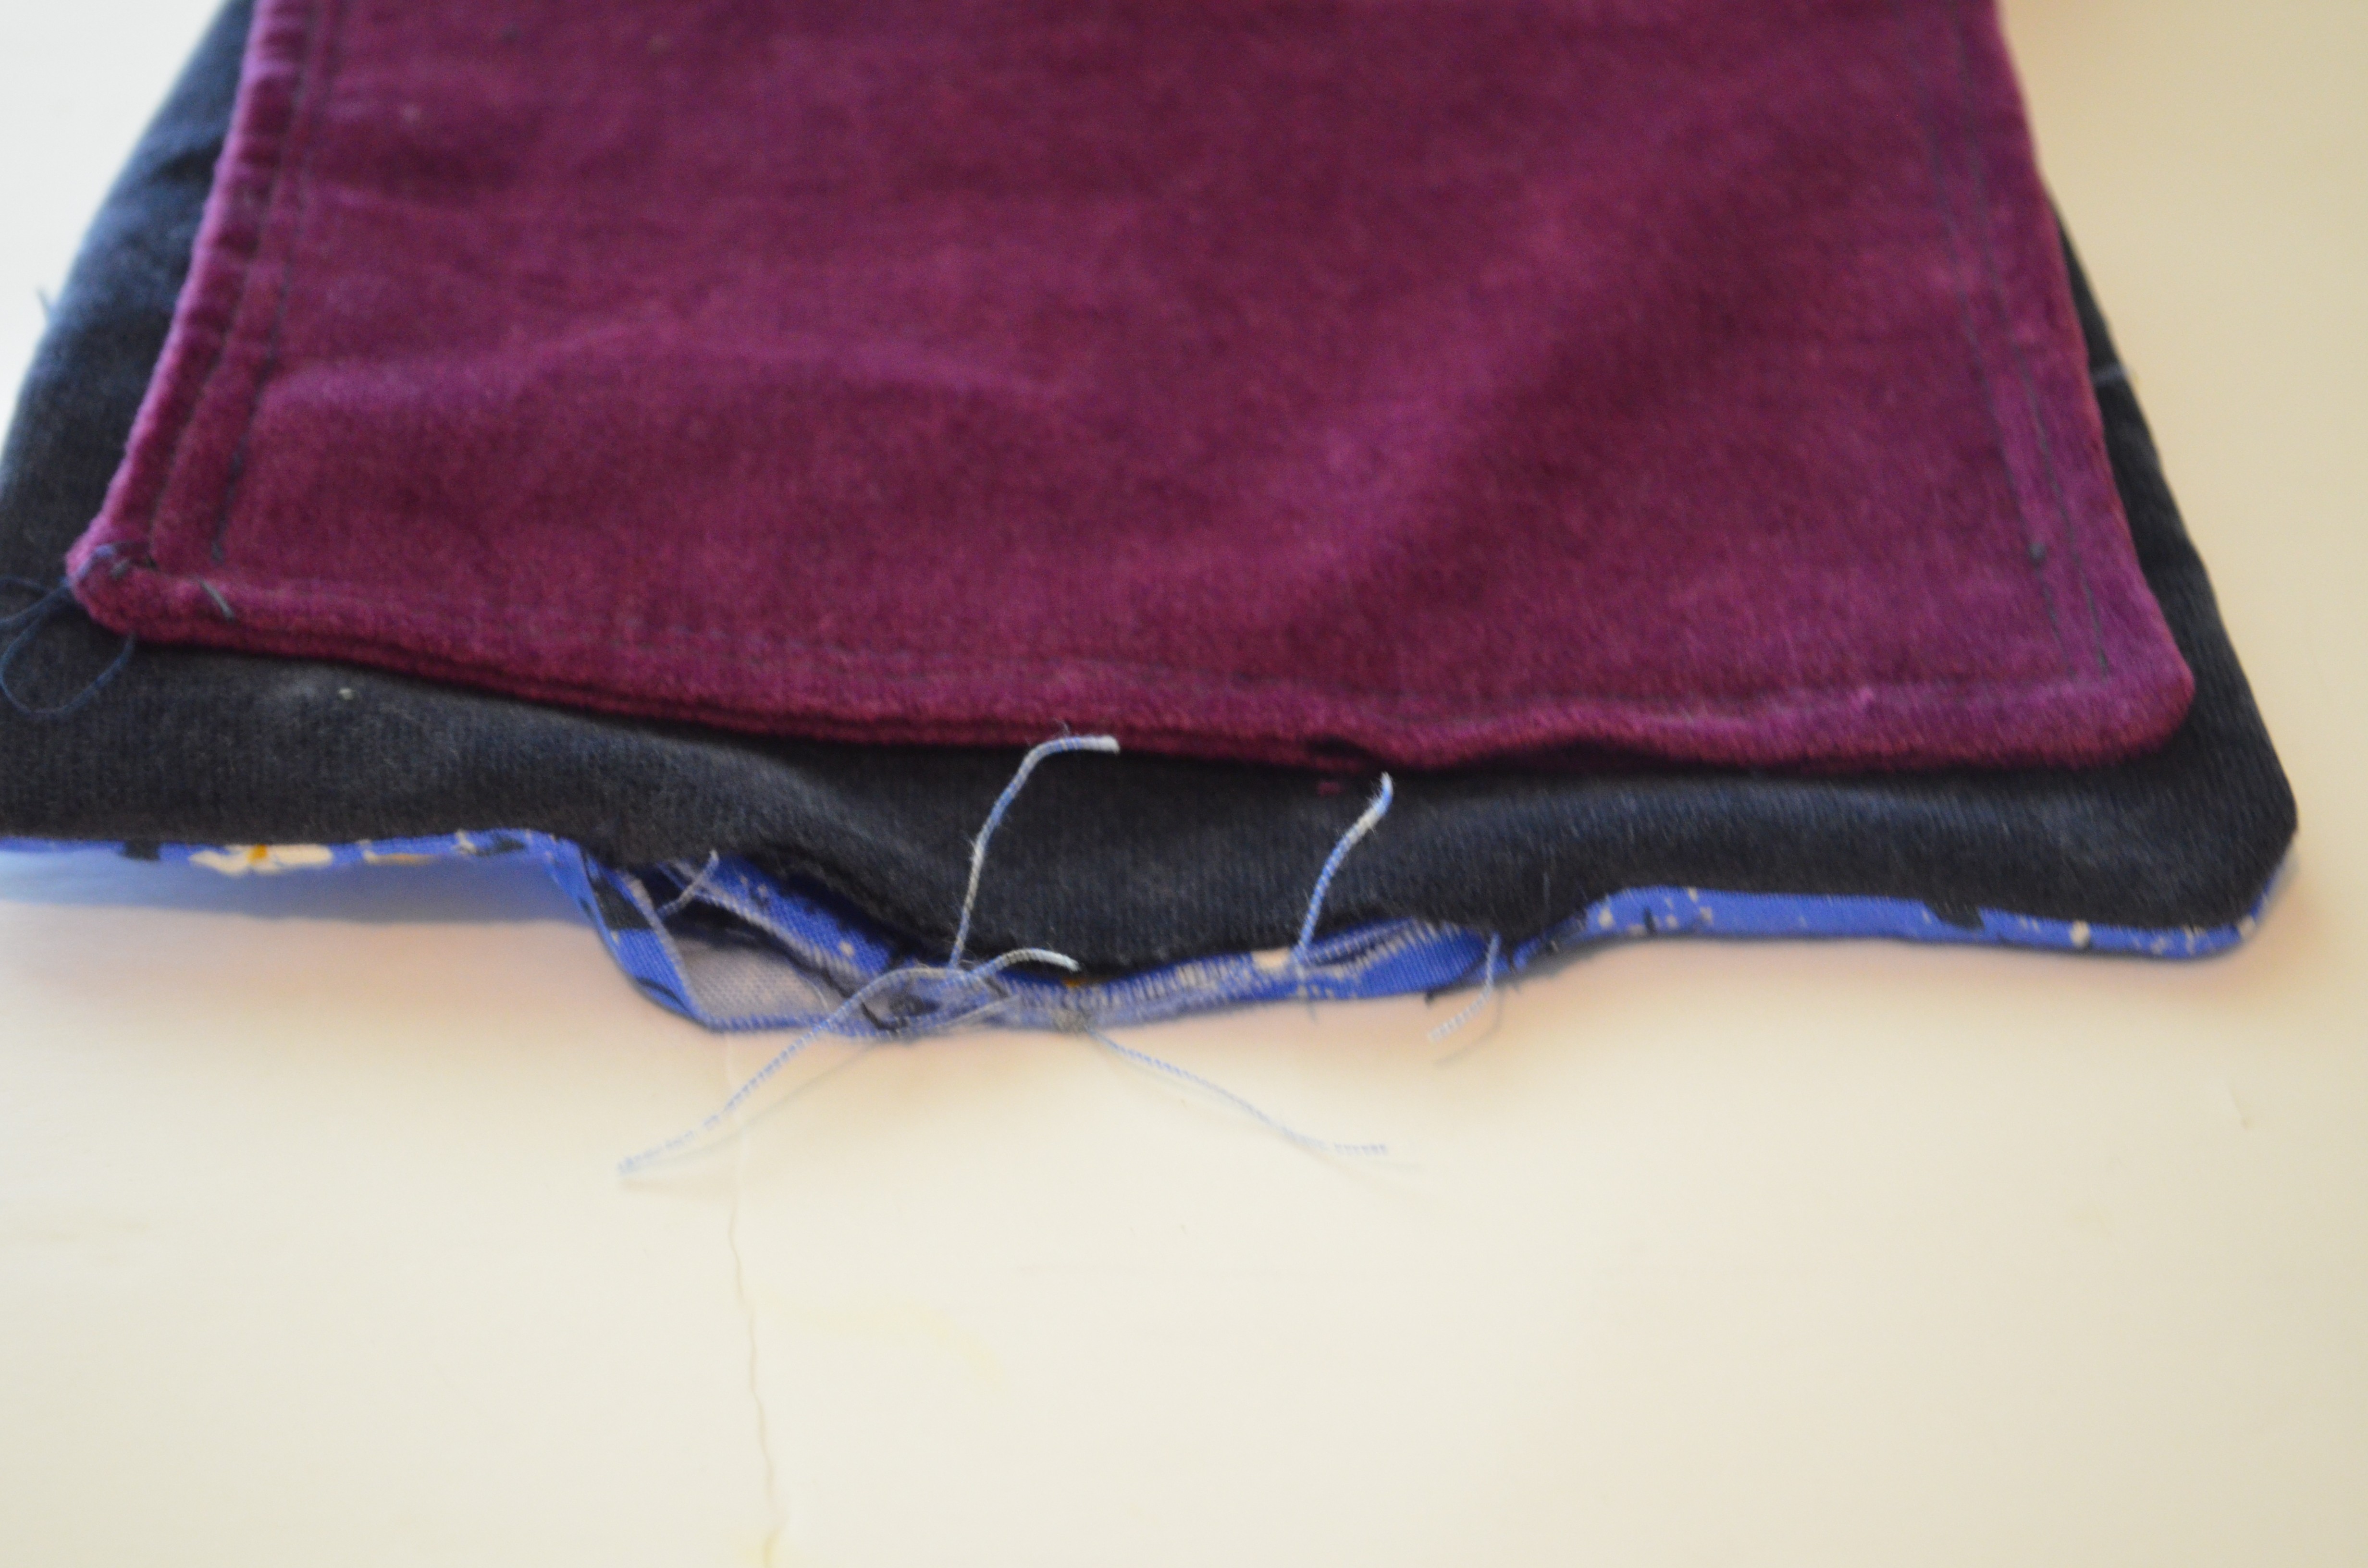
19. STITCH THE BOTTOM OF THE LINING WITH A 1/8 INCH SEAM ALLOWANCE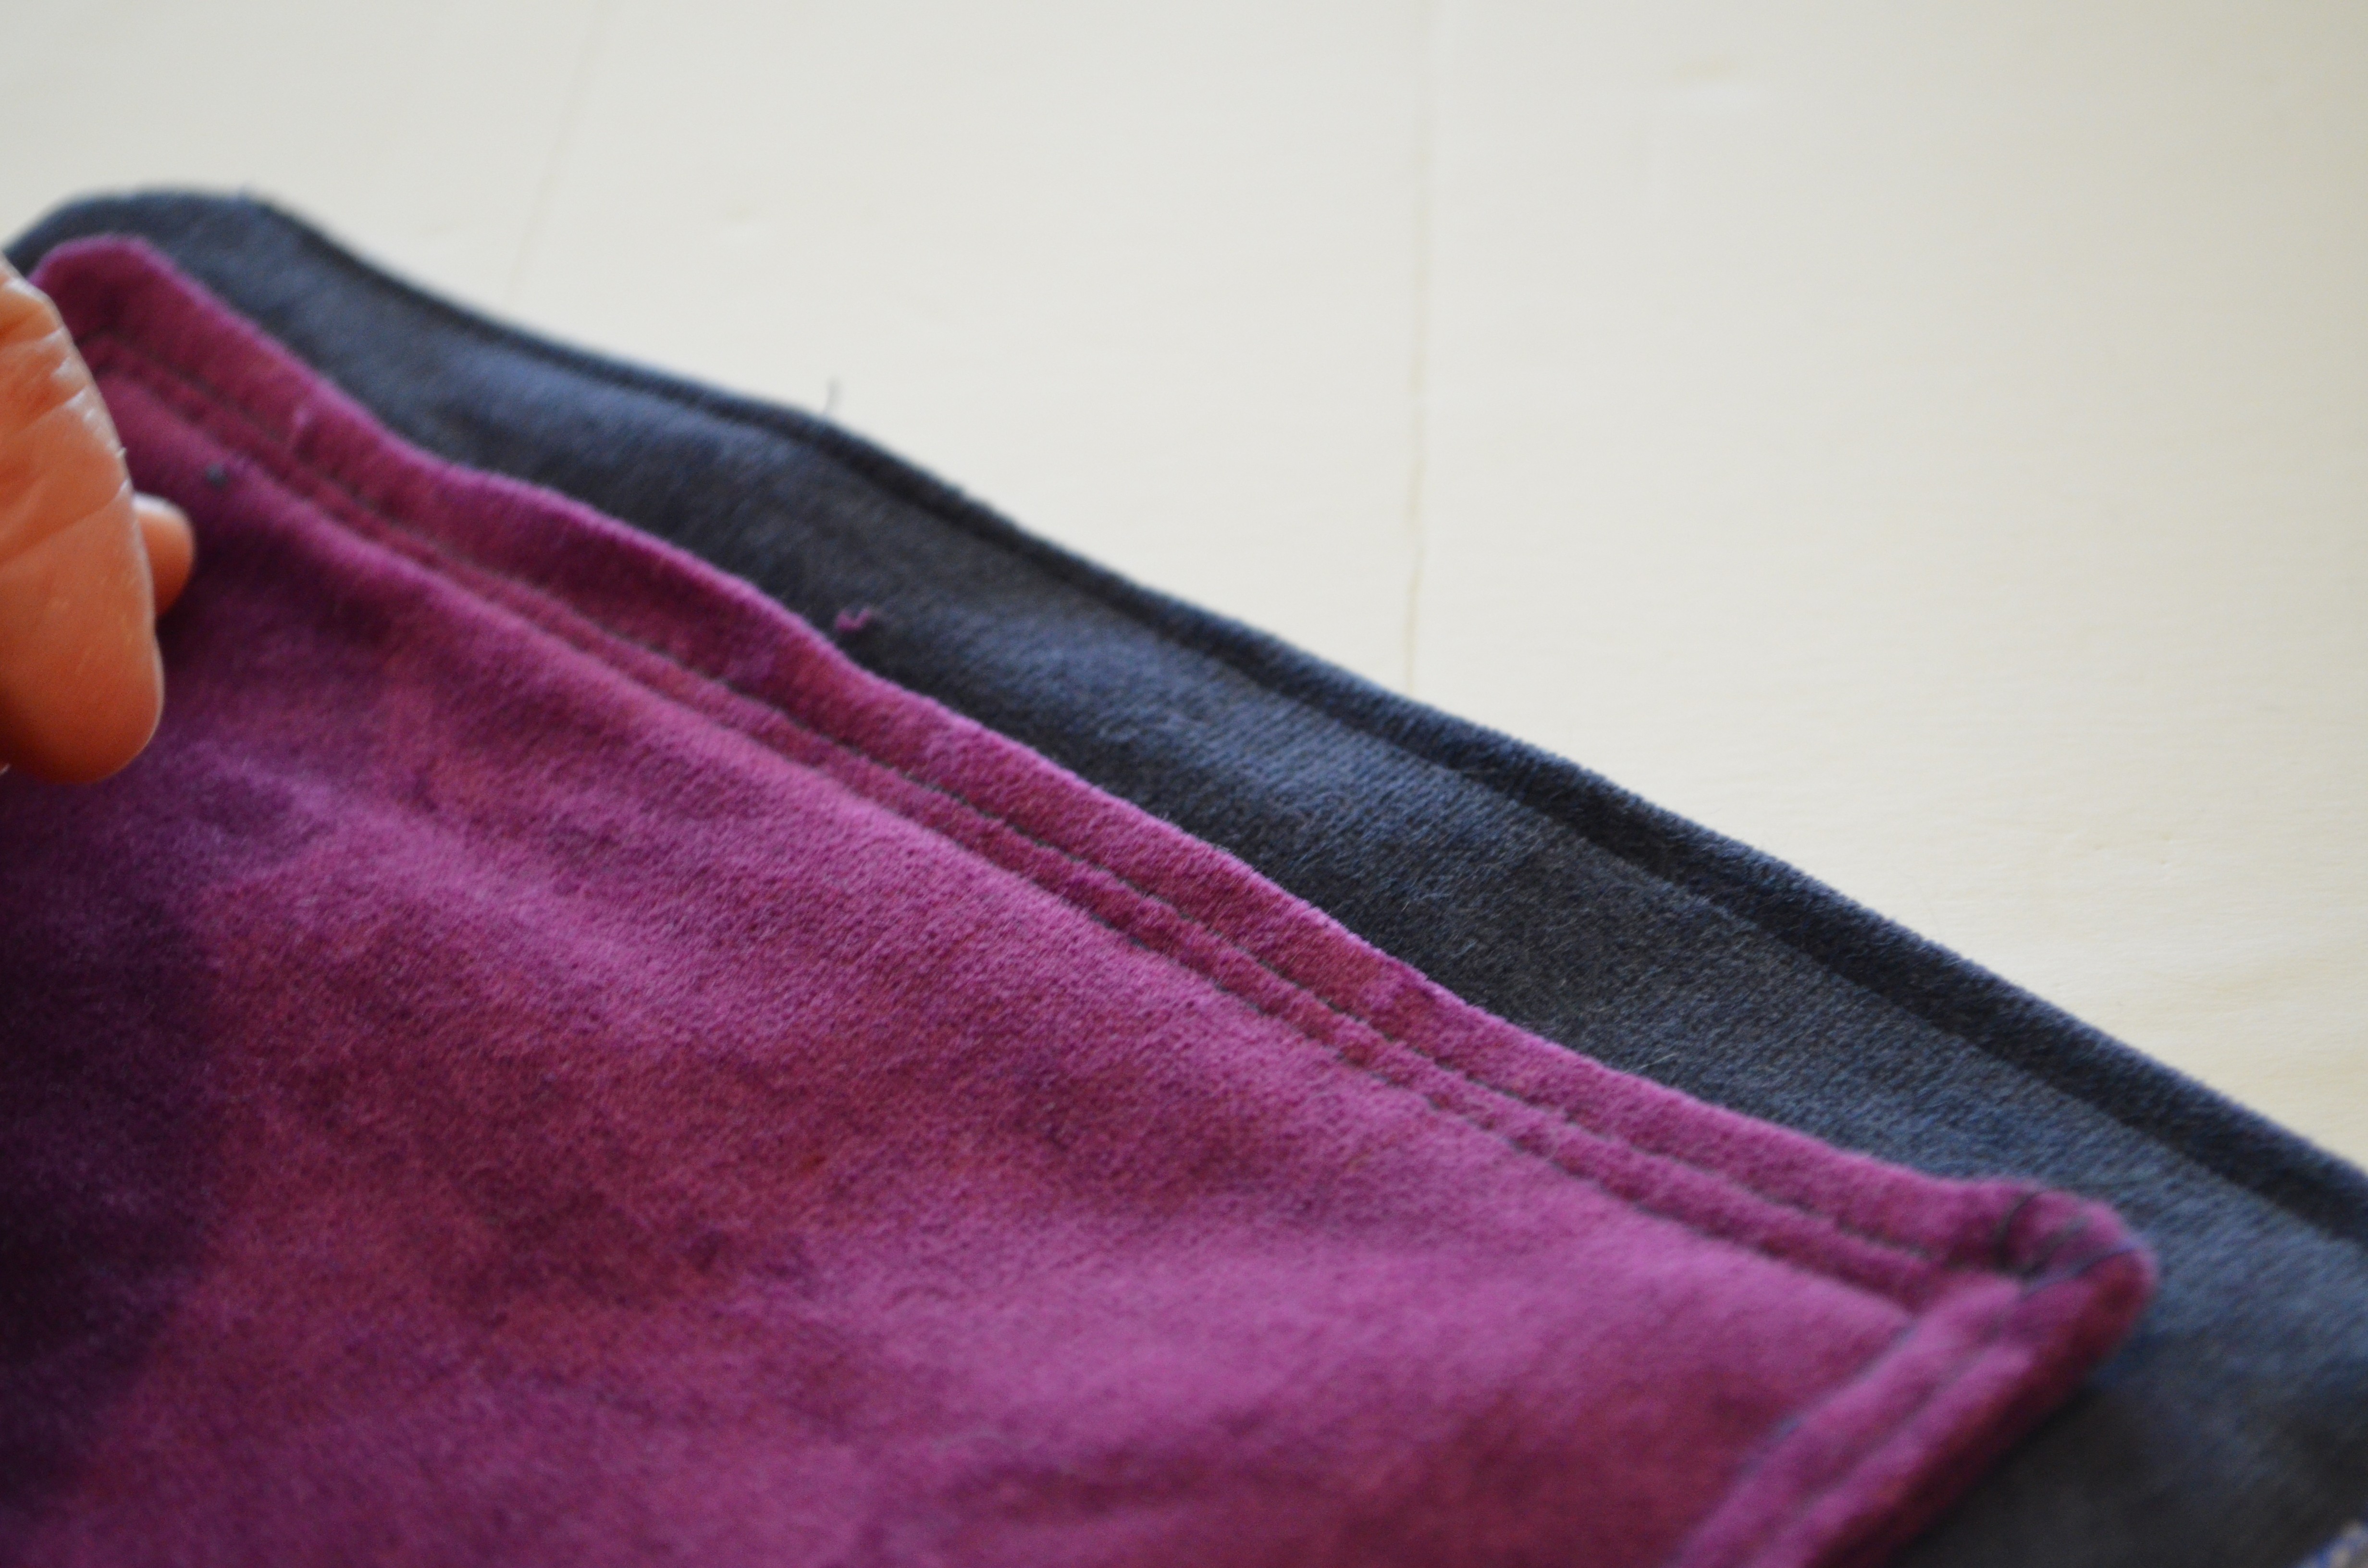
20. FINALLY, ADD THE STRAP TO THE TABS.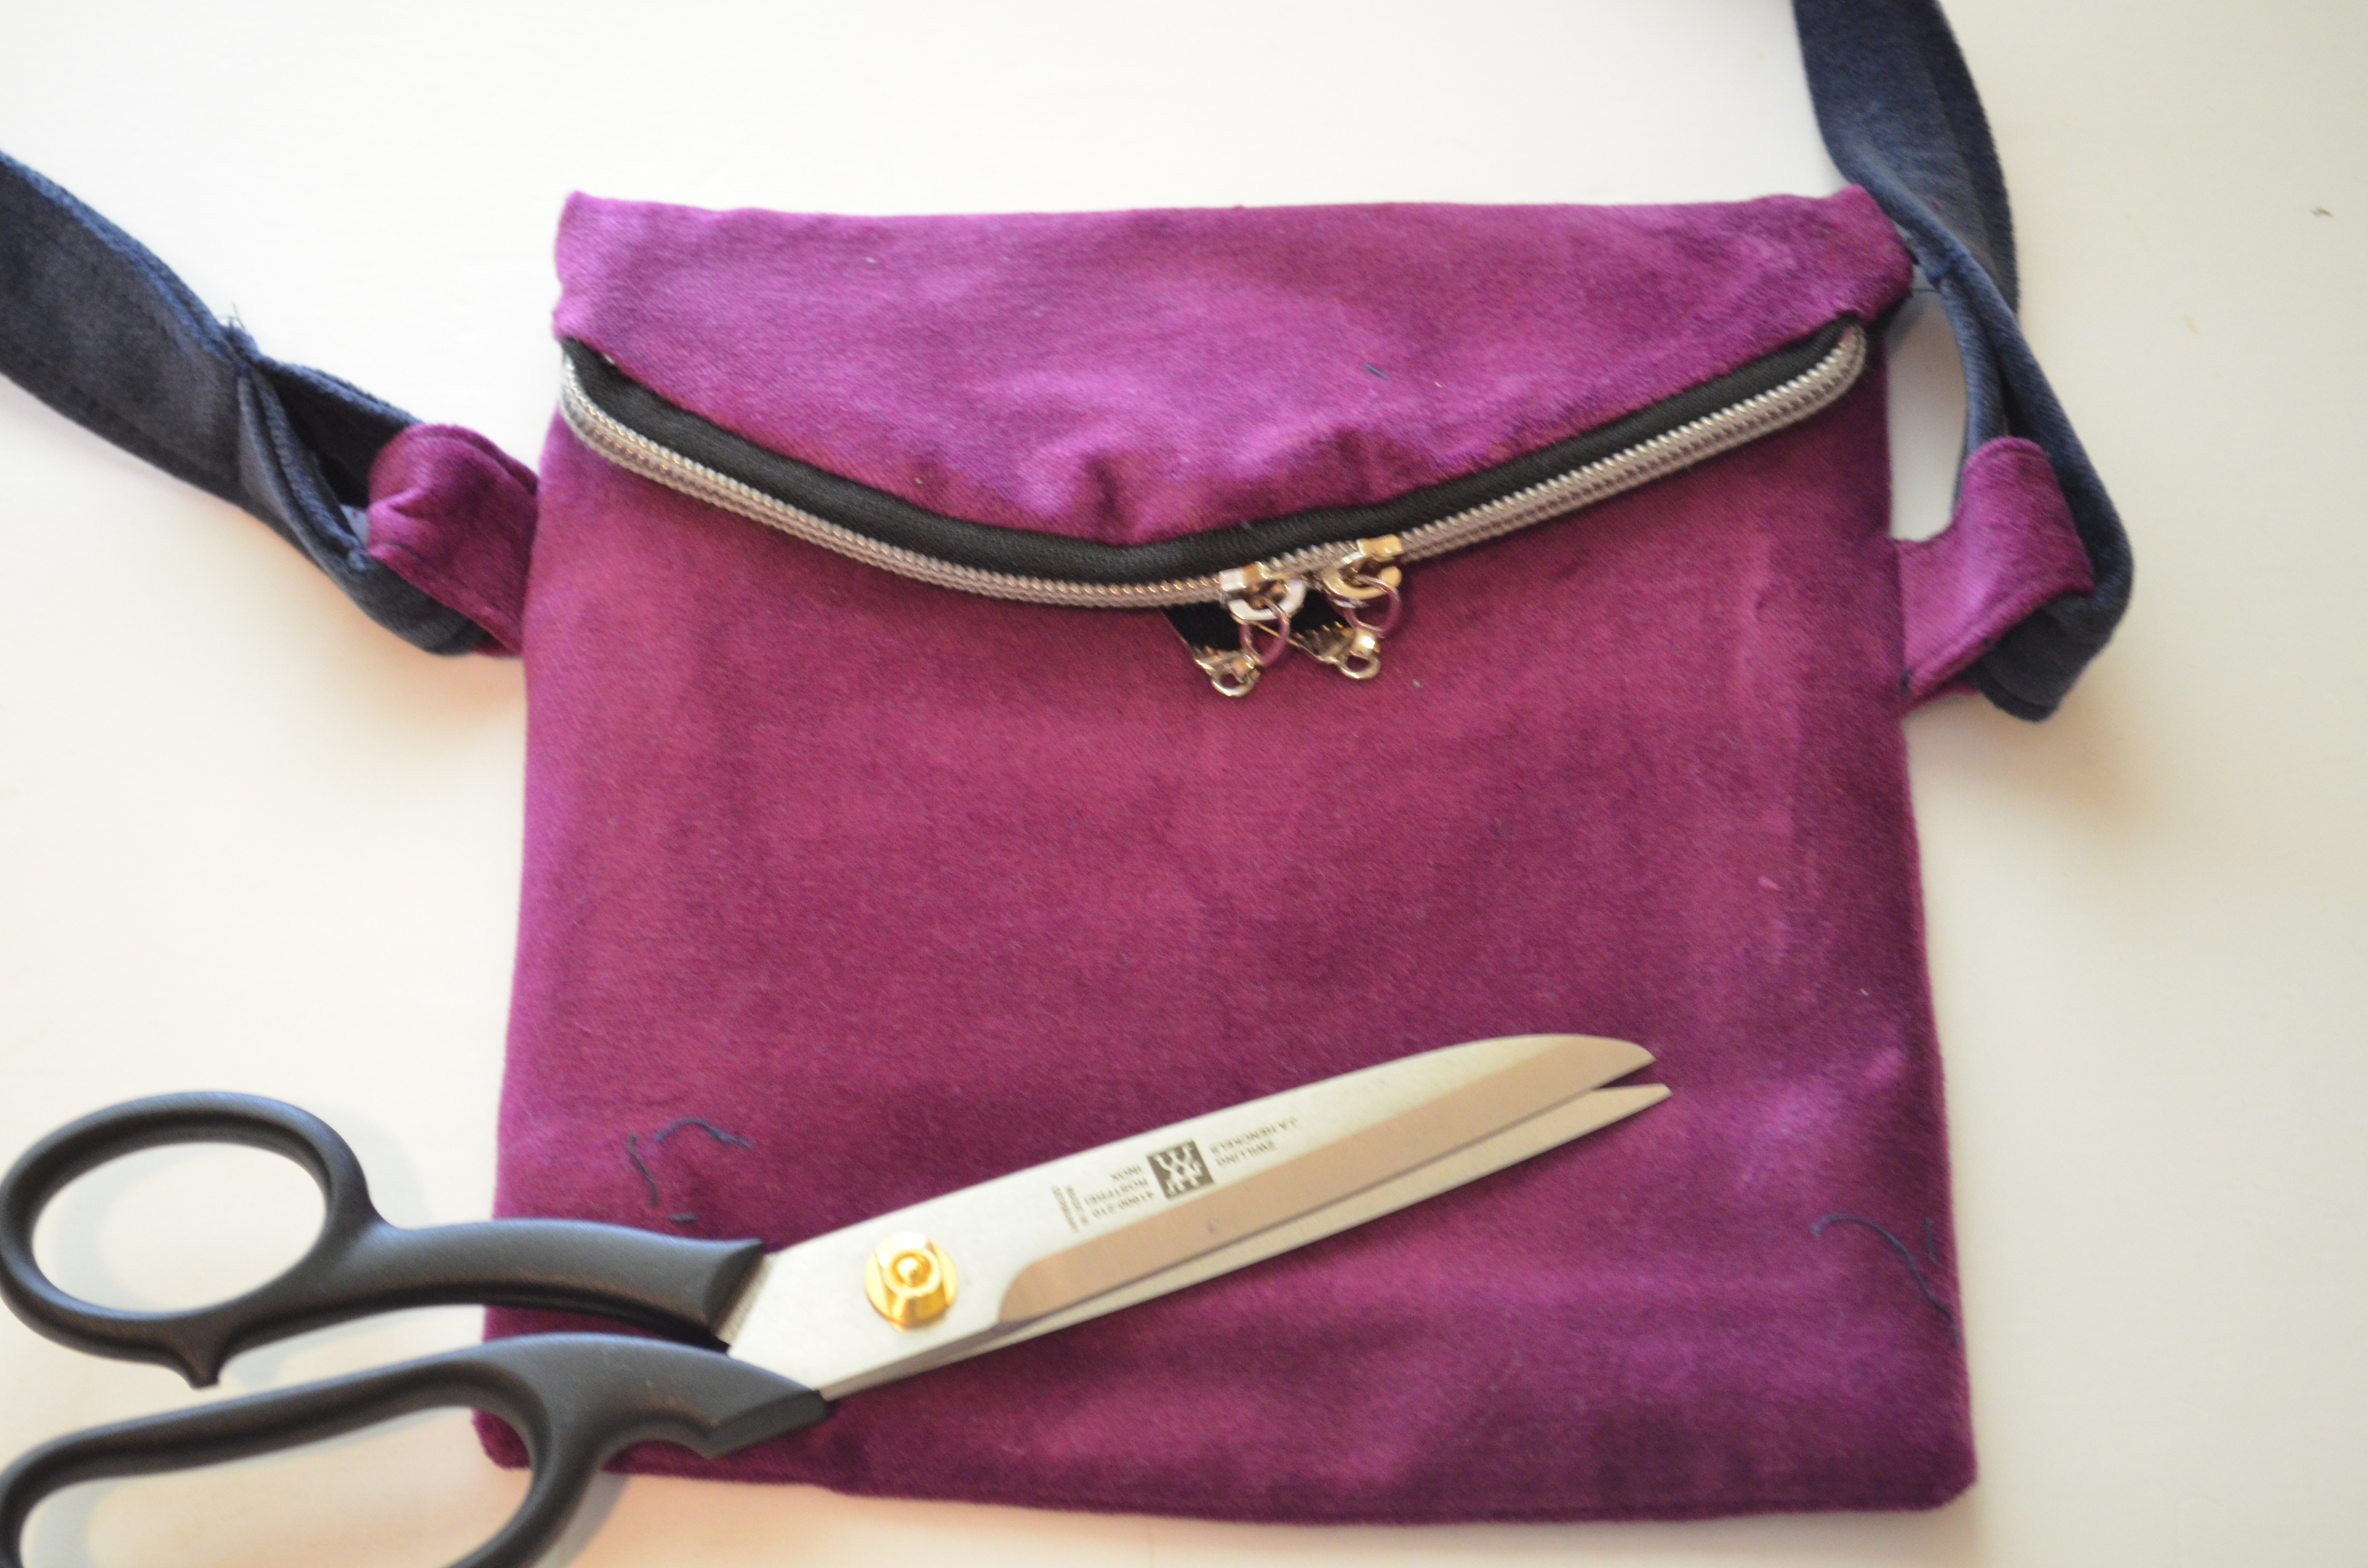
AND THAT IS ALL!
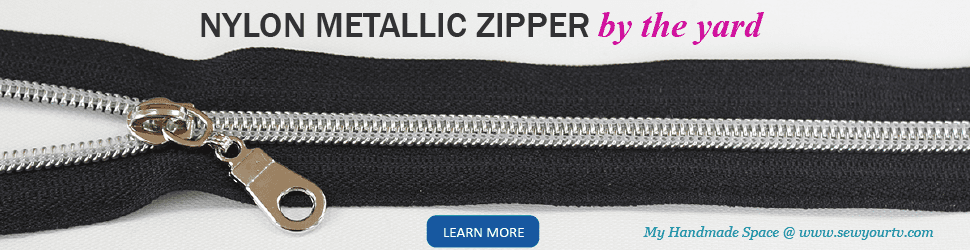
I hope you have enjoyed this post and remember to get your zipper at My Handmade Space
Leave a Reply