Hello there,
Thanks for visiting us today. This is a quick tutorial on How to make a Blind Hem.
This is an easy step by step sewing tutorial.
If this is your first time in our blog, remember to check our FREE SEWING PATTERNS page.
On that page you will find our collection of free sewing patterns for women, kids and men.
You can also visit our SEWING TUTORIALS and our SEWING REVIEWS.
We also have an ETSY STORE, where you will find unique and modern sewing pattern for women.
You can also sign up for our newsletter on the sidebar of this post, so you will never miss a post!
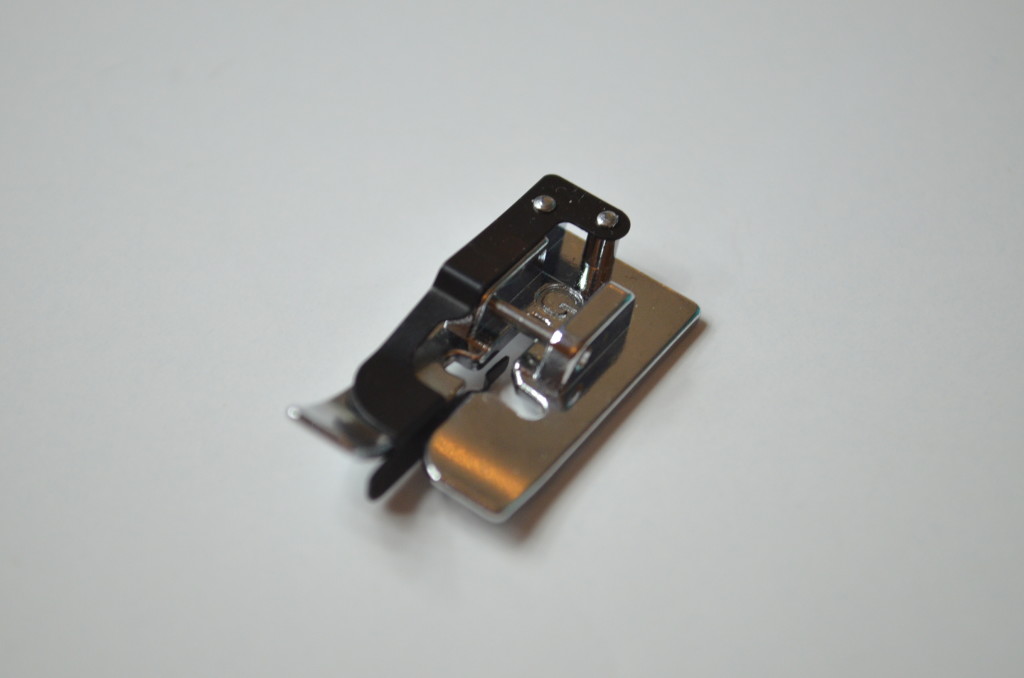
- You will need your Blind Hem Presser Foot
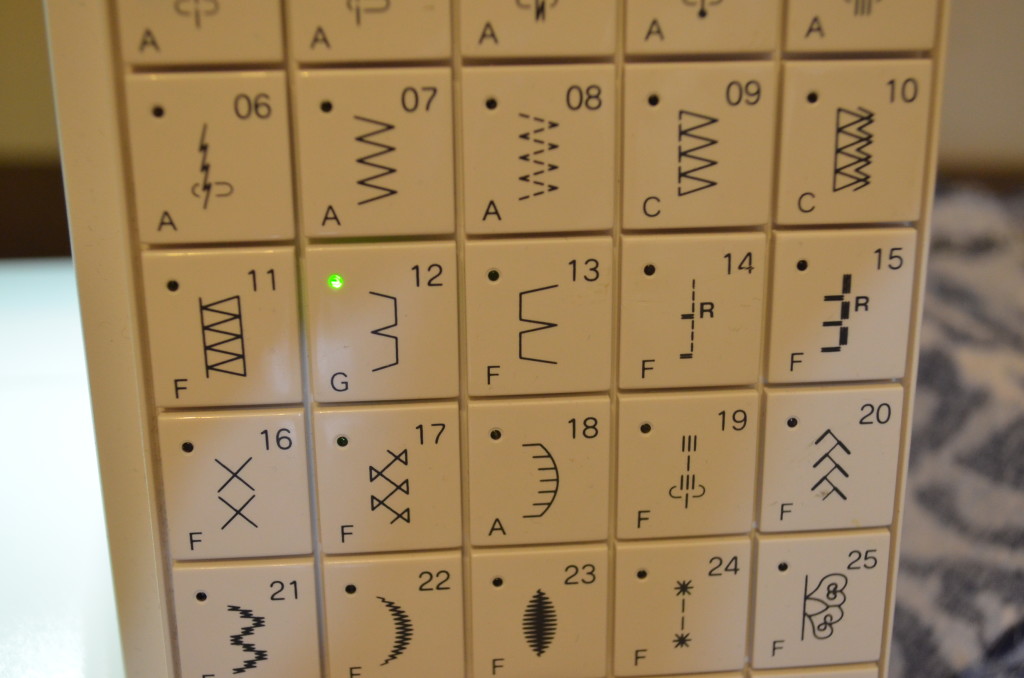
2. After that, set your sewing machine for the blind hem; it usually looks like this ( please check your sewing machine manual for more information)
3. Fold your hem 1 1/2 inch or as specified on the pattern you are using and press flat; I have also serged the hem so it won’t fray.
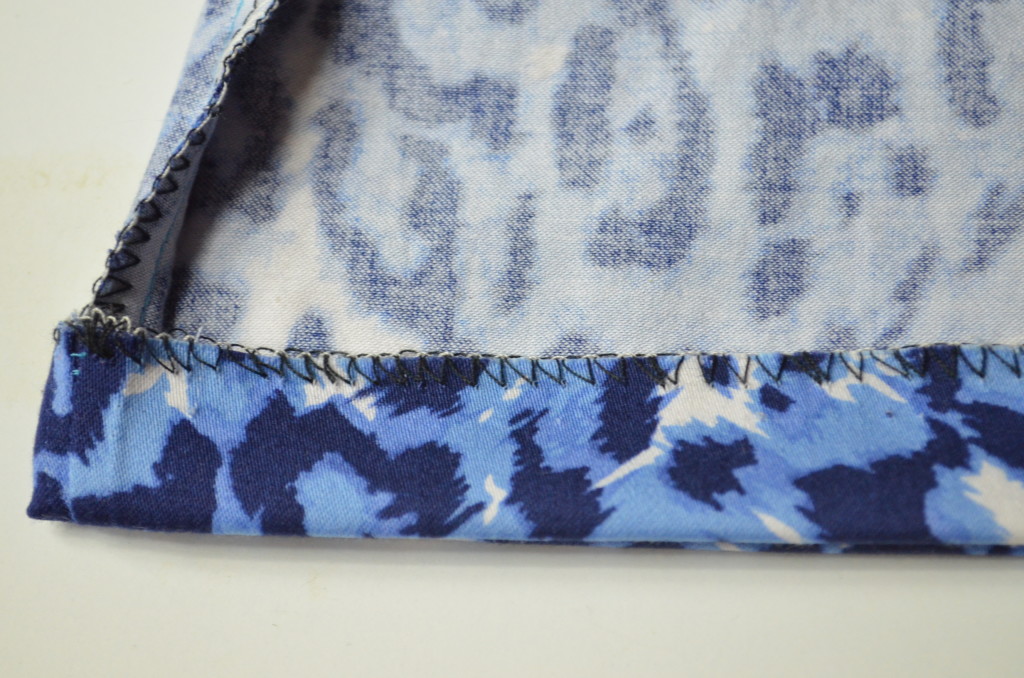
4. Fold the hem to the right side of the fabric, leaving a 1/4 inch space as shown in the picture.
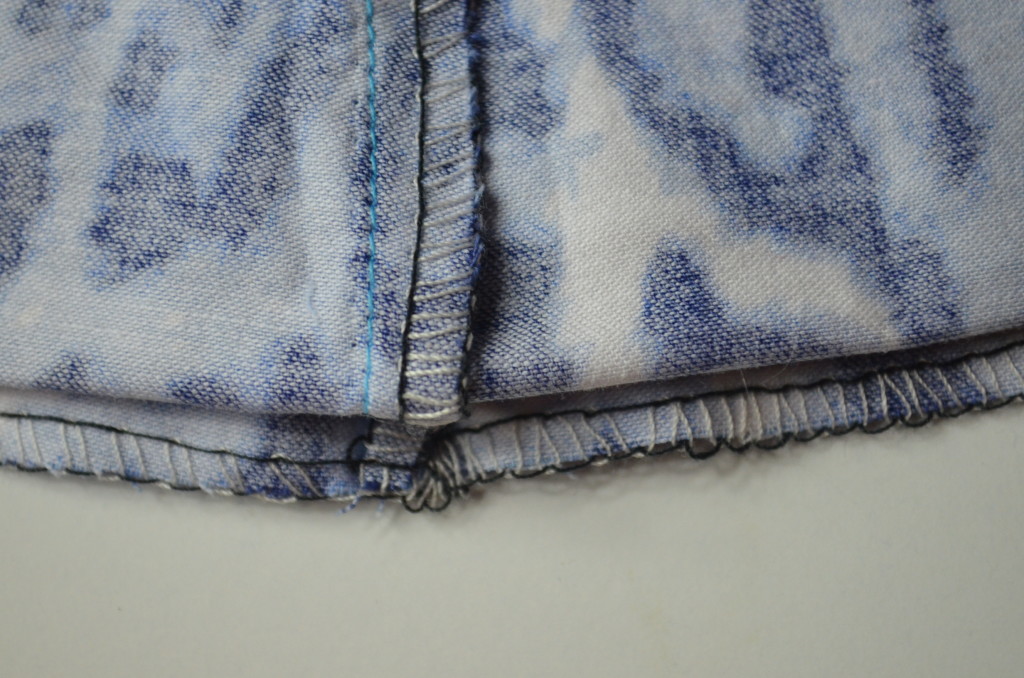
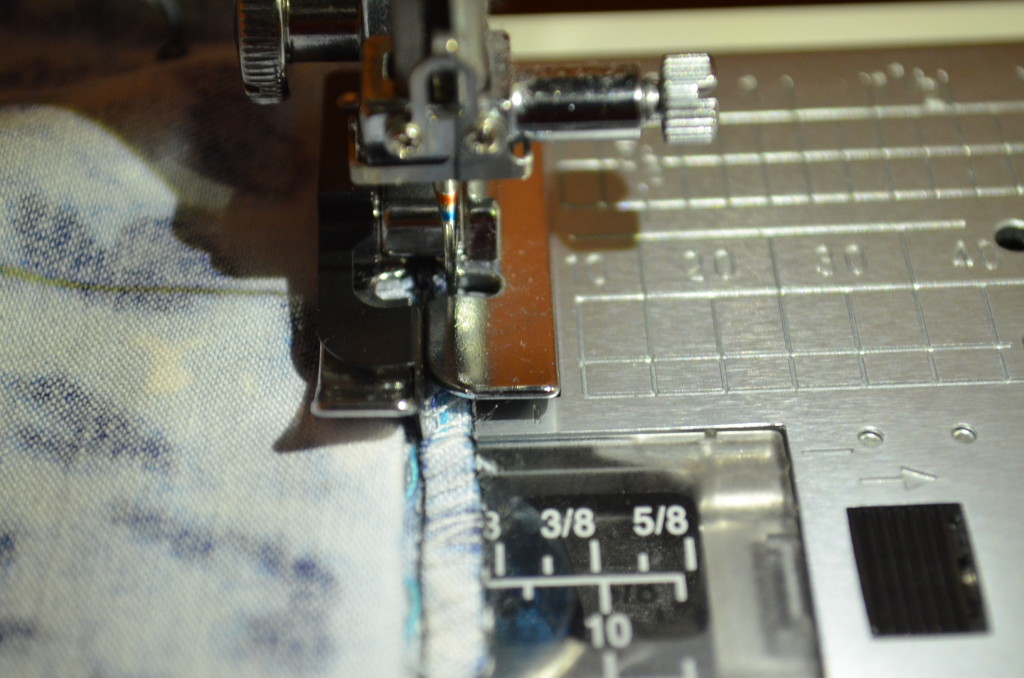
5. Then, when placing the fabric under the presser foot.
Be sure to leave the 1/4 inch extra space from the hemline on the right side, and the garment will be on the left side.
There is a blade in the middle of the presser foot that will separate both sides.
And the stitches will look like the ones in this video:
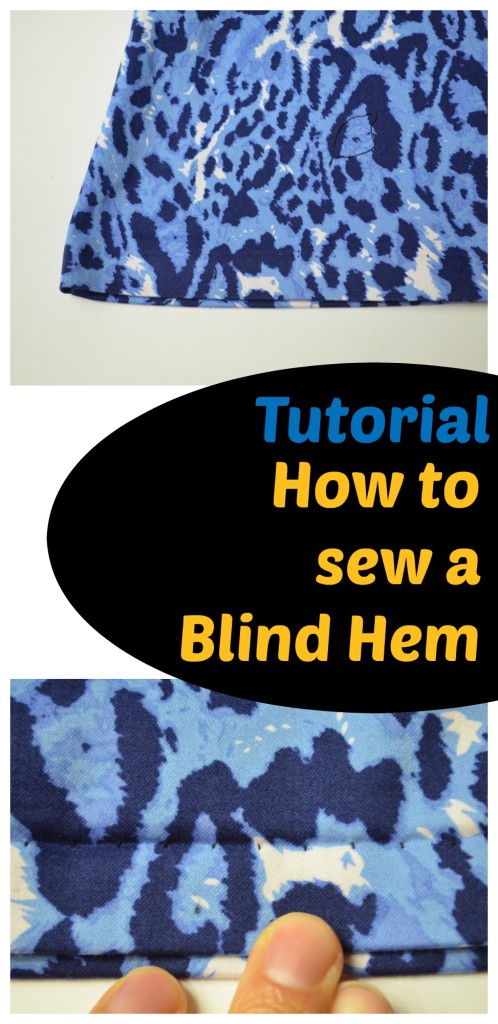
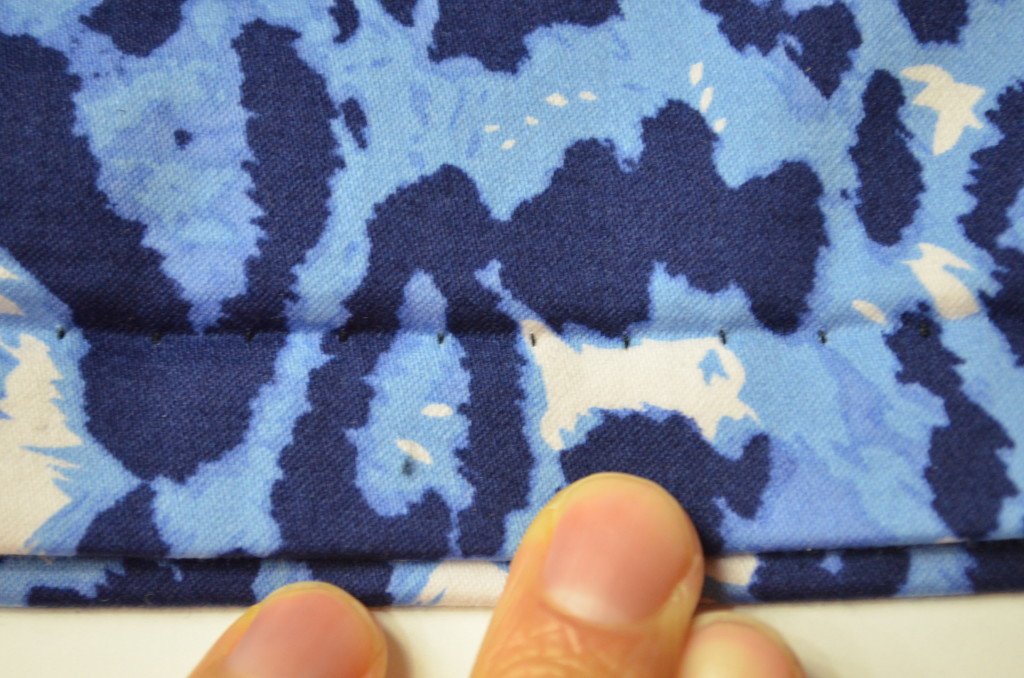
So, then when you turn the hemline to the right side, you won’t see the stitches, but only 1 dot every 1/2 inch.
In this picture, I am using a contrasting thread that makes it easier for you to understand the tutorial.
However, I recommend you to use a coordinating thread for your projects 😉

Finally, press the hem flat.
And happy sewing!
