Insulated Container Cover Tutorial

Hi there,
Thanks for visiting On the Cutting Floor today.
Today I want to share this easy project I have made with my husband.
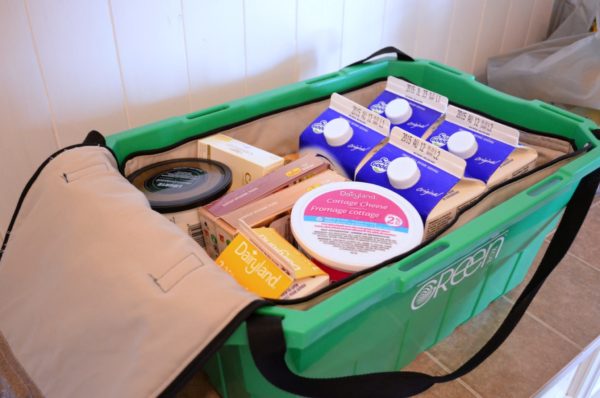
It is a very practical Insulated Container Cover to protect your groceries for the heat.
We found this project an absolutely MUST under the current weather conditions. You see, the heat wave that has been affecting the northern hemisphere has made us create this insulated container cover. It makes it easier to get the groceries without worrying about the dairy products sitting in the trunk of our car.
It is a fairly easy project to make. It uses about 1 1/2 yard of fabric.
I decided to go for a cotton blend fabric that was sitting on my stash. It worked fine.
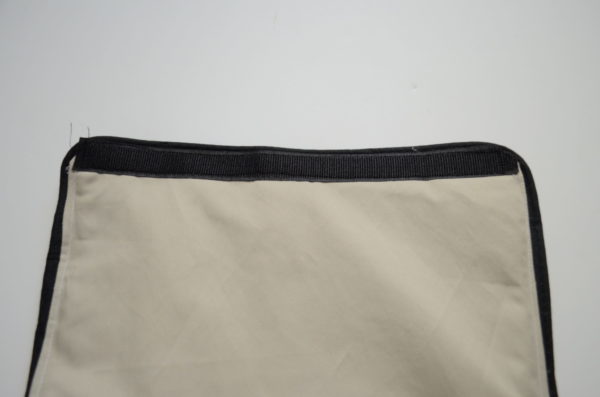
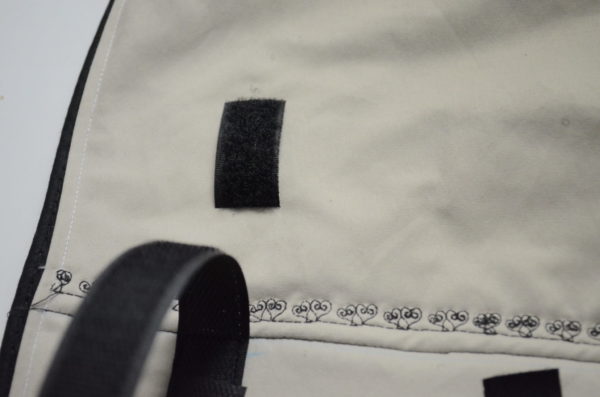
Plus, I added two velcro straps on one side of the container. That keeps the cover attached.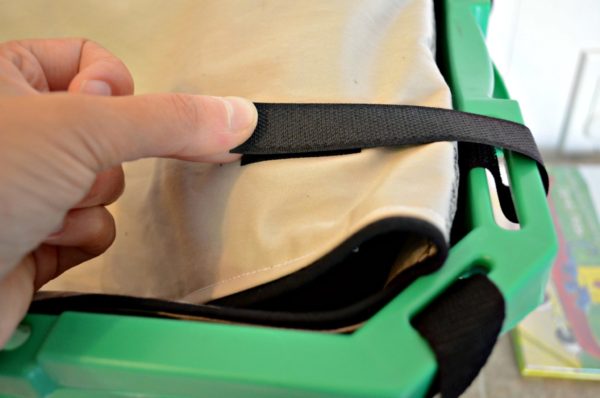
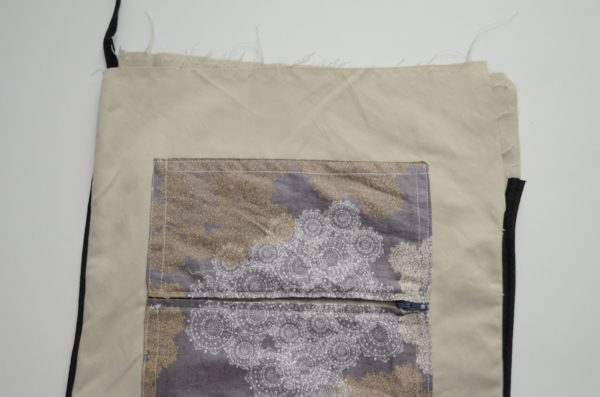
Also, I have also added to pockets to the cover: one inside and one outside.
The inside pockets works as an ice container (just in case you want to protect your groceries even more).
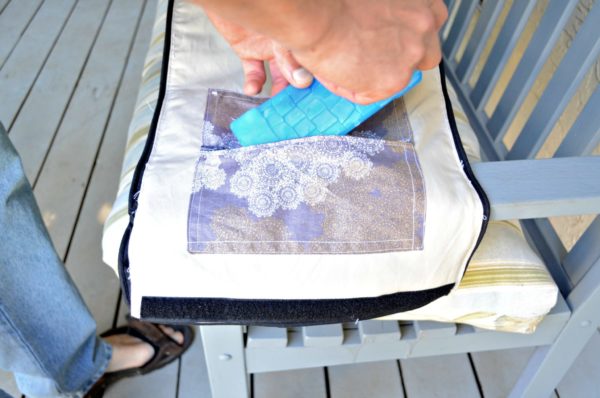
The outside pocket, on the other hand, works for keeping the shopping list or coupons on hand.

Interested in other insulated sewing projects?
Try this and this or this one!
THE PATTERN
I have created a PDF printable version of the pattern for this project.
It will print 21 pages, with no overlapping.
However, if you feel like drafting the pattern yourself (and save a few pages) check on the measurements that have been added to the image here:

Materials
1 1/2 yard of cotton blend
1/4 yard of quilting cotton (for pockets):
Measurements for each pocket: 2 pieces of 4” X 8”
2 6” zippers
2 packages of pipping ( about 4 meters or 4 1/2 yards)
coordinating thread
Velcro: 1. 8” long for the top of the container
1. 2 pieces with 8” long side and 1 1/2 shorter side (remember that one of
 the velcro side will be looped into the container)
Tutorial
Before starting the project, please mark the velcro and pocket placement on your fabric.
- Pocket: Place the two sides of the pocket together, right sides facing and sew long the side.
- Open the seams and press flat.
- Attach the zipper by placing it on the pocket seam area.
- Unzip the zipper.
- Sew along the teeth of the zipper, until you reached half of its length.
- Lift the presser foot and zip the zipper back.
- When reaching the desire length, turn the pocket horizontally.
- After passing the zipper’s opposite teeth, lift the presser foot again and turn the pocket, so you can sew along the other side.
- Press the pocket flat.
- Pin the pocket to the container cover top. Sew along the four sides of the pocket.
- Repeat this process with the second pocket. This will be in the opposite fabric piece.
- Pipping: Start by measuring the length of the container cover. I used two packages of piping.
- Unstitch about 1 inch of the piping.
- Reveal the cord inside.
- Cut about 3/4 inch of the cord.
- Repeat with the other side.
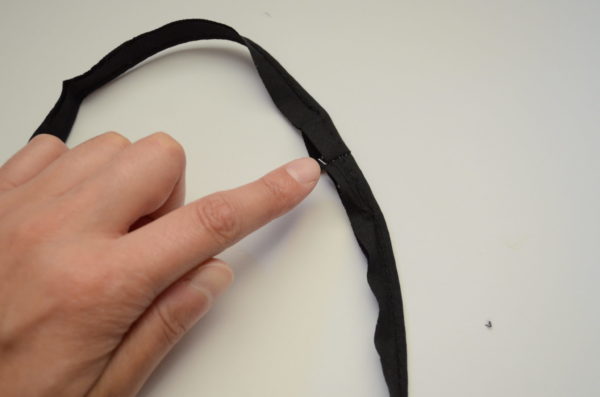
- Now put both sides together and sew along to join them.
- Sew along.
Put the pippin back together.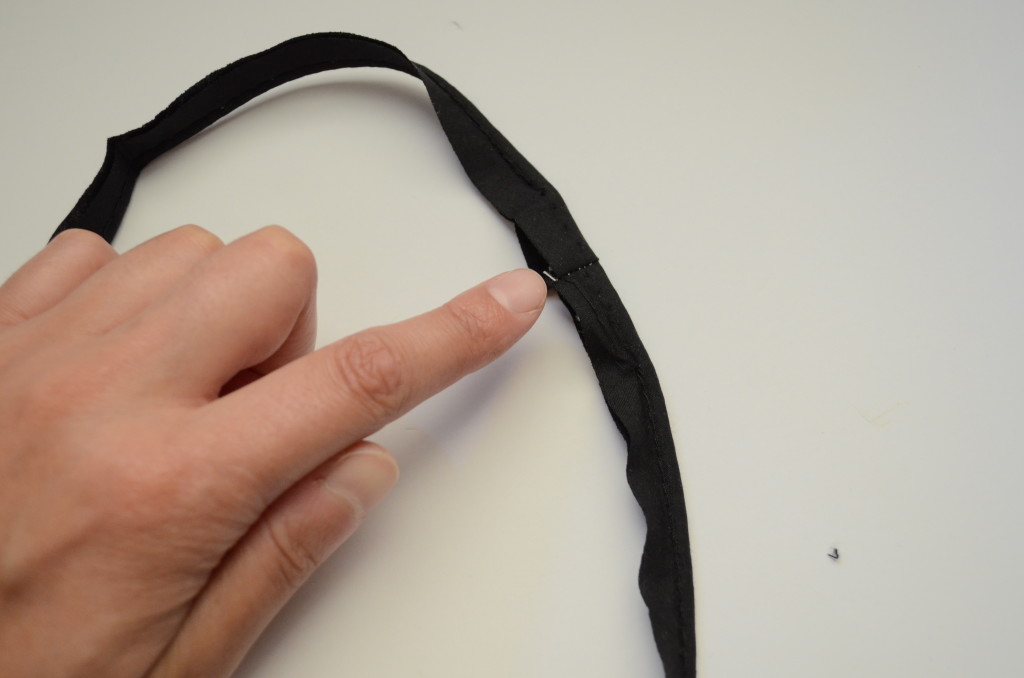
Now, place it between the two sides of the container cover.
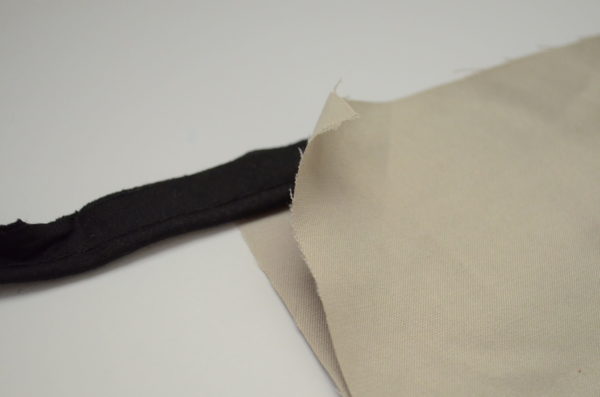
Pin around it.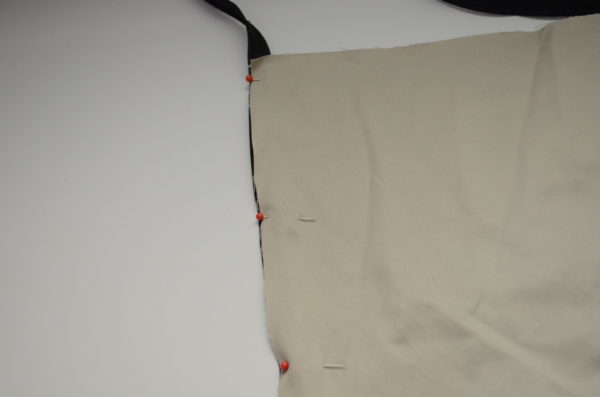
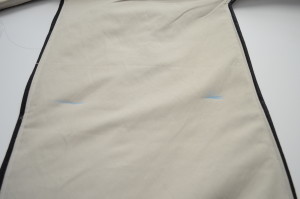
Sew along. Leave the top the the container cover open, so you can turn it to the right side easily.
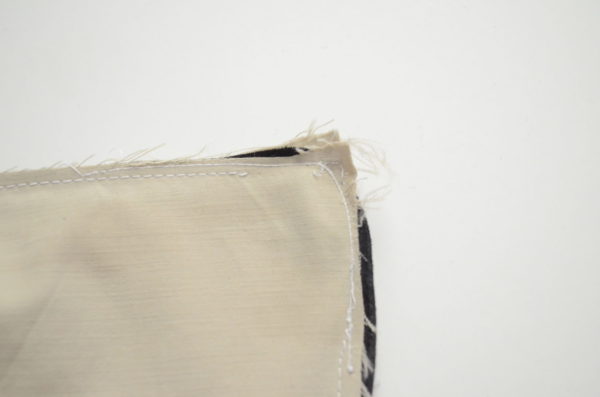
Now, trim the excess fabric and make some notches on the corners of the container.

Turn the container cover to the right side and press flat.
Add the insul bright padding inside.
Close the opening with the pipping.
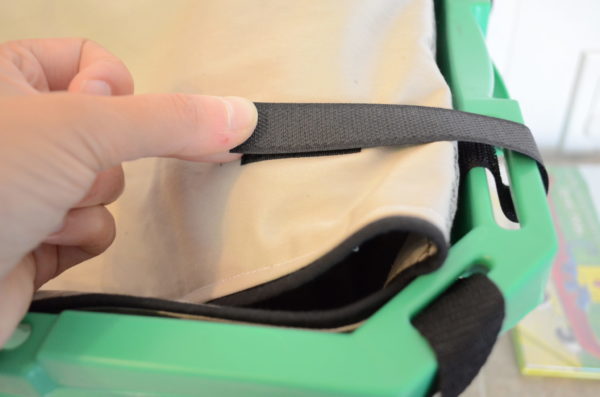
Add the velcro piece to the top of the container cover. 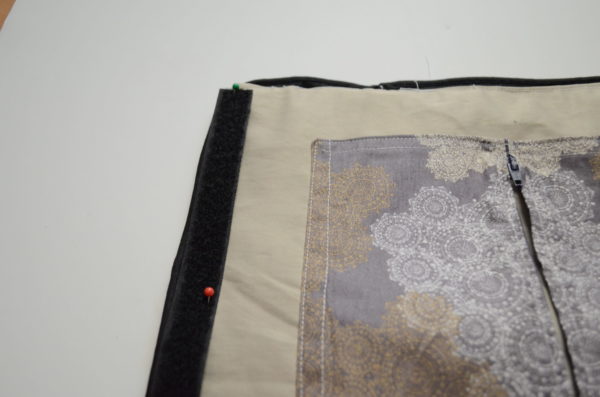
Add the other side of the velcro strap.
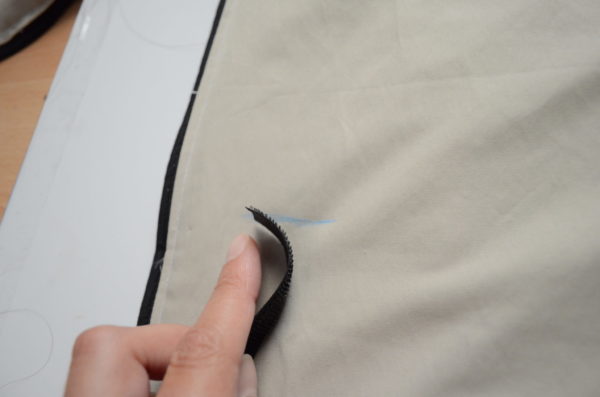
Now, add the velcro straps that will attach the cover to the container.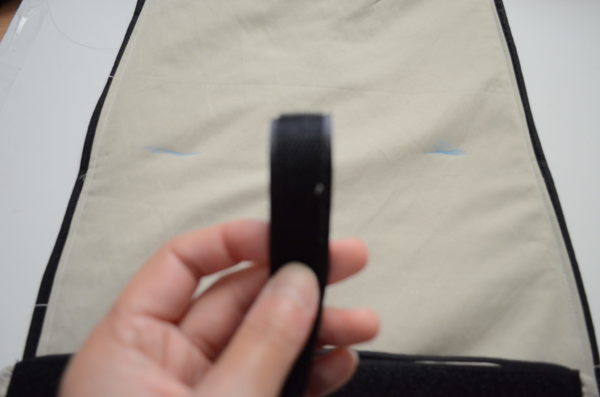
Follow the marks you have transfer from the pattern for this.
No, add the separating line from the top of the container cover and the rest.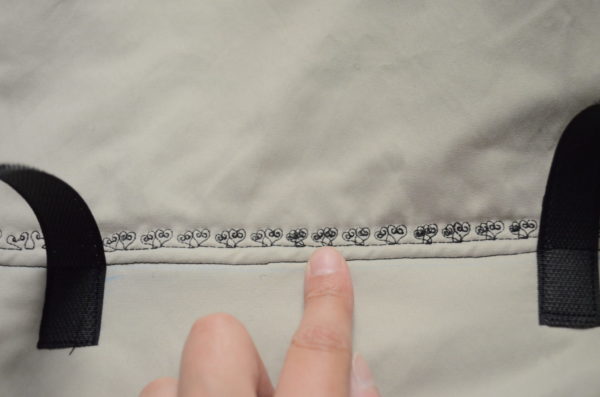
And it is done!
I hope it becomes a very useful project for you too!

Leave a Reply