Hello there,
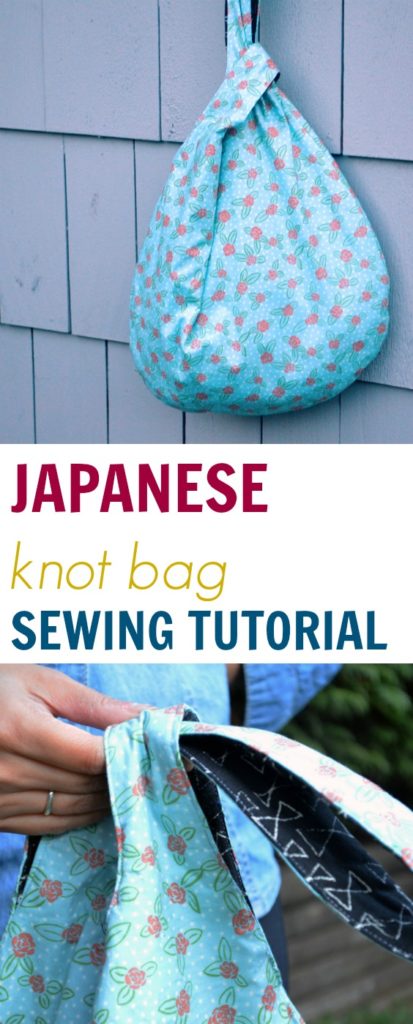
Thank you for stopping by today at On the Cutting Floor. This is the Japanese knot bag Sewing Tutorial
If this is your first time in our blog, remember to check our FREE SEWING PATTERNS page.
On that page you will find our collection of free sewing patterns for women, kids and men.
You can also visit our SEWING TUTORIALS and our SEWING REVIEWS.
We also have an ETSY STORE, where you will find unique and modern sewing pattern for women.
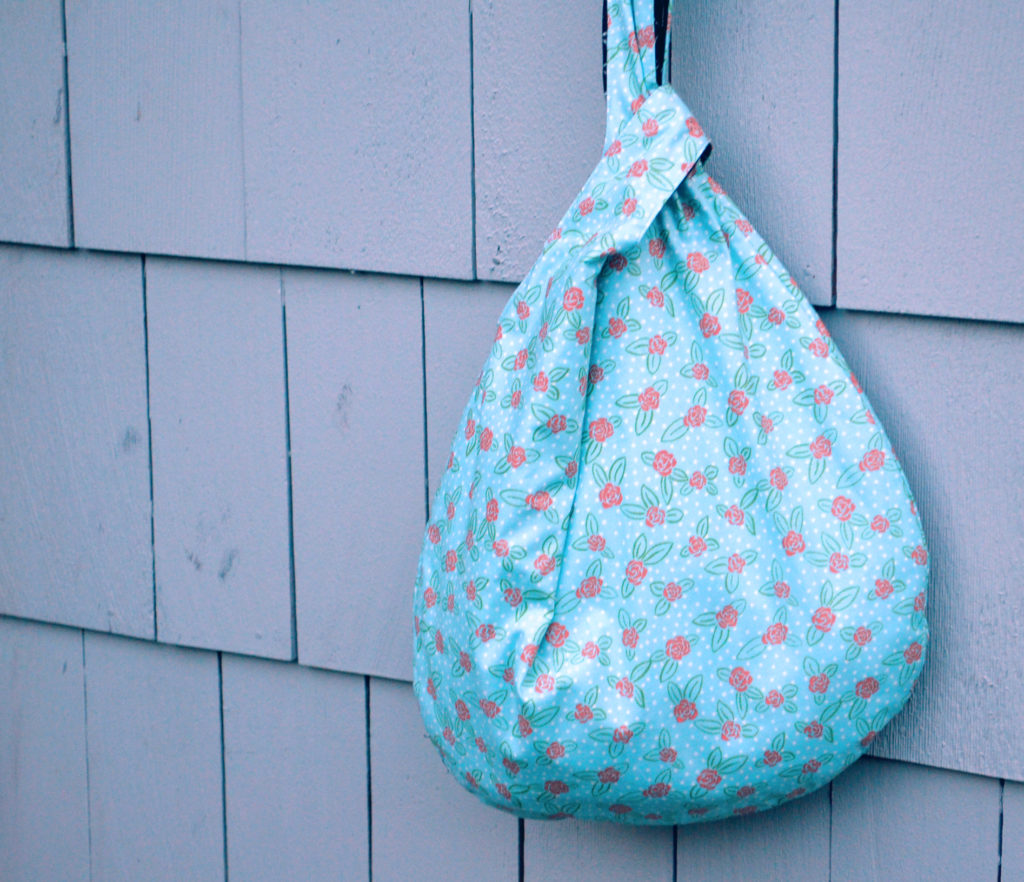
Japanese knot bag Sewing Tutorial
This quick and easy, step by step sewing tutorial is an ideal project for weekends and beginner sewists.
I love the look of the Japanese knot bag. I have made it reversible so it will be more fun to use it everyday!
MATERIALS:
1 YARD OF QUILTING COTTON (1/2 YARD OF ONE PRINT AND A DIFFERENT ONE FOR THE INSIDE)
1/2 yard of batting
1 yard of woven interfacing.
Sewing Supplies: Sewing machine, coordinating thread, scissors, etc.)
SEWING TUTORIAL
- Add the batting to the lining of the bag: place the lining fabric and the batting together, wrong side of the fabric and right side of the batting together.
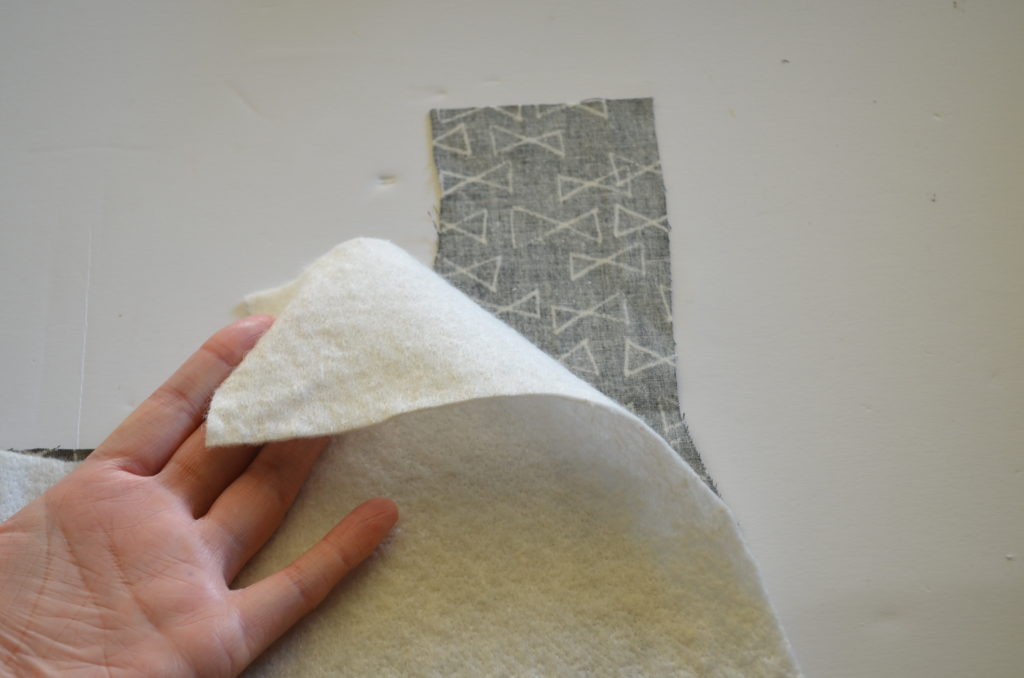
2. Free motion the batting to the lining. I like to do it with a regular stitch length but very slowly covering most of the surface of the lining.
3. Repeat with the other side of the lining and batting and then put them aside.
4. Bring the main bag fabric to the table and add the woven interfacing by pressing it on the wrong side of the fabric. Then, sew the straps together.
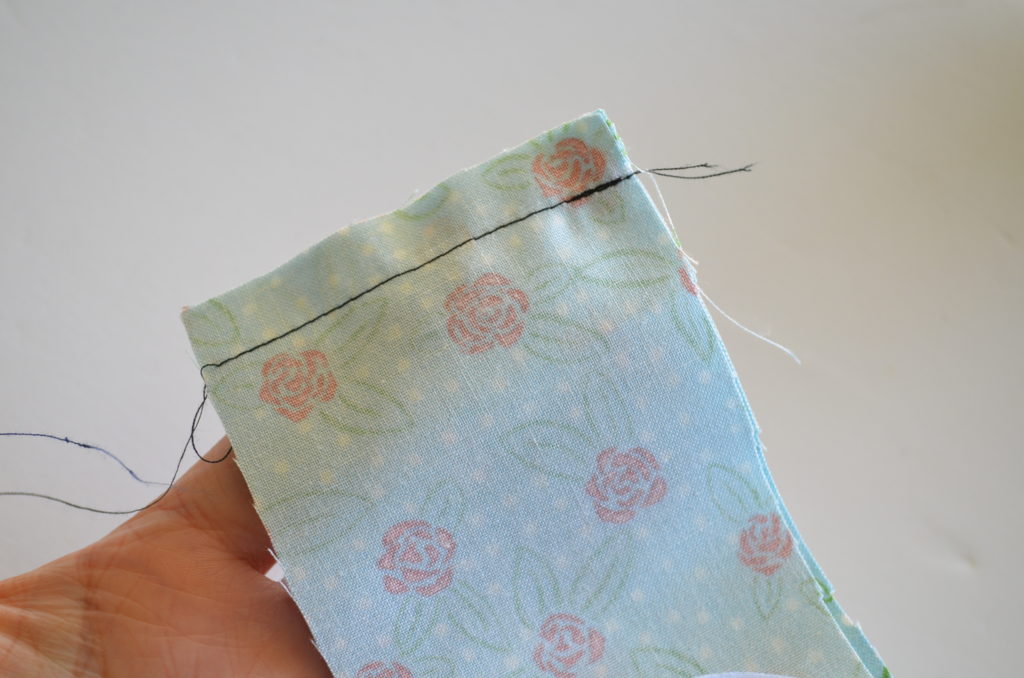
5. Then, sew the rounded part of the bag, starting where the straps ends and the bag begins.
6. Turn the bag to the right side and press flat.
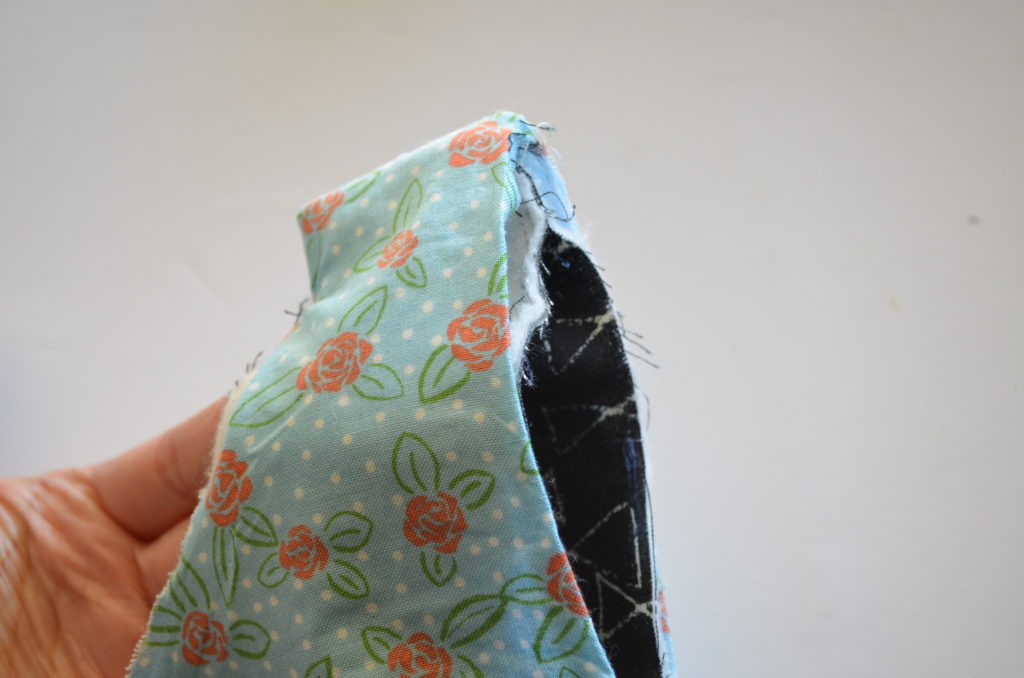
7. Then, repeat with the lining fabric. However, keep the lining on the wrong side.
8. Insert the lining to the bag.


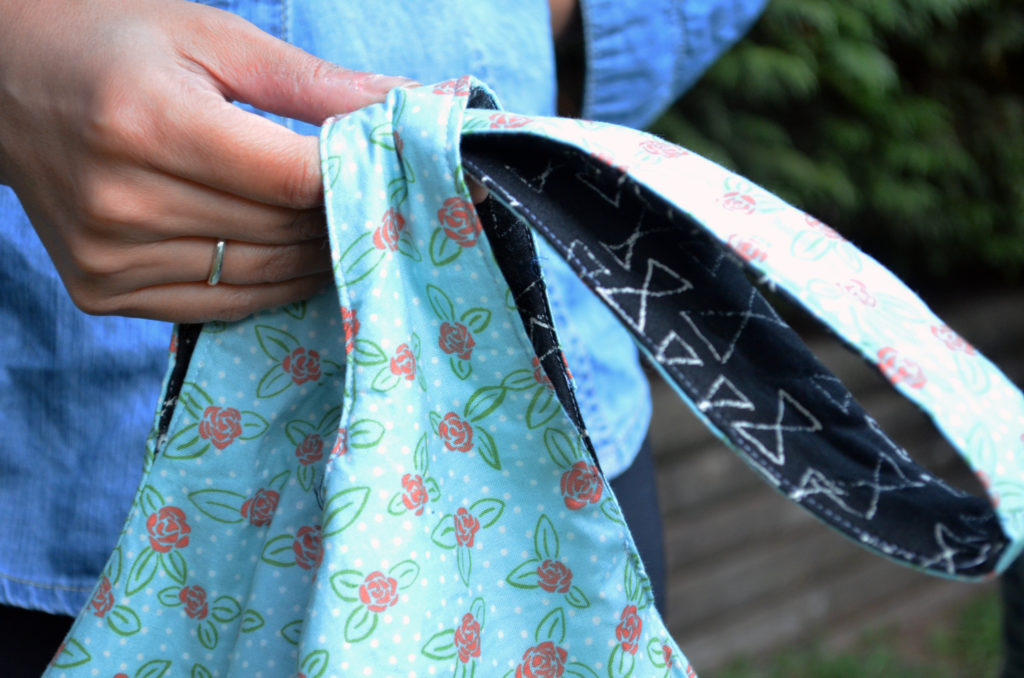
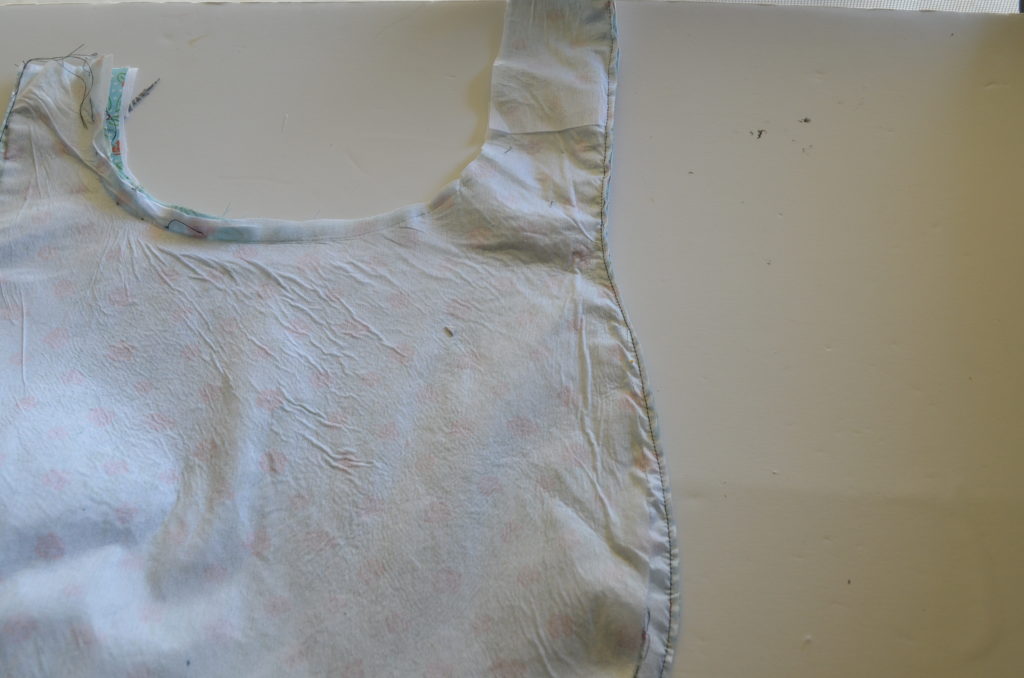
9. Match the seams on the straps and start folding the fabric 3/8 inch inside.
10. Stitch around the straps as shown on the image below: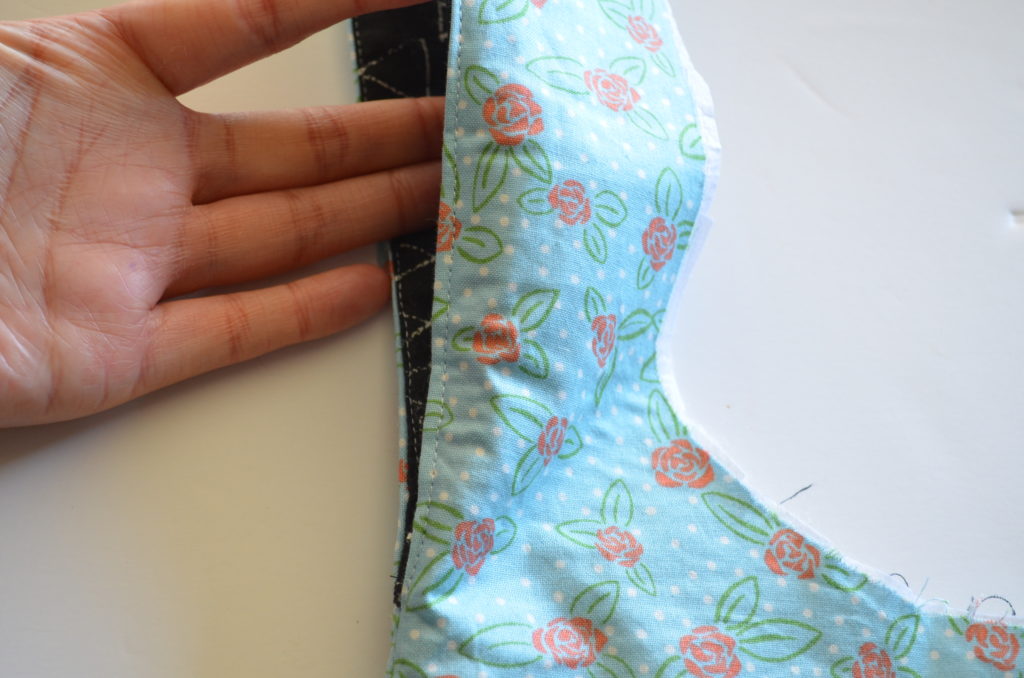
11. Now, carefully fold 3/8 and pin the opening of the bag. You might need to make some notches to the curve areas.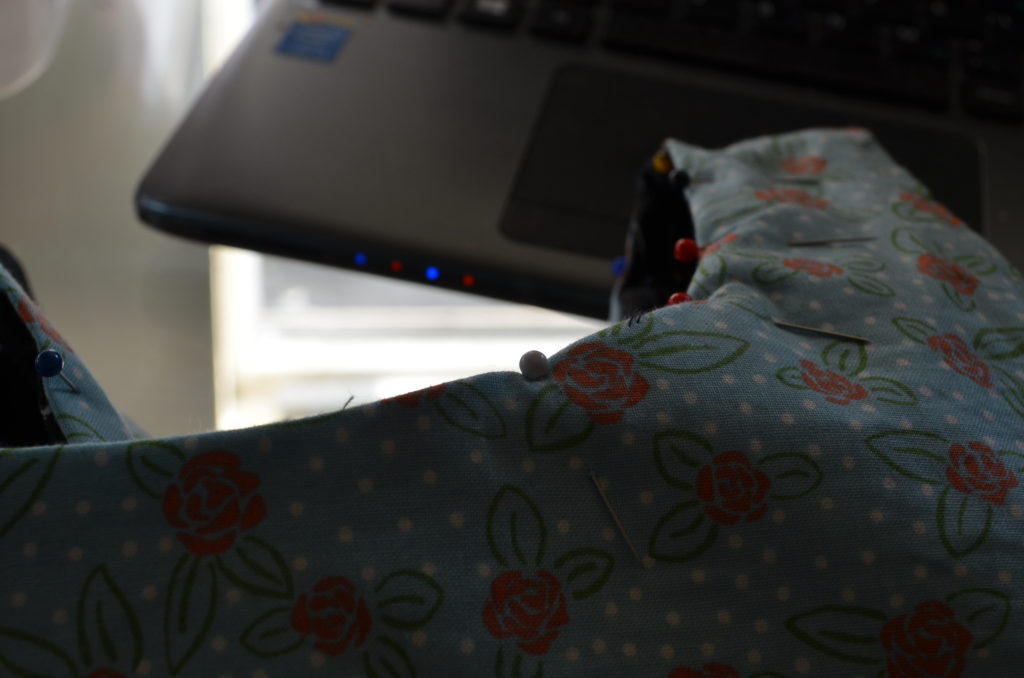
12. Stitch the lining and main fabric together.
And it is ready!
How easy is it? I love a quick weekend project, don’t you?
Please, remember to share this post with your friends 🙂
Happy Sewing!
DOWNLOAD PATTERN HERE
This is one of the best (most funest) patterns/project that I have run into in a long time. I purchased a pair of ‘to die for’ gray pumps about a year ago. I could not find a bag/purse that did the shoes justice. After having the shoes of about two months I saw a piece of gray fabric that complimented the shoes perfectly. I purchased the fabric, did some research and found this pattern. I made the bag and have worn the shoes and carried the bag as a set ever since. Thank you sooooo much for this pattern and tutorial. it’s AWESOME and PERFECT for my need.
Thank you Sandra,
It is great to know that you have enjoyed the project so much <3
Sewing newbie here. What does it mean when you say to “free motion the batting to the lining”? I can kind of understand from the picture, but I was curious what the specifics are.
It means just sew around over the fabric to attach the lining and batting. There are no specifics. Try to cover part of the middle, and near the sides, but not too close. Just random sewing, no specific pattern 🙂 All it is doing is making sure the lining and batting aren’t sliding all over the place and separating. It’ll hold them together in the wash better.
Thankѕ for sharing your thoughts about knit top pattern. Regards