• Skip to primary navigation
  • Skip to main content
  • Skip to primary sidebar
  • Skip to footer

On the Cutting Floor: Printable pdf sewing patterns and tutorials for women

Online Printable PDF sewing patterns to download and sewing tutorials: Projects for women and kids, baby sewing patterns and online free sewing projects wardrobe with PDF sewing patterns for beginners

  • DG PATTERNS STORE
  • FABRIC STORE
  • SEWING
    • PATTERNS FOR SALE
    • FREE PATTERN SAMPLES
    • REVIEWS
    • TUTORIALS
    • FUN PROJECTS
    • ROUNDUPS
    • PRINTABLES
  • KIDS’ CORNER
  • FOOD
  • MONEY
  • PATTERNMAKING SERVICES
  • ABOUT US
    • ABOUT ME
    • HOW TO DOWNLOAD THE FREE PATTERNS
    • WORK WITH US
    • CONTACT US
    • SITEMAP
    • TOS and Privacy Policy
    • CONTRIBUTE
  • Cookie Policy
You are here: Home / Easy sewing tutorial / How to Make the Olivia Off the Shoulder Top

How to Make the Olivia Off the Shoulder Top

October 18, 2016 by Daniela Leave a Comment

Spread the love

How to Make the Olivia Off the Shoulder Top

SEWING TUTORIAL:

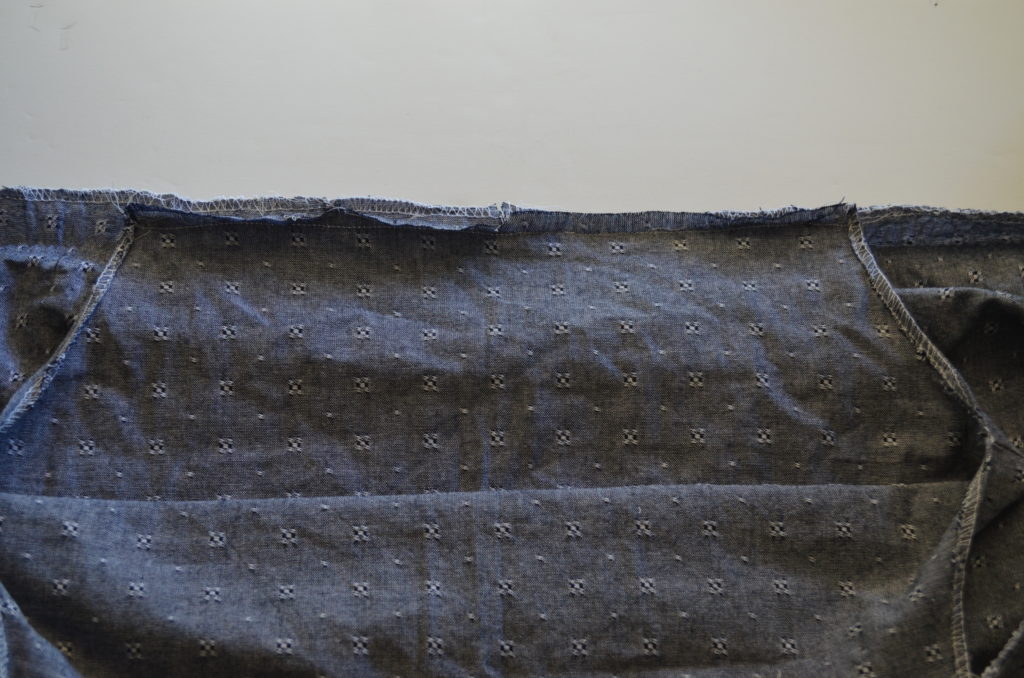
  1.  Place the front and back bodice pieces together, right sides facing and sew along the side seam.

DSC_0587

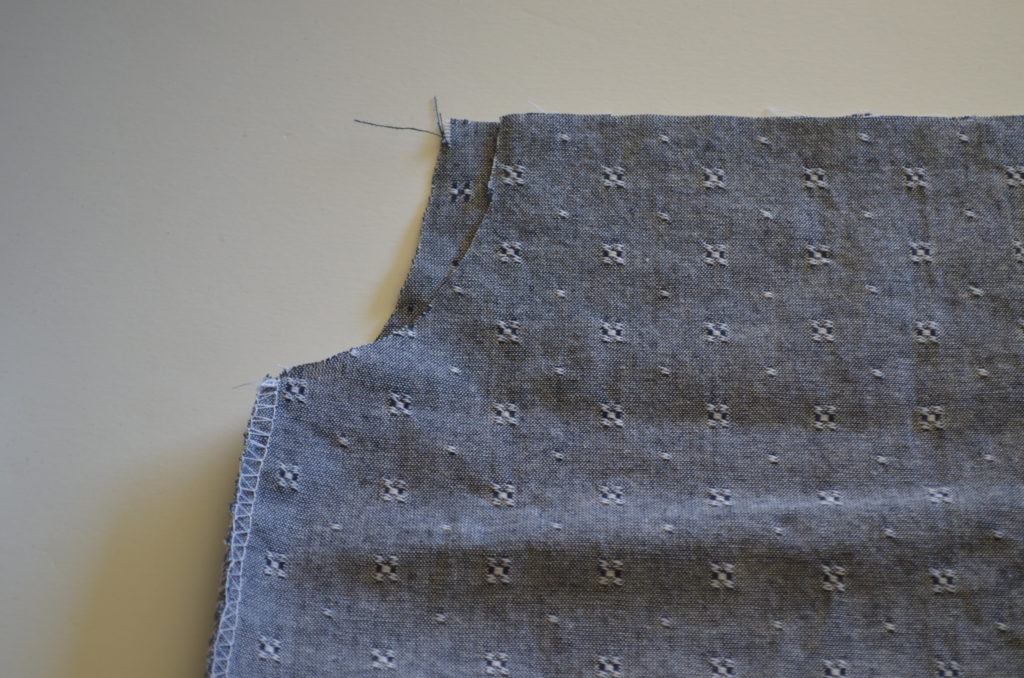
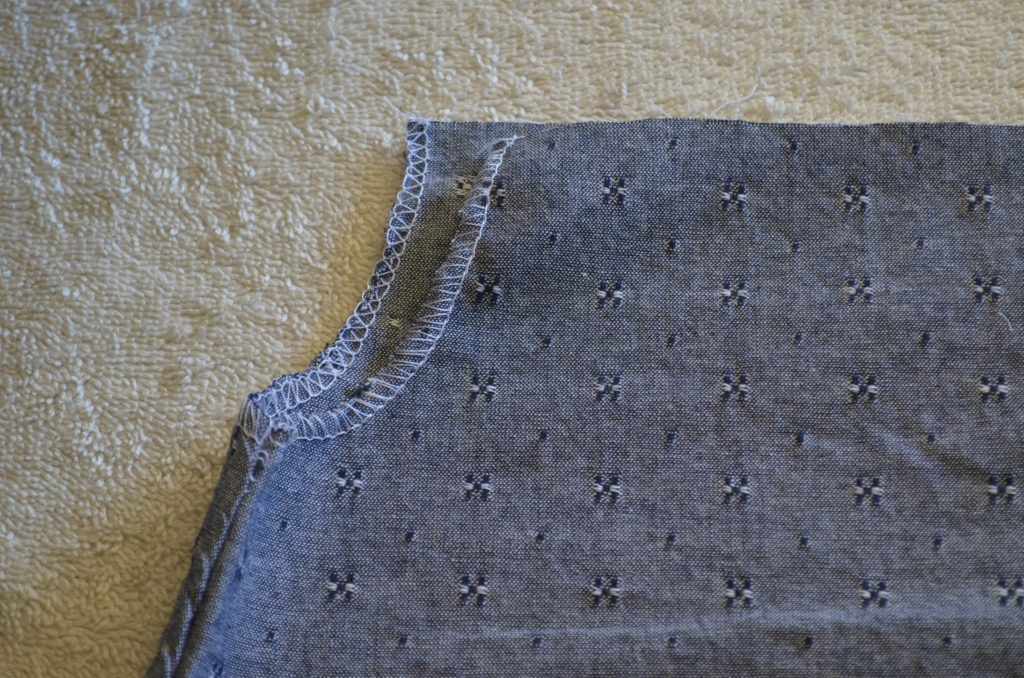
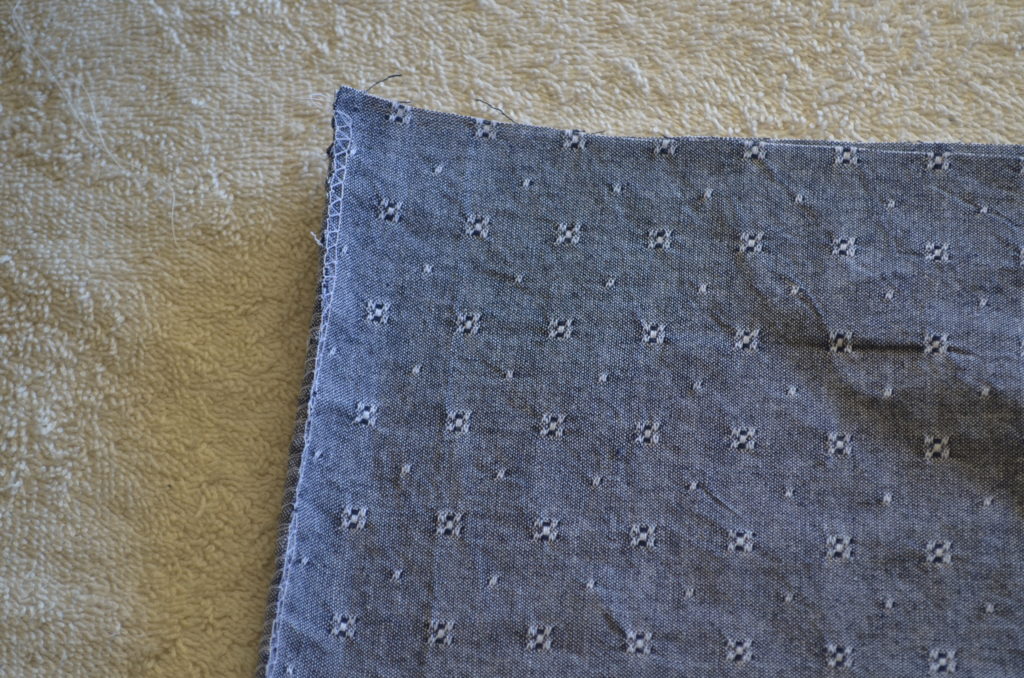
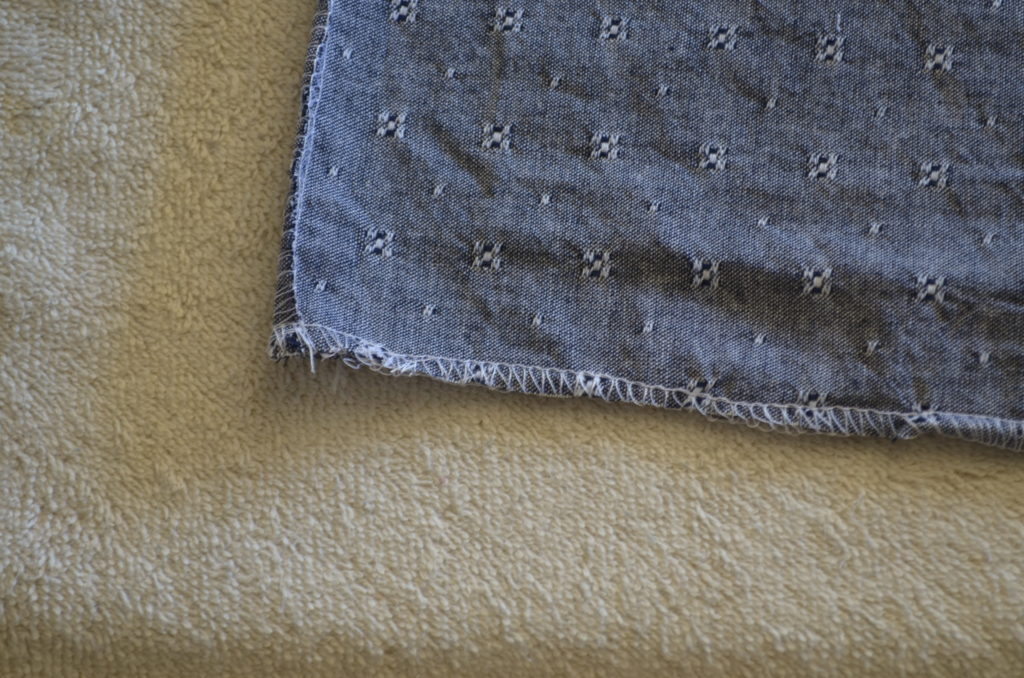
  1.  Serge the armhole area or use a zigzag stitch to prevent the fabric from fraying DSC_0588
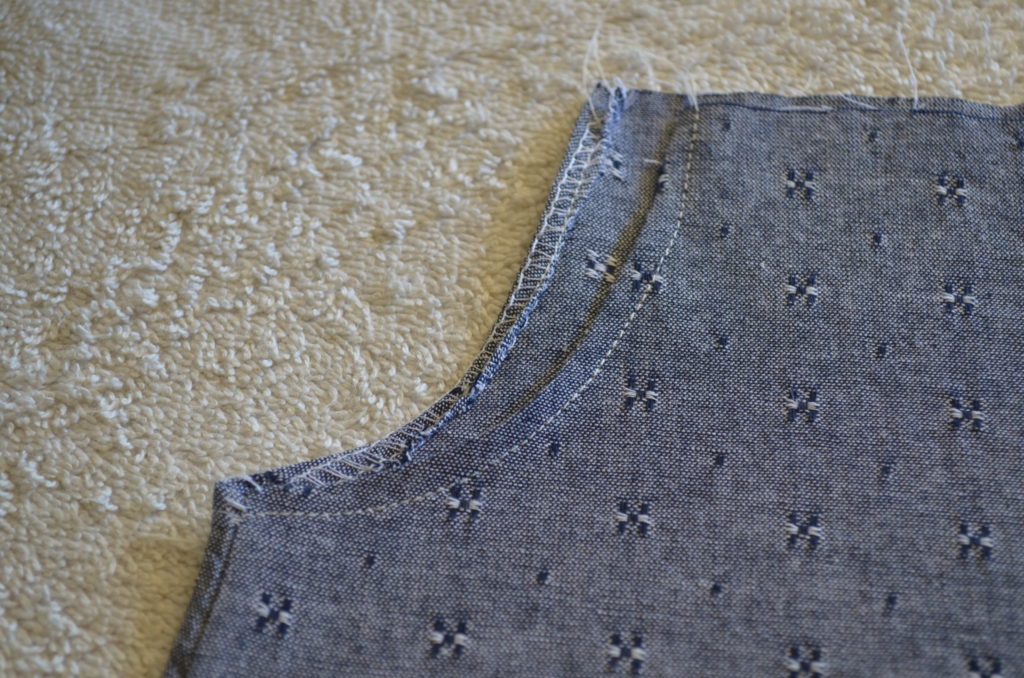
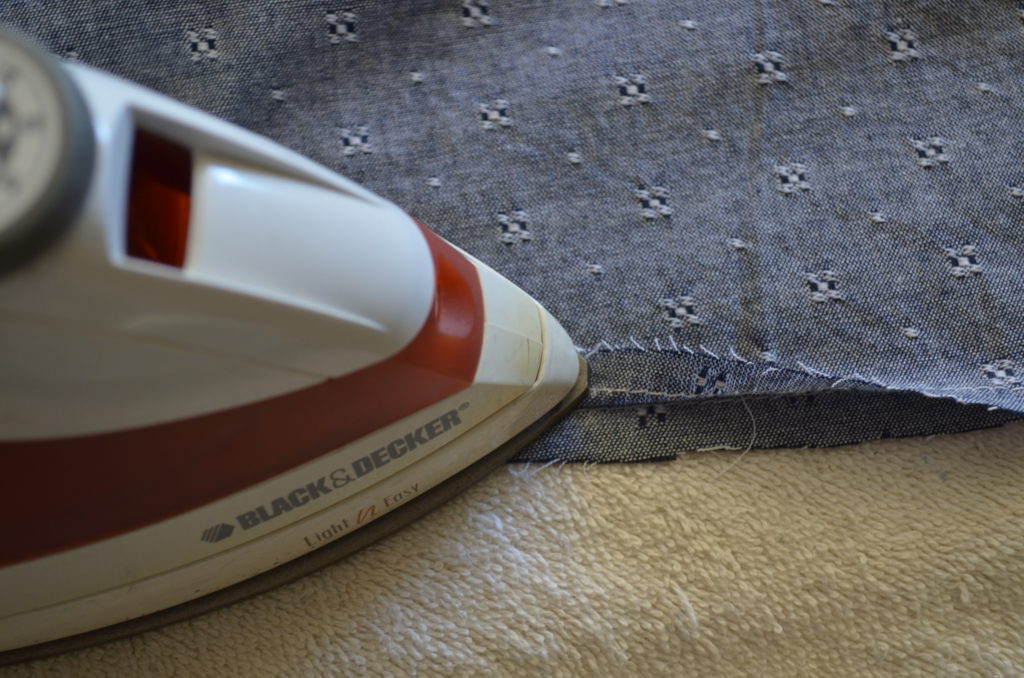
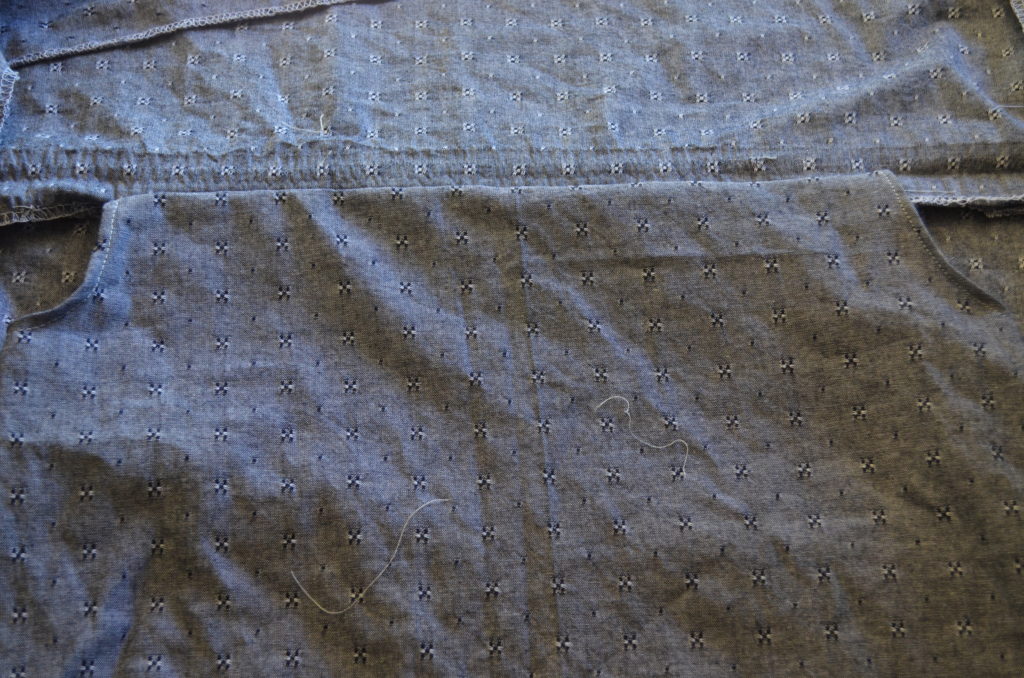
  1.  Then, fold the armhole 1/4 inch to the wrong side and press.

After that, sew along 1/4 inch.
DSC_0589

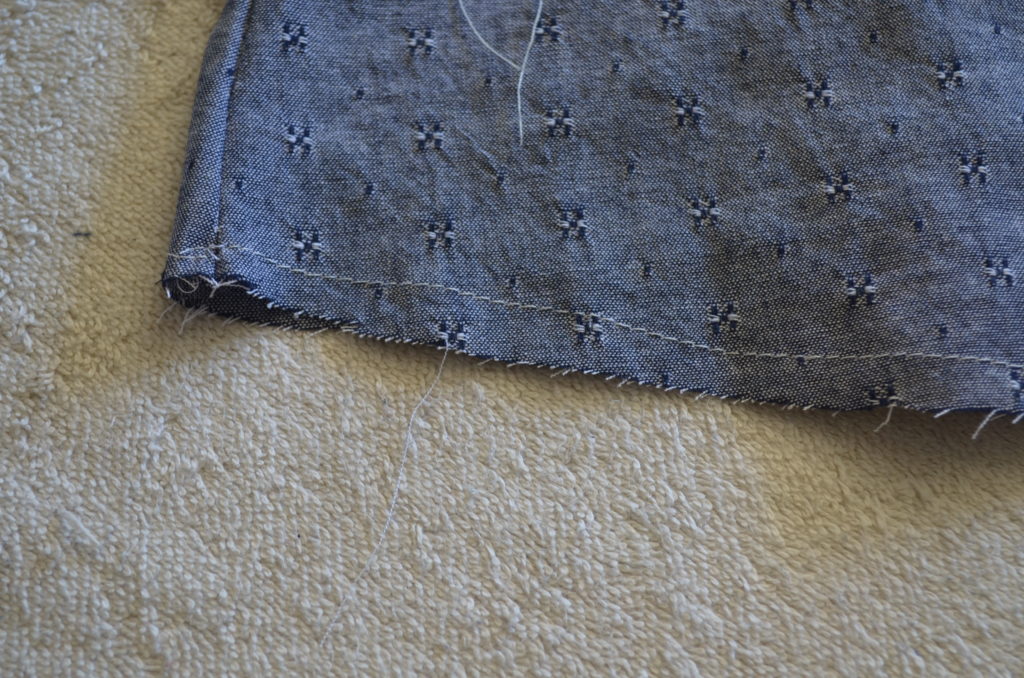
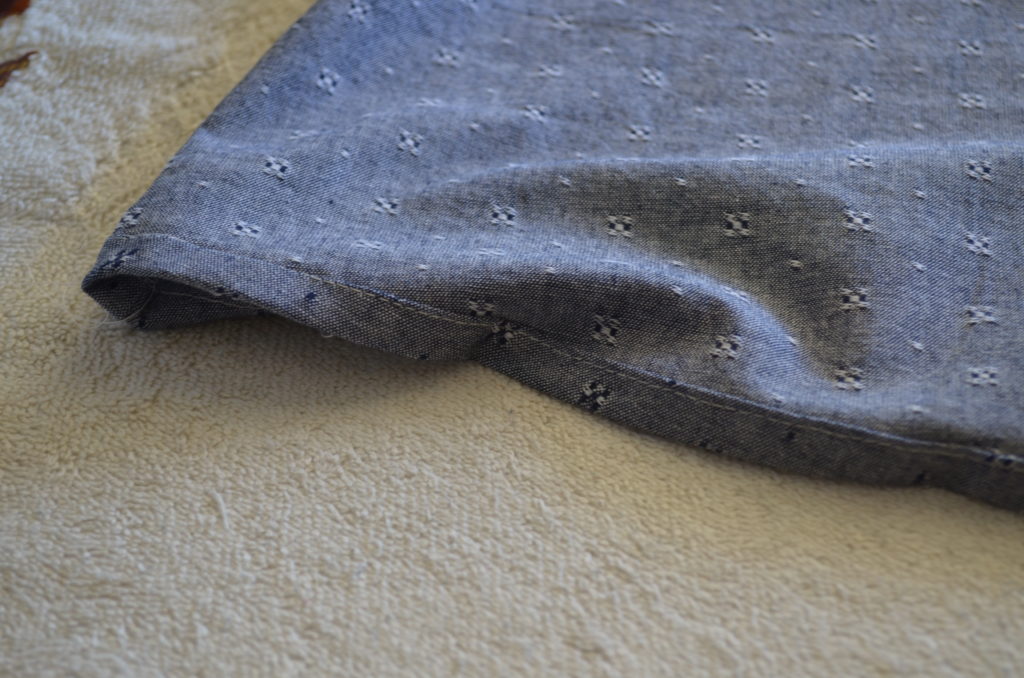
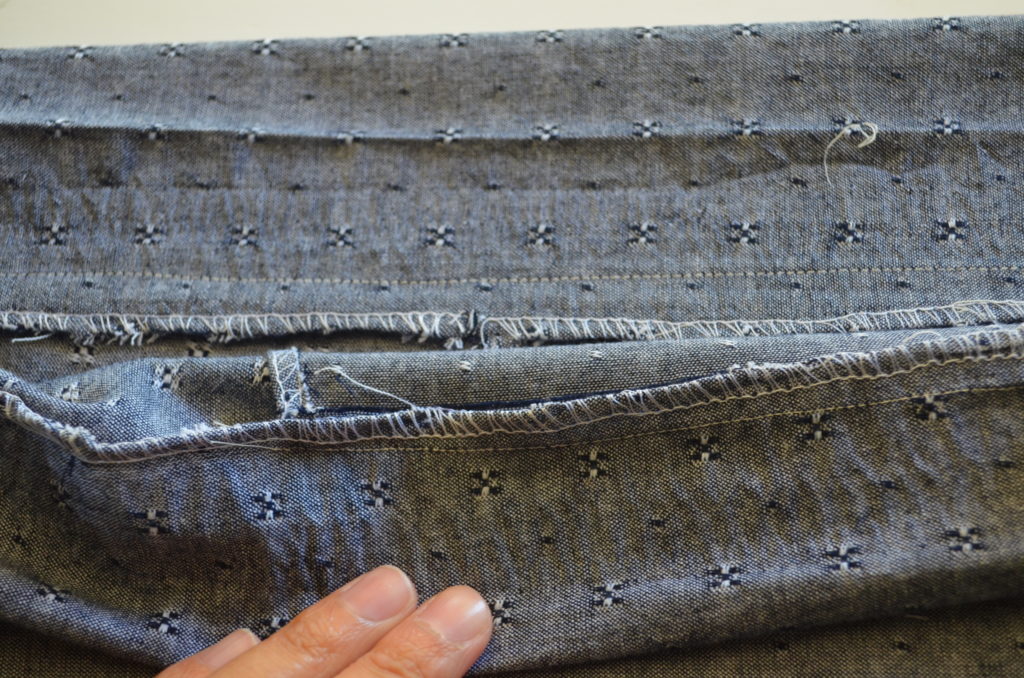
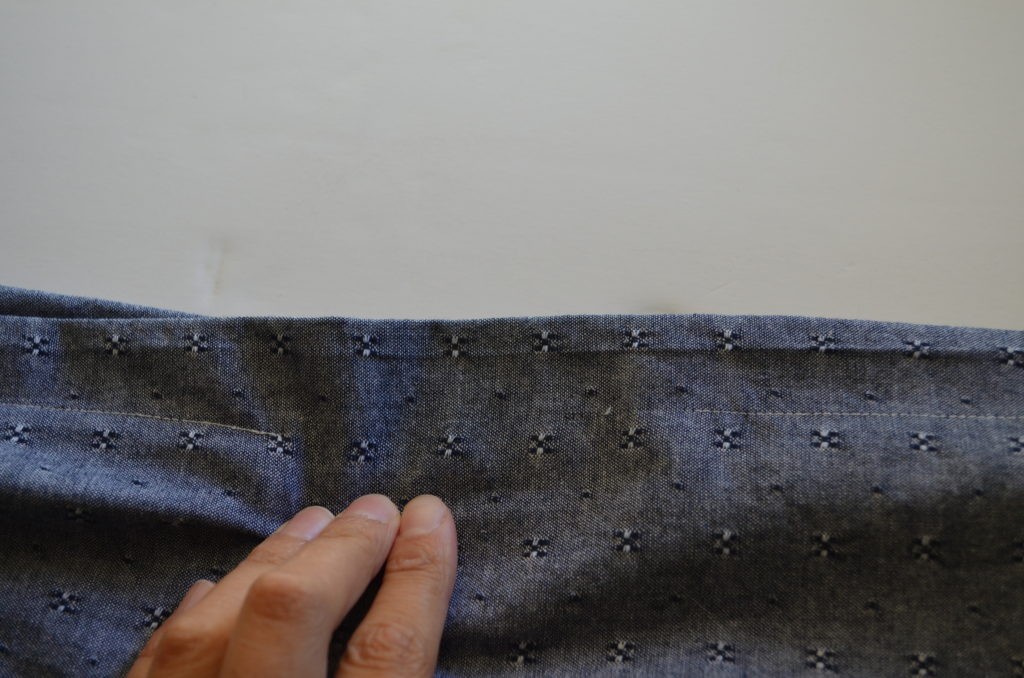
  1.  Now, make a straight stitch 3/8 inch along the hemline.DSC_0590
  1.  Now fold the fabric to the wrong side using the stitchline.  Press flat.DSC_0591
  1.  Now fold again and sew along the hemline 3/8 inch from the edge.
    DSC_0593
  1.  STRAPS:  Place both pieces of the strap together, right sides facing and sew along the sides.DSC_0594
  2.  Now, serge along the bottom of the strap or use a zig zag stitch to prevent the fabric from fraying.

DSC_0595

  1.  Place the right sides of the strap to the right side of the bodice.DSC_0605
  2.  Sew along the front and back.  Then, press flat on the right side.

DSC_0606

  1.  Fold the fabric from the strap about 2 inches to the inside of the top.  Press again.
    DSC_0608
    After that, sew along the edge of the fold you have just made (i.e. 2 inches from the top)  Remember to leave a 4” opening to insert the elastic into it.
    DSC_0611
  2.  Grab the elastic and add two safety pins to it, one on each edge.

DSC_0612

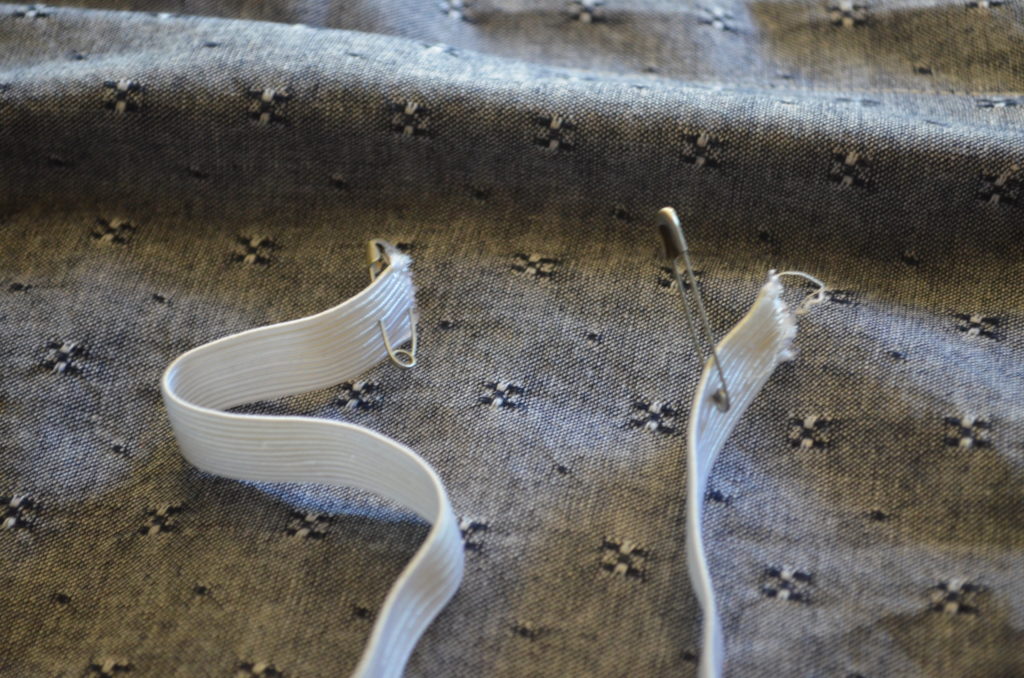
  1.  Now, pin one side to the top opening and insert the other pin into the holeDSC_0616
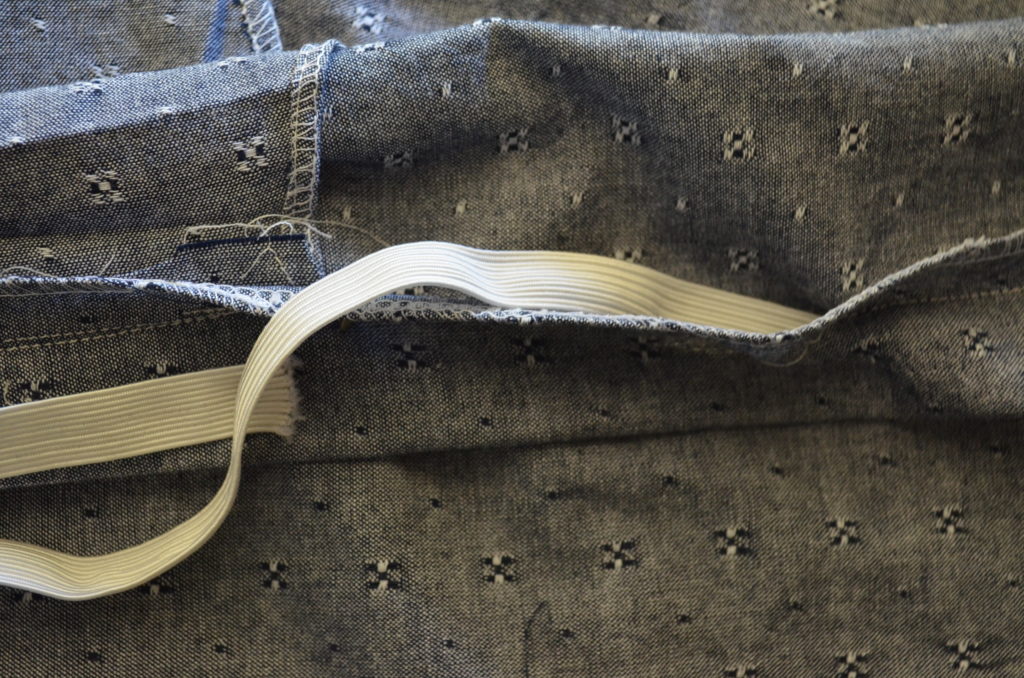
  2.  Pull the elastic all the way through the casing until you have both sides on your hands.  Then, sew them together and close the opening you made to insert the elastic.

DSC_0617

DOWNLOAD THE PATTERN HERE

Filed Under: Easy sewing tutorial Tagged With: 733

Reader Interactions

Leave a Reply Cancel reply

Your email address will not be published. Required fields are marked *

Primary Sidebar

ON THE CUTTING FLOOR PATTERN SHOP

ON THE CUTTING FLOOR PATTERN SHOP

FOLLOW US

Footer

Follow

Enter your email address:

Delivered by FeedBurner

RSS On the Cutting Floor: Printable pdf sewing patterns and tutorials for women

  • FREE PATTERN ALERT: 15 One Yard Wonders for Women
  • FREE PATTERN ALERT: 15 Perfect for French Terry Patterns
  • 15 FREE sewing patterns and tutorials
  • ROUNDUP: 20 free sewing patterns for women
  • FREE PATTERN ALERT: 20 EASY SEWING PROJECTS
  • Advertise with Us!
  • Contribute – On the Cutting Floor
  • Income
  • SITEMAP

Copyright © 2021 · Genesis Sample on Genesis Framework · WordPress · Log in

This site uses cookies: Find out more.