• Skip to primary navigation
  • Skip to main content
  • Skip to primary sidebar

On the Cutting Floor: Printable pdf sewing patterns and tutorials for women

Online Printable PDF sewing patterns for beginners, crafts and printables for kids

  • DG PATTERNS STORE
  • SEWING
    • PATTERNS FOR SALE
    • FREE PATTERNS
    • TUTORIALS
    • REVIEWS
    • FUN PROJECTS
    • ROUNDUPS
    • PRINTABLES
  • FABRIC STORE
  • CRAFTS
    • PRINTABLES
    • KIDS’ CORNER
    • MACRAME
  • FOOD
  • MONEY
  • PATTERNMAKING SERVICES
  • ABOUT US
    • ABOUT ME
    • HOW TO DOWNLOAD THE FREE PATTERNS
    • WORK WITH US
    • CONTACT US
    • SITEMAP
    • TOS and Privacy Policy
    • CONTRIBUTE
    • Cookie Policy
  • SUPPORT OUR SITE!

On the Cutting Floor’s Blog

Valentine Gift Idea: An Easy Dart Game Project

January 25, 2015 by Daniela Leave a Comment

Hello there,

Thank you for visiting On the Cutting Floor.  This is : Valentine Gift Idea: An Easy Dart Game Project


If this is your first time in our blog, remember to check our FREE SEWING PATTERNS page.

On that page you will find our collection of free sewing patterns for women, kids and men.

You can also visit our SEWING TUTORIALS and our SEWING REVIEWS.

We also have an ETSY STORE, where you will find unique and modern sewing pattern for women.


Valentine Gift Idea: An Easy Dart Game Project

This is my Valentine’s Day project: The Valentine Darts Game or as I like to call it ”wherever my heart goes” 🙂

It is a very easy dart game project that can be adapted to other occasions, just depending on the prizes and printed image.

If you are not sure about the image or the colors I chose, you can always try your own (I made mine in Picmonkey)


MATERIALS

Patterns:

Dart Board Patterns

Heart Shape pattern for the ‘’darts’’

Heart Shape winning cards printables

Fabric:

1         14’’x14’’ white fabric

1         14’’x 14’’ cotton fabric (any color)

1/8     yard of fabric for the heart ‘’darts’’ (or scraps!)

1         13 ½’’ x 13 ½’’ batting piece

Cotton to fill the hearts
Others

1          Transfer sheet

¼         yard of bias tape in contrasting color

¼        yard of Velcro (or the easy to stick ones!)

5        sheets of paper

Glue

Coordinating thread

TUTORIAL


How to make the heart ”dart”


How to make the winning cards


And that is ready!
A very easy and fun project to make.  Have fun and happy sewing!

Thanks for visiting us today!

You might also like:


Filed Under: Fun Projects Tagged With: valentine gift ideas

Refashion:  How to make a cute bag from an old skirt

January 24, 2015 by Daniela Leave a Comment

Picture

[Read more…] about Refashion:  How to make a cute bag from an old skirt

Filed Under: Fun Projects Tagged With: how to make a cute bag from an old skirt

10 Cutest Soft Toys for Kids

January 17, 2015 by Daniela Leave a Comment

Thanks for visiting us today.  This is 10 Cutest Soft Toys for Kids


If this is your first time in our blog, remember to check our FREE SEWING PATTERNS page.

On that page you will find our collection of free sewing patterns for women, kids and men.

You can also visit our SEWING TUTORIALS and our SEWING REVIEWS.

We also have an ETSY STORE, where you will find unique and modern sewing pattern for women.

10 Cutest Soft Toys for Kids

One of the cutest and most rewarding sewing projects that you can make are those for your little ones.  It’s amazing to see how they explore their own creativity with the unconventional toys and games that you can find online.Some of my favorites are soft toys.  I am always amazed by these beautiful DIY projects and how inspiring they are!

Here is the list of my 10 favorite FREE SOFTIE PATTERNS ONLINE:

10 Cutest Soft Toys for Kids

(Please click on the pictures to be directed to the blogs)

  1. Circus seal softie:  Free pattern and tutorial

2.  Foxy softie free pattern and tutorial:


3.  Free baby dino pattern:

4.  How to make a felt alligator:


5.  Cutie the Bat


Thanks for visiting us today!

You might also like:

10 Cutest Soft Toys for Kids


Filed Under: Roundups Tagged With: 10 Cutest Soft Toys for Kids

Circus Seal Softie:  FREE PATTERN

January 16, 2015 by Daniela Leave a Comment

 Hi there,

Thanks for visiting us today. This is the Circus Seal Softie:  FREE PATTERN, a contribution from Felt With Love Designs

If this is your first time in our blog, remember to check our FREE SEWING PATTERNS page.

On that page you will find our collection of free sewing patterns for women, kids and men.

You can also visit our SEWING TUTORIALS and our SEWING REVIEWS.

We also have an ETSY STORE, where you will find unique and modern sewing pattern for women.

I am very happy to have Alicia today on the blog. Her work is full of creativity and excellent ideas for kids.
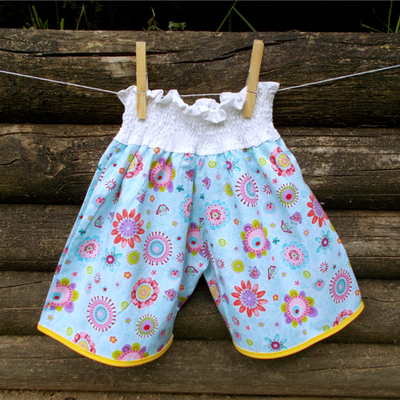
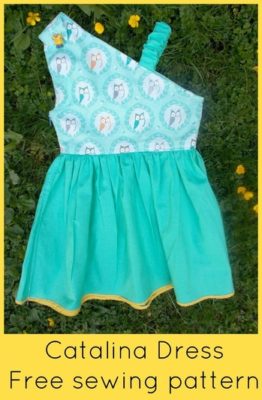
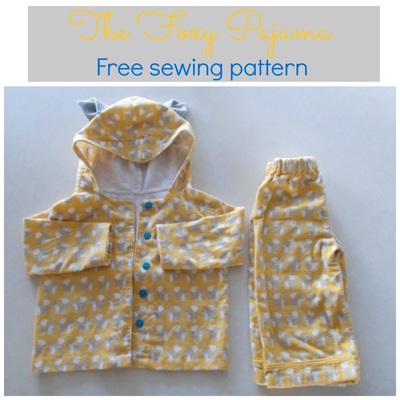
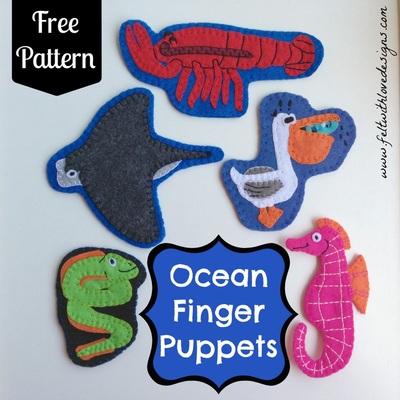
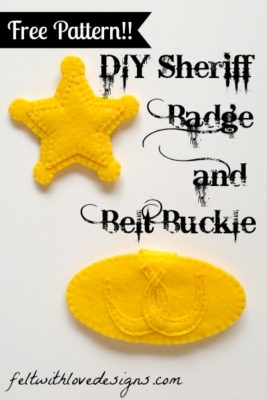
If you have not check her blog yet, these are my favorite posts:


Now I leave with Alicia 🙂

Hi! I’m Alicia from Felt With Love Designs. I am really excited to begin contributing here!

I learned to sew softies from some old vintage patterns my mom had when I was in middle school but my passion for sewing toys really developed in the last couple years, creating toys for my daughter. My favorite toys to design are finger puppets, quiet book pages, and softies. (If you are new to quiet books, I am running a circus-themed quiet book sew along (including free patterns), starting with my intro, What is a Quiet Book?)

Circus Seal Softie Free Pattern

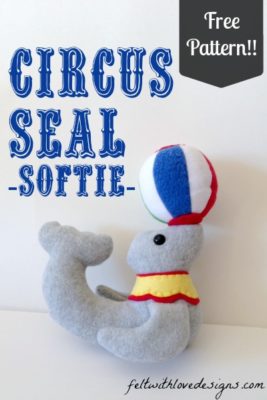
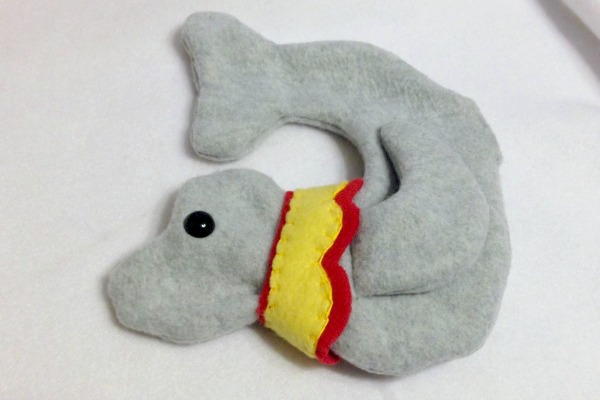
I am really excited to be kicking off my circus toy series here with this seal softie!!

The seal is the perfect size for baby and toddler’s hands, making it an excellent baby gift. I added a magnet to the seal’s nose and the ball to make it a fun toddler toy. Instead of using a magnet, you could sew on some velcro instead. If you want to make this for a baby toy, you could sew the ball to the seal’s nose instead and add a rattle to the middle.

Seal Softie - full horiz

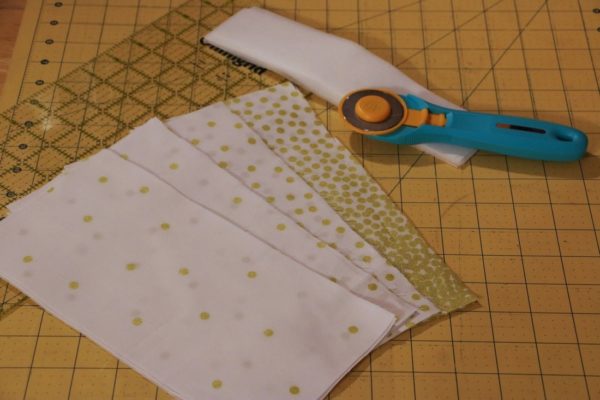
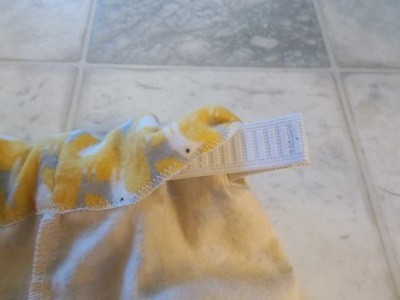
To make your own seal softie, you will need:

  • The pattern

  • Fleece (grey, white, red, yellow, green, blue)

  • Embroidery thread (yellow and red)

  • Safety eyes (optional)

  • Stuffing (I use this kind*. It’s a little more expensive but SO soft and perfect for use with fleece. It doesn’t clump up and it’s washable. Love it!)

  • Magnets (optional – I used two of these washer-shaped magnets* so I could sew them in place. They are extremely strong and hold through several layers of fabric.)

  • Scissors

Before you begin:

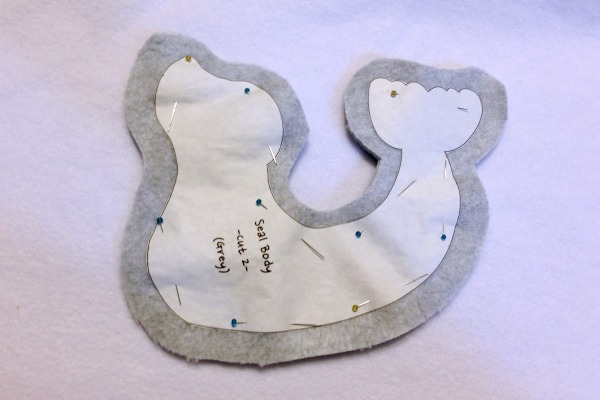
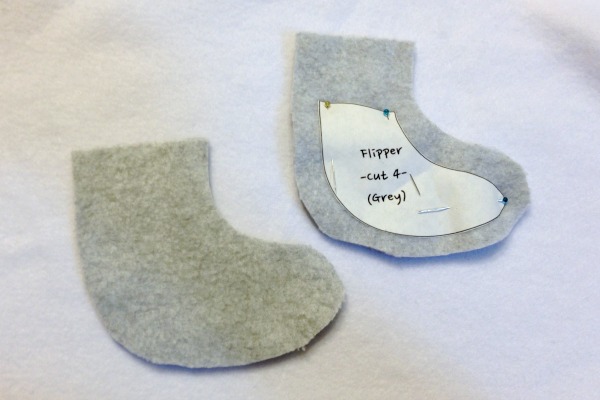
  • Seam allowances are NOT included in the pattern. When cutting the pieces for the seal, you need to include a seam allowance for the seal body and the flippers. The neck pieces only need a small seam allowance on the side opposite the fold.

  • Seal Softie - seam allowance Seal Softie - flippers

  • I included pattern pieces for an eye but used safety eyes in my softie. If you use safety eyes, you do not need to cut these pieces.

  • When sewing softies, I use a very short stitch length so my stitches don’t show when the toy is stuffed.
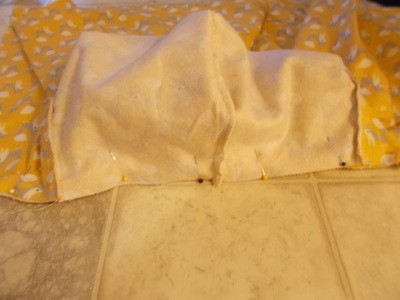
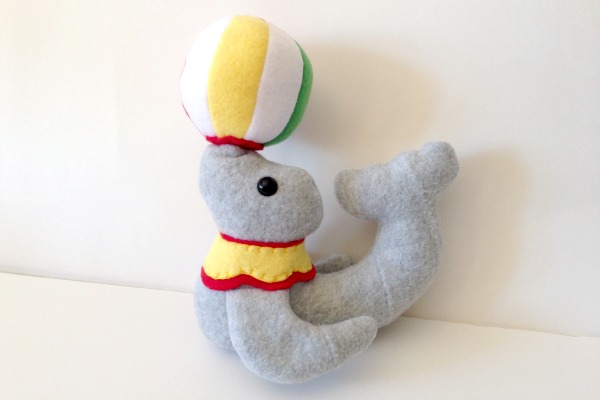
Sew your seal:

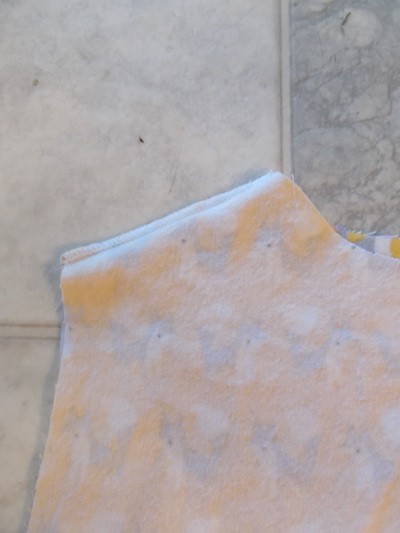
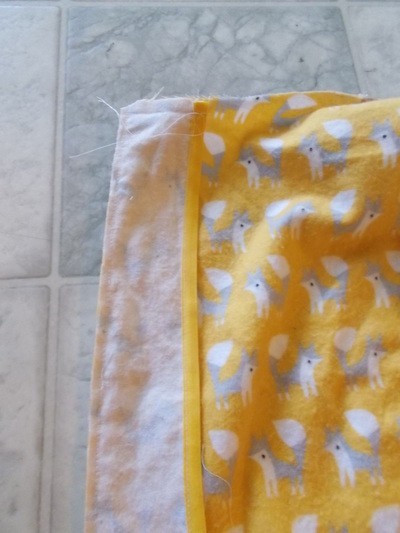
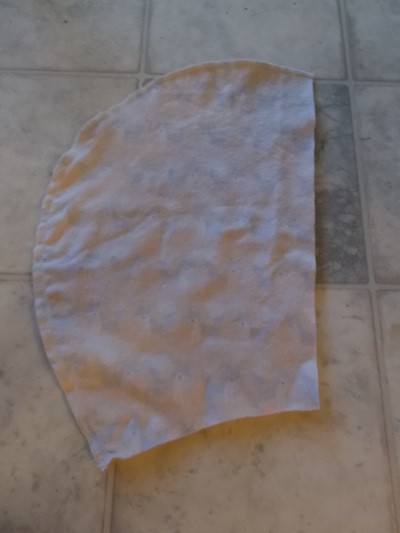
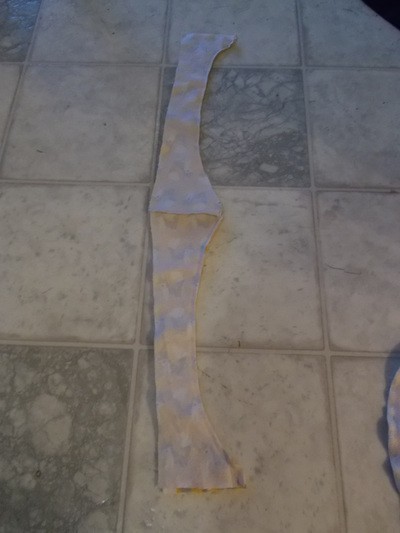
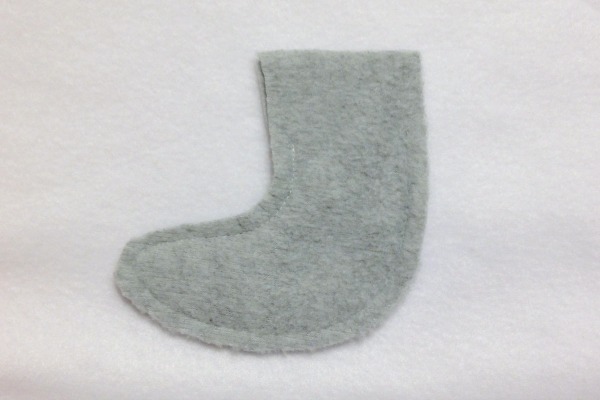
  1. Cut all of your pieces from fleece.

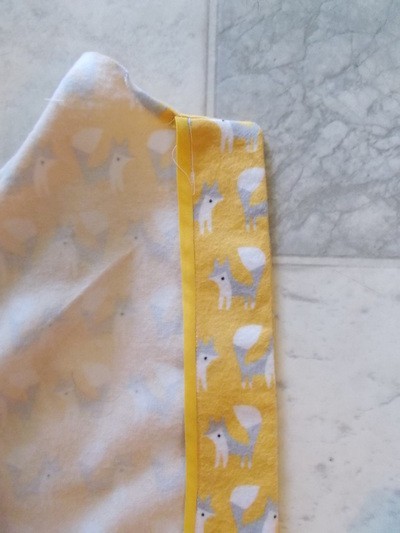
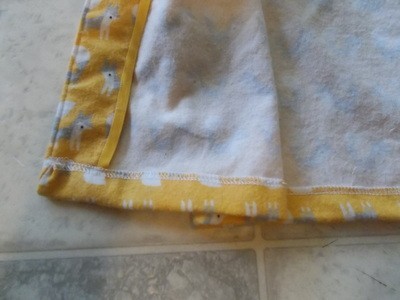
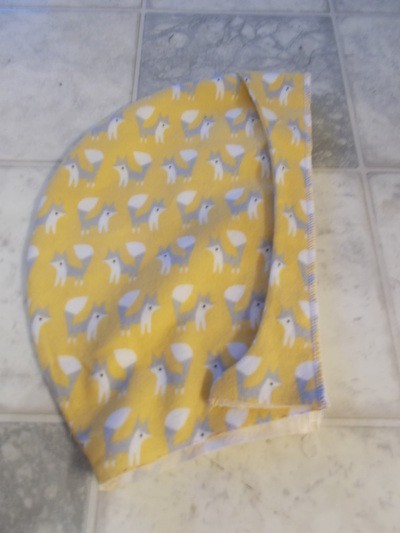
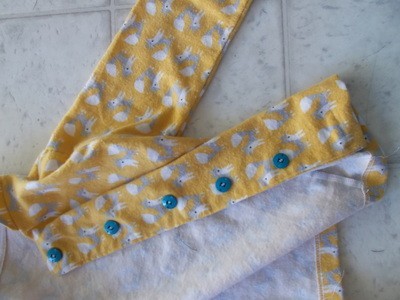
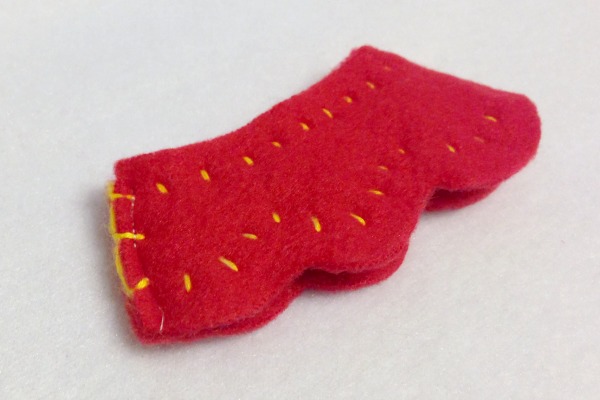
  2. Line up the yellow neck piece on top of the red (larger) neck piece and blanket stitch around the edge of the yellow fleece. I left the red border unfinished but you may chose to stitch along that edge as well.

  3. Seal Softie - Neck piece

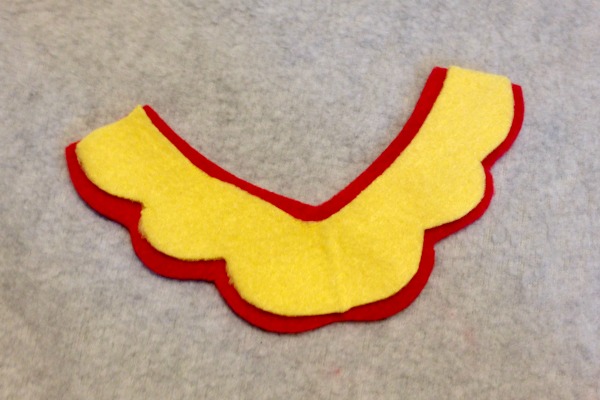
Fold the neckpiece in half, right sides together, and line up the straight edge. Sew down the straight edge, using a very small seam allowance. Flip the neck piece right side again.

Seal Softie - neckpiece inside out

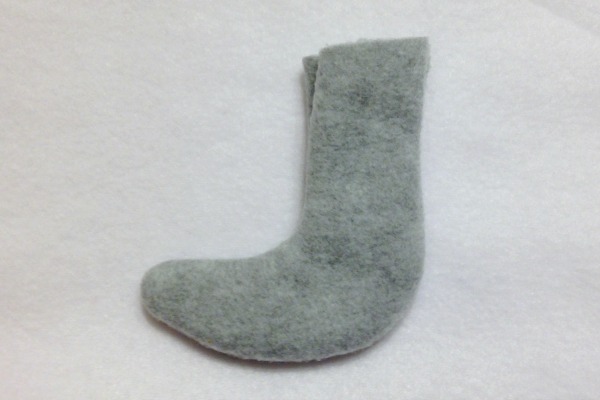
Place flipper front and back together, right sides facing, and sew around edge, leaving the top edge open. I did not stuff my flippers because I wanted them floppy. Stuff them now, if you would like yours stuffed. Repeat for the second flipper.

Seal Softie - flipper sewn

Turn flipper right side

Seal Softie - flippers rightside

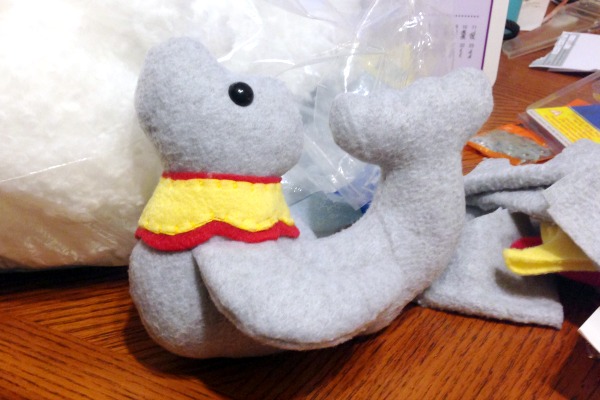
Cut a slit in each side of your seal’s body where you would like the flipper.

Seal Softie - flipper cut

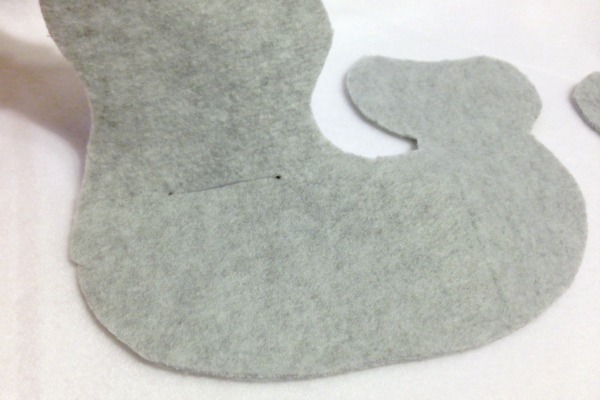
Insert the slipper into the slit (the top of the flipper will be poking through the back side of the seal.)

Seal Softie - flipper in place

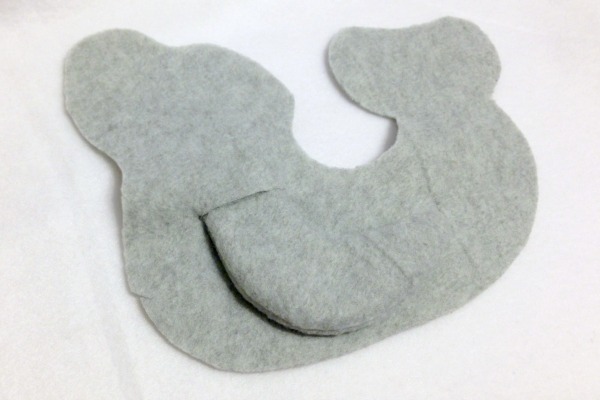
Fold the seal’s body in half at the slit, right sides together and sew the slit shut from the back side.

Seal Softie - sewing flipper

Insert safety eyes (or sew on fleece eyes.)

Match up seal’s body pieces, right sides together, and sew all the way around, leaving a gap at the bottom to turn and stuff.

Turn seal right side.

Slip neck piece over seal’s head and line back seam up with the back seam on the seal’s neck.

Seal Softie - with neckpiece

Slide a magnet into the very tip of the seal’s nose.

Stuff the seal. Stuff the tip of the seal’s nose and the seal’s head first to make sure the magnet stays in place. (Note: I always save my scraps and stuff the center of the critter with them. Great recycling and saves money on stuffing!)

Seal Softie - stuffed

Using a ladder stitch, sew up the bottom hole

Seal Softie - full

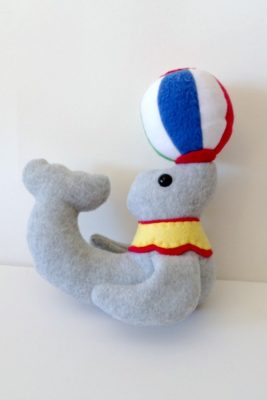
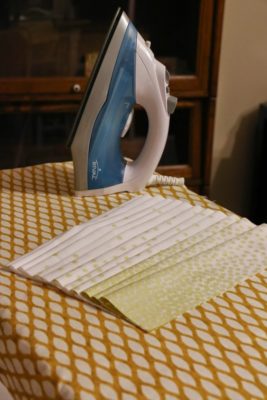
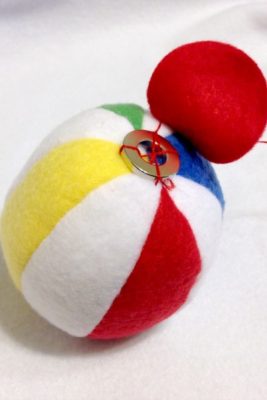
Sew your circus ball:

  • To make the ball, I used this pattern from the Purl Bee (the smallest size)

  • Scale down the pattern to 50 %

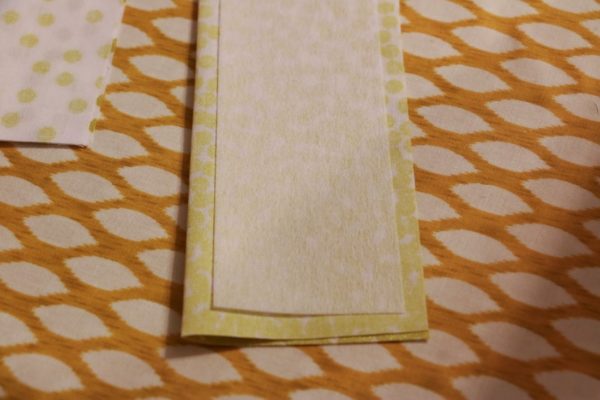
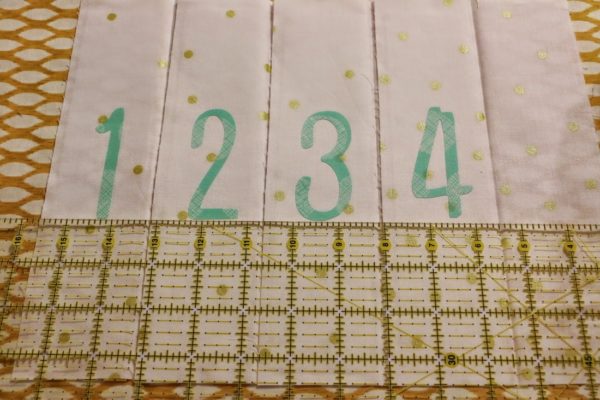
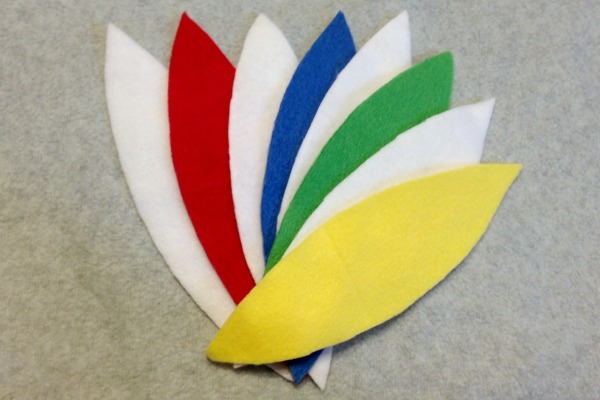
  • Alternate strips of white with strips of color (4 strips of white, 1 red, 1 blue, 1 yellow, and 1 green)

  • Seal Softie - Ball pieces

  • Cut red circles for the each end of the ball

  • Under one of the red circles, sew down a magnet. Cover with the red circle.

  • Seal Softie - ball magnet

I hope you enjoy this little seal as much as I have enjoyed designing him! Stay tuned, I will be back in a couple weeks with some more circus-themed toys!

Seal Softie - up close

If you use this pattern to make your own version, I would love to see it! Come by and share on the Felt With Love Designs Facebook page or tag me (@feltwithlovedesigns) on Instagram!

~Alicia

*affilate link

Thanks for Visiting us today!You might also like:


Filed Under: Fun Projects Tagged With: circus sewing pattern

5 Unbelievably gorgeous bags (made out of clothing!)

January 5, 2015 by Daniela Leave a Comment

Hi there!

Today I am thrilled to present Vicky, from Vicky Myers Creations.  She is our second contributor to the blog and the very first post of 2015!!!!

Exciting!

I stumbled upon Vicky’s website a year ago, and I loved her work.

Why?
I was always amazed by her upcycling and recycling projects:  Ideas full of creativity and ingenuity that will inspire you to start this 2015 with a new set of projects to make!


Don’t forget to visit her and say hi for me ;)Twitter https://twitter.com/vickymcreations
Pinterest http://www.pinterest.com/vickymcreations/
Facebook https://www.facebook.com/VickyMyersCreations
Google + https://plus.google.com/u/0/+VickyMyersCreations/posts
Instagram http://instagram.com/vickymyerscreations/Now I leave you with Vicky’s TOP 5 FOR UPCYCLING CLOTHES INTO BAGSENJOY!


Love to sew but feeling a bit strapped for cash following Christmas? Why not upcycle some clothes into new bags – I love the challenge and creativity involved in this. It costs little, have a go:) Here are my top 5 tutorials for upcycling clothes into bags.
Loving this sweater bag from Renegade Seamstress –  Taking less than an hour this tote holds your laptop, magazine, tablet – perfect for adding your brand of individuality to any outfit. The bag uses thrifted handles but you could easily replace with bought handles. 

Picture

Create an upcycled denim tablet case from Instructables Denim Mini IPAD Case 2 Switch the fabric for some former trousers to create a denim tablet case, utilize the back pocket which is perfect for earphones. This tablet case is lined with an old shirt, with some fusible fleece for protection of the tablet. Tweed Skirt Bag from VickyMyersCreations Tweed Skirt Bag   Utilizing the original pleats in a skirt this is a fun bag – make it as deep or as shallow as you like. Scrap Linen Patchwork Bag by mysocalledcraftylife mysocalledcraftylife Use up your scrap fabrics to create this fun and stylish tote. The instructions are easy to follow including the leather strap. Thanks Daniela for hosting. If you fancy more upcycled bag ideas pop over to my bags board on pinterest, or for more tutorials visit my blog vickymyerscreations. What’s your favourite upcycle with former clothes? signature

Picture

 Inspired by our amazing world I love to sew and create, often with a focus on recycling and upcycling – I love to explore my creativity whilst recycling:)

Thanks for visiting us!

You might also like:


Filed Under: Roundups Tagged With: 888

Drafting Tutorial: A-line Skirt

December 23, 2014 by Daniela 1 Comment

Drafting Tutorial: A-line Skirt

[Read more…] about Drafting Tutorial: A-line Skirt

Filed Under: WOMEN Tagged With: 824

  • « Go to Previous Page
  • Page 1
  • Interim pages omitted …
  • Page 153
  • Page 154
  • Page 155
  • Page 156
  • Page 157
  • Interim pages omitted …
  • Page 159
  • Go to Next Page »

Primary Sidebar

RSS On the Cutting Floor: Printable pdf sewing patterns and tutorials for women

  • Petunia Skirt PDF sewing pattern and Tutorial
  • Standford Dress PDF sewing pattern
  • Ivonne Knit top PDF sewing pattern
  • The Cony Bouse PDF sewing pattern and sewing tutorial
  • FREE PATTERN: Basic Blouse
  • Advertise with Us!
  • Contribute – On the Cutting Floor
  • Income
  • SITEMAP

Copyright © 2025 · Genesis Sample on Genesis Framework · WordPress · Log in