Hello there,
Thank you for visiting On the Cutting Floor. This is the: Winter Sewing Projects: Kids Edition
If this is your first time in our blog, remember to check our FREE SEWING PATTERNS page.
On that page you will find our collection of free sewing patterns for women, kids and men.
You can also visit our SEWING TUTORIALS and our SEWING REVIEWS.
We also have an ETSY STORE, where you will find unique and modern sewing pattern for women.

Winter Sewing Projects: Kids Edition
Winter Sewing Projects: Kids Edition
Now that winter is coming and the indoor time is longer, you want to think about some ideas to boost your sewing time and make a great, homemade projects for your loved ones!
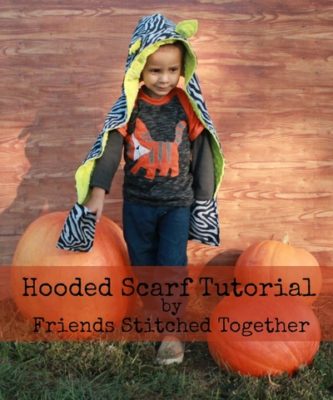
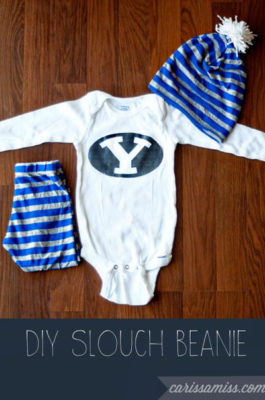
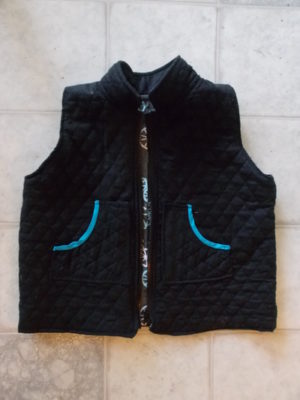
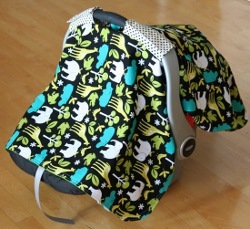
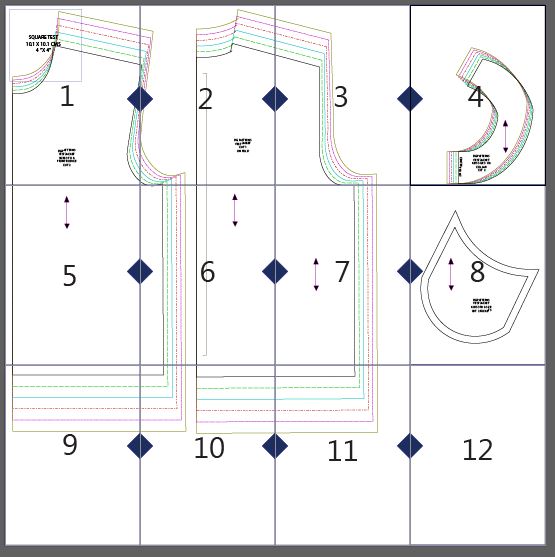
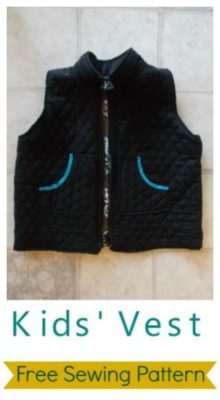
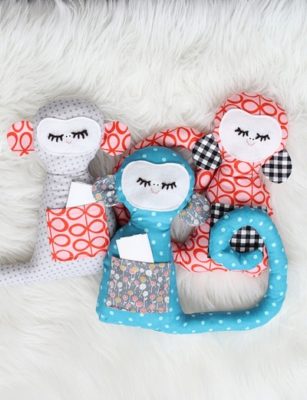
The list below are the ones I’m obsessed with:


