Hello there,
Thank you for visiting On the Cutting Floor today. This is the Patternmaker USA Tutorial: How to fully customized your FREE patterns
This tutorial has been sponsored by PatternMaker USA.
To know more about them, please visit its website here.
If this is your first time in our blog, remember to check our FREE SEWING PATTERNS page.
On that page you will find our collection of free sewing patterns for women, kids and men.
You can also visit our SEWING TUTORIALS and our SEWING REVIEWS.
We also have an ETSY STORE, where you will find unique and modern sewing pattern for women.
You can also sign up for our newsletter on the sidebar of this post, so you will never miss a post!

Today’s post will dig into the uses of the PatternMaker’s Basic Viewer.
This program is FREE to download and it comes with three basic slopers: bodice, pants and collars.
To download the program click here.
Once you have added the Basic Viewer to your PC, you will see an icon like this:
Open the program.
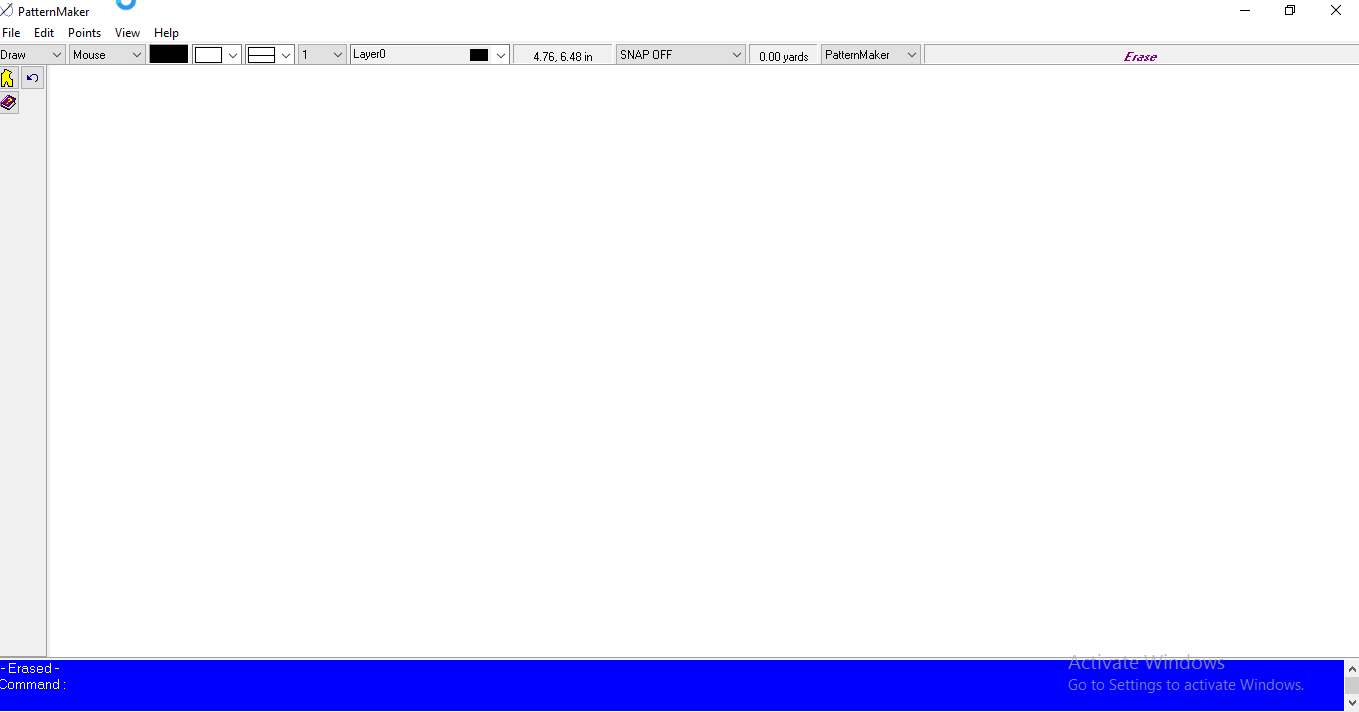
It will show you a blank page with a set of commands to work with. The commands are: (from left to right)
Draw
Mouse ( there is the option to design patterns with a digitizer)
Colors: Choose among 10 colors available
Lines: Choose among 5 different line options
Thickness of the line: choose among 10 line thicknesses’ options.
Layer: To make changes on the pattern
Yardage: Check on the SETTINGS to set the right amount of fabric width.
Program: The program you are using at the moment.
Command: Last action made.
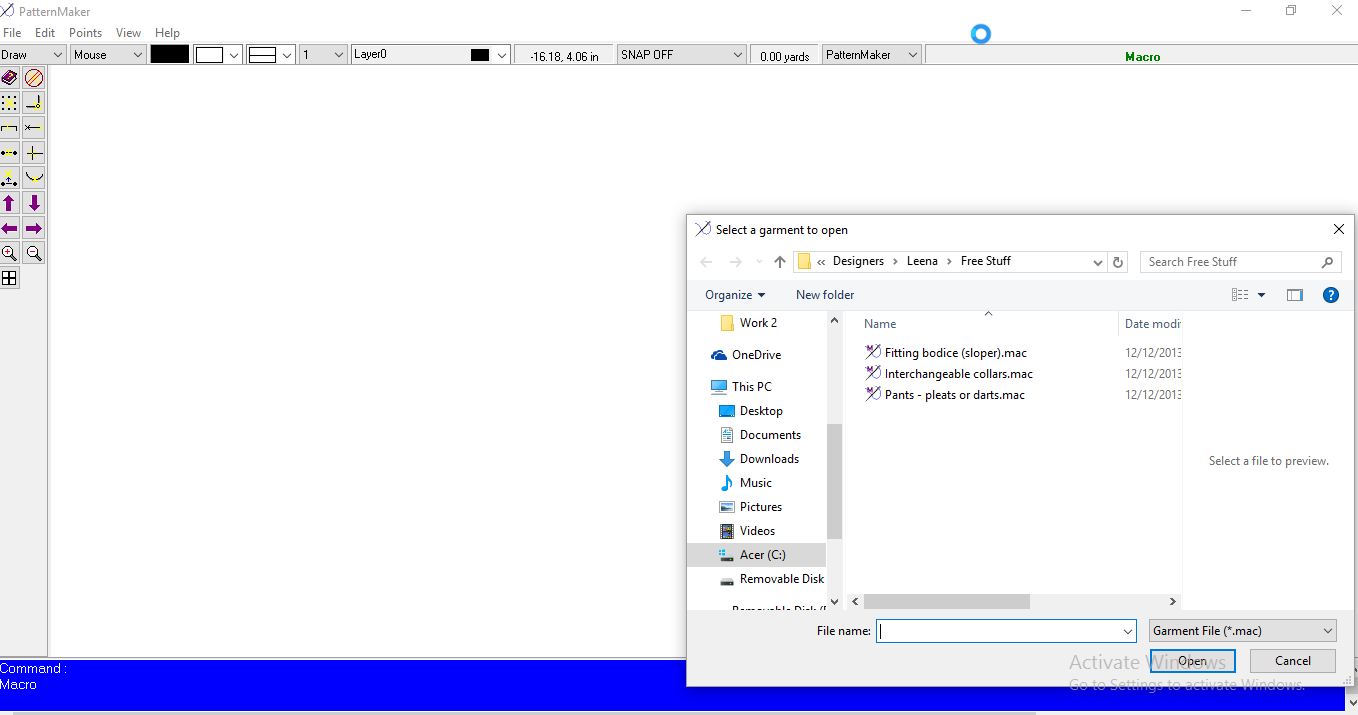
Open the Macro Image (the yellow bodice image at the left side of the screen)
This will show you the sloper’s options available for free.
If you want to purchase a collection to add to your program, please visit its website here.
So, I clicked on the pants’s sloper.
This will show you the design’s options available. 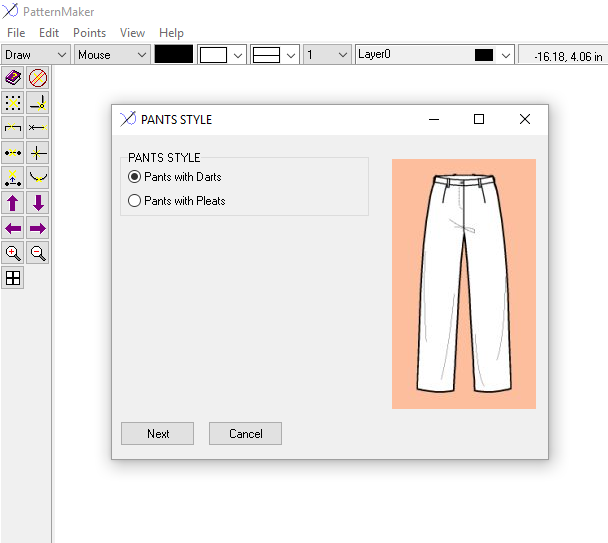
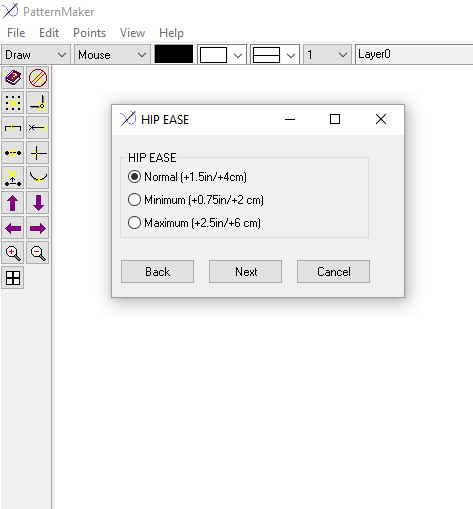
Within the options, you can choose the amount of hip ease for it.
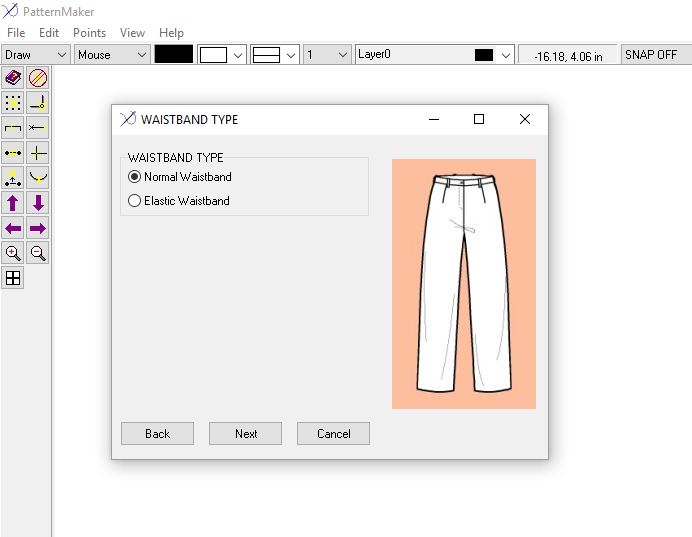
After that, you will be able to choose the waistband.
And how you would like the abdomen area to be.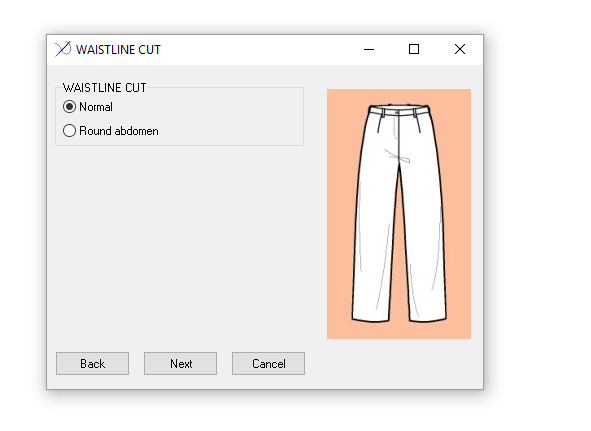
After that, you will see the option to choose pockets:
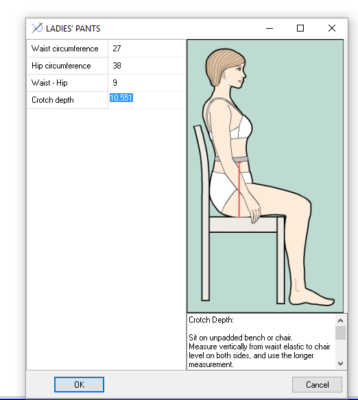
Then, the customized measurements are available as well. If you want to see the measurements on centimeters, please, check on SETTINGS.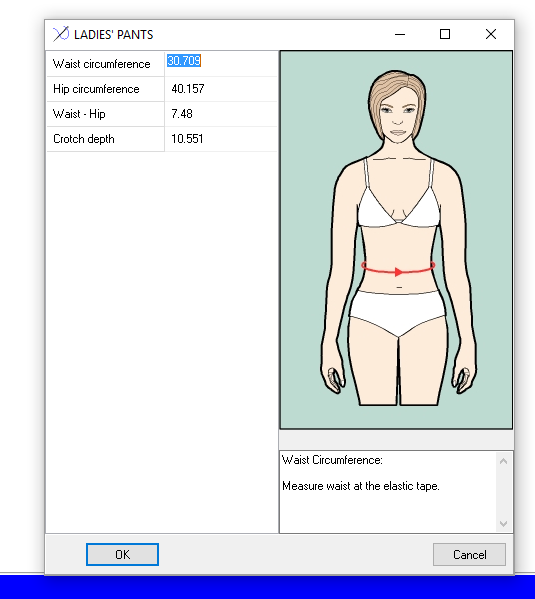
The program will show you exactly how to take that measurement.
There is also the options for lengths (zipper and outside seam), cuff circumference and seam allowance.
After that, press OK and it will show you the fully customized pants’ sloper.
Now it is ready to print!!!

Do you want to know how much fabric you will need? Check on this part of the screen for it. 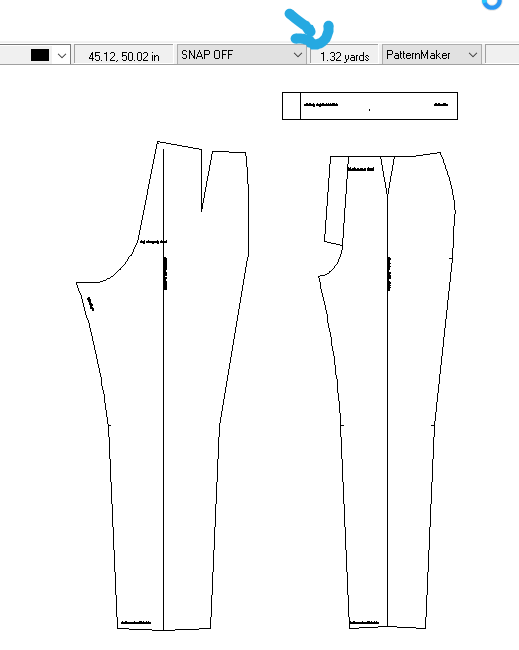
And that it is all for today. I hope you enjoy this tutorial and make a great use of PatternMaker for your next project.
I’ll definitely have to check Pattern Maker out. The software looks fascinating. Thanks for the great tutorial!
Thanks for the new software i could use. Big help!
You are welcome Jen 🙂
Happy Sewing!