
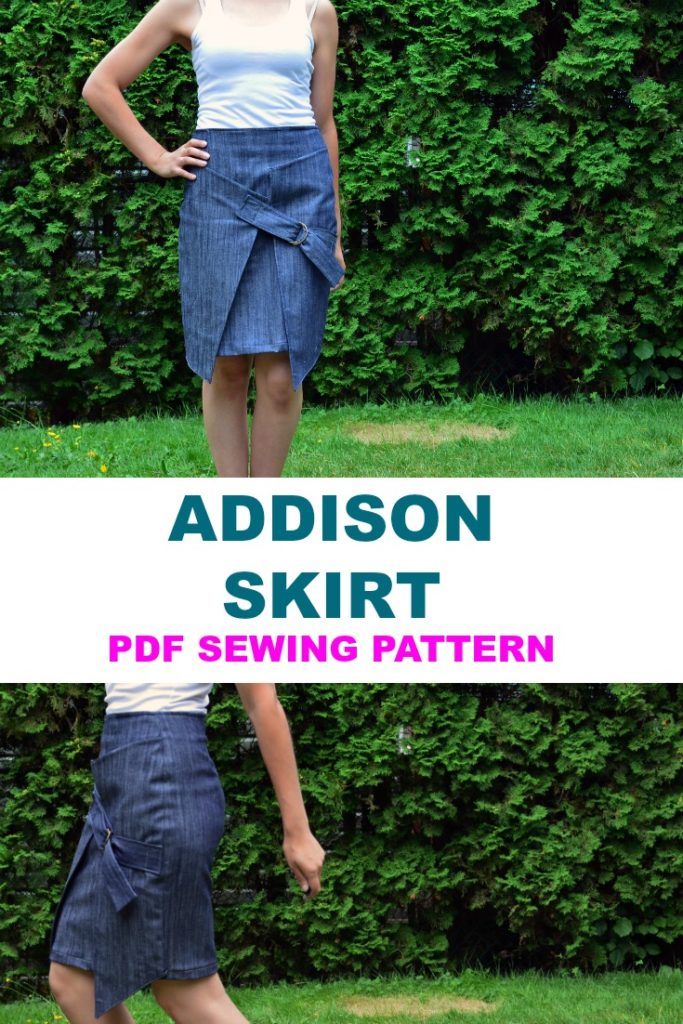
SEW ALONG: Addison Skirt- Part 3
Hello, thank you for stopping by today. Here is the last part of our sew along for the Addison Skirt Pattern.
You can also find PART 1 and PART 2 here
SEWING TUTORIAL
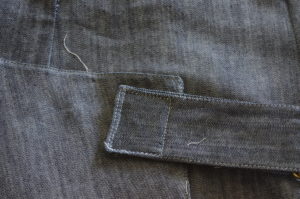
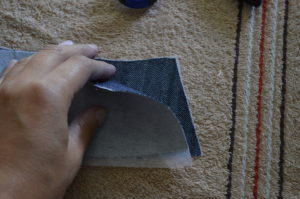
1. Place the panel on the front skirt
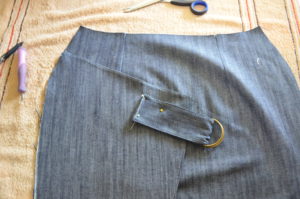
2. Follow the side notches to know where to place the panel. Sew along the side seam.

3. Repeat with the other side of the skirt.
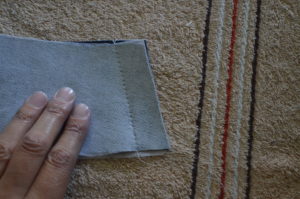
You can also serge the sides together to secure the seams.
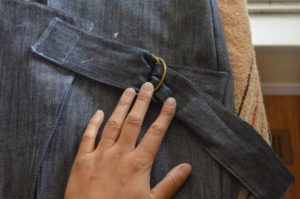
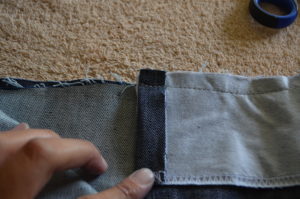
4. Now, double check that the alignment of the skirt panels and straps is correct. If it is exactly how you would like them, sew the straps to the panels.
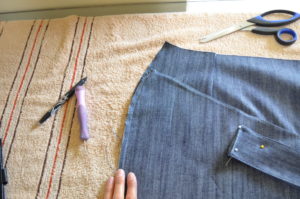
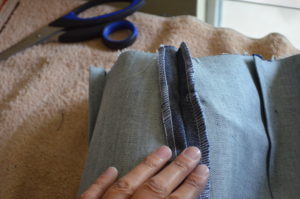
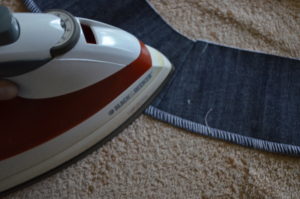
5. Now place the back skirt to the front skirt together, right sides facing.
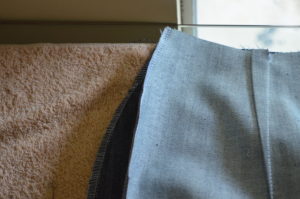
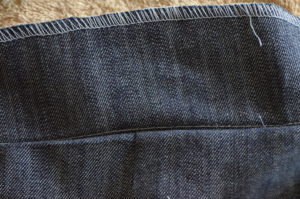
6. Open up the side seams and press flat.
WAISTBAND
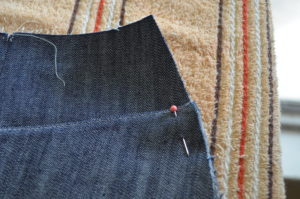
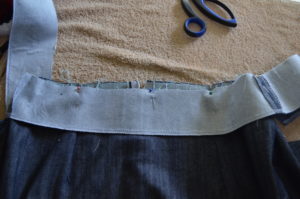
- Place front and back waistband pieces together, right sides facing
- and sew along the side seam.
- Press the seams flat.
- Now, pin the waistband to the skirt, matching the side seams.
 5. Make sure to fold the waistband on the zipper area so it is easy to finish the skirt.
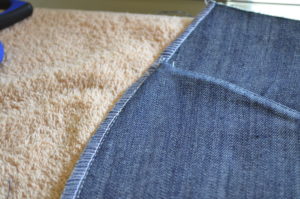
 6. Trim the seams and understitch the waistband by creating a straight line 1/6 to 1/8 from the original seam.
7. Turn to the inside of the skirt and press flat.

8. Stitch the waistband to the zipper to secure it in place. A few stitches will make the trick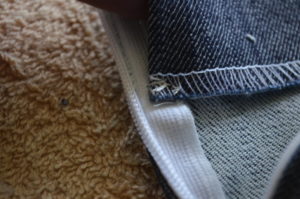
Make sure you do not stitch on the right side of the skirt.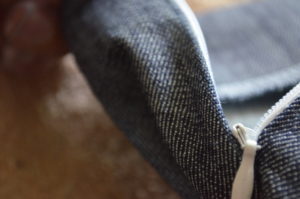
HEMS
1. Double fold the skirt hemline, first by 1/4 and then 1 1/2

Sew along.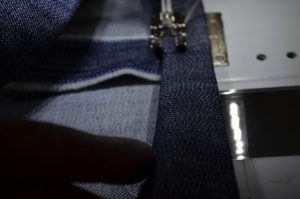
And I hope you have enjoyed this Sew along. Remember to check on the Addison skirt information here, so you can join us to sew a new, beautiful skirt.
FOR FULL DETAILS ABOUT THE PATTERN, CLICK HERE
Leave a Reply