
Sewing Tutorial: How to make a short sleeve shirt
Thanks for visiting On the Cutting Floor today! This is the Sewing Tutorial: How to make a short sleeve shirt
If this is your first time in our blog, remember to check our FREE SEWING PATTERNS page.
On that page you will find our collection of free sewing patterns for women, kids and men.
You can also visit our SEWING TUTORIALS and our SEWING REVIEWS.
We also have an ETSY STORE, where you will find unique and modern sewing pattern for women.

Sewing Tutorial: How to make a short sleeve shirt
1.Gather front and back bodice pieces and bring them to your sewing table.
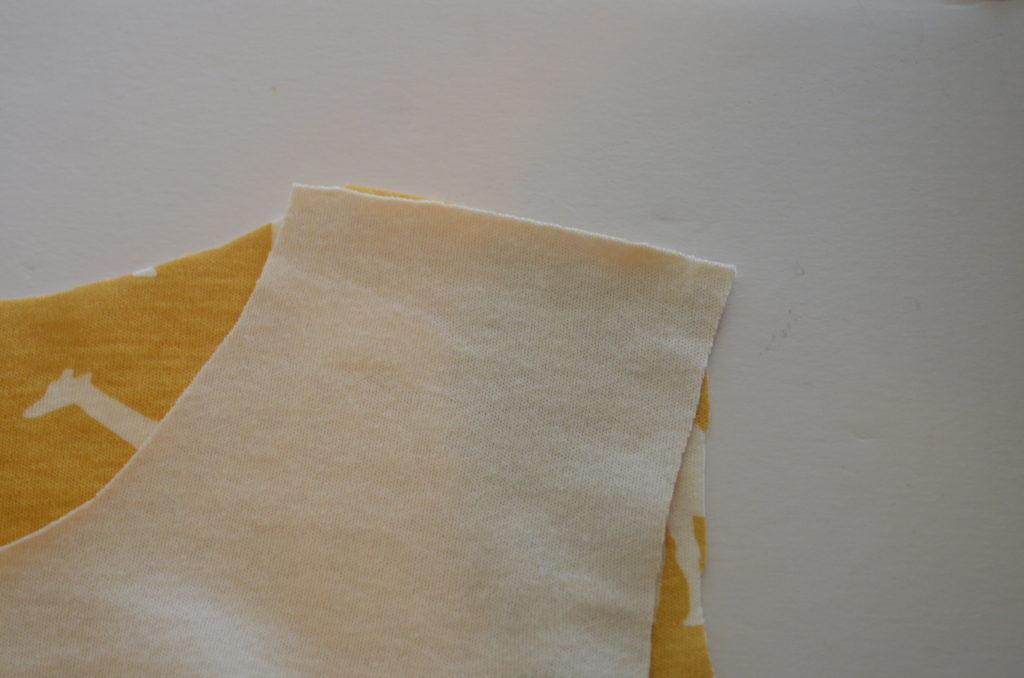
2. Stitch the shoulder seams together, right sides facing. Then, open the t-shirt so you can see both, front and back bodices.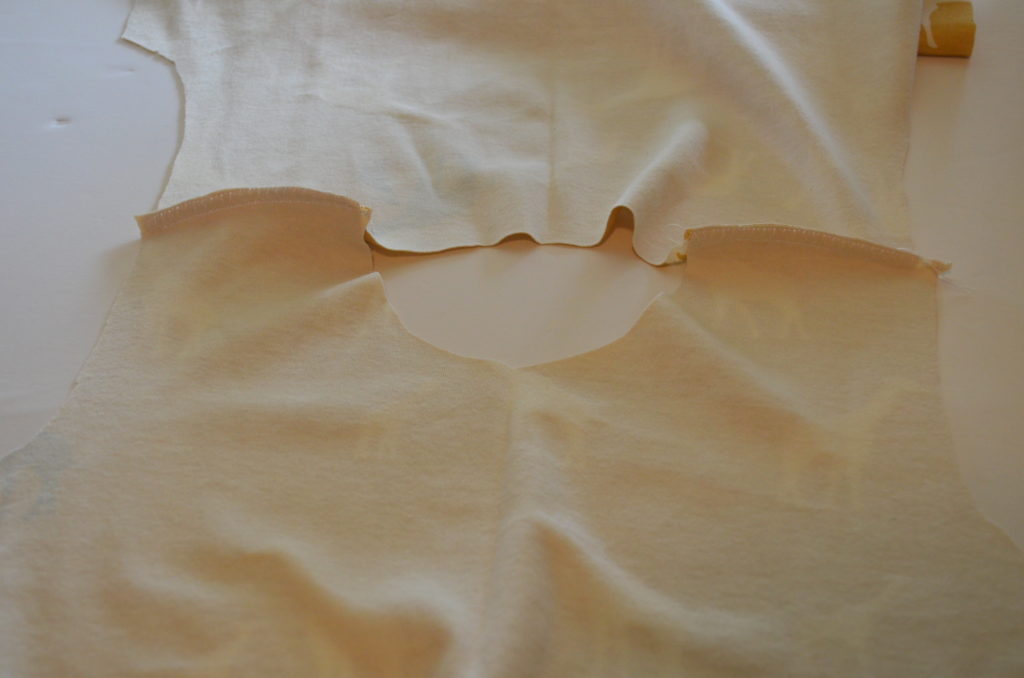
3. Add the sleeves to the side of the top. 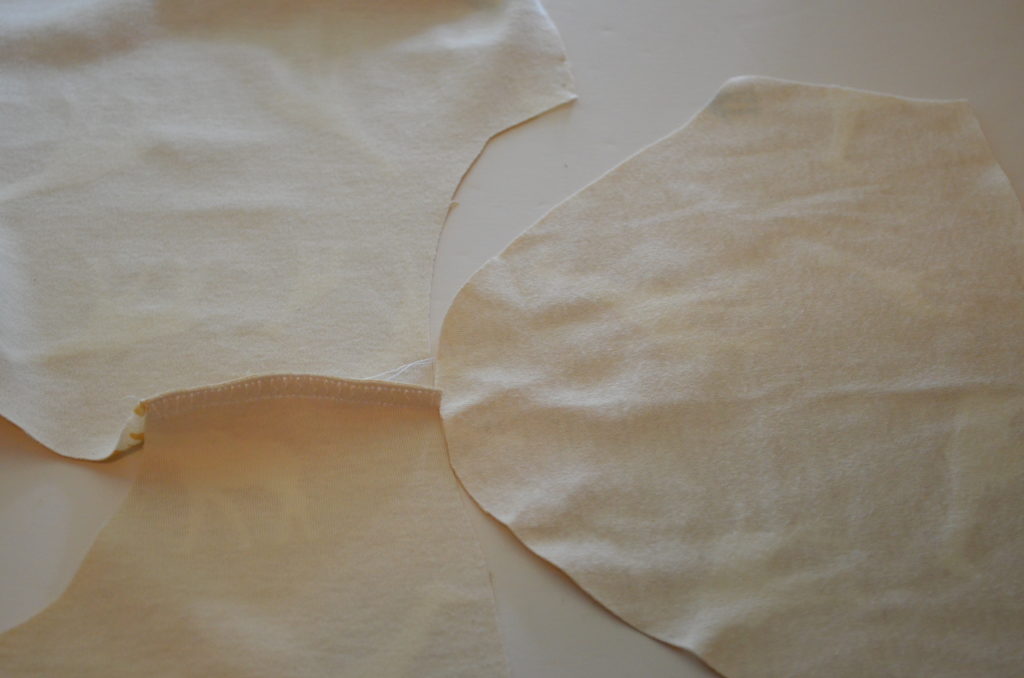
4. Start pinning form the center of the cap and shoulder seams to the sides. Then, stitch them together with an overlocking stitch or zig zag stitch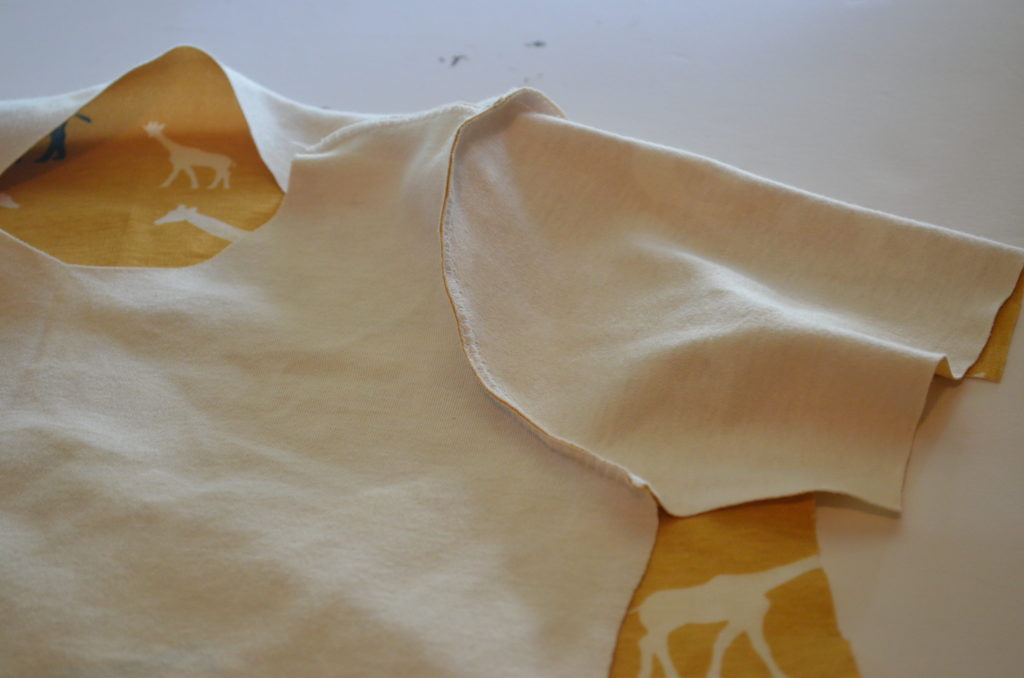
4. After, adding the sleeves, fold the t-shirt again and stitch the sleeve sides and the bodice sides together, right sides facing. Then, press the seams flat.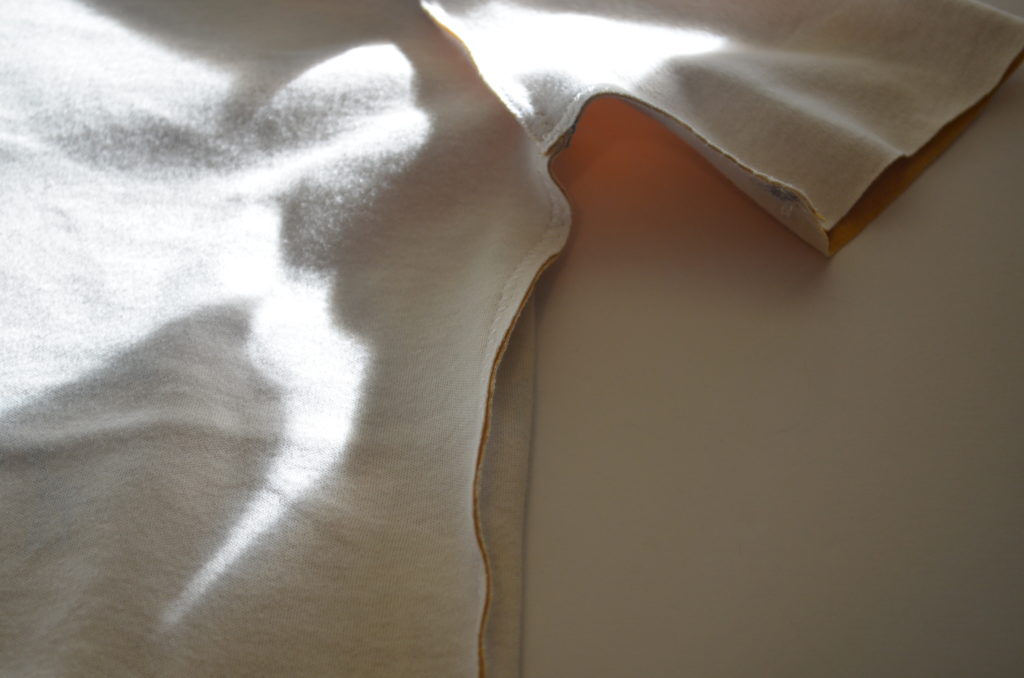 NECKBAND:
5. Fold the neckband in half, lengthwise. Stitch it together and press flat.

6. Then, fold the neckband again widthwise; press it flat.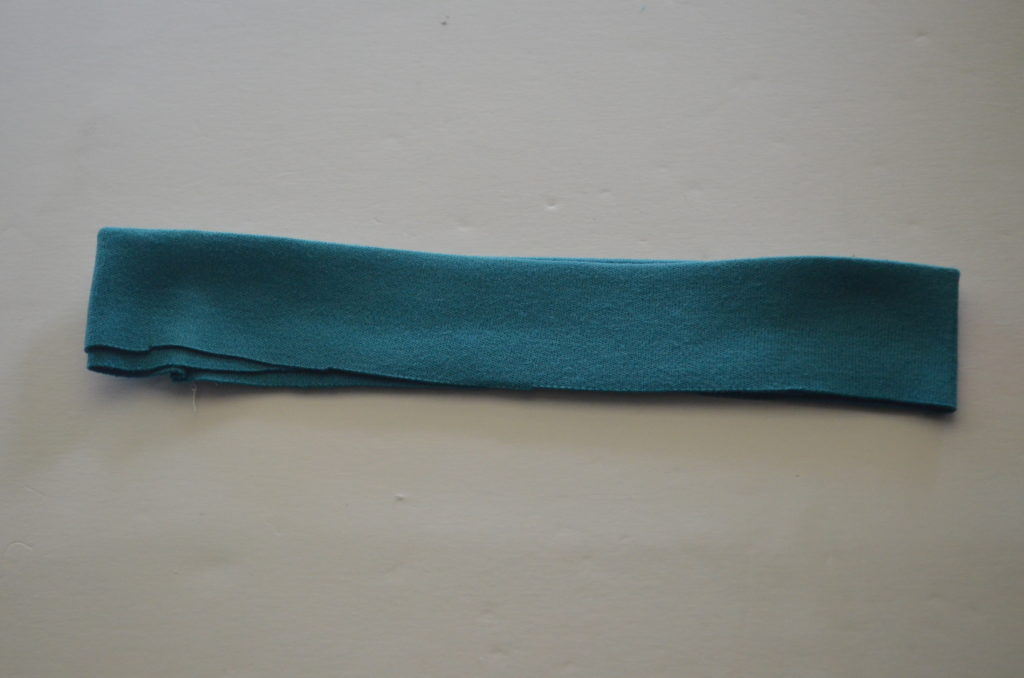
7. Baste the neckband to the neckline. Remember that the neckband will need to stretch to adjust it to the neckline.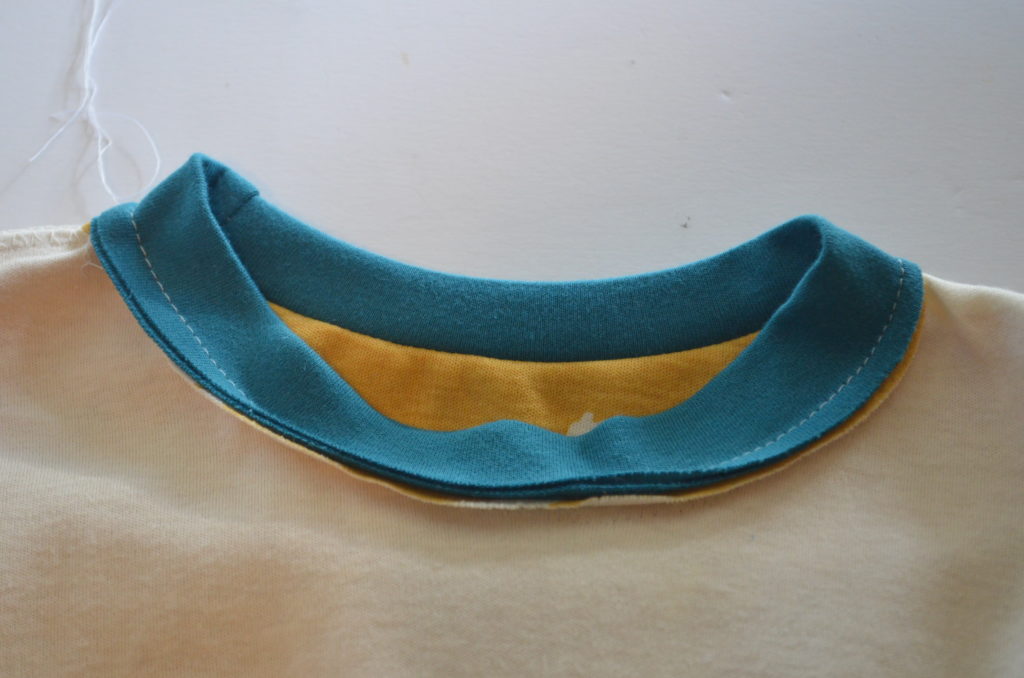
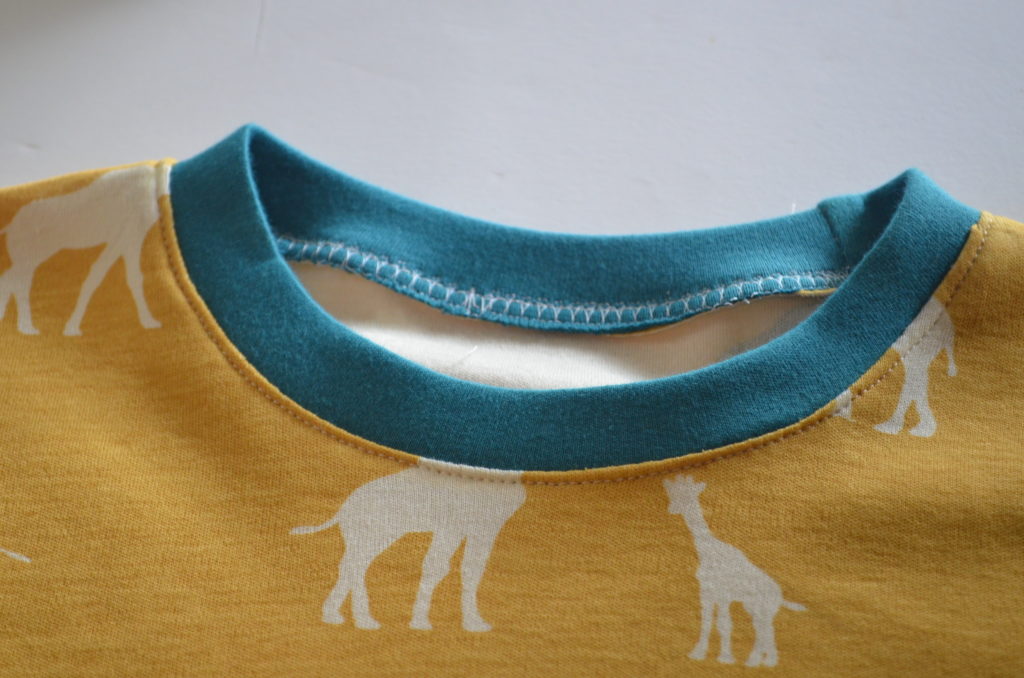
7. When the neckband is ready, use a zigzag or overlocking stitch.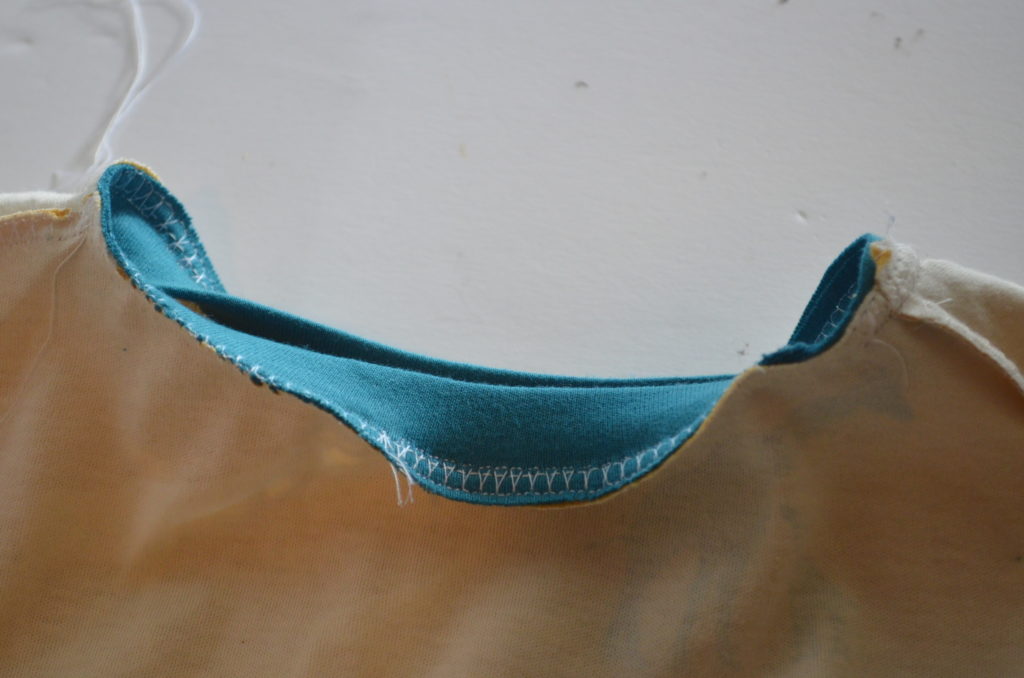
8. Then, press the neckband to the right side.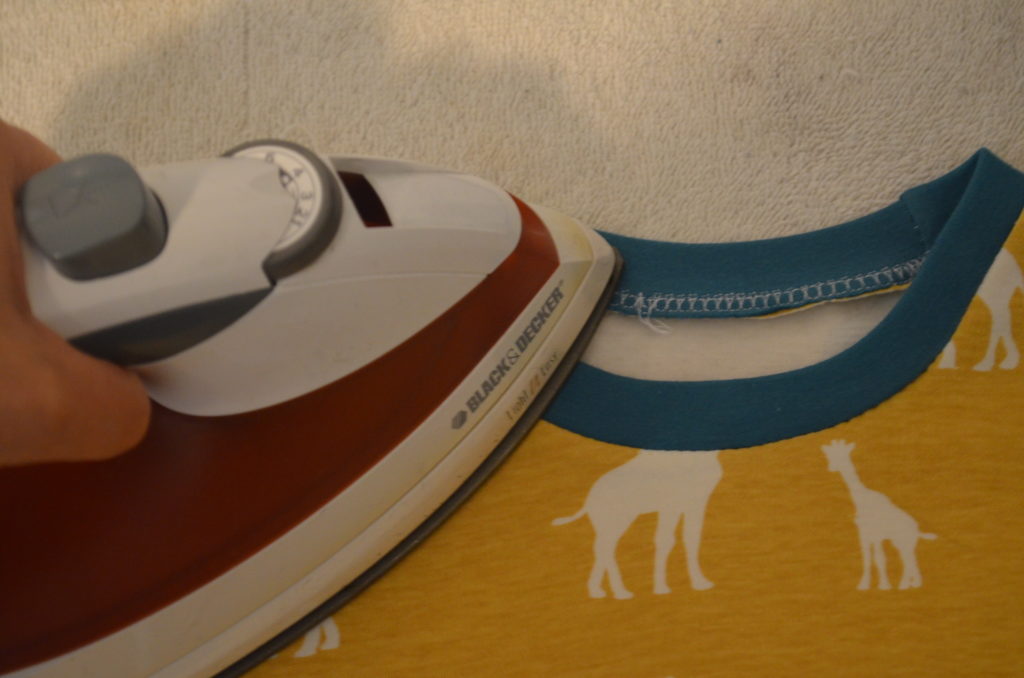
9. After pressing, topstitch the neckband to the top with a 1/8 to 1/4 from the edge.
10. Finally, fold the cuffs and the hemline 1 inch to the inside. Press it flat.
11. Now, zig zag the cuffs and hemline.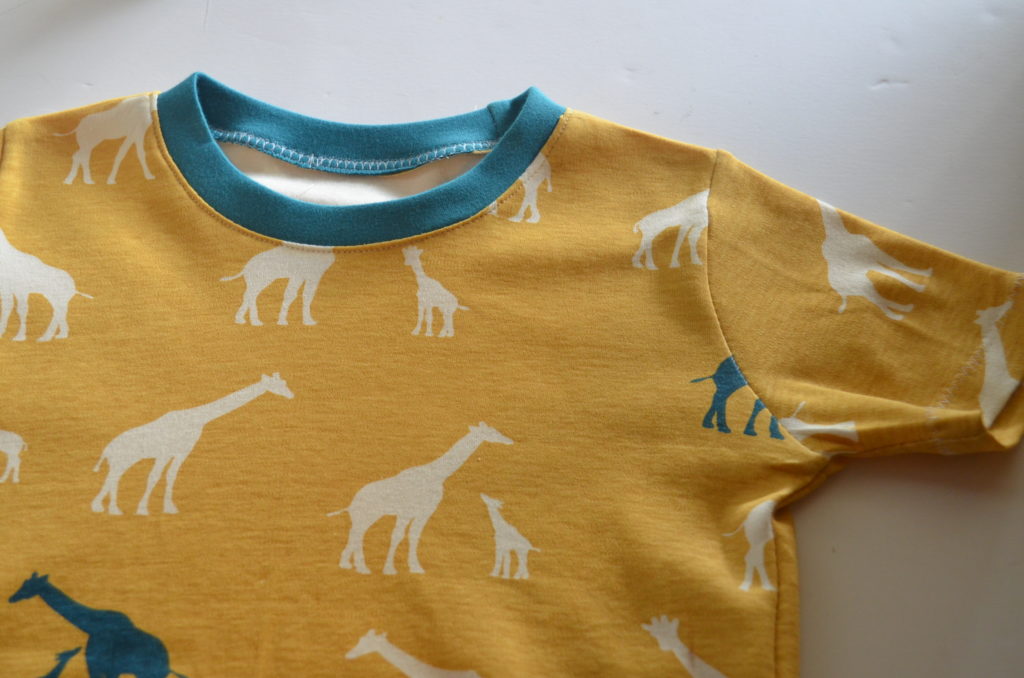
And that is all!
Thank you for reading this post and we will see you next time
