If this is your first time in our blog, remember to check our FREE SEWING PATTERNS page.On that page you will find our collection of free sewing patterns for women, kids and men.
You can also visit our SEWING TUTORIALS and our SEWING REVIEWS.
We also have an ETSY STORE, where you will find unique and modern sewing pattern for women.
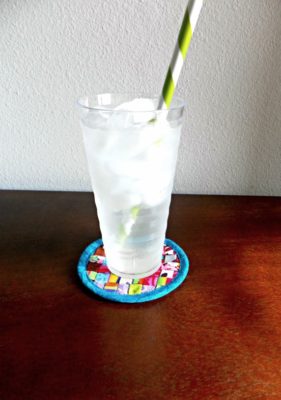
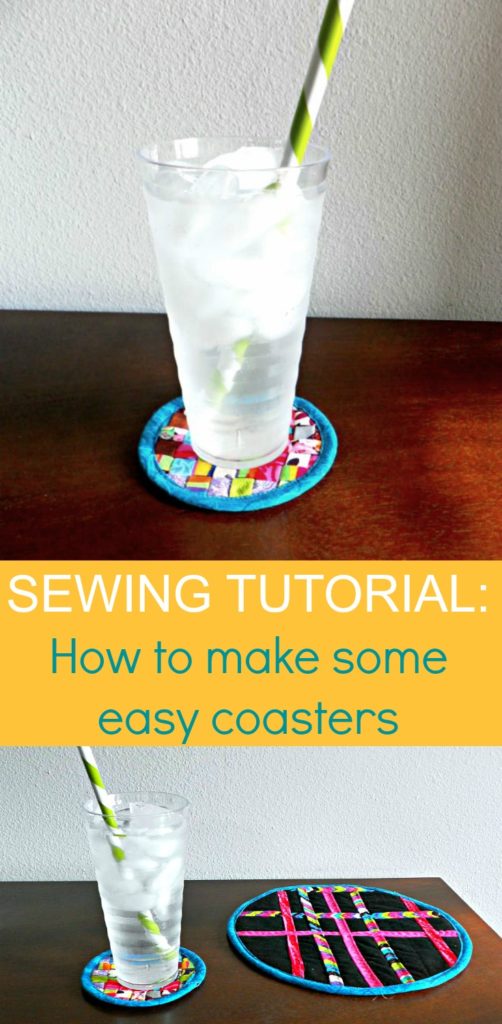
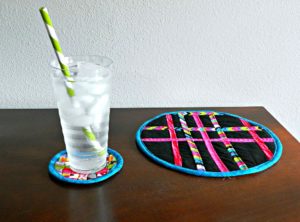
Have you ever thought about making your own coasters? This is a super easy project that will protect the surfaces around your home and great for using up bright scraps and easy to personalize by fabric choice, everyone will love using these!
Supplies needed:
2 pieces of fabric slightly larger than your finished coaster/placemat
1 scrap of quilt batting the same size
Assorted fabrics for weaving strips
1 package of bias tape or make your own!
Let’s get started 🙂
Sewing Tutorial: How to make easy coasters
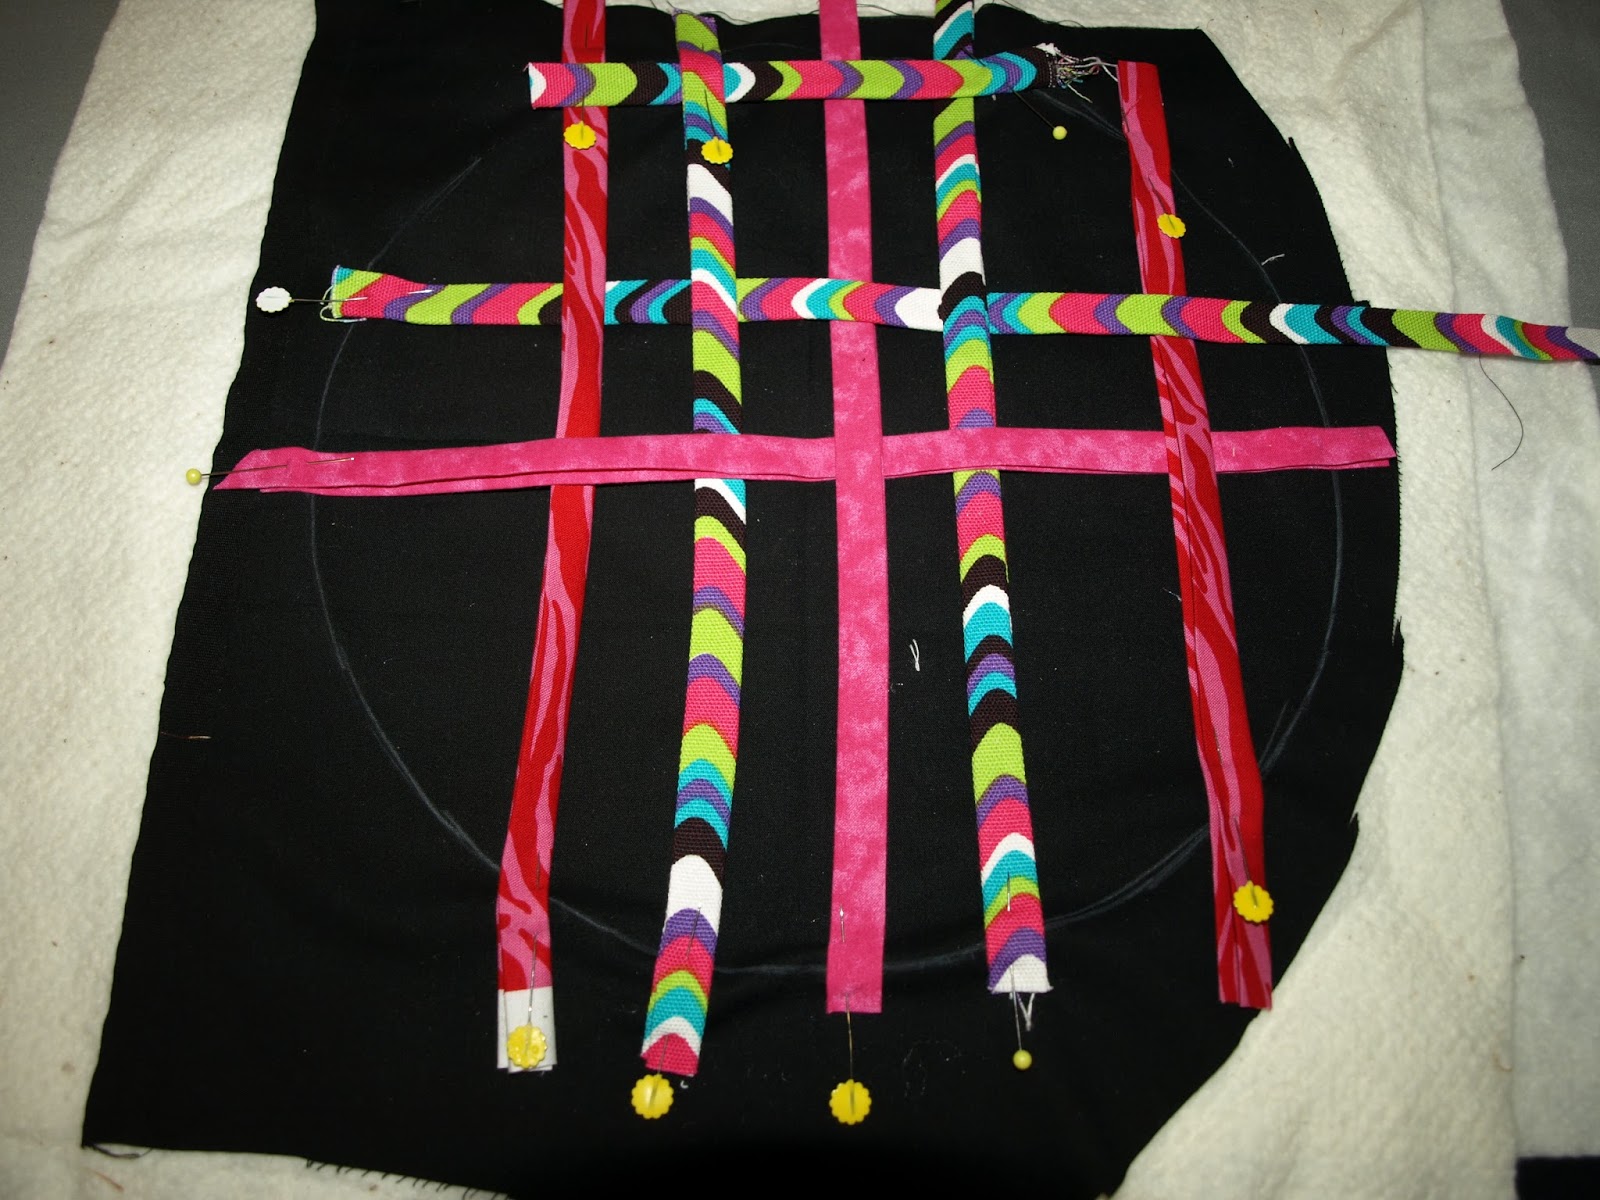
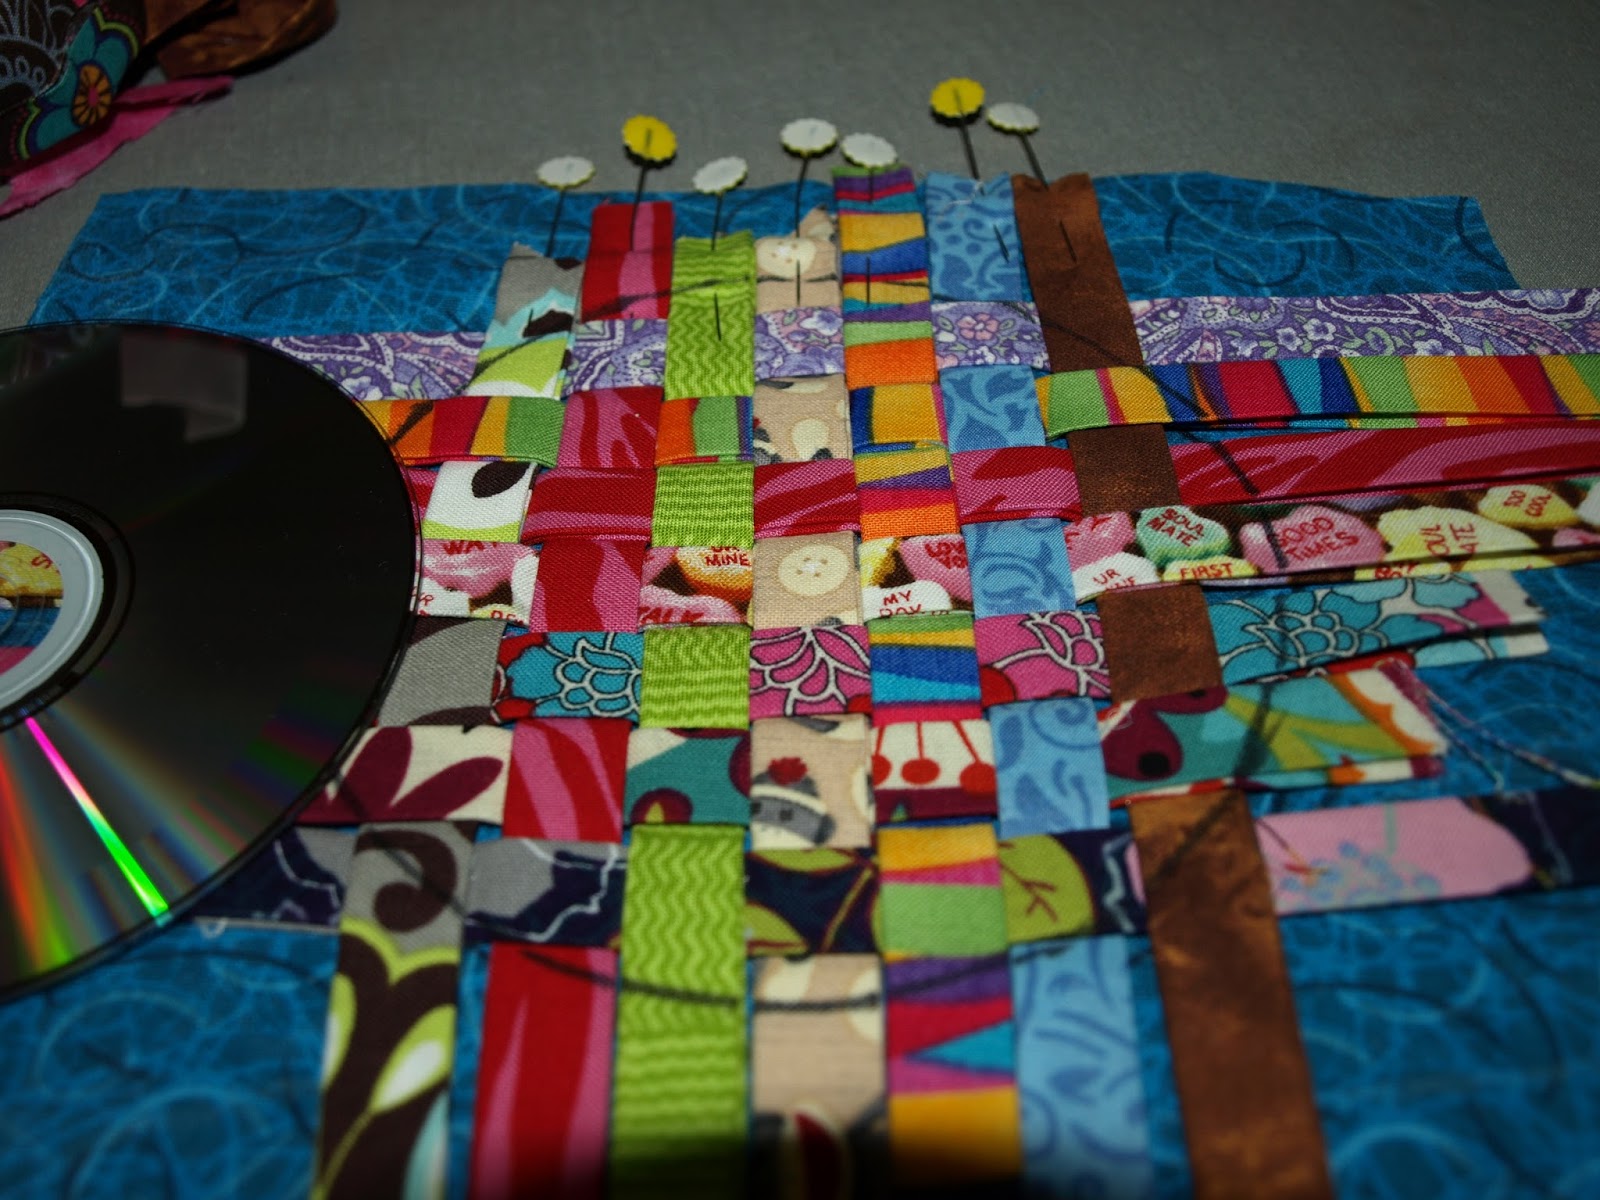
1. Trace circle on piece of fabric. (I used a black marker on the blue fabric and white chalk on the black fabric. Marking color doesn’t matter because it will be covered in the final steps.) Keep in mind the color/print of background fabric if your weave will be open. I used an old CD for the coaster and a dinner plate for the placemat.
2. Cut an assortment of 2″ strips.
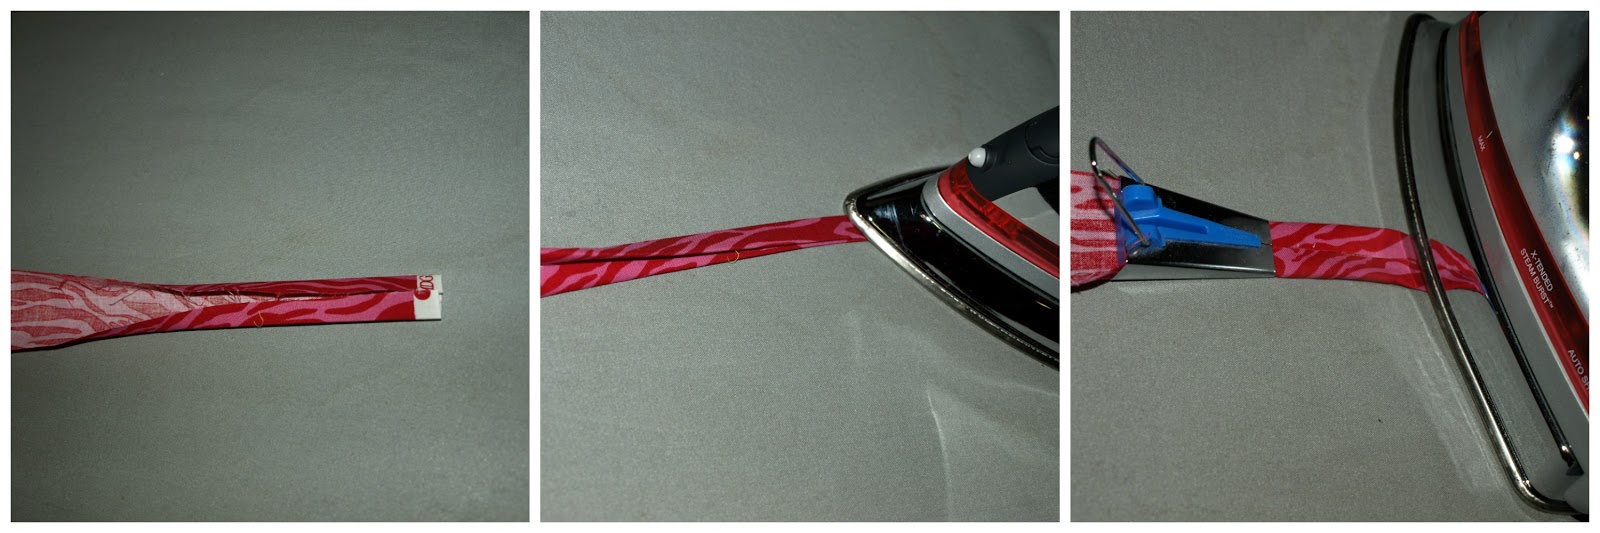
3. Press strips in half lengthwise,
4. Open strips, then fold long ends toward center and press. (Feel free to use a handy-dandy bias tape maker if you have one!) Optional: Topstitch along both long sides of each strip.
5. Start placing the strips on the fabric, covering the circle you marked in step 1. Cut each strip slightly longer than what covers the circle.
6. Weave the strips in and out until you are happy with the placement.
(I worked on my ironing board and used pins to hold each strip in place while working.)

7. Make a “sandwich” with the backing, optional quilt batting, and woven piece.
Optional: Stitch down the center of each strip using a decorative stitch if desired. (This is what I did with the open-weave piece.)

8. If necessary, re-trace the circle on top of the woven strips.
9. Baste one line of stitching all around the circle and trim as close to the outside of the stitching as you can.
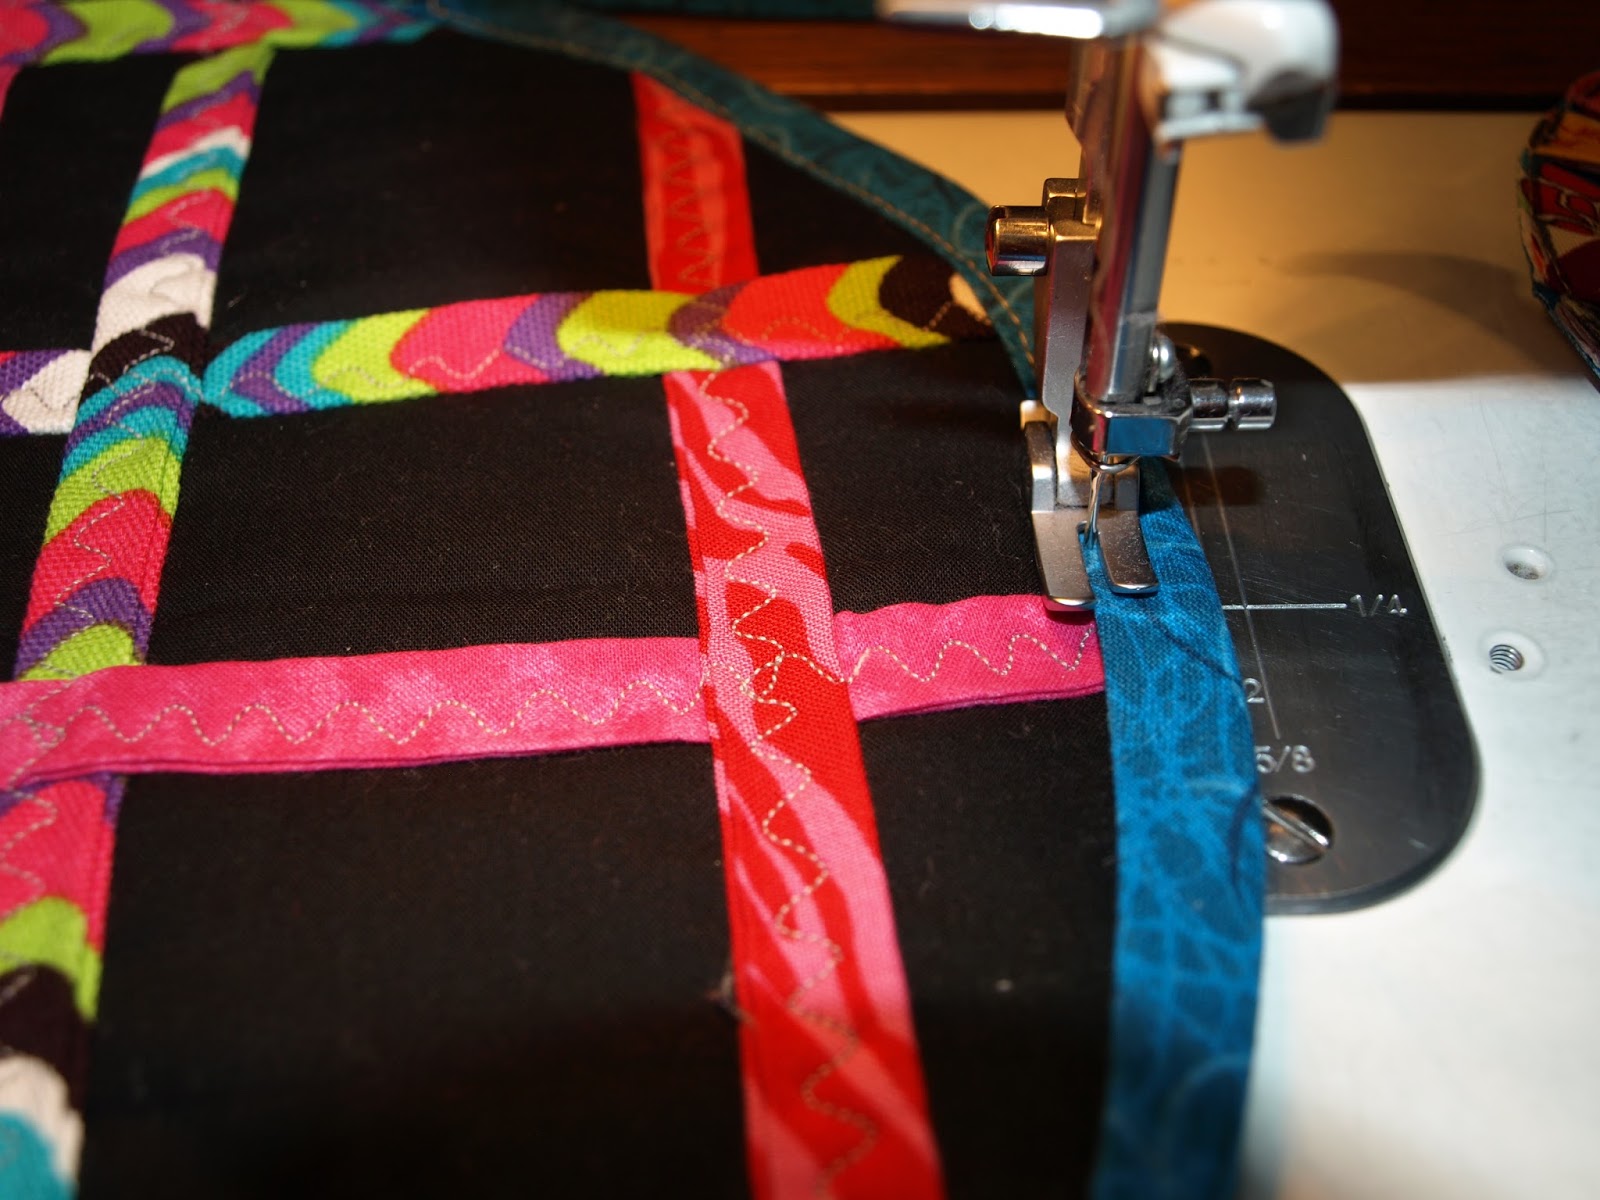
10. Cut another 2″ strip of fabric, but this time on the BIAS (45 degree angle). Press in half as in steps 3 and 4, but don’t topstitch, using pins or clips, attach the bias tape to the coaster. Use as many as you feel is necessary, but since it’s cut on the bias it will be somewhat forgiving.
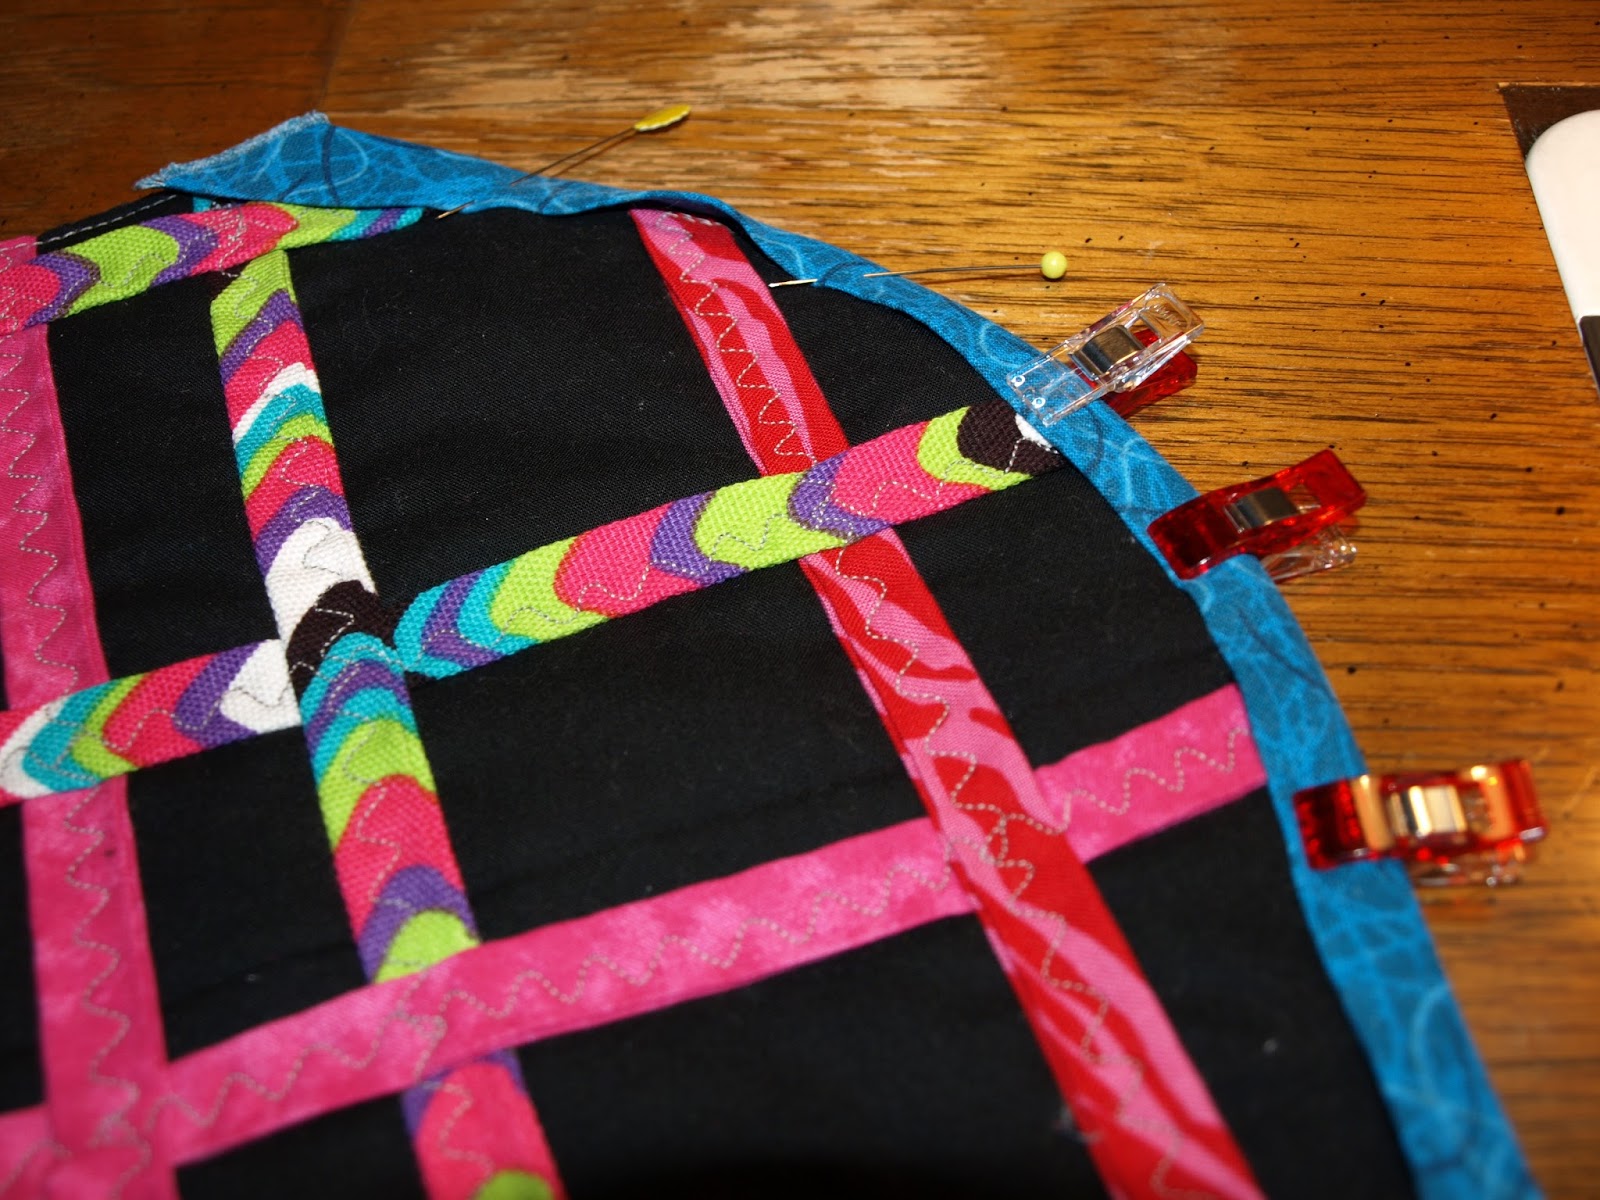
11. When you get to the end (back to the beginning), either cut the strip and overlap just beyond the beginning. OR cut off just about an inch longer than you need, open up and fold the end over about 1/4″ and then finger press and re-fold, then continue pinning/clipping.

12. Sew just over the edge of the bias tape, securing both sides to your coaster, removing pins/clips as you come to them.
13. Go enjoy a cold beverage without the worry of water rings on your table!!

Leave a Reply