Today post is Sewing Tutorial: How to make the A-line top.
This is an easy, ready to wear A-line top with lots of character. The pattern includes in seam pocket for a modern (and practical) look.
PLEASE NOTICE THAT THIS TUTORIAL IS ALSO USEFUL FOR THE PAM TOP PATTERN. THE MAIN DIFFERENCE IS THE IN SEAM POCKETS ON THE A-LINE TOP
If this is your first time here, please feel free to visit our PDF sewing patterns page, our Sewing tutorials and our Sewing Reviews.
You might also like to see our Etsy store with great modern, unique PDF printable sewing pattern for women.
Plus, you might also like to sign up for our newsletter. There, you will receive a weekly email with the new pattern releases, roundups and giveaways!
Learn how to make the A-line top pattern.
This tutorial is also suitable for the Pam top. Notice that only the pockets are not added on that pattern.
Sewing Tutorial: How to make the A-line top
1. Start by adding the pockets to the side seams.
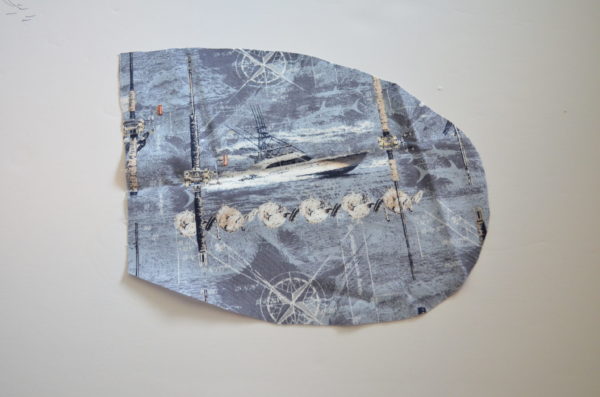
2. Place one pocket side to the front bodice. Follow the notches from the pattern.
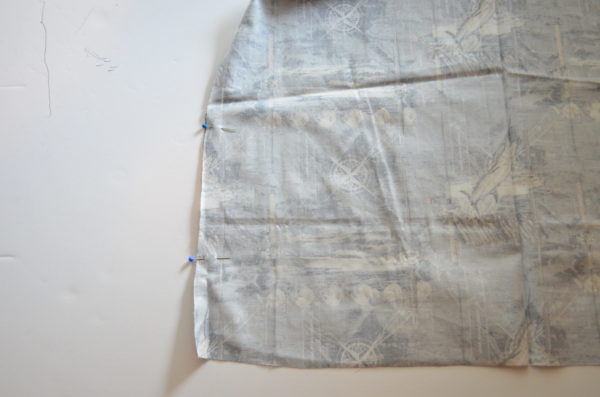
3. Press Flat. 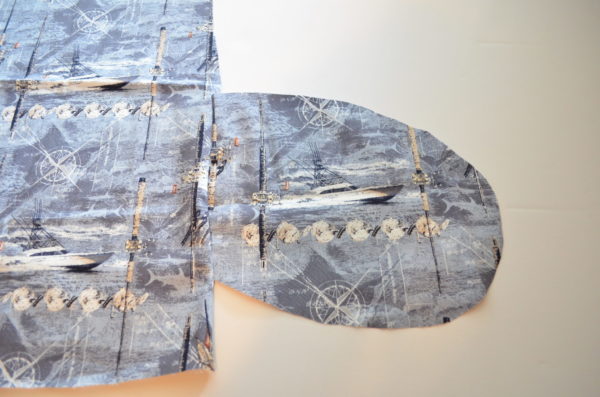
- Repeat with the Back bodice pocket.
Making the darts
- Close the bust darts and shoulder darts on the back bodice and press flat.
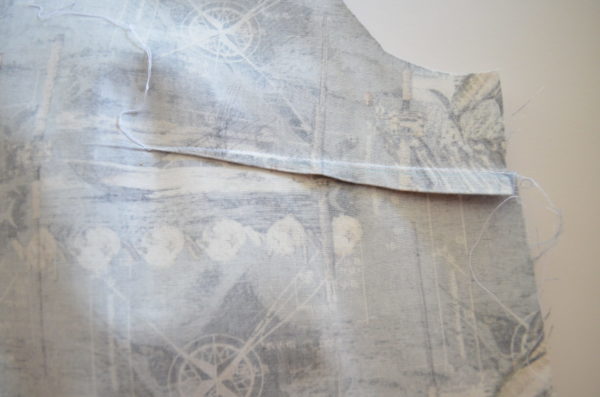
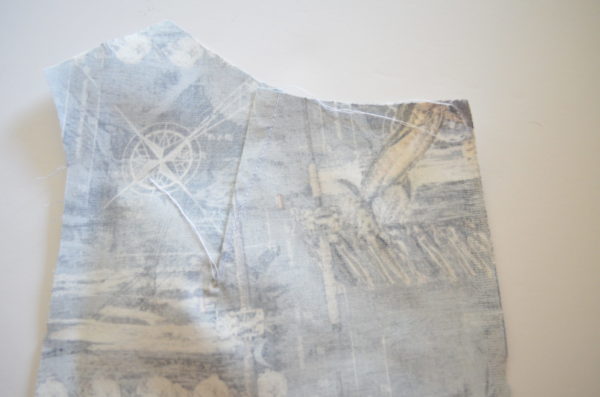
6. Then, place front and back bodices together and
sew along the side seams and pocket. 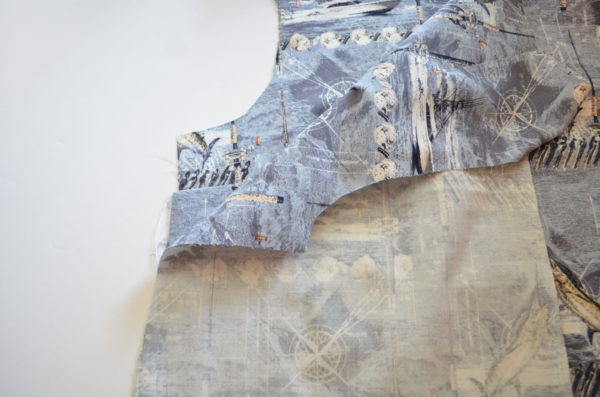
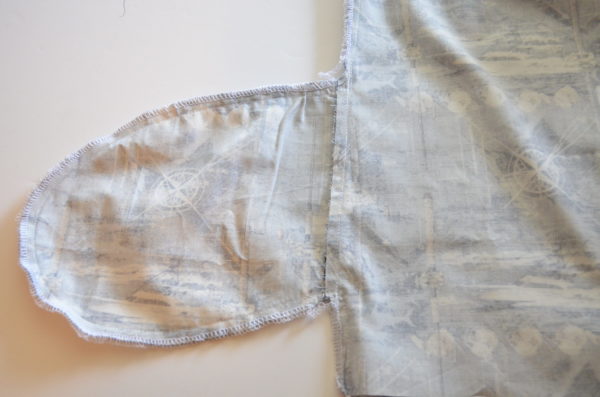
- Now, serge or use the overlock stitch from your sewing machine to
finish the center back of your top.
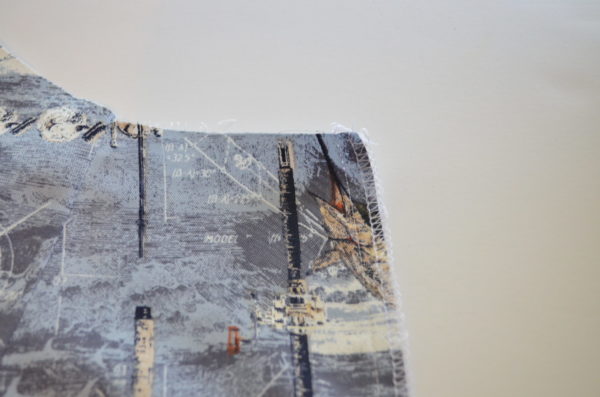
8. Sew the shoulders. Press them flat.
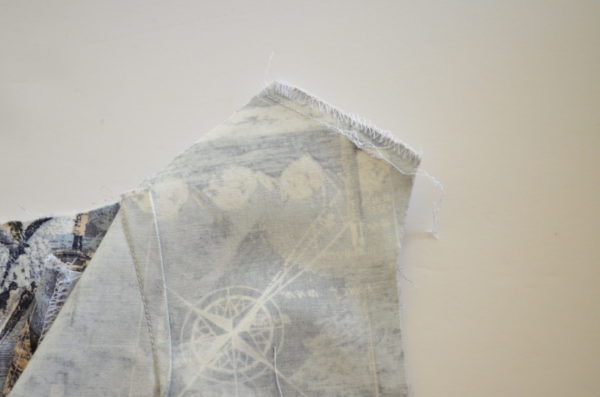
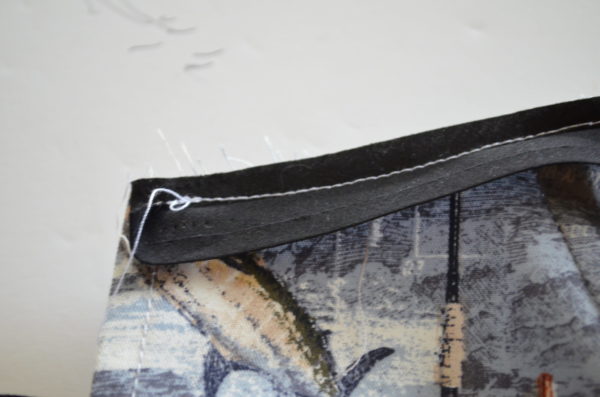
Inserting the Zipper
9. Start by pressing the zipper flat. It will help you to get better results.
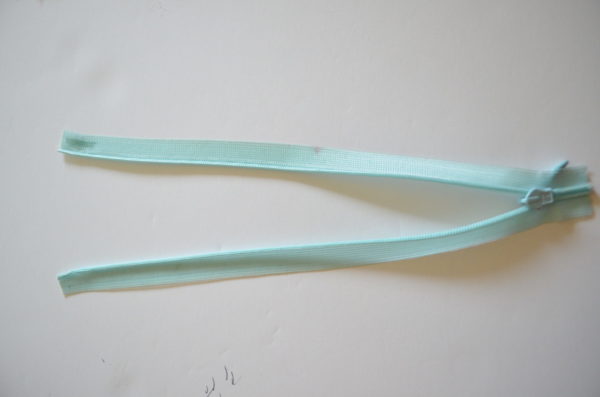
- Place the zipper on the back center seam.
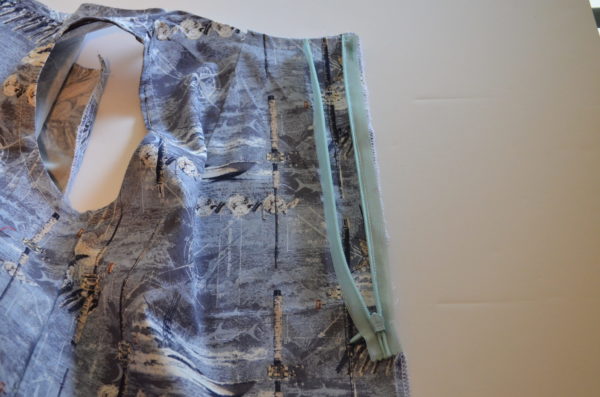
Please notice on the picture that the zipper is facing the top right side.
11. Place the zipper on the other side of the top, then, press them flat.
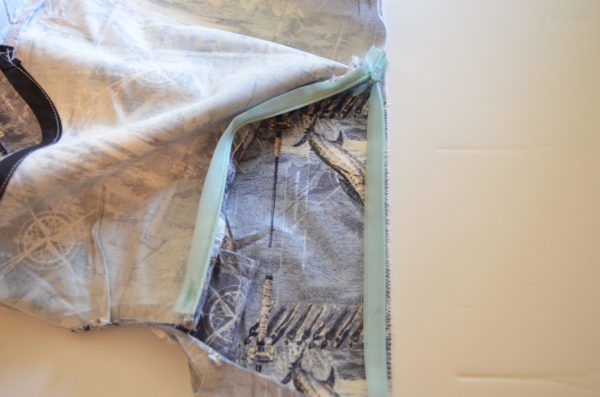
- Remember to sew the zipper as close to the zipper’s teeth as you can; then, you will
also need to attach the zipper presser foot that comes with your sewing machine.
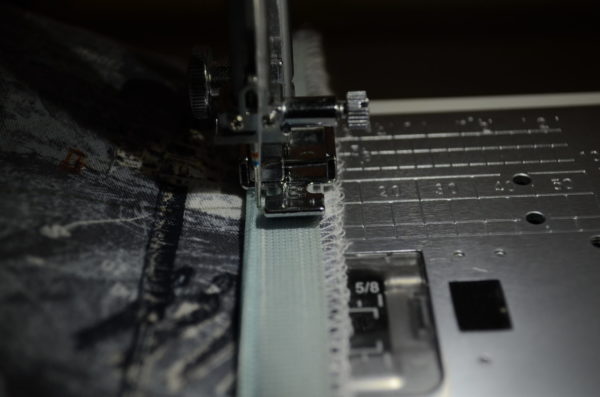
- Sew along the rest of the side seam and press the seams.
- Start pinning the bias tape to the top, so it will be easier if you start on the back seam. Now, remember to fold 1/4 inch of the bias tape to the center back seam.
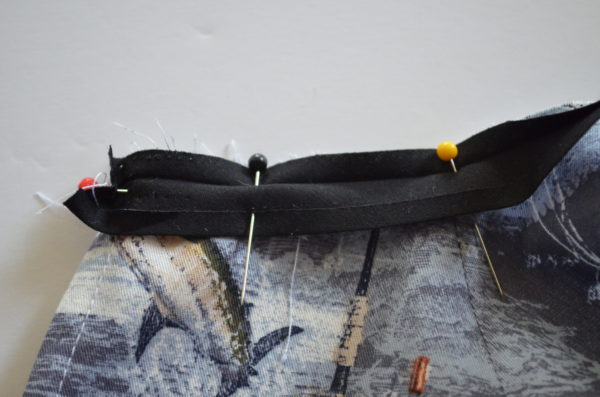
15. Sew along the first fold of the bias tape ( 1/4 inch.) This pattern comes ready to do this. With other patterns, you will need to double check the amount of seam allowance on the neckline area and reduce
accordingly before placing the bias tape.
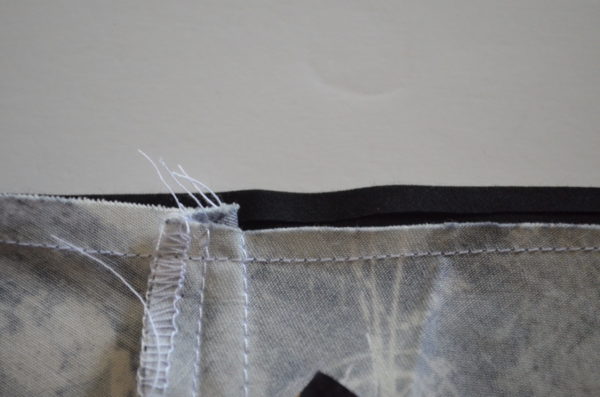
16. Press the bias tape flat to the inside of the top.
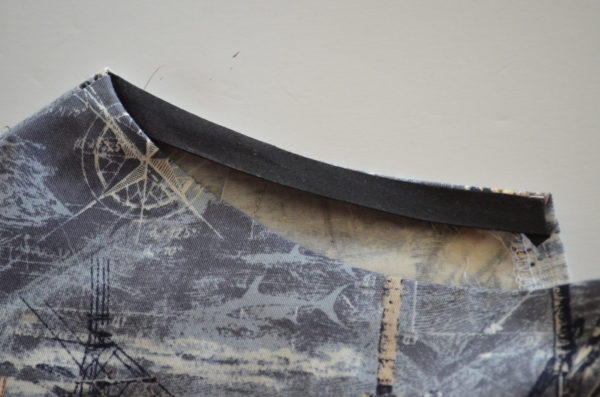
17. Sew along the neckline.
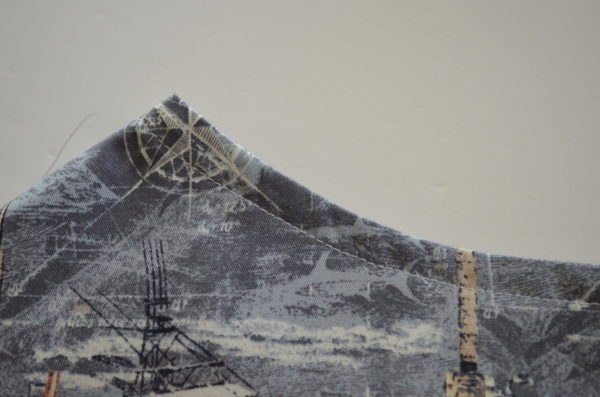
- Repeat this procedure with the armholes.
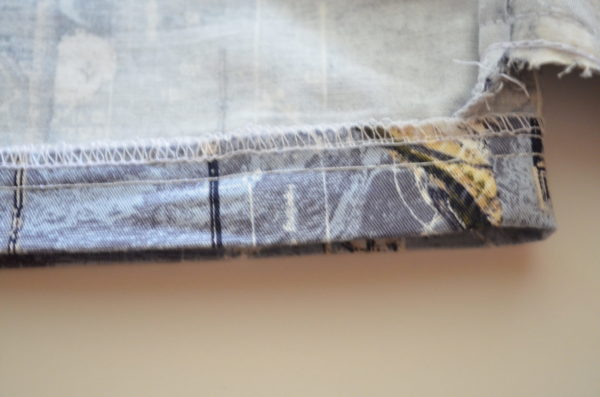
- Finish the top by folding 1 1/2 inch for the hemline. Sew
along.
PAM TOP PATTERN:
Leave a Reply