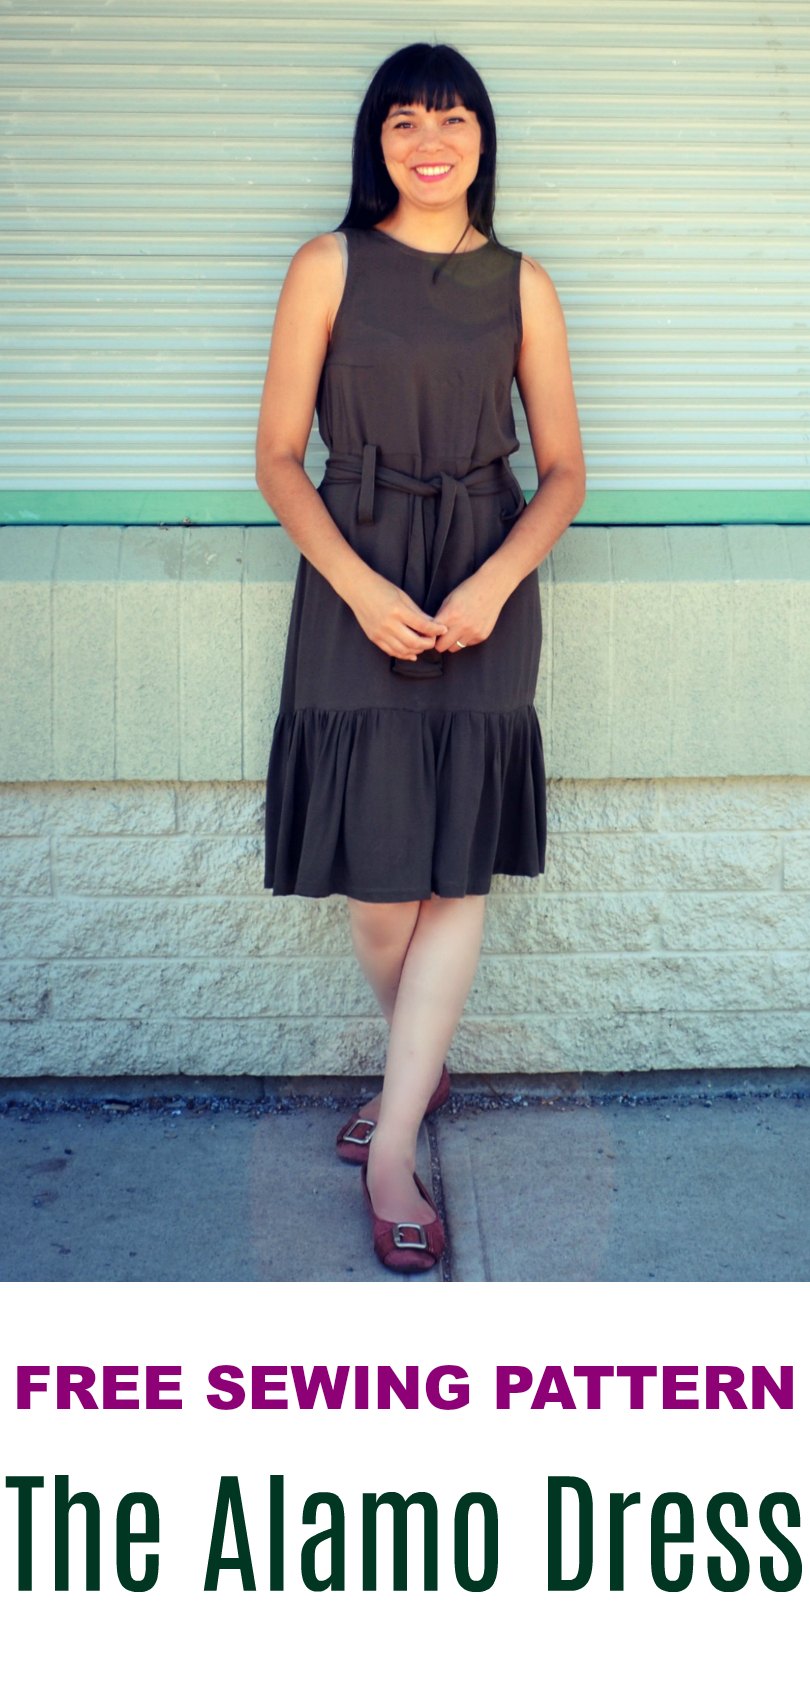
Start the dress by closing the bust darts with a straight stitch and following the marks on the pattern piece. Then, press the darts down.
Put the front bodice aside.
Now, bring the back bodice pieces to the table; upper and lower parts.
Now, place the upper and lower back bodice parts together, right sides facing.
After this, stitch the upper and lower back bodice pieces together with a 3/8 inch seam allowance. Use your serger or an overlocking stitch if possible. Then, press the seam flat.
Now, turn the back bodice to the right side and topstitch the seam with a 1/8 inch seam allowance and a straight stitch. Press flat after.
Then, repeat this procedure with the other side.
Now, place the two back bodice pieces together, right sides facing. Pin the center back, matching the notches on it.
Now, stitch the center back with a 3/8 inch seam allowance.
Use a longer stitch length to do the first 7’’ from top to bottom. Then, use a regular stitch length.
Place the 7’’ regular zipper on top, with the front of the zipper facing down. Pin the sides to keep it in place and stitch the sides and bottom with a 1/8 inch seam allowance.
After this, place front and back bodice pieces together, right sides facing.
Stitch the side seams together with a 3/8 inch seam allowance. Use a serger or an overlocking stitch from your sewing machine if possible.
Bring the back skirt pieces to the table and place them together, right sides facing and match the center back seam.
Stitch the center back seam with a 3/8 inch seam allowance. Use a serger or an overlocking stitch if possible.
After this, press the seams flat and open to the side seams.
Then, place the front and back skirt pieces together, right sides facing.
Match the side notches on the front and back skirt pieces.
After this, stitch the side seams of the skirt with a 3/8 inch seam allowance.
Use a serger or an overlocking stitch if possible to finish the seams nicely.
Then, place the skirt aside.
Now, bring the bottom skirt pieces to the table and place them together, right sides facing.
Stitch the sides of the skirt bottom with a 3/8 inch seam allowance.
Use a serger or an overlocking stitch to do this.
Then, press the seams flat.
Then, use a long stitch length on the upper part of the skirt bottom (1/4 inch seam allowance)
Leave the thread loose and cut about 10’’ of it so you can manually gather the skirt.
Adjust the gathers as needed. Then, make a firm knot on the thread and cut the rest.
After this, insert the skirt bottom into the main skirt as shown in the image. Match the upper seam of the skirt bottom with the lower seam of the main skirt.
Now, stitch the skirt parts together with a 3/8 inch seam allowance.
Press the seams flat.
And topstitch the skirt bottom with a 1/8 inch seam allowance.
Now, insert the skirt into the bodice and match the side seams and center back.
Stitch the skirt and the bodice together, right sides facing with a 3/8 inch seam allowance.
Use a serger or an overlocking stitch from your sewing machine if possible.
Now, turn the skirt to the right side and press the seams flat.
Then, double fold the hemline with a 1/4 inch seam allowance. Press flat and stitch the hemline with a straight stitch.
Cut 4 pieces of fabric 10’’ x 4’’. This will be the belt loops of the dress.
Fold each belt loop in half and press flat. Then stitch the open side with a 3/8 inch seam allowance. Trim the extra fabric and turn the fabric to the right side. Repeat this process with the other 3 belt loops.
For the belt. place both pieces of fabric together, right sides facing. Then, stitch along the sides and bottom and top. Leave about 4’’ opening on top to turn the fabric to the right side.
Then, turn the fabric to the right side and press again.
Finally, topstitch the belt with a 1/8 inch seam allowance.
Then, attach the belt loops to the dress, two on front and two on the back.
Finally, add the bias tape to the neckline and the armholes.
For this, start pinning the opened bias tape from the seams (side seams of the armhole and center back seam for the neckline)
Then, stitch the bias tape with a 3/8 inch seam allowance.
Press and turn to the wrong side. Then, stitch the bias tape again with a 1/8 inch seam allowance and a matching thread.

Thank you! It is a very cute dress.