Hi there,
Thank you for visiting us today.
I would like to talk a bit about Pattern Maker USA Software.
If you have visited On the Cutting Floor before, you might have noticed that PatternMaker has become an official sponsor of this site; they have generously accepted to participate on a series of tutorials and free patterns for you.
To check on the first pattern I made using PatternMaker, please check Amy Skirt Pattern Here
This is the first tutorial I made for them, but they will be a comprehensive series of tutorials published every month,
If you are interested to know more about them, before purchasing your first patternmaking software, sign up for our newsletter to be the first one to know about the tutorials.
Now let’s see the first tutorial 😀
HOW TO DOWNLOAD THE BASIC VIEWER
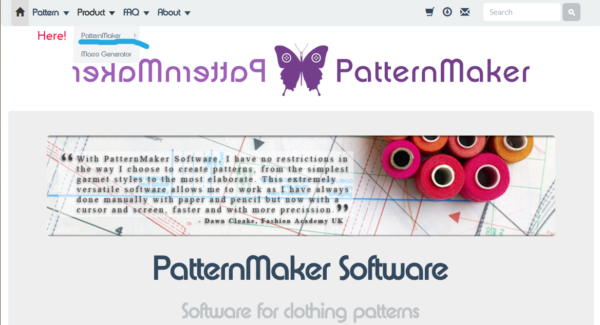
- Visit PatternMaker website.
- Click on Product and then on PatternMaker
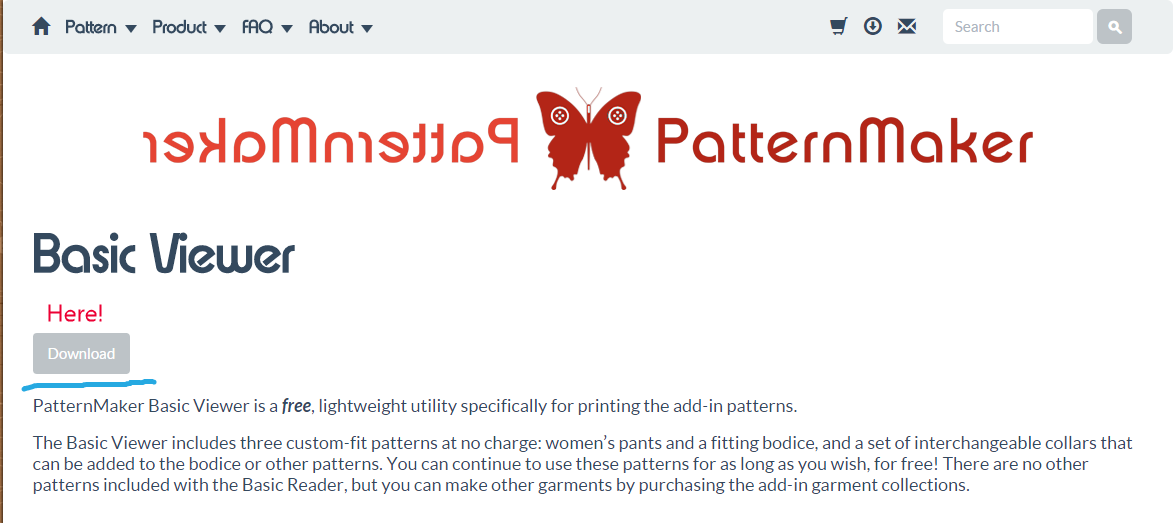
- Now you will see a few options on your right side. Click on Basic Viewer.
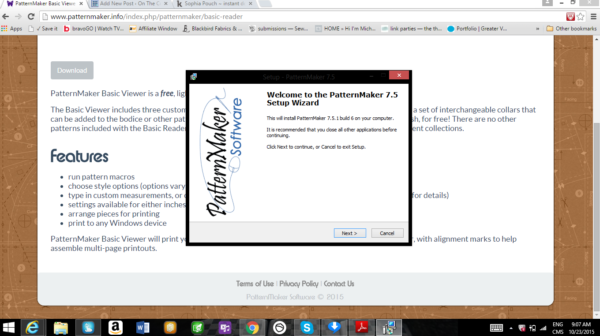
4. Now click on download.
The basic viewer will help you to check on 3 custom fit patterns: bodice, pants and collars.
The program comes with added sizes, but you can customize the custom blocks by adding your measurements. We will see that on detail later.
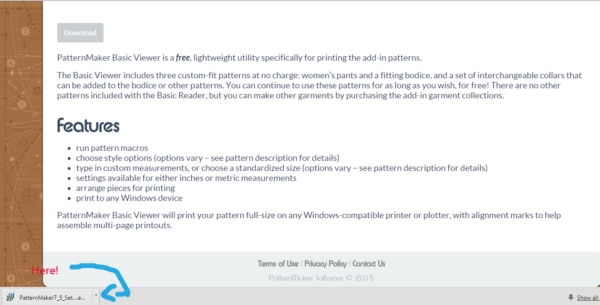
5. Now, you will see that the program has been downloaded into your computer. It won’t take more than 1 minute to do so.
Click on that.
6. At this point you will see the Setup Wizard popping out on your screen.
Install the program.
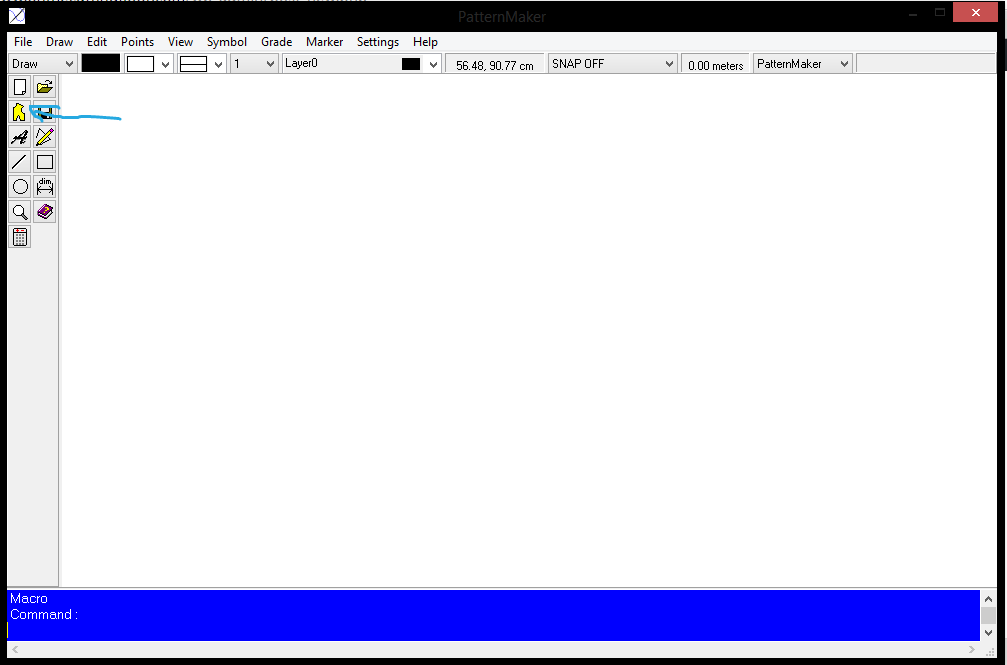
7. Open the program.
There are some very interesting options to check in here. For now, let’s focus on the bodice block and how to customize it.
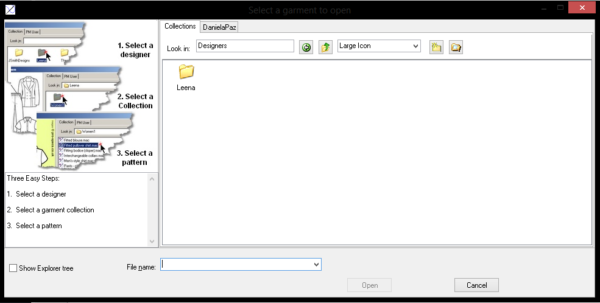
Click on the yellow bodice on the left side of the screen. That will open the free ”macros” from the program ( macro is a pattern template)
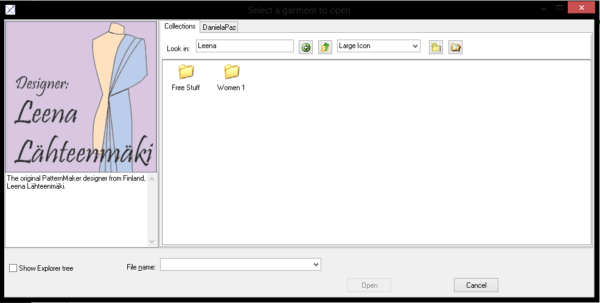
8. Click on Leena’s file
9. Now you will see the file called ”free stuff”. Women 1 file and others can be purchased on the website.
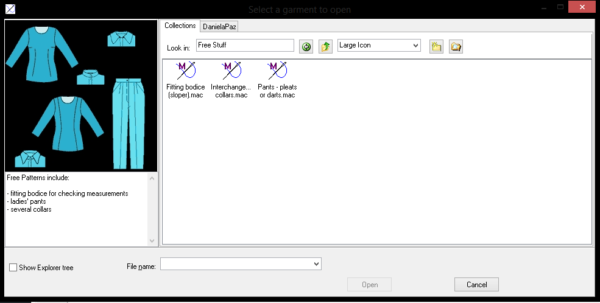
10. Then, the 3 free block patterns will show.
Click on Fitting Bodice
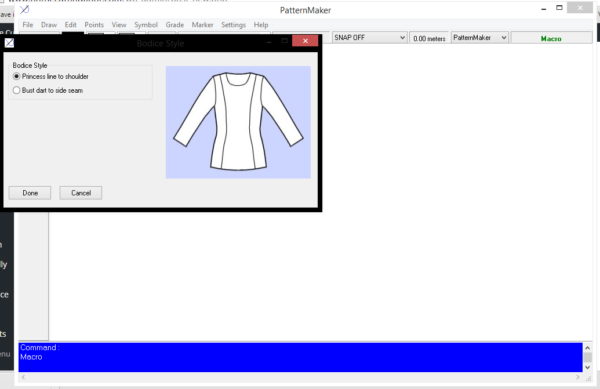
11. There are a few options to choose from. I have chosen the princess line to shoulder option for this tutorial.
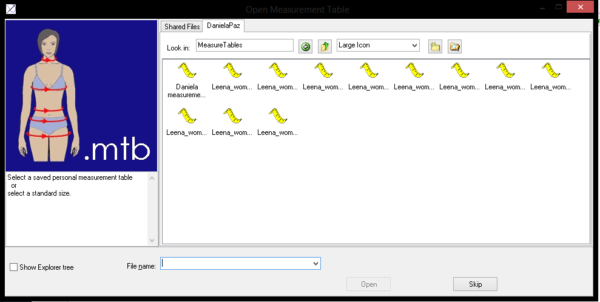
12. Then, you will need to choose the pattern size. PatternMaker software comes with sizes from 32 to 52.
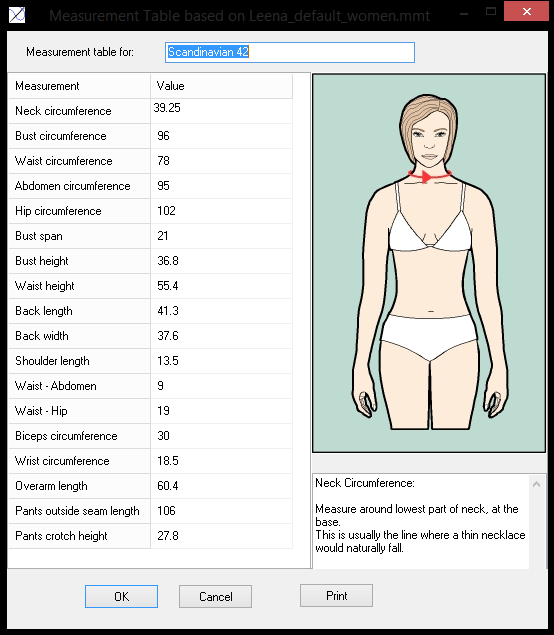
As you can see, the first measurement is mine 😀
Let’s see how to do that!
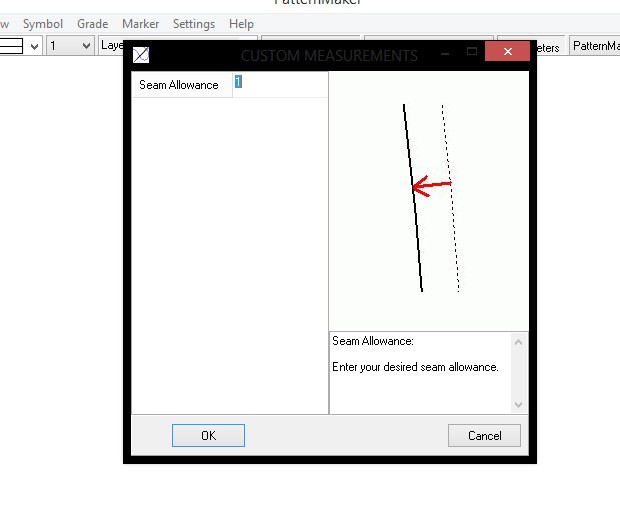
13. After clicking on the measurement. The program will ask you for the seam allowance on the pattern. My settings are in centimetres, so the seam allowance is 1cm ( 3/8 inch)
CUSTOM MEASUREMENTS
- Go to Settings
- Click create measurements
- Add a name to this file
- Start adding your (or your customer) measurements.
- Click Ok.
- A file has been created!
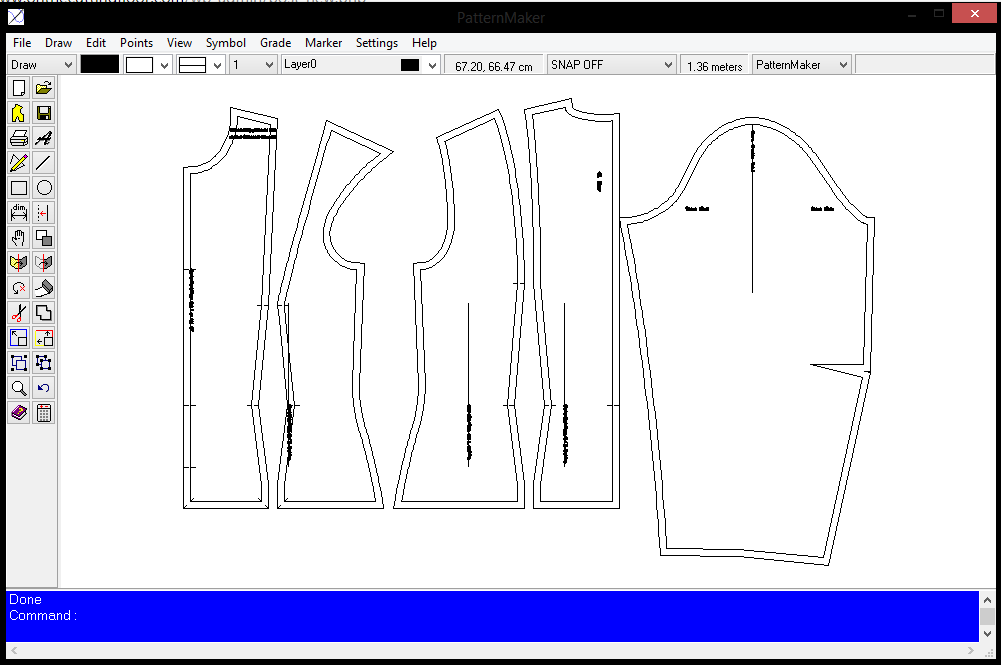
14. Now the pattern will show as required.
PRINTING
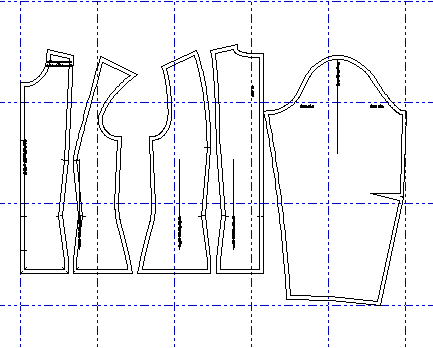
- You can preview the way your pattern will print, by clicking on VIEW tab, then PAGE GRID
- Remember to check on the printing set up to see if your page format (letter, A4, etc)
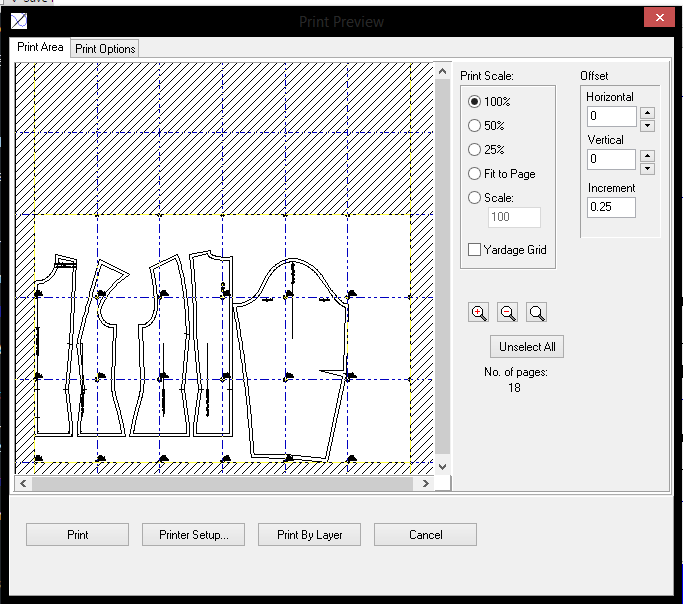
3. Go to FILE and PRINT
Here you can see the number of ages to print, the arrangement and also choose if you want to print a scaled pattern.
CHECKING THE FABRIC REQUIREMENT
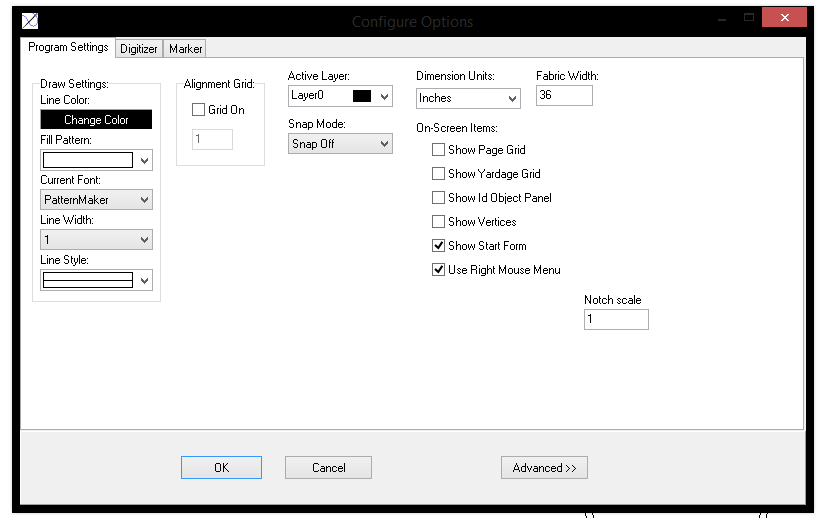
- Click SETTINGS, then click CONFIGURE
- In this area you can change the Dimension Units (inches, centimetres) and the fabric width.
- Set the fabric width you need and click OK
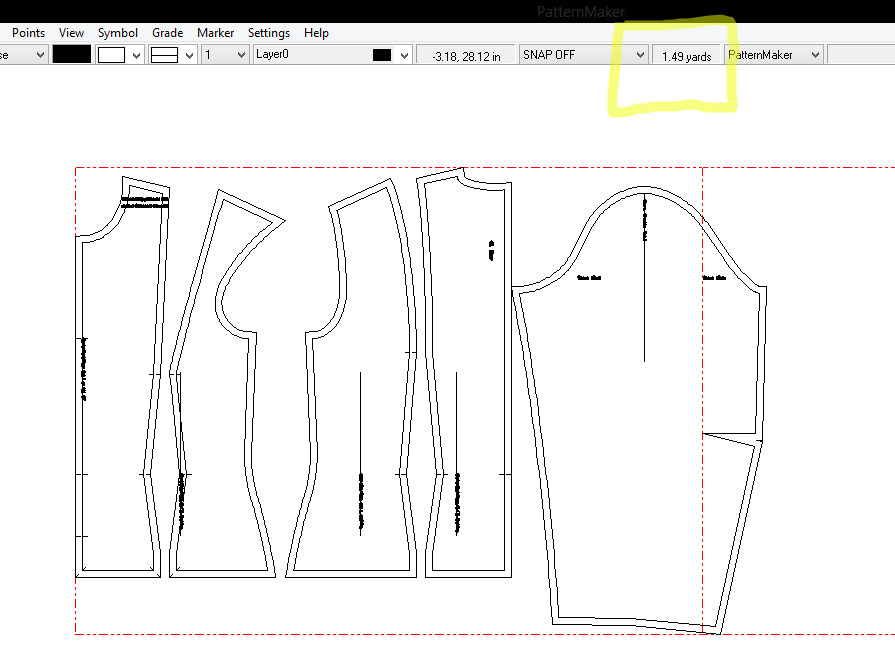
4. The dotted red lines are showing you the fabric requirement.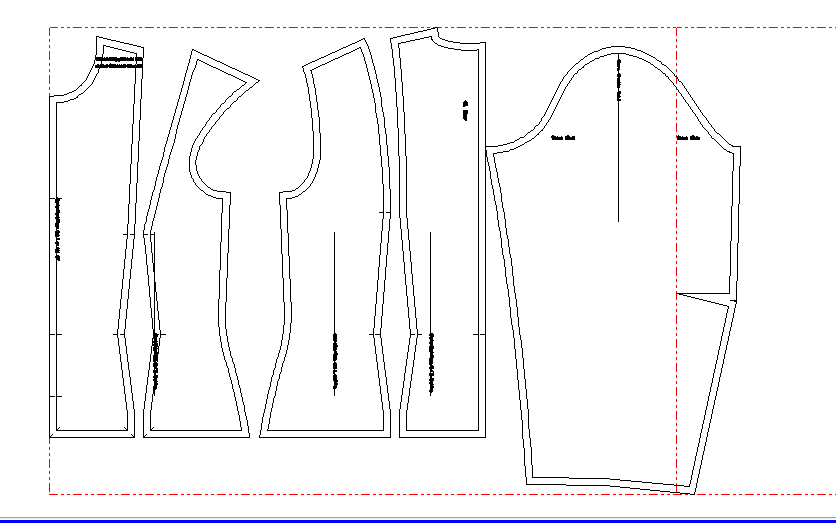
5. Check on the screen upper right side. The yard requirements are set.
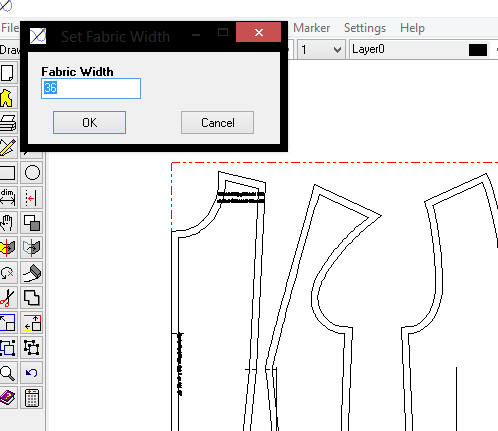
If you click on the tab, you can also adjust the fabric width.
And that it is all for now!
I hope you enjoy PatternMaker USA software as much as I do.
Happy Sewing!


Leave a Reply