• Skip to primary navigation
  • Skip to main content
  • Skip to primary sidebar

On the Cutting Floor: Printable pdf sewing patterns and tutorials for women

Online Printable PDF sewing patterns for beginners, crafts and printables for kids

RSS On the Cutting Floor: Printable pdf sewing patterns and tutorials for women

  • Theodora Woven Top PDF sewing pattern
  • ROUNDUP: Pets clothing and accessories free patterns and tutorials
  • RAGLAN SWEATSHIRT PATTERN
  • Ann Marie PDF sewing pattern
  • ROUNDUP: Totes and Beach bag
  • DG PATTERNS STORE
  • SEWING
    • PATTERNS FOR SALE
    • FREE PATTERNS
    • TUTORIALS
    • REVIEWS
    • FUN PROJECTS
    • ROUNDUPS
    • PRINTABLES
  • FABRIC STORE
  • CRAFTS
    • PRINTABLES
    • KIDS’ CORNER
    • MACRAME
  • FOOD
  • MONEY
  • PATTERNMAKING SERVICES
  • ABOUT US
    • ABOUT ME
    • HOW TO DOWNLOAD THE FREE PATTERNS
    • WORK WITH US
    • CONTACT US
    • SITEMAP
    • TOS and Privacy Policy
    • CONTRIBUTE
    • Cookie Policy
  • SUPPORT OUR SITE!
Home » Image » Page 3

Image

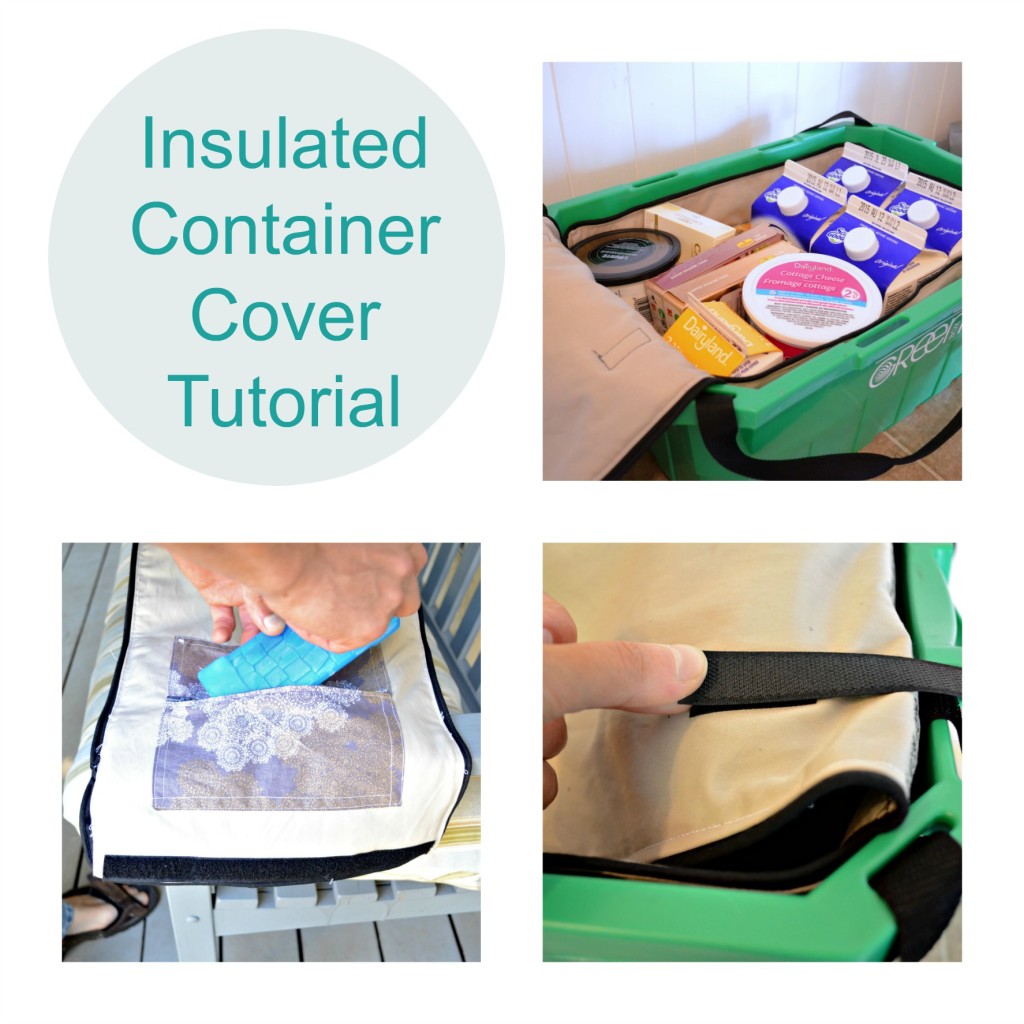
Insulated Container Cover Tutorial
July 10, 2015 by Daniela Leave a Comment

Insulated Container Cover TutorialInsulated Container Cover

Hi there,

Thanks for visiting On the Cutting Floor today.

Today I want to share this easy project I have made with my husband.

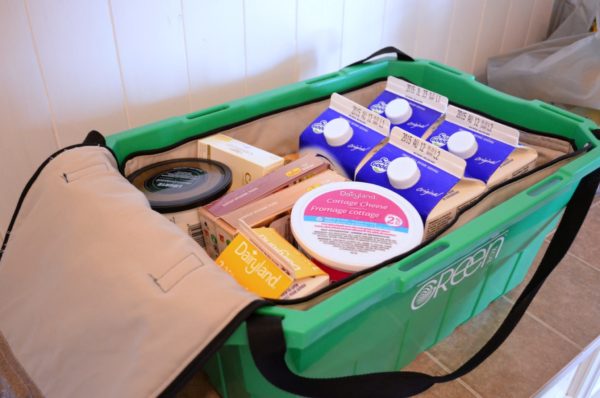
It is a very practical Insulated Container Cover to protect your groceries for the heat.

We found this project an absolutely MUST under the current weather conditions.  You see, the heat wave that has been affecting the northern hemisphere has made us create this insulated container cover.  It makes it easier to get the groceries without worrying about the dairy products sitting in the trunk of our car.

It is a fairly easy project to make.  It uses about 1 1/2 yard of fabric.

I decided to go for a cotton blend fabric that was sitting on my stash.  It worked fine.

container 2


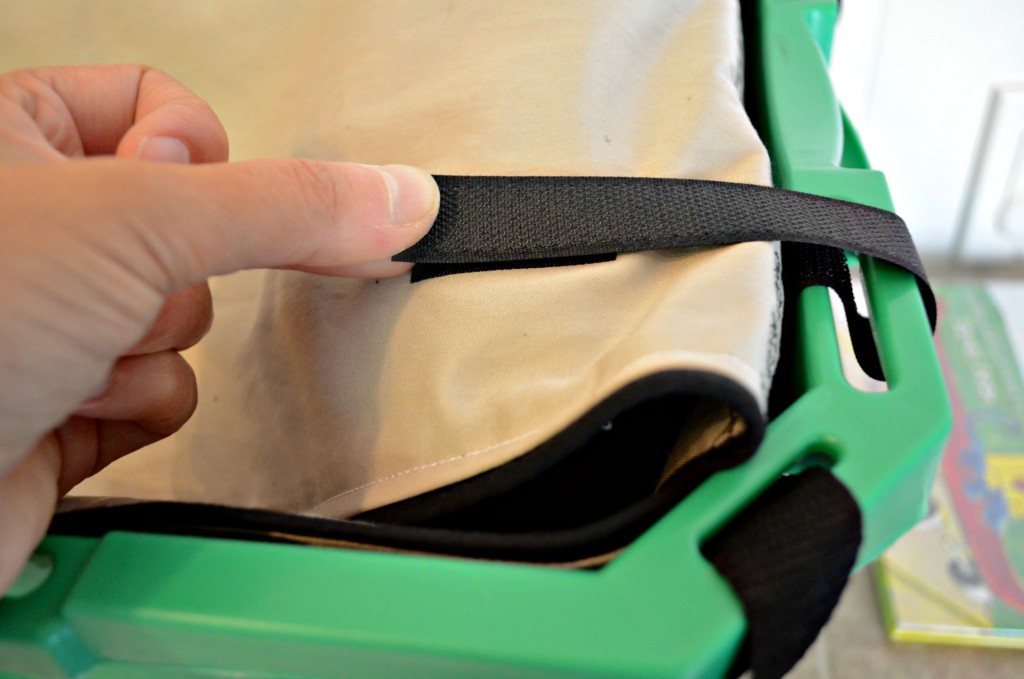
Plus, I added two velcro straps on one side of the container.  That keeps the cover attached.container 3
 

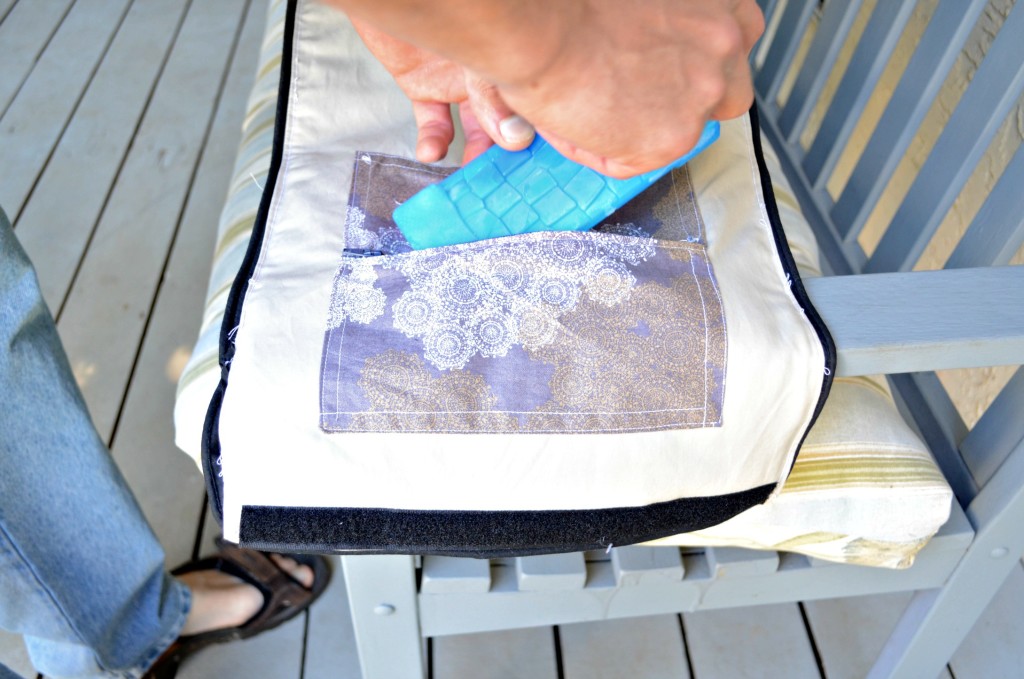
Also,  I have also added to pockets to the cover: one inside and one outside.

The inside pockets works as an ice container (just in case you want to protect your groceries even more).

container 4


The outside pocket, on the other hand, works for keeping the shopping list or coupons on hand.

container 5

Interested in other insulated sewing projects?

Try this and this or this one!

THE PATTERN

I have created a PDF printable version of the pattern for this project.

It will print 21 pages, with no overlapping.

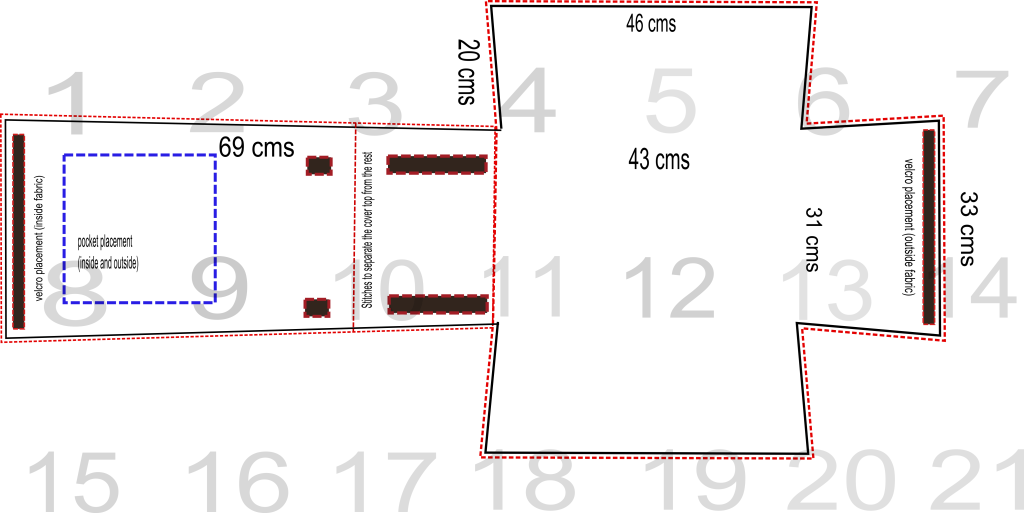
However, if you feel like drafting the pattern yourself (and save a few pages)  check on the measurements that have been added to the image here:

cover container

Materials

1 1/2 yard of cotton blend

1/4 yard of quilting cotton (for pockets):

Measurements for each pocket:   2 pieces of 4” X 8”

2  6” zippers

2 packages of pipping ( about 4 meters or 4 1/2 yards)

coordinating thread

Velcro:   1.  8” long for the top of the container

1.  2 pieces with 8” long side and  1 1/2 shorter side (remember that one of
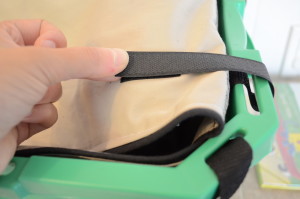
DSC_1892the velcro side will be looped into the container)

Tutorial

Before starting the project, please mark the velcro and pocket placement on your fabric.

  1. Pocket:  Place the two sides of the pocket together, right sides facing and sew long the side.
  2. Open the seams and press flat.
  3. Attach the zipper by placing it on the pocket seam area.
  4. Unzip the zipper.
  5. Sew along the teeth of the zipper, until you reached half of its length.
  6. Lift the presser foot and zip the zipper back.
  7. When reaching the desire length, turn the pocket horizontally.
  8. After passing the zipper’s opposite teeth, lift the presser foot again and turn the pocket, so you can sew along the other side.
  9. Press the pocket flat.
  10. Pin the pocket to the container cover top.  Sew along the four sides of the pocket.
  11. Repeat this process with the second pocket.  This will be in the opposite fabric piece.
  12. Pipping:  Start by measuring the length of the container cover.  I used two packages of piping.
  13. Unstitch about 1 inch of the piping.
  14. Reveal the cord inside.
  15. Cut about 3/4 inch of the cord.
  16. Repeat with the other side.
  17. Now put both sides together and sew along to join them.
  18. Sew along.
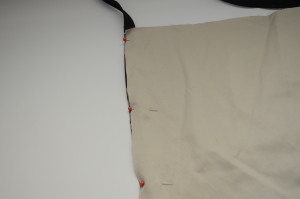
    Put the pippin back together.DSC_1710
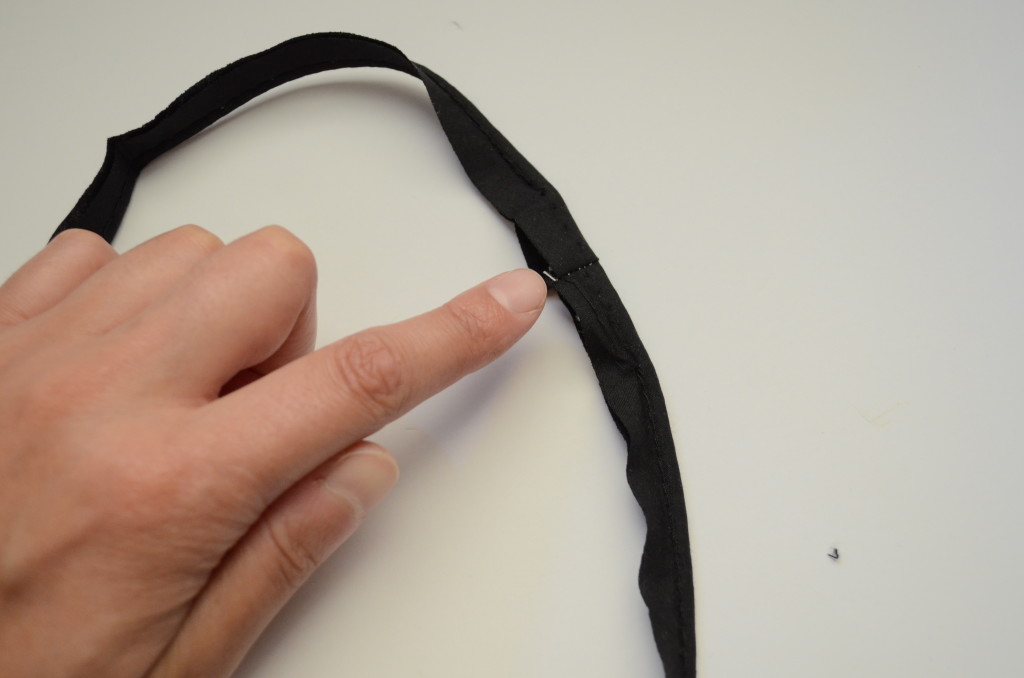
Now, place it between the two sides of the container cover.
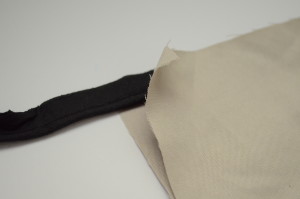
DSC_1715

Pin around it.DSC_1717
Sew along.  Leave the top the the container cover open, so you can turn it to the right side easily.

Now, trim the excess fabric and make some notches on the corners of the container.  
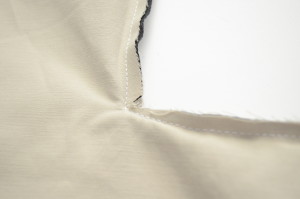
DSC_1881

Turn the container cover to the right side and press flat.
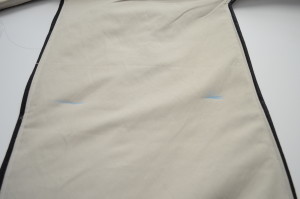
DSC_1886

Add the insul bright padding inside.

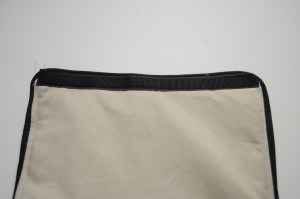
Close the opening with the pipping.
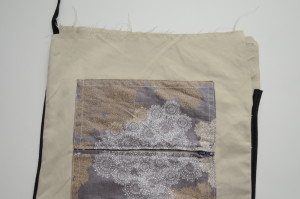
DSC_1882

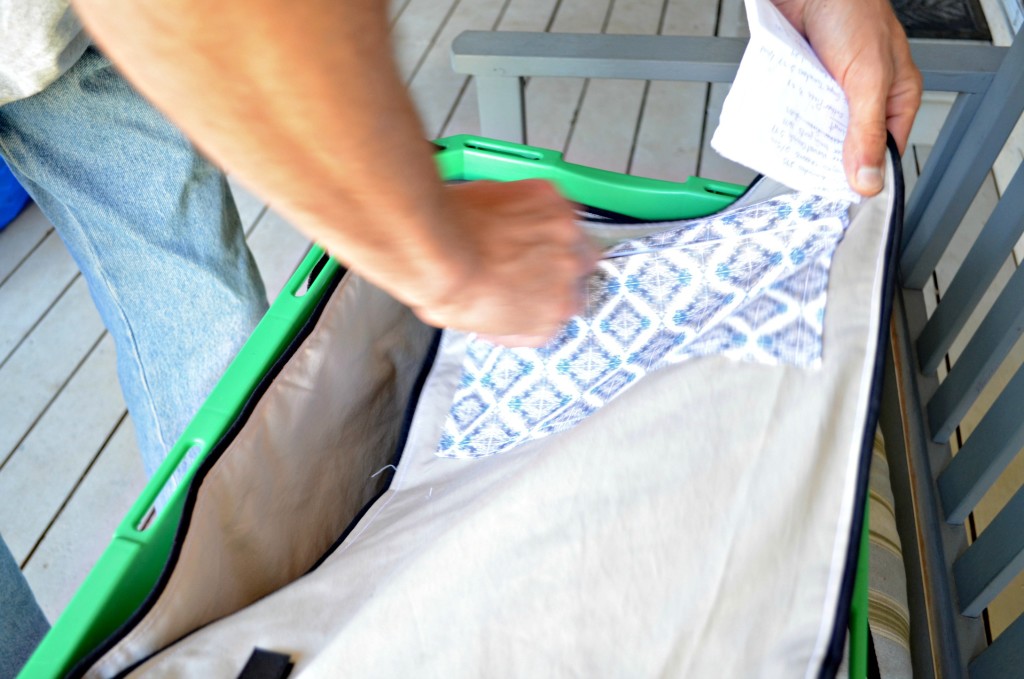
Add the velcro piece to the top of the container cover.  DSC_1884 DSC_1885
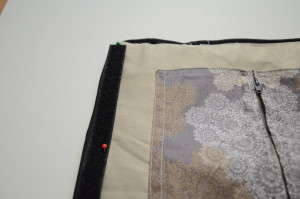
Add the other side of the velcro strap.

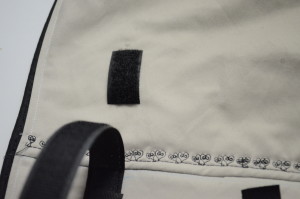
Now, add the velcro straps that will attach the cover to the container.DSC_1887
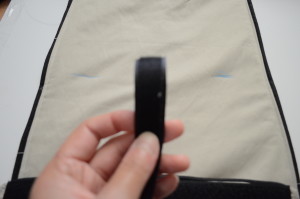
Follow the marks you have transfer from the pattern for this.

DSC_1888

No, add the separating line from the top of the container cover and the rest.DSC_1890
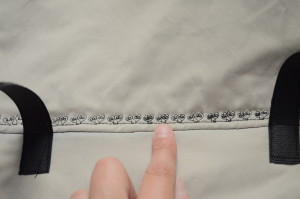
DSC_1891


And it is done!

I hope it becomes a very useful project for you too!


DOWNLOAD THE PATTERN NOW

Filed Under: Fun Projects Tagged With: 847

Reversible Tote Bag Tutorial

July 2, 2015 by Daniela 3 Comments

DSC_1817

Hello there!


Welcome to On the Cutting Floor 🙂

[Read more…] about Reversible Tote Bag Tutorial

Filed Under: Fun Projects Tagged With: beginners sewing bag

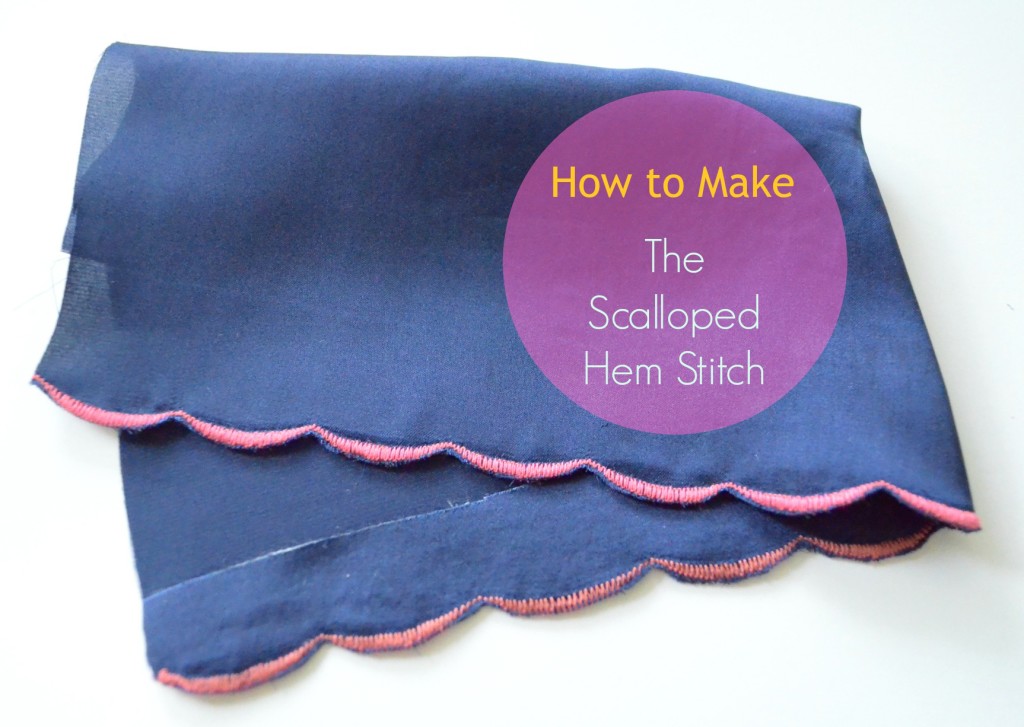
Tutorial: The Scalloped Hem Stitch

June 16, 2015 by Daniela Leave a Comment

Scalloped Hem Stitch

[Read more…] about Tutorial: The Scalloped Hem Stitch

Filed Under: Tutorials Tagged With: Tutorial: The Scalloped Hem Stitch

Free Sewing Pattern: The Jeannette Dress

June 12, 2015 by Daniela 10 Comments

[Read more…] about Free Sewing Pattern: The Jeannette Dress

Filed Under: WOMEN Tagged With: free dress pattern, free printable sewing pattern, free sewing pattern, free sewing tutorial, FREE WOVEN DRESS PATTERN

Craftsy Class Review: Design your Own Bags

June 6, 2015 by Daniela Leave a Comment

Hello and Welcome to On the Cutting Floor, this is the Craftsy Class Review: Design your Own Bags

PicMonkey Collage


Craftsy Class:  Design your Own HandBags.

If this is your first time in our blog, remember to check our FREE SEWING PATTERNS page.

On that page you will find our collection of free sewing patterns for women, kids and men.

You can also visit our SEWING TUTORIALS and our SEWING REVIEWS.

We also have an ETSY STORE, where you will find unique and modern sewing pattern for women.

You can also sign up for our newsletter on the sidebar of this post, so you will never miss a post!


I have always had the desire to make my own, stylish bag.  No ugly polyester stuff, you know.

However, I turn to put the projects off…for a while.  I feel overwhelm by the details, not knowing where to start.  Where do I get my materials?  what do I need to buy?  What type of fabrics work better?, etc.

So, I decided to purchased this class created by Brett

The topics that will cover are:

Materials

Planning your design

20150603083819

Reinforcing your fabric

Constructing the basic exterior

20150603083958

Construction basic lining

Pockets


Handles and straps

Zippers

20150603084146

Closures and hardware

20150603084737

Shape variations

What I liked:

  • I am a huge fan of the format of Craftsy Classes in general.  It is easy for me to follow, stop, continue any other day, re watch the lessons whenever I needed, etc.
  • That is the reason I love to purchase them and talk about what I have learned.
  • Bret Bara, the instructor is great on the topic, easy to follow and likable ( you know, the type of person you see and think ”she can be my best friend” )
  • I learned A LOT about the materials needed, the step by step process and the hardware needed (now I have my list of materials ready!)

What I did not like

I must say, I am satisfied with the class, but I felt that I was missing something.

Even though Bret is able to give all the details to create your own bag, the idea of the class is that you ”design your bag”, but the class is a beginners level. This is, for me, a bit contradictory.

If it is a beginners class, I would expect to see a pattern included.  I know; to re-create the bags shown can’t be too difficult, but it will depend on the level of expertise of the sewist.

IF you feel that you need an extra help with a handbag pattern or tutorial, you can check this roundup I made a few months ago


I would recommend this class to someone who has made a few bags in the past and would like to perfect the techniques.

Design your own bag is a class that you can purchase now for 19.99.

PicMonkey Collage

Disclaimer:  This post contains links to my affiliate program. By clicking on the links I might get a small commission out of purchases. However, the opinions expressed here represent my personal, honest opinion about the class.


Is there any Craftsy Class that is on your wishlist now?

Thanks for reading this review and do not forget to visit us again 😉

Filed Under: Reviews Tagged With: 528

7 Useful tips to buy fabric online

June 4, 2015 by Daniela 4 Comments

Free sewing patterns and tutorials: Onthecuttingfloor.com Get the best free PDF sewing patterns for beginner sewists

Hi there,

Thanks for visiting us today.

Shopping online has become more and more prevalent these days.  Specially when you want to find something different than what your local store can provide.

This is a trend that has been incorporated into the fabric shopping behavior of  every single sewist out there.

It is easier than ever, convenient and the prices are very competitive.

There are a few things to keep in mind when buying fabric online:

1.  Know your fabrics:  The options and variety can be overwhelming, I know.  When I started buying fabrics online, I decided to stick with the types of textile I knew.  Then, I purchase a few books to learn more about fabrics and I felt confident enough to purchase a wider variety.

2.  When unsure about the fabrics, purchase a swatch:  It will make your life easier.

3.  Check shipping options: I find this part very important.  The shipping costs on a parcel are a deal breaker for me.  I always double check the rates, the options and the extra costs that they have.  Check before getting all excited! (trust me)

4.  Check the fabric amounts:  Some stores will ask the yardage amount you want to purchase, some will ask for meters. However, more independent fabric stores online will ask for a specific quantity; units you want to purchase (it can be 1/2 yard, 1/4 yard, etc).  Check what will be the equivalent per unit purchased.

5.  Look for a blog link to check on ideas for projects:  Most fabric stores these days provide a blog with great tips, tutorials and projects showcasing their fabrics.  This will give you a better idea of the overall quality of the fabrics you want to purchase and useful ideas for future projects.

6.  Youtube videos:  Similar to number 5.  This has become more and more prevalent in fabric stores.  The video tutorials are a great way to check on the fabric quality that the store is offering.  Plus, there are great tips and ideas on them!

7.  Find bloggers who often talk about its fabric store choices.  It is always good to have a great recommendation before buying online 😉

Here is a short list of my favorite fabric stores online.  They have been always helpful t answer my questions and the shipping rates (and time) are very convenient:

Please, click on the names to be re-direct to the online store:

DGPATTERNS

Miss Matatabi

Imagine Gnats

Fabric Godmother

Merchant and Mills

Sew Fine Fabric

Monaluna

Flare Fabrics

Fat Quarter Shop

Shabby Fabrics

Spoonflower

Bonita Fabric

Thanks for visiting us today!

Filed Under: Roundups Tagged With: useful tips for buying fabric online

  • « Go to Previous Page
  • Go to page 1
  • Go to page 2
  • Go to page 3
  • Go to page 4
  • Go to page 5
  • Interim pages omitted …
  • Go to page 14
  • Go to Next Page »

Primary Sidebar

ON THE CUTTING FLOOR PATTERN SHOP

ON THE CUTTING FLOOR PATTERN SHOP
Follow
  • Advertise with Us!
  • Contribute – On the Cutting Floor
  • Income
  • SITEMAP

Copyright © 2023 · Genesis Sample on Genesis Framework · WordPress · Log in