![]()
Hello there,
Thank you for stopping by today at On the Cutting Floor. This is the Ashley Kimono shirt and dress – Sew along part 2.
To Visit PART ONE click here
If this is your first time in our blog, remember to check our FREE SEWING PATTERNS page.
On that page you will find our collection of free sewing patterns for women, kids and men.
You can also visit our SEWING TUTORIALS and our SEWING REVIEWS.
We also have an ETSY STORE, where you will find unique and modern sewing pattern for women.
The Ashley Kimono Shirt
The Ashley Kimono Shirt and Dress PDF pattern is a loose fitted Kimono shirt. The PDF pattern has 4 views where different collar combinations and cuff styles.
Ashley Kimono Shirt and dress PDF pattern is available in our ETSY Store.

THE SHIRT AND DRESS PATTERN FEATURES:
Features a loose fit kimono shirt and dress shirt with 4 variations
a) View A: waist length with front tucks and double collar
b) View B: waist length with small front pocket and set in cuffs
c) View C: knee length with front tucks and double collar
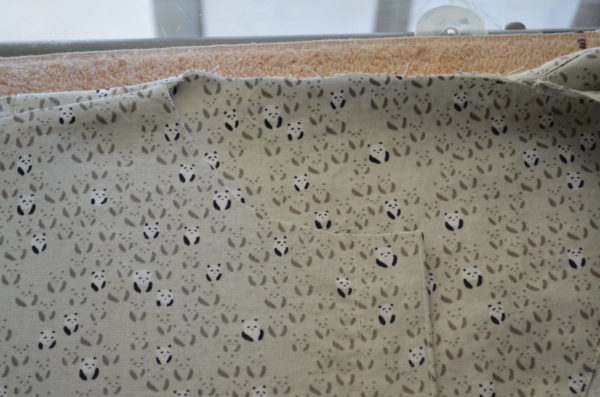
d) View D: knee length with front pocket and set in cuffs.
This is the FABRIC REQUIREMENT:
60’’ FABRIC FOLDED
VIEW A: 2 1/4
2. VIEW B: 2 1/4
3. VIEW C: 3 1/4
4. VIEW D: 3 1/4
FABRIC RECOMMENDED:
Light to medium weight woven fabric such as: challis, chambray, poplin, gingham, gauze, lawn, linen, shirting, denim (for dresses potions)
SALE:
USE THE COUPON DGPATTERNS FOR A 50% OFF ON ANY PURCHASE

Ashley Kimono shirt and dress – Sew along part 2
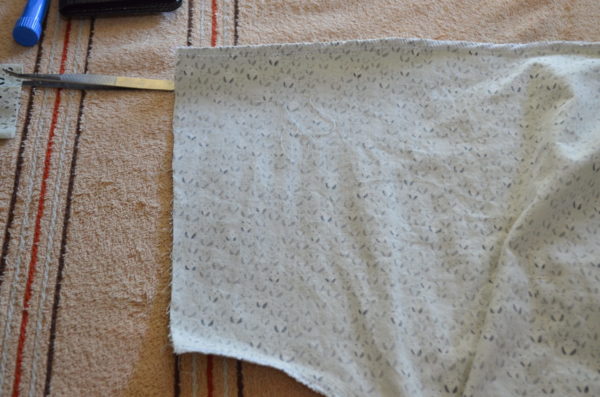
- Back shirt: Fold the back bodice and press the back pleat
2. Sew a straight line from the top 4 or 5 inches long.
3. Open the back bodice and press the pleat flat.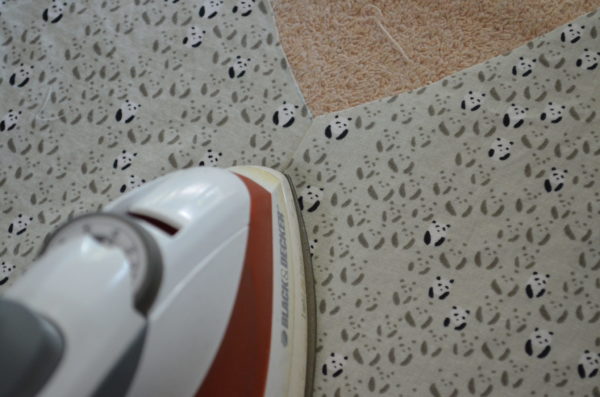
4. I placed it to the right side of the shirt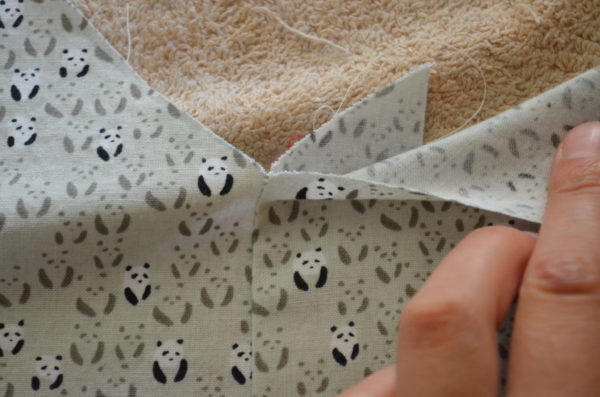
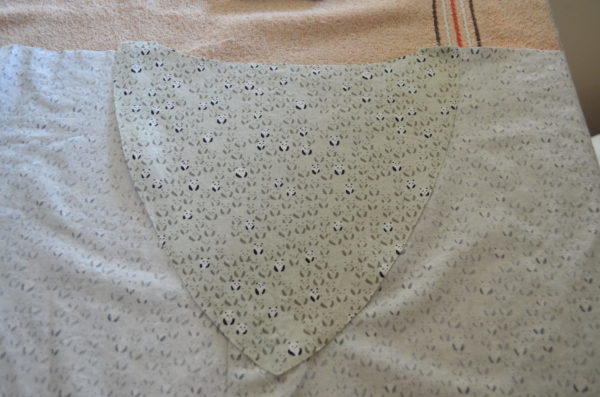
5. Now bring the back yoke piece.
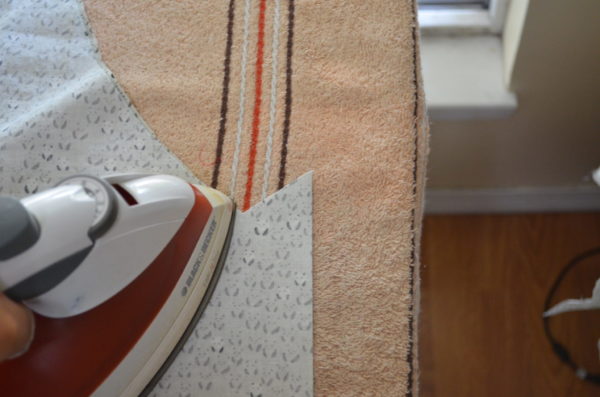
6. Using your iron, fold the back yoke about 3/8 inch all around the rounded area (not the top)
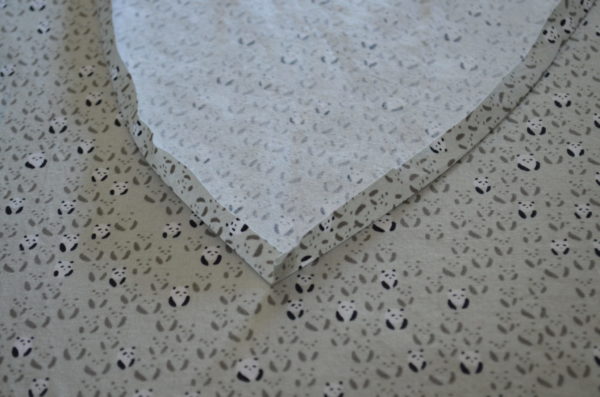 7. Pin it to the shirt carefully, placing one pin every inch. Then, baste the back yoke to the back bodice.
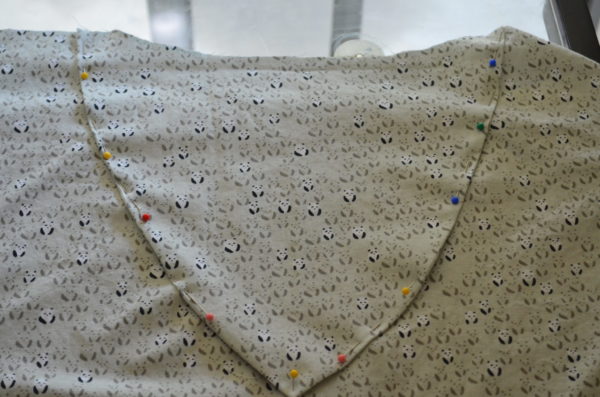
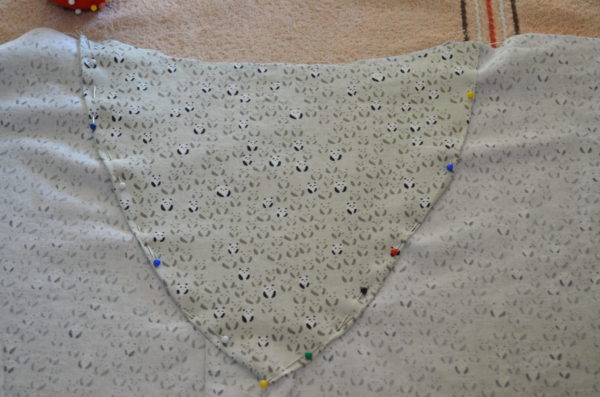
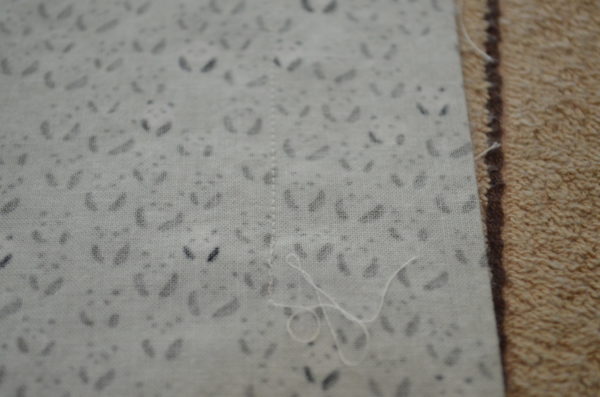
9. Now, sew them together, slowing stitching around the curve areas.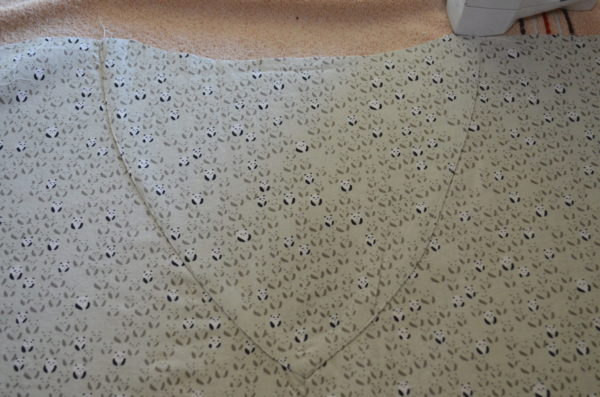
10. The edge stitch must be about 1/16 to 1/8 inch as shown on the image below: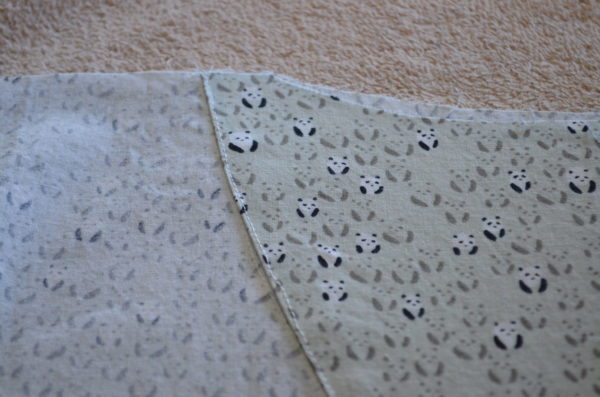
11. Press the yoke flat.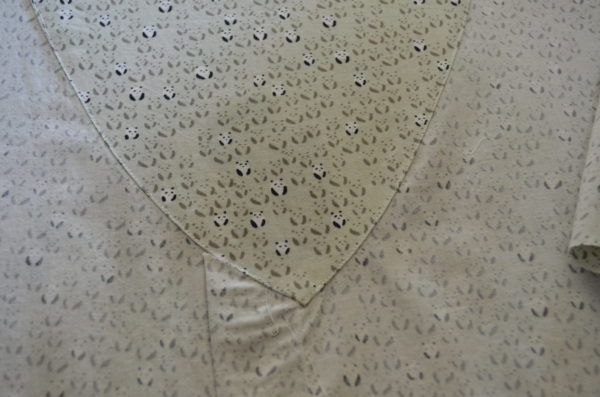
12. FRONT BODICE: Place front and back bodice together, right sides facing and stitch the shoulder and side seams.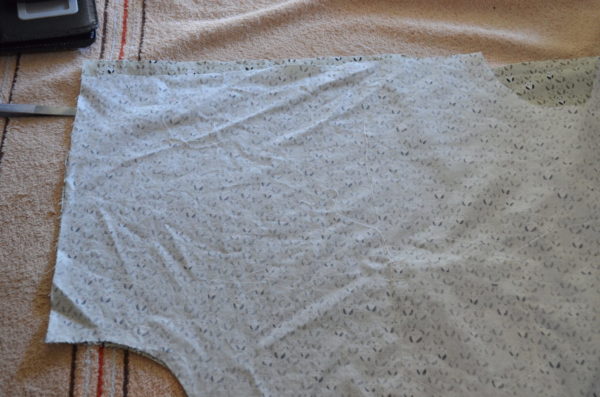
13. For the front placket, double fold it, first about 3/8 inch (seam allowance) and then 1 1/2 inch.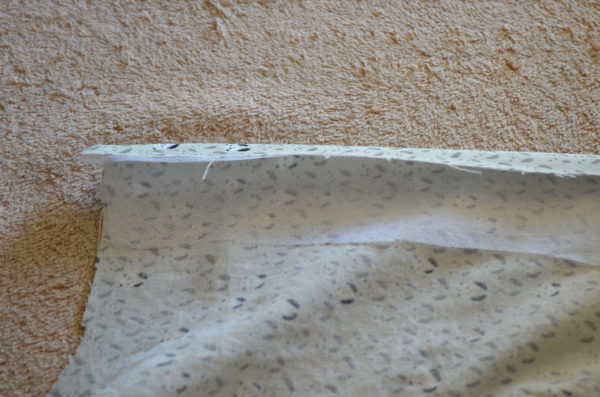
14. This area will also need the woven interfacing been attached. 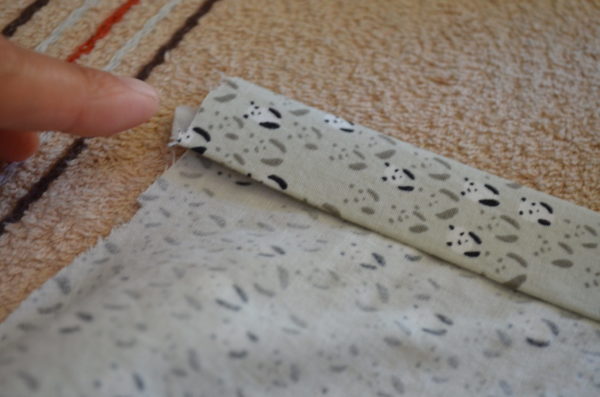
15. Press with your iron flat.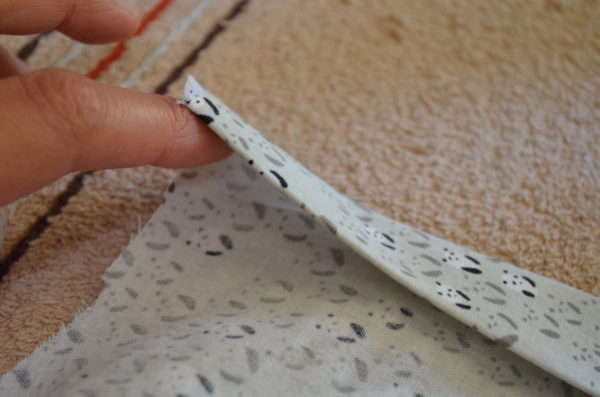
16. Stitch along the top, bottom and sides. 
17. Turn to the right side and press all seams that you have completed so far.
And that is all for today! Remember to visit us tomorrow for the Part 3 of the Ashley Sew along.
Happy Sewing!

Leave a Reply