SEWING TUTORIAL:
How to make the Dolman Sleeve Top
FABRIC LAYOUT
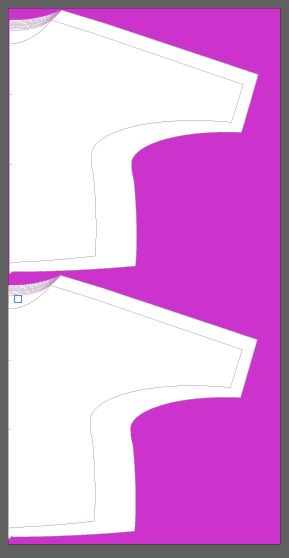
PRINTING LAYOUT

SEWING TUTORIAL: How to make the Dolman Sleeve Top
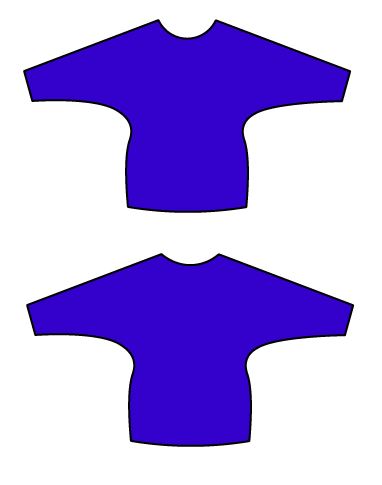
- Gather both pieces together, cut one with a front neckline and one with a back neckline (shallower)
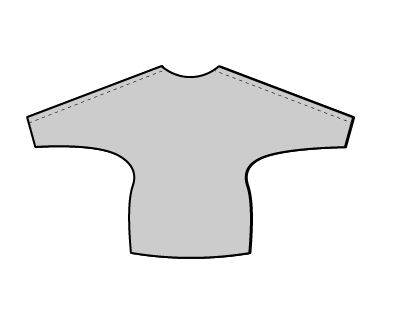
2. Place the front and back top pieces together, right sides facing

3. Stitch the sleeve-shoulder seam with a zigzag stitch or serger and a 3/8 inch seam allowance
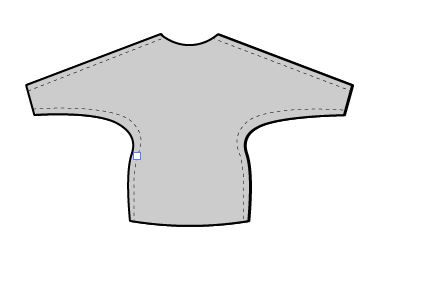
4. Stitch the bottom sleeve-side seams with a 3/8 inch seam allowance
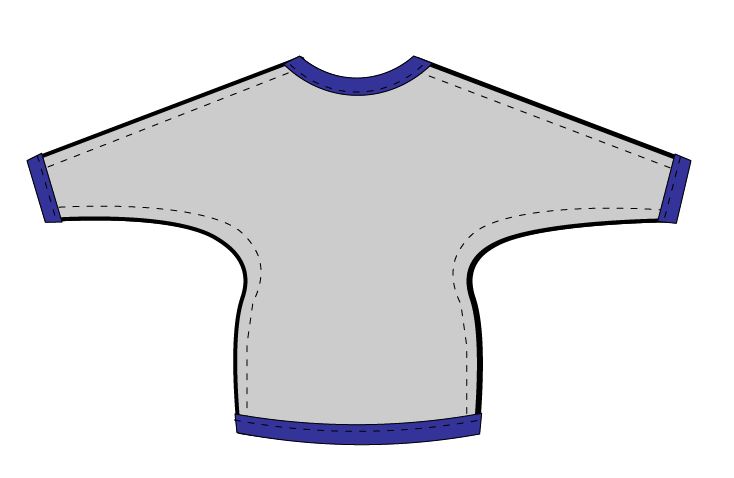
5. Fold the hemline with a 1 1/2 inch seam allowance. Press it flat and stitch it with a zigzag or use a twin needle for it.
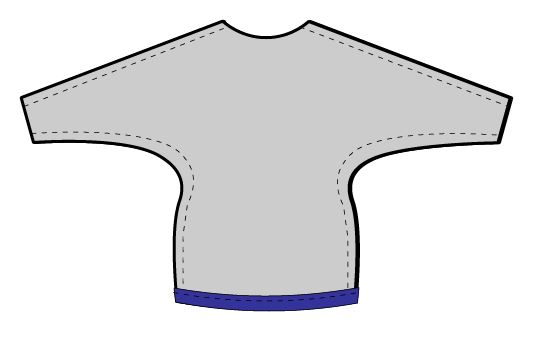
6. Fold the neckline and the cuffs with a 1” seam allowance. Press flat and stitch with a zigzag or with a twin needle.
That is all!
Thank you for visiting us today and Happy Sewing 🙂


 8. AFTER THIS, THERE IS A SIMPLE ”THANK YOU” MESSAGE, LETTING YOU KNOW THAT THE PATTERN IS ON ITS WAY.