
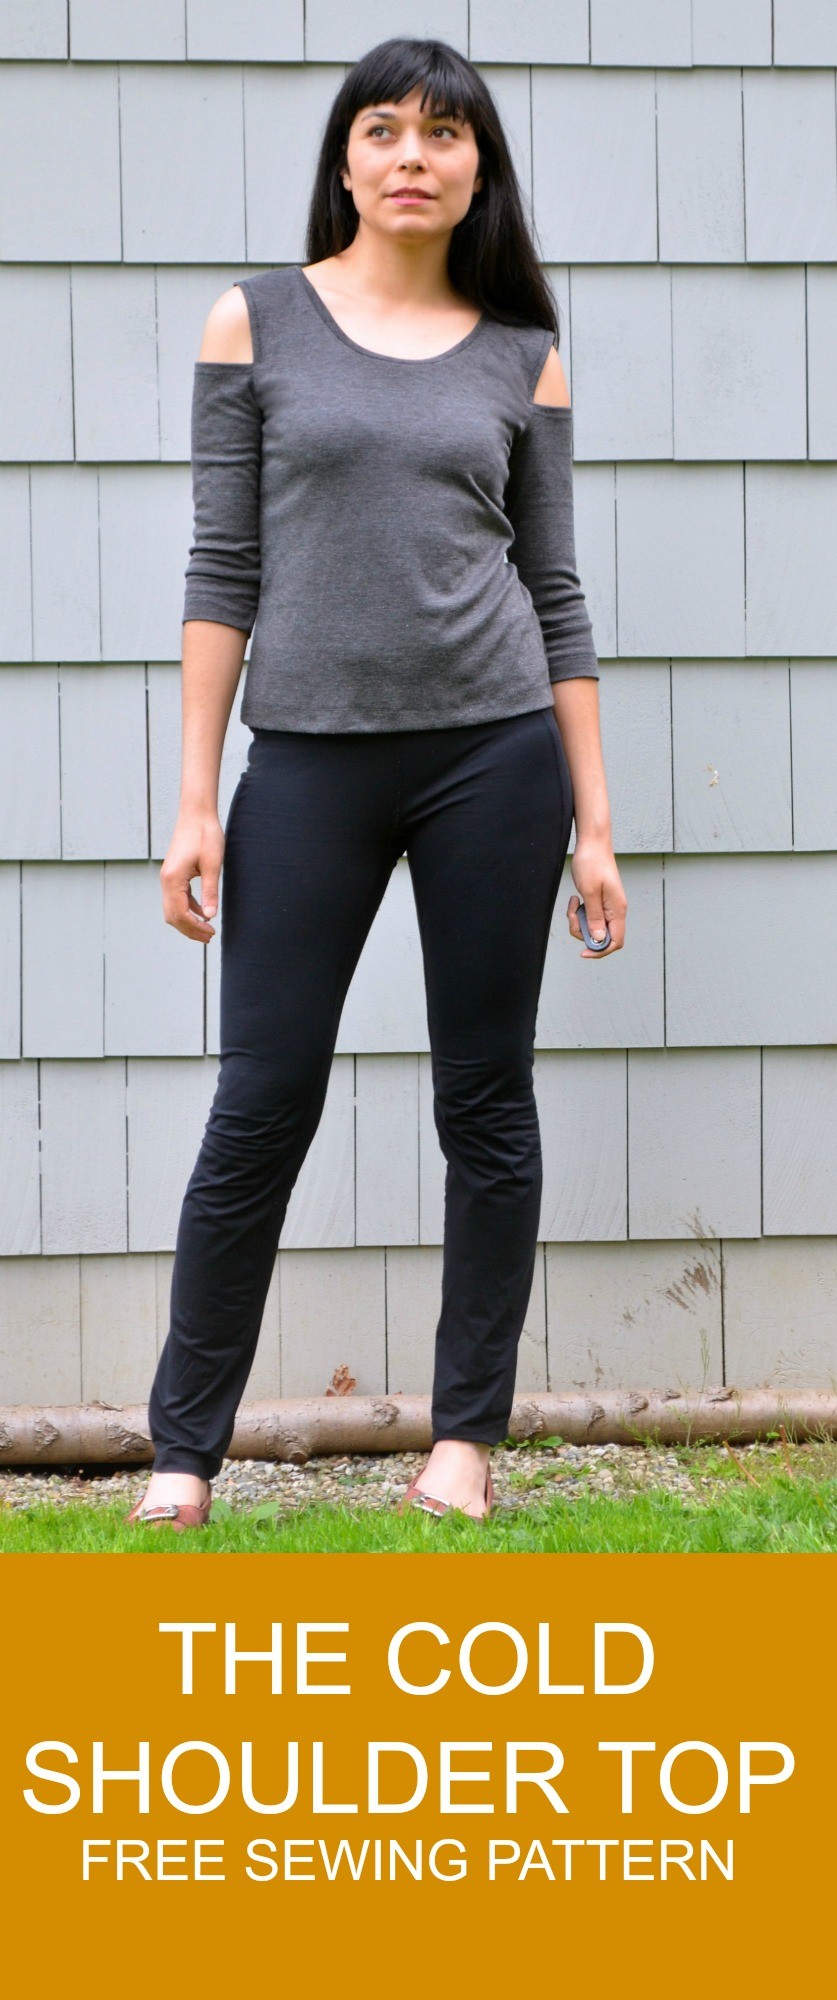
[Read more…] about SEWING TUTORIAL: how to make the Belize Top
On the Cutting Floor: Printable pdf sewing patterns and tutorials for women
Online Printable PDF sewing patterns for beginners, crafts and printables for kids
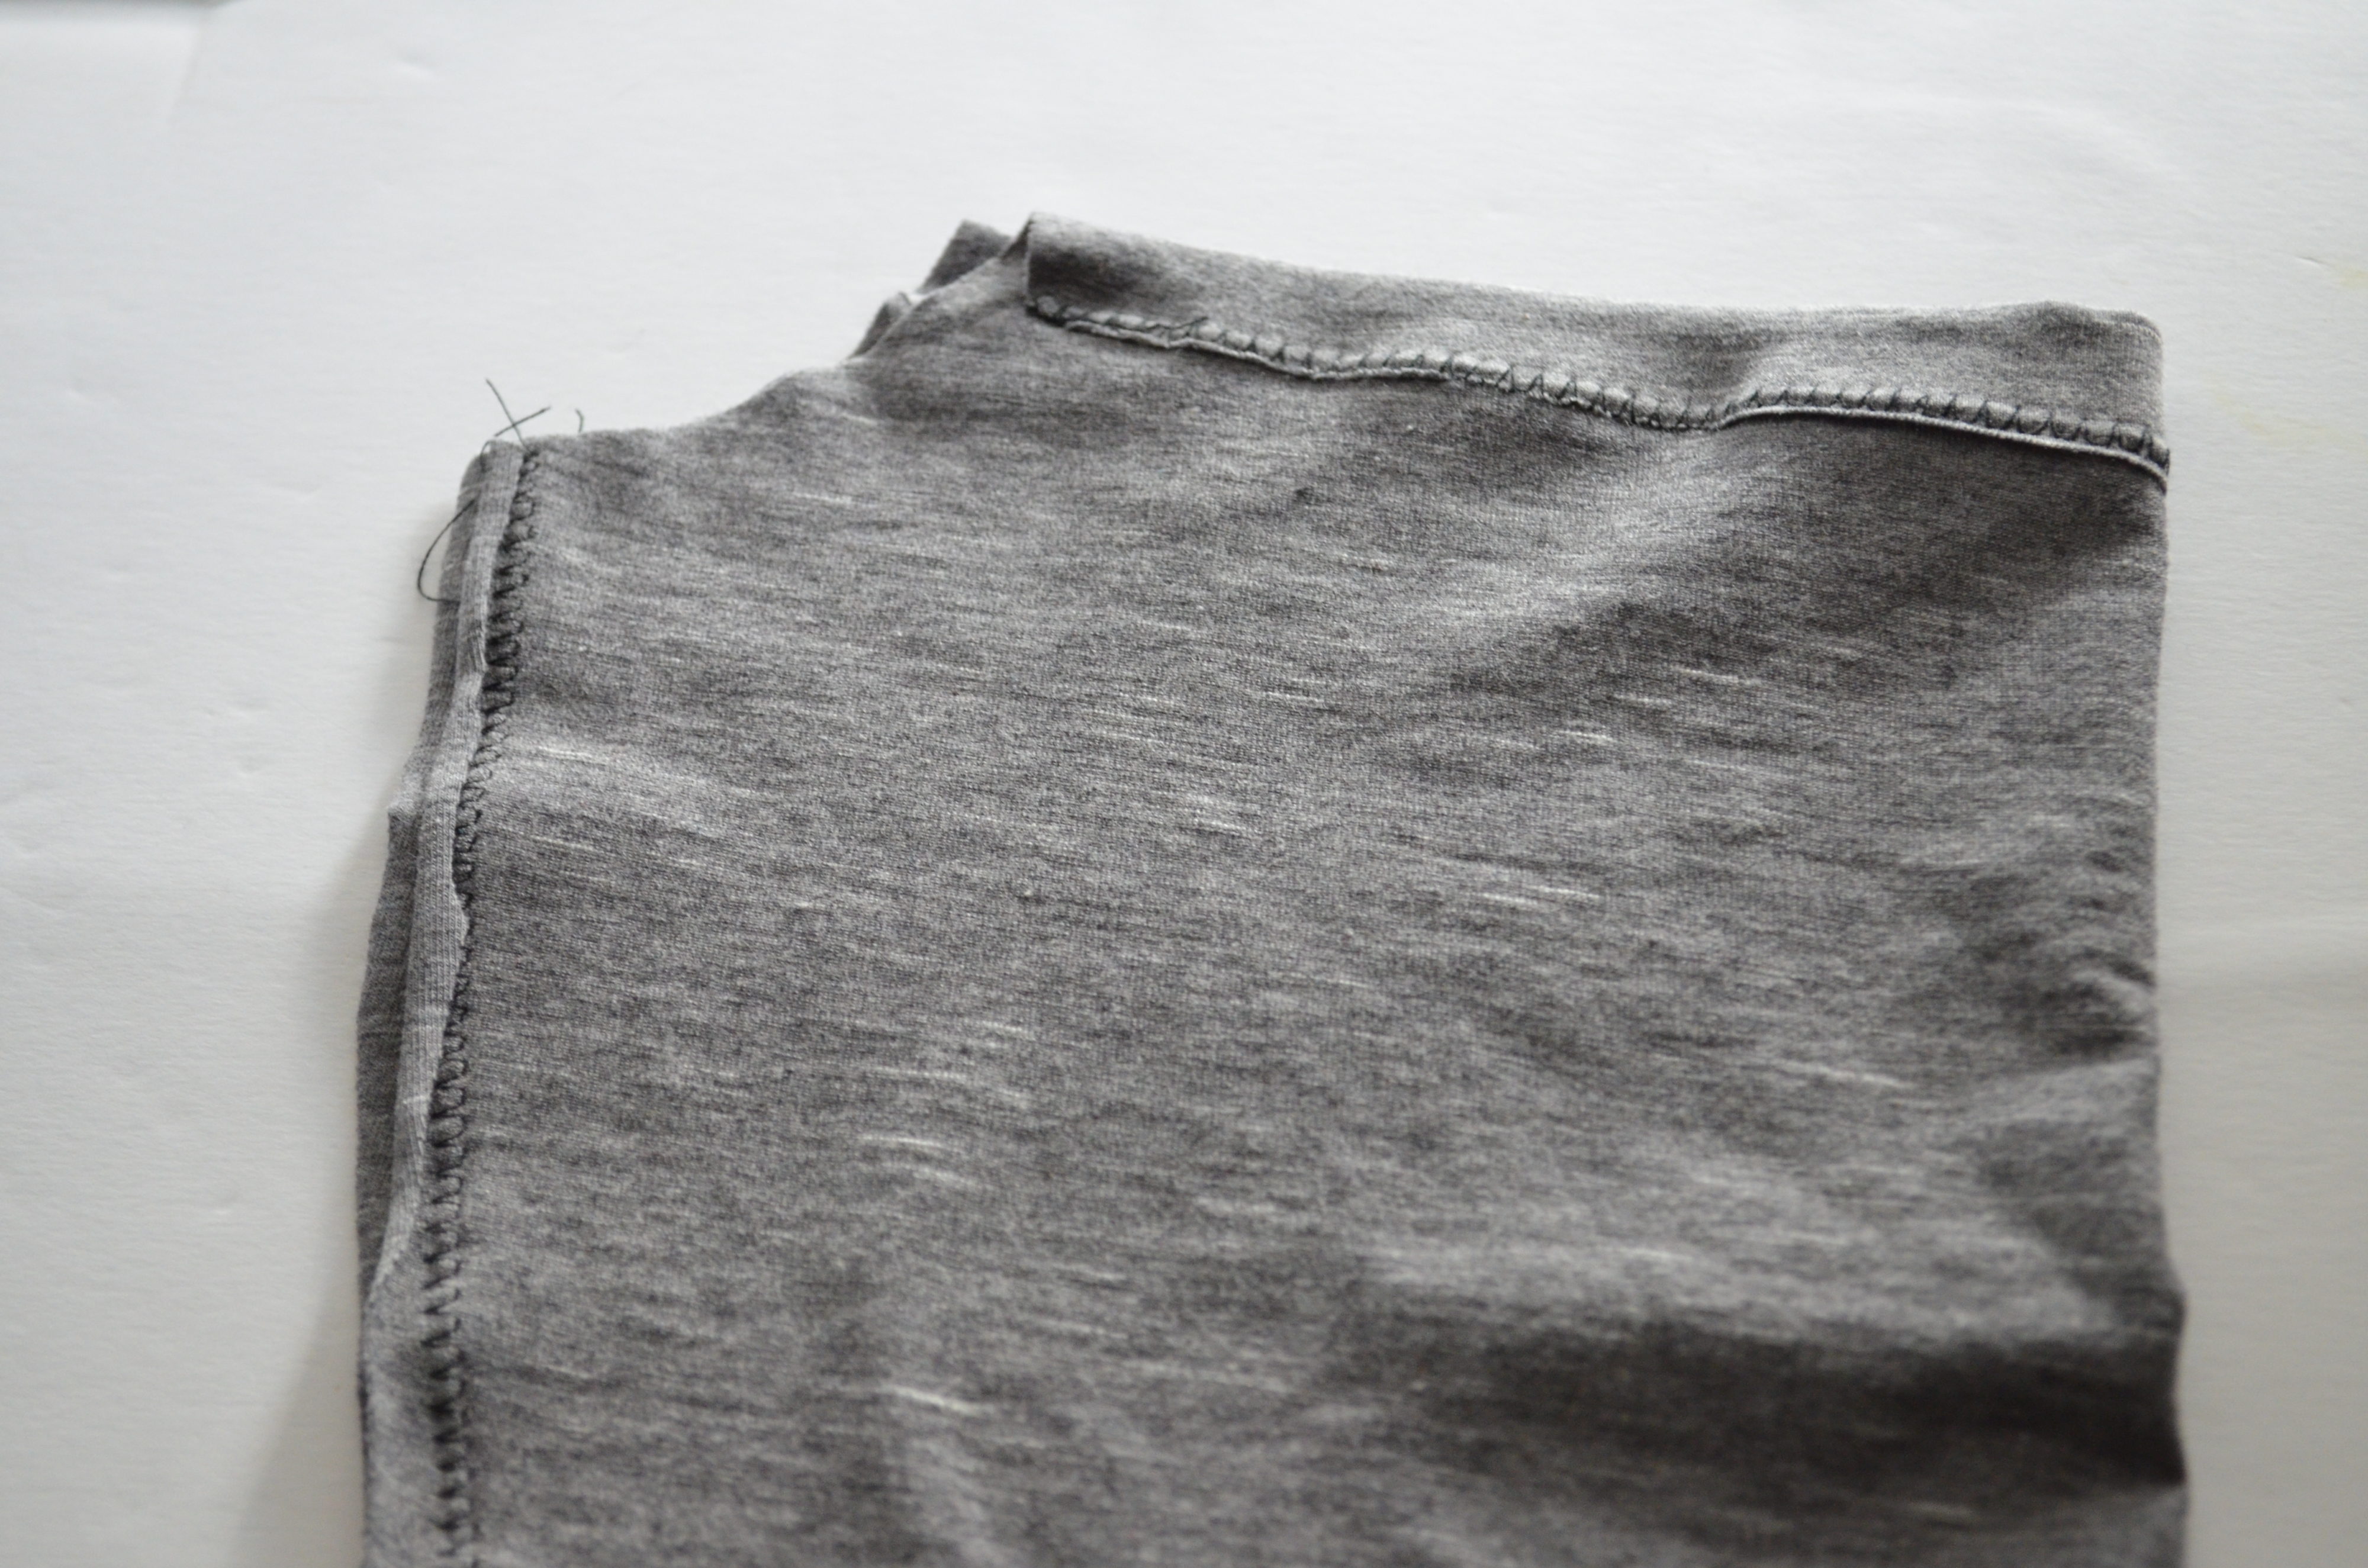
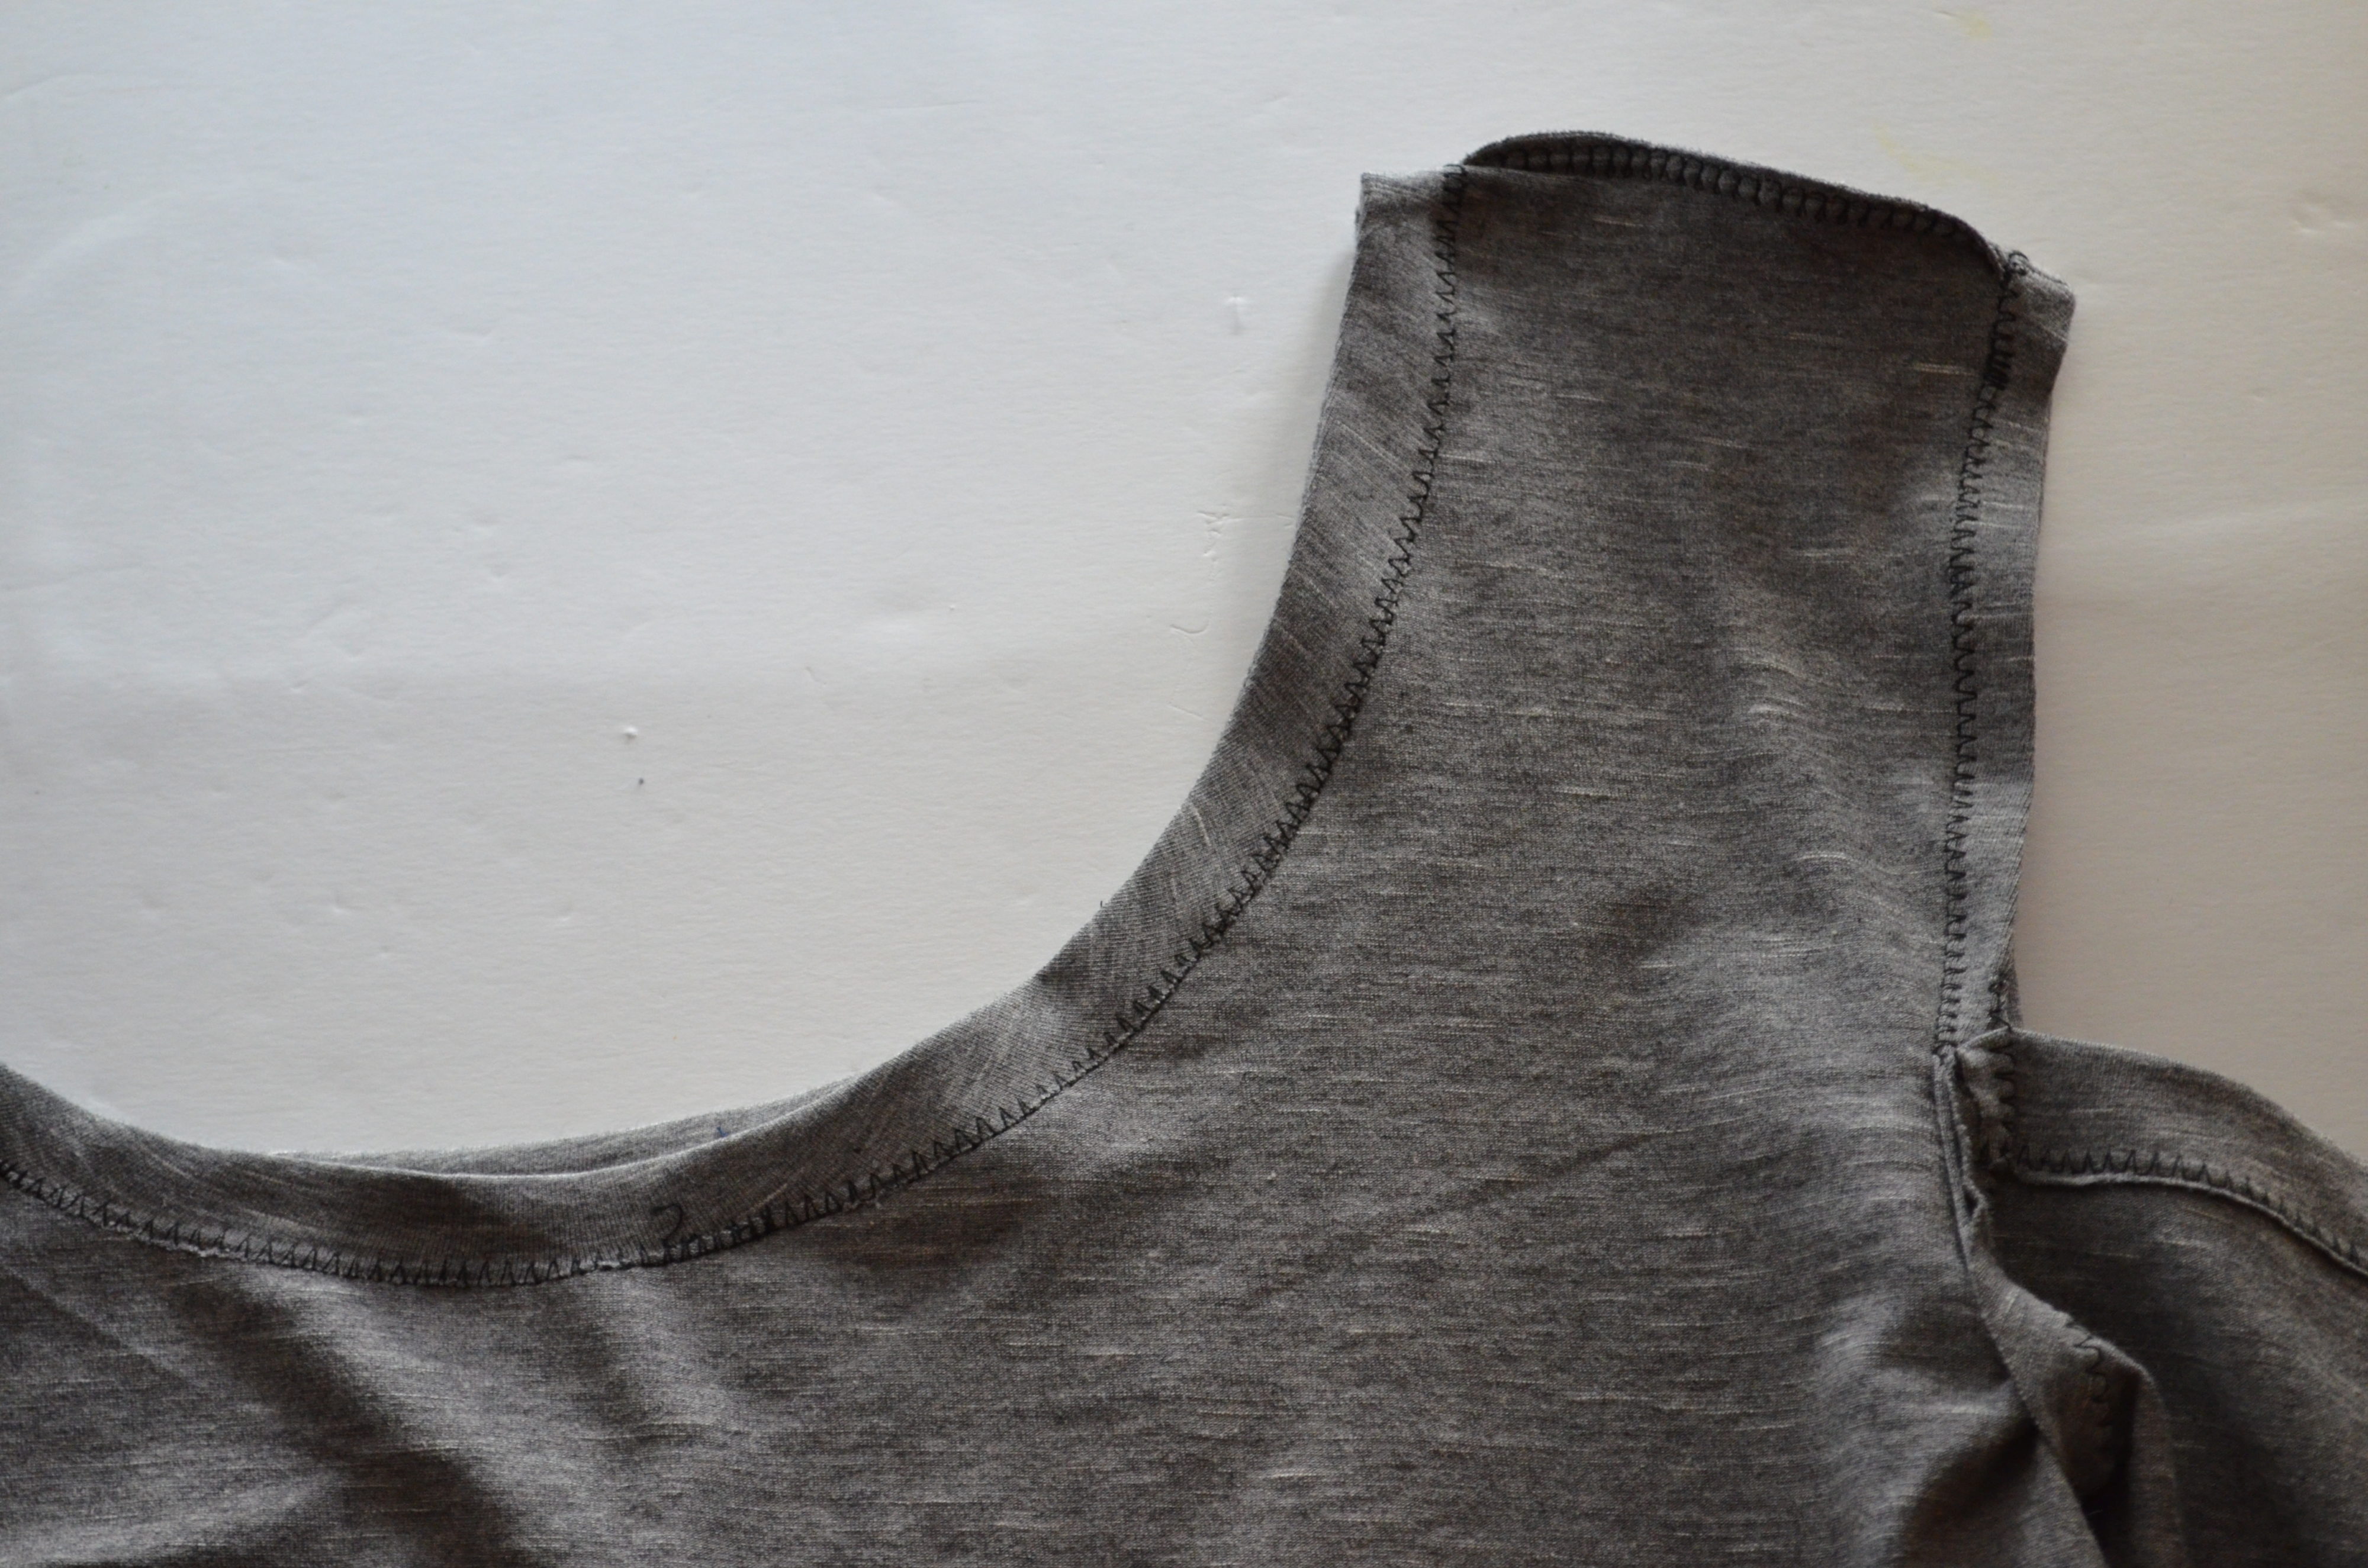
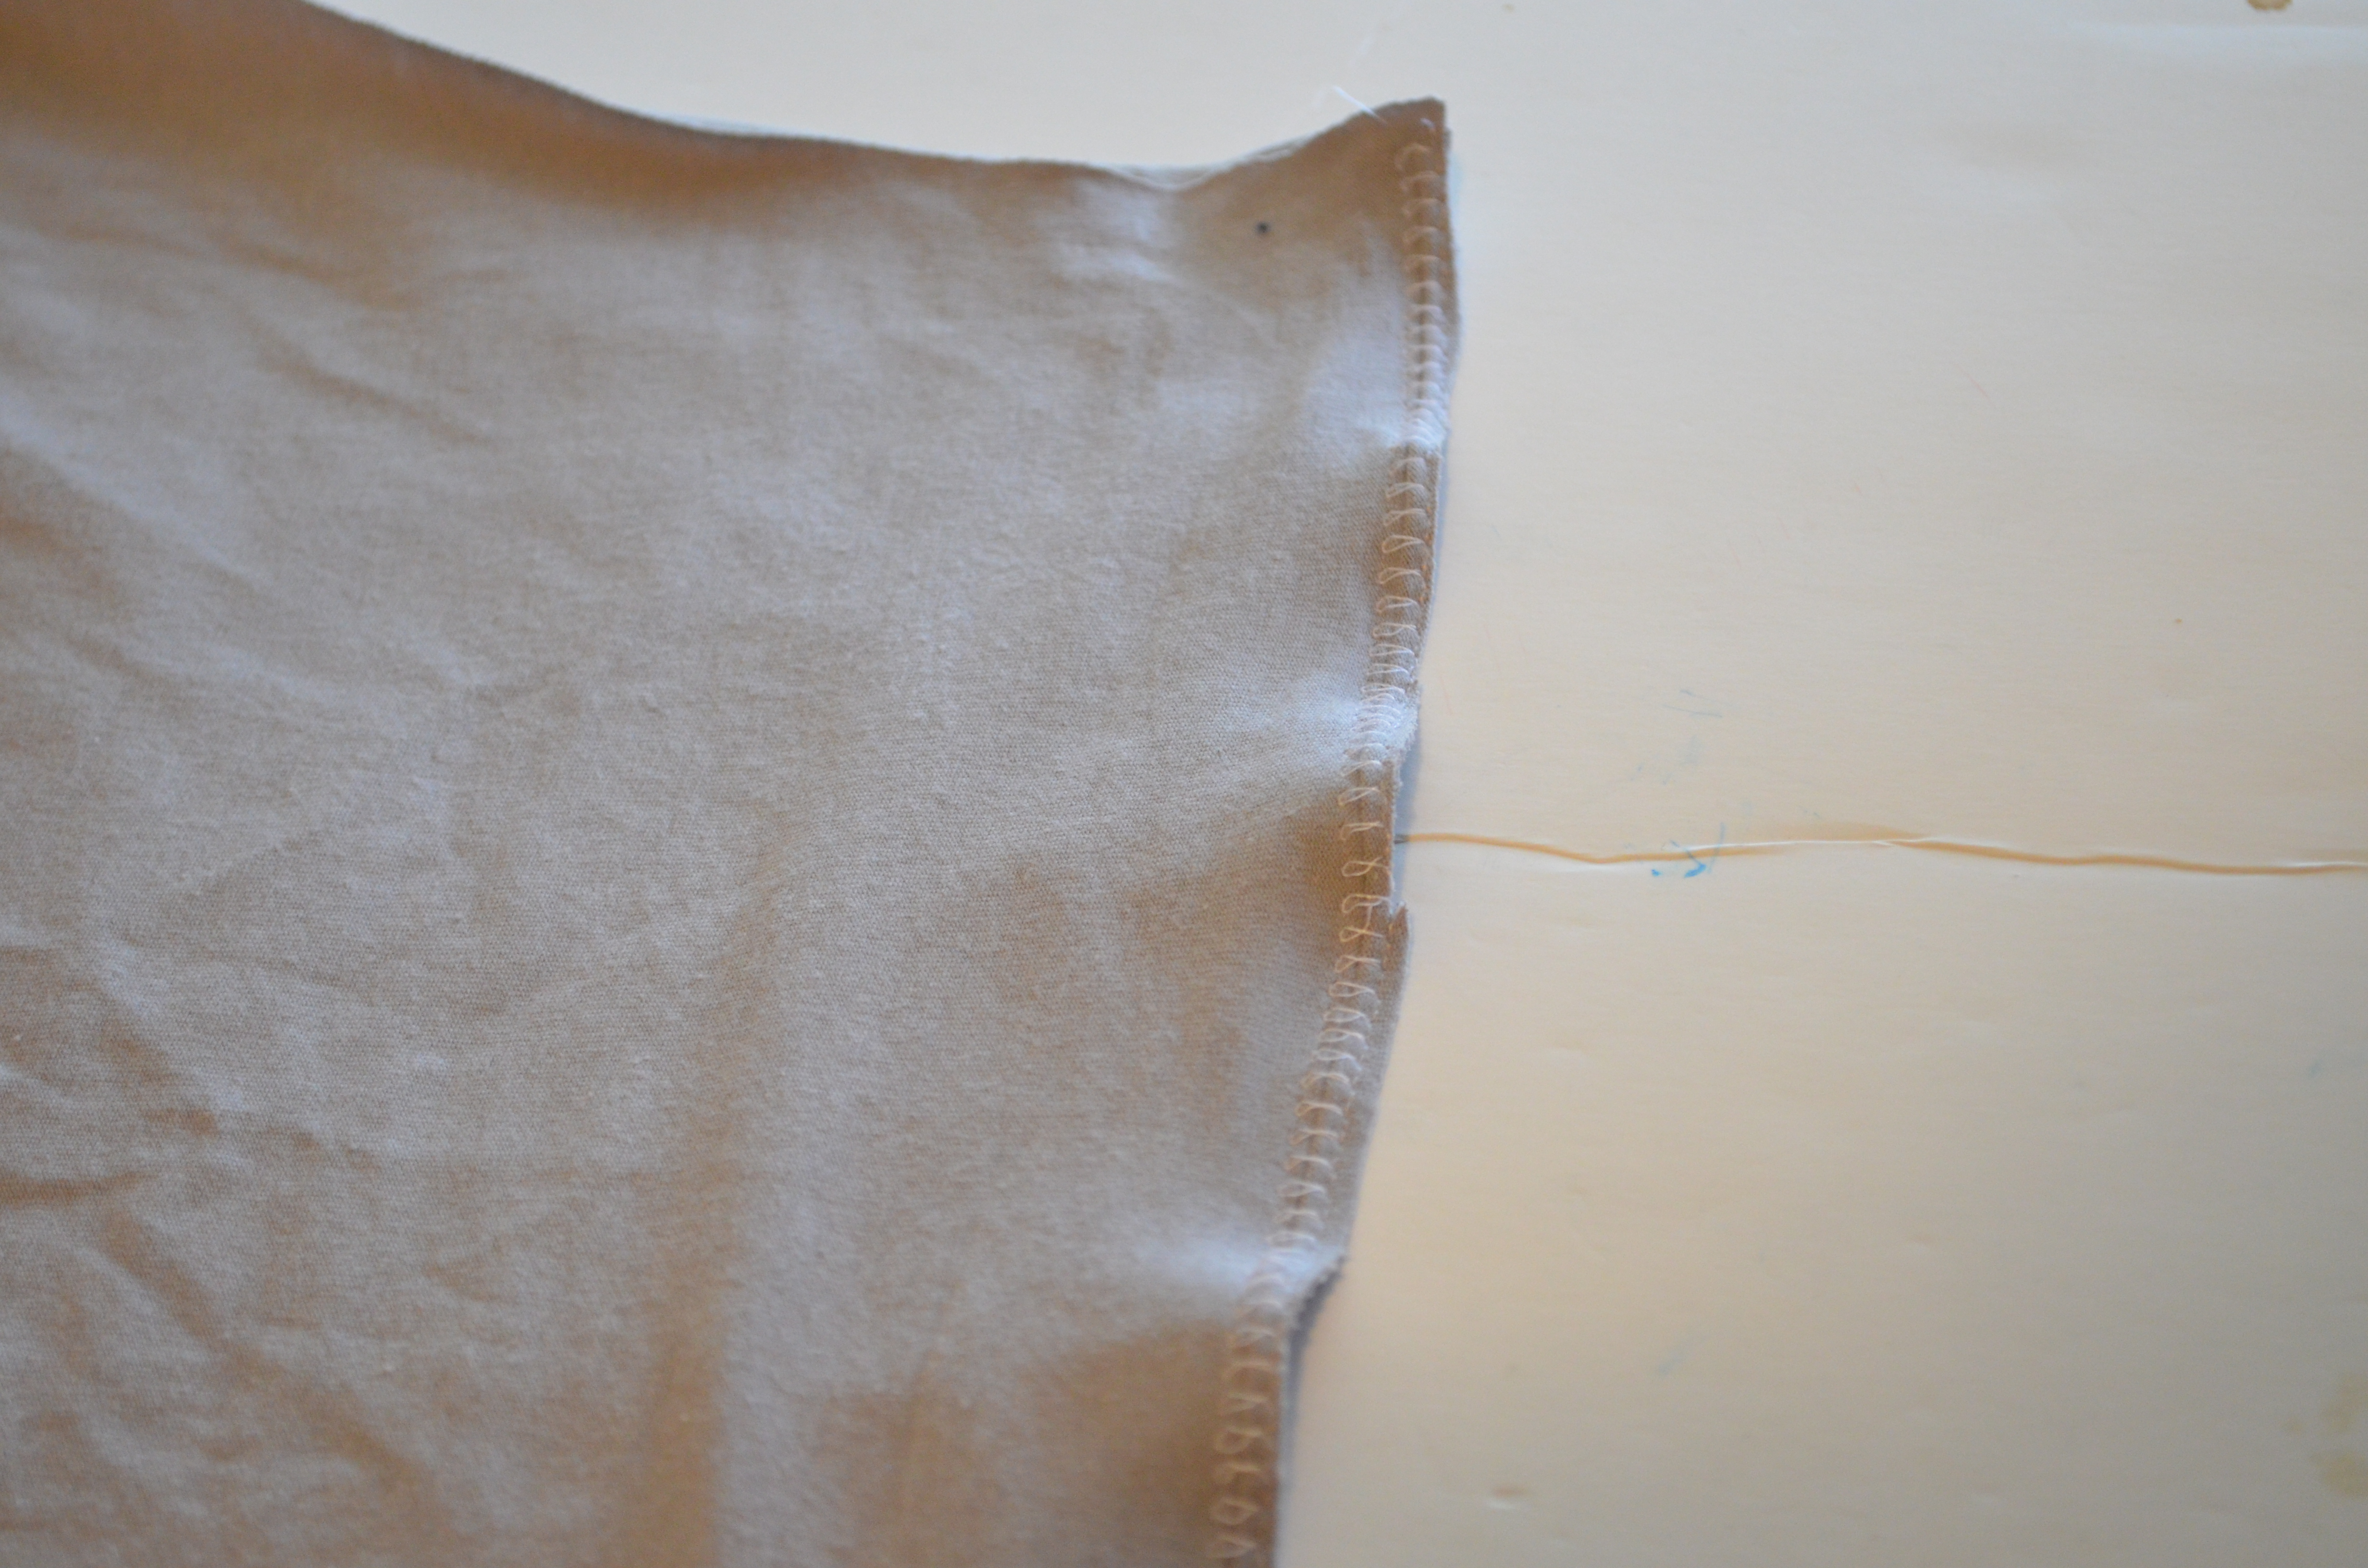
PLACE FRONT AND BACK BODICE PIECES TOGETHER, RIGHT SIDES FACING AND MATCH THE SIDE SEAMS. THEN STITCH THE SIDE SEAMS TOGETHER WITH A ZIGZAG OR OVERLOCKING STITCH.
AFTER THAT, STITCH THE SHOULDER SEAMS WITH A ZIGZAG OR OVERLOCKING STITCH.
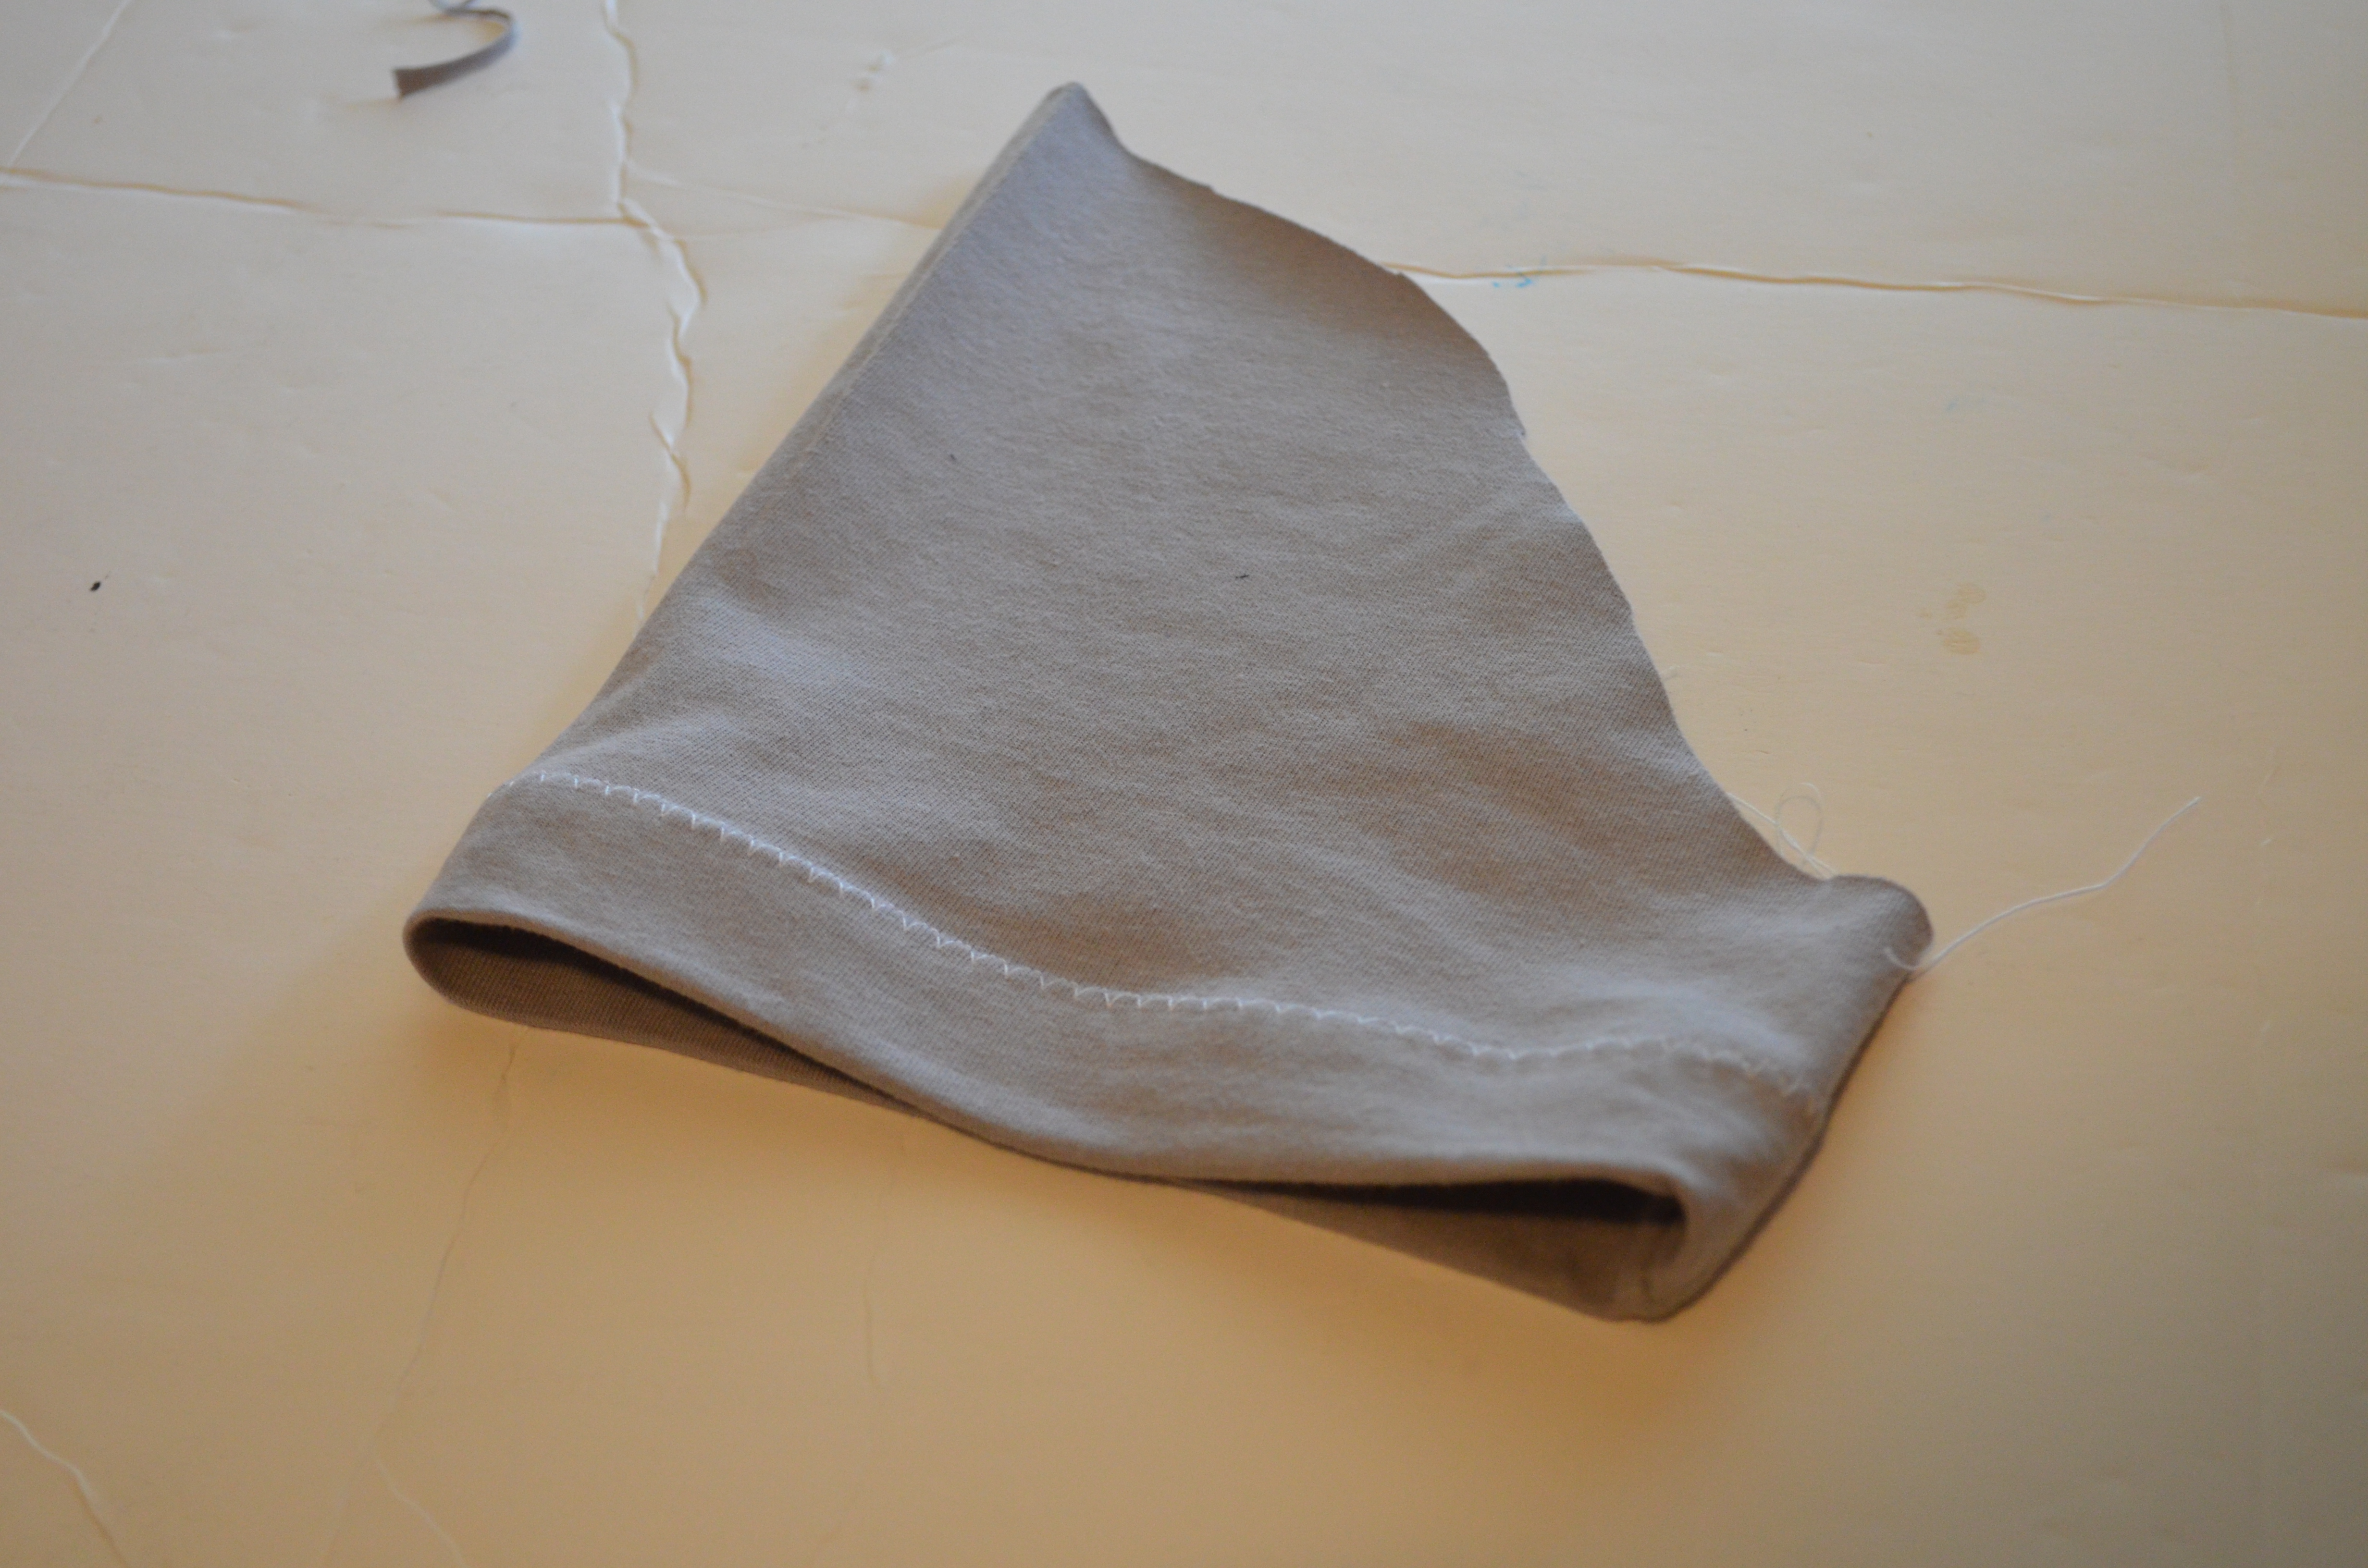
THE SLEEVES: FOLD THE UPPER PART OF THE SLEEVE 1/2 INCH INSIDE AND STITCH IT WITH A ZIGZAG STITCH. PRESS IT FLAT.
NOW, FOLD THE SLEEVE IN HALF AND STITCH THE SIDE SEAM WITH AN OVERLOCKING OR A ZIGZAG STITCH.
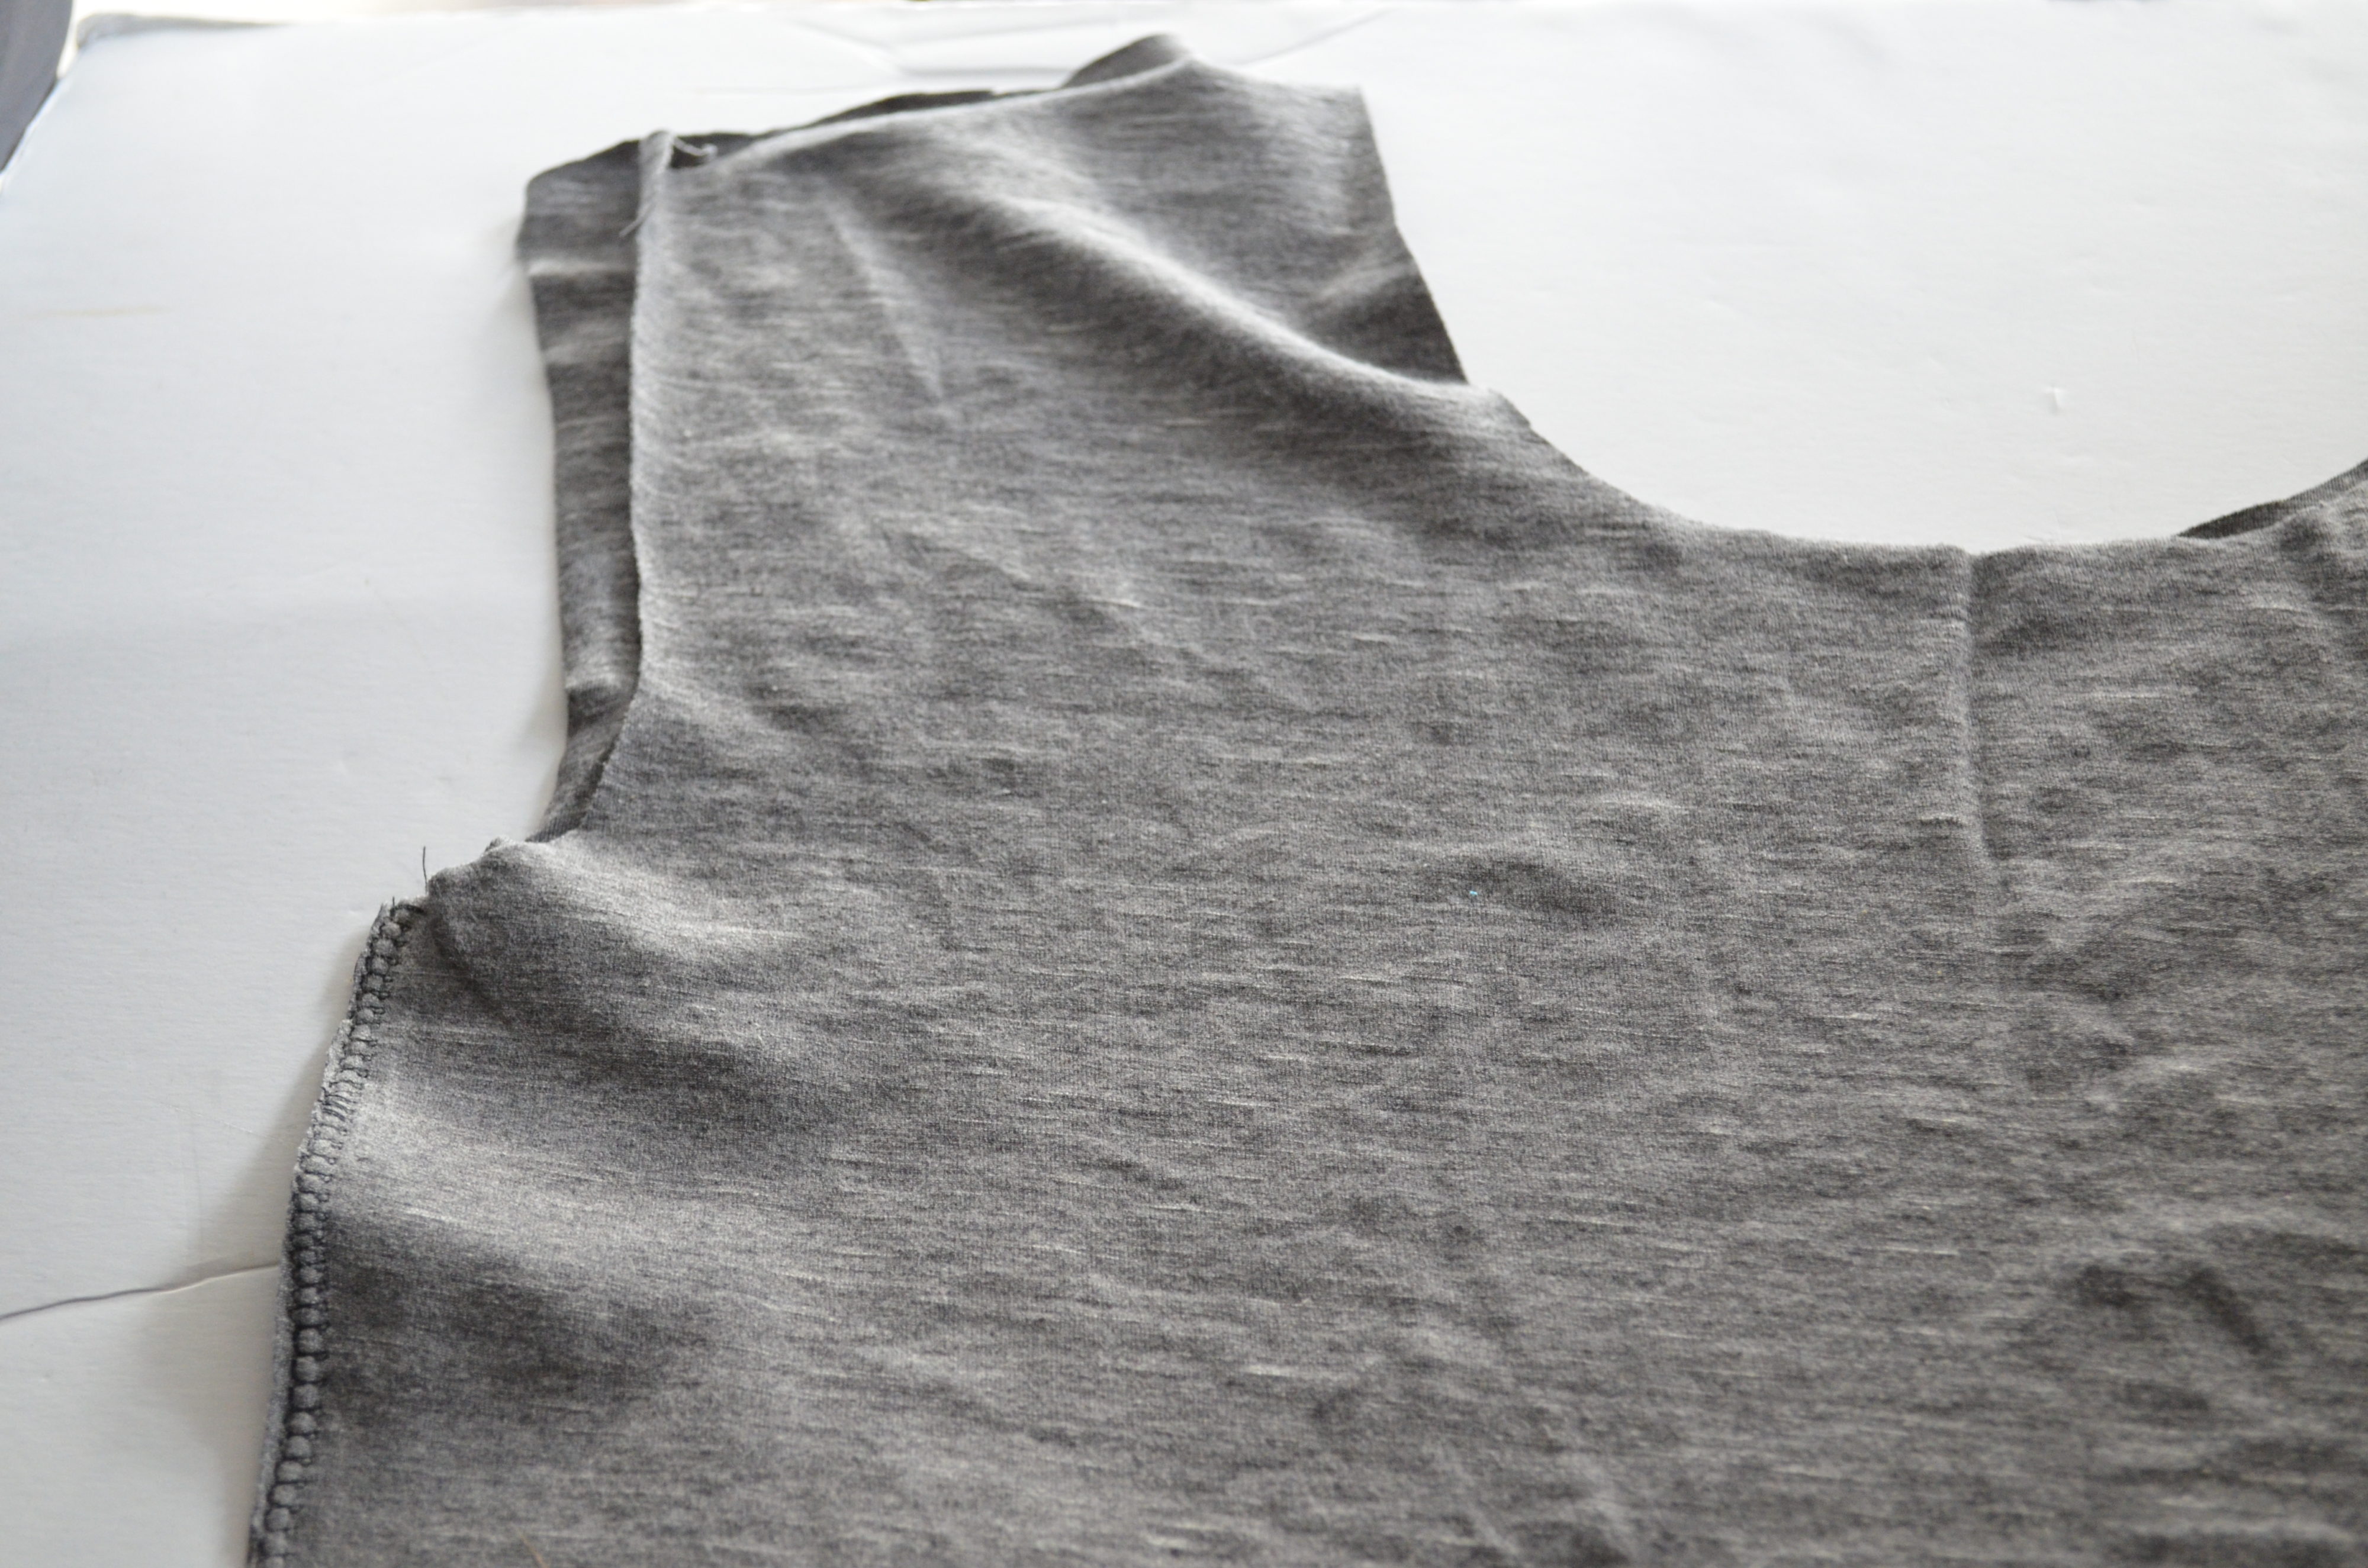
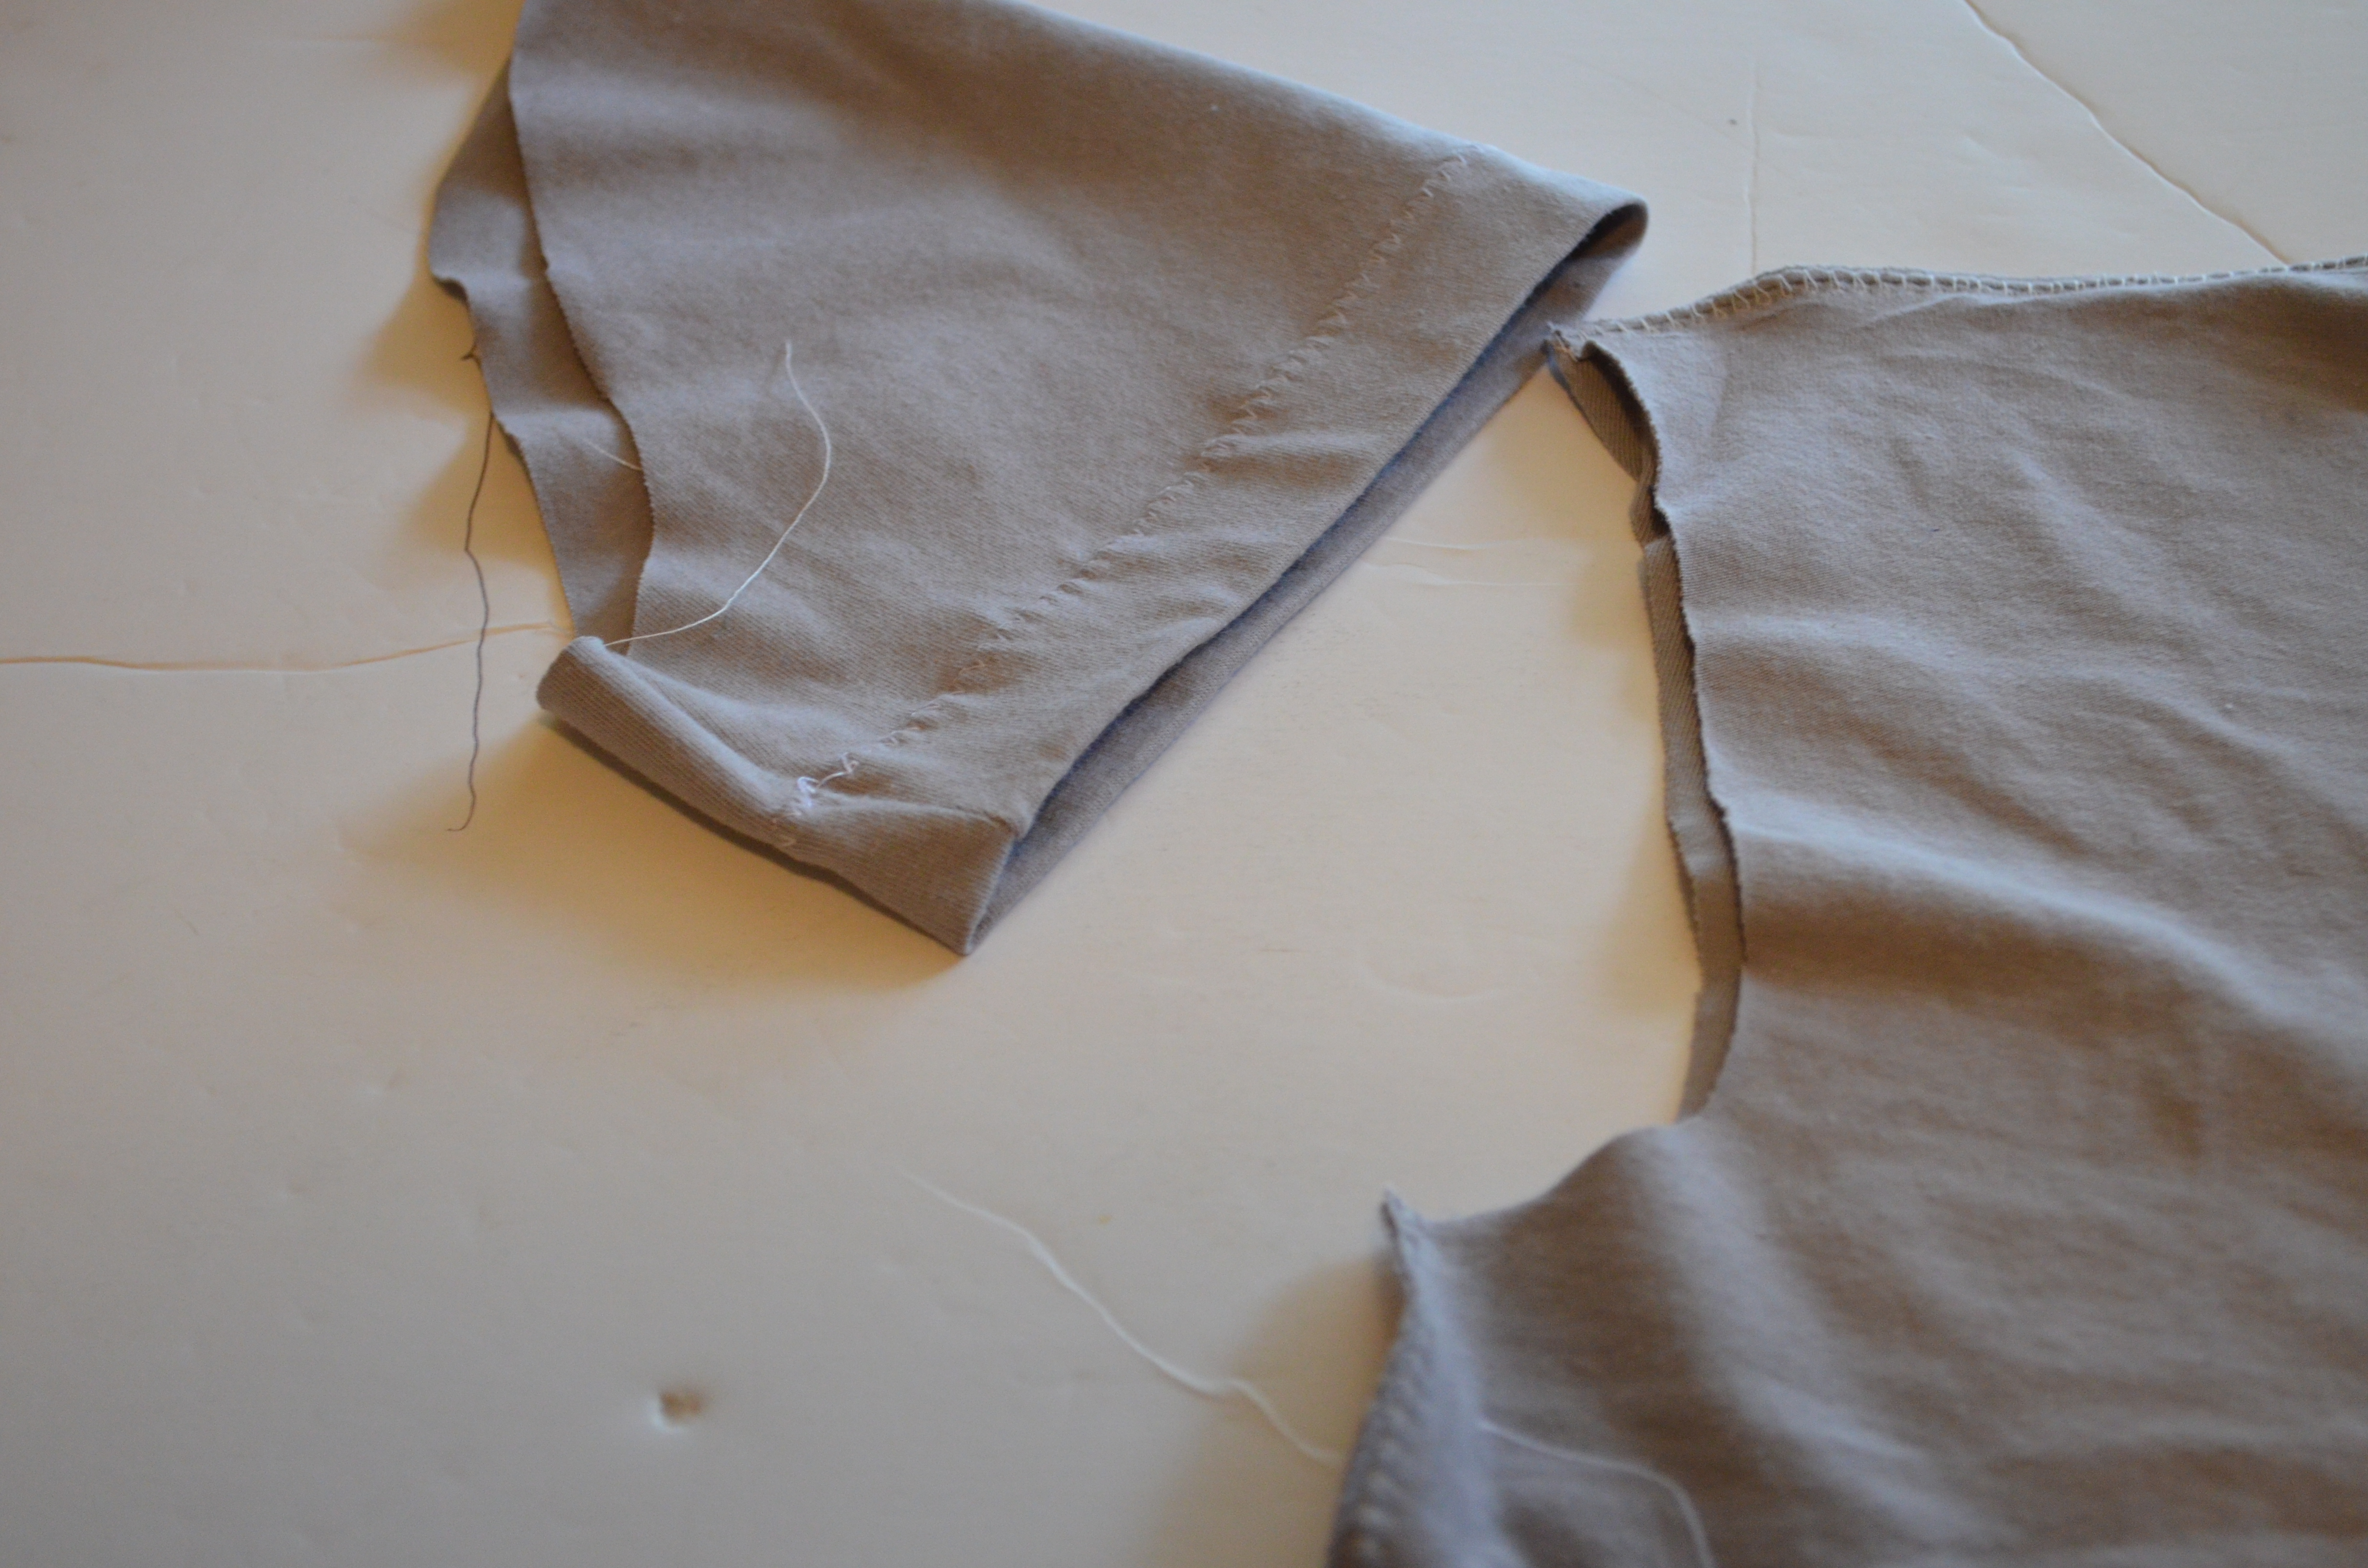
THEN, ADD THE SLEEVES TO THE TOP; TURN THE SLEEVE TO THE RIGHT SIDE AND INSERT INTO THE TOP BOTTOM AREA. MATCH THE SIDE SEAMS OF THE TOP AND NOTCHES ON THE BODICE WILL MARK WHERE THE UPPER PART OF THE SLEEVE IS ATTACHED.
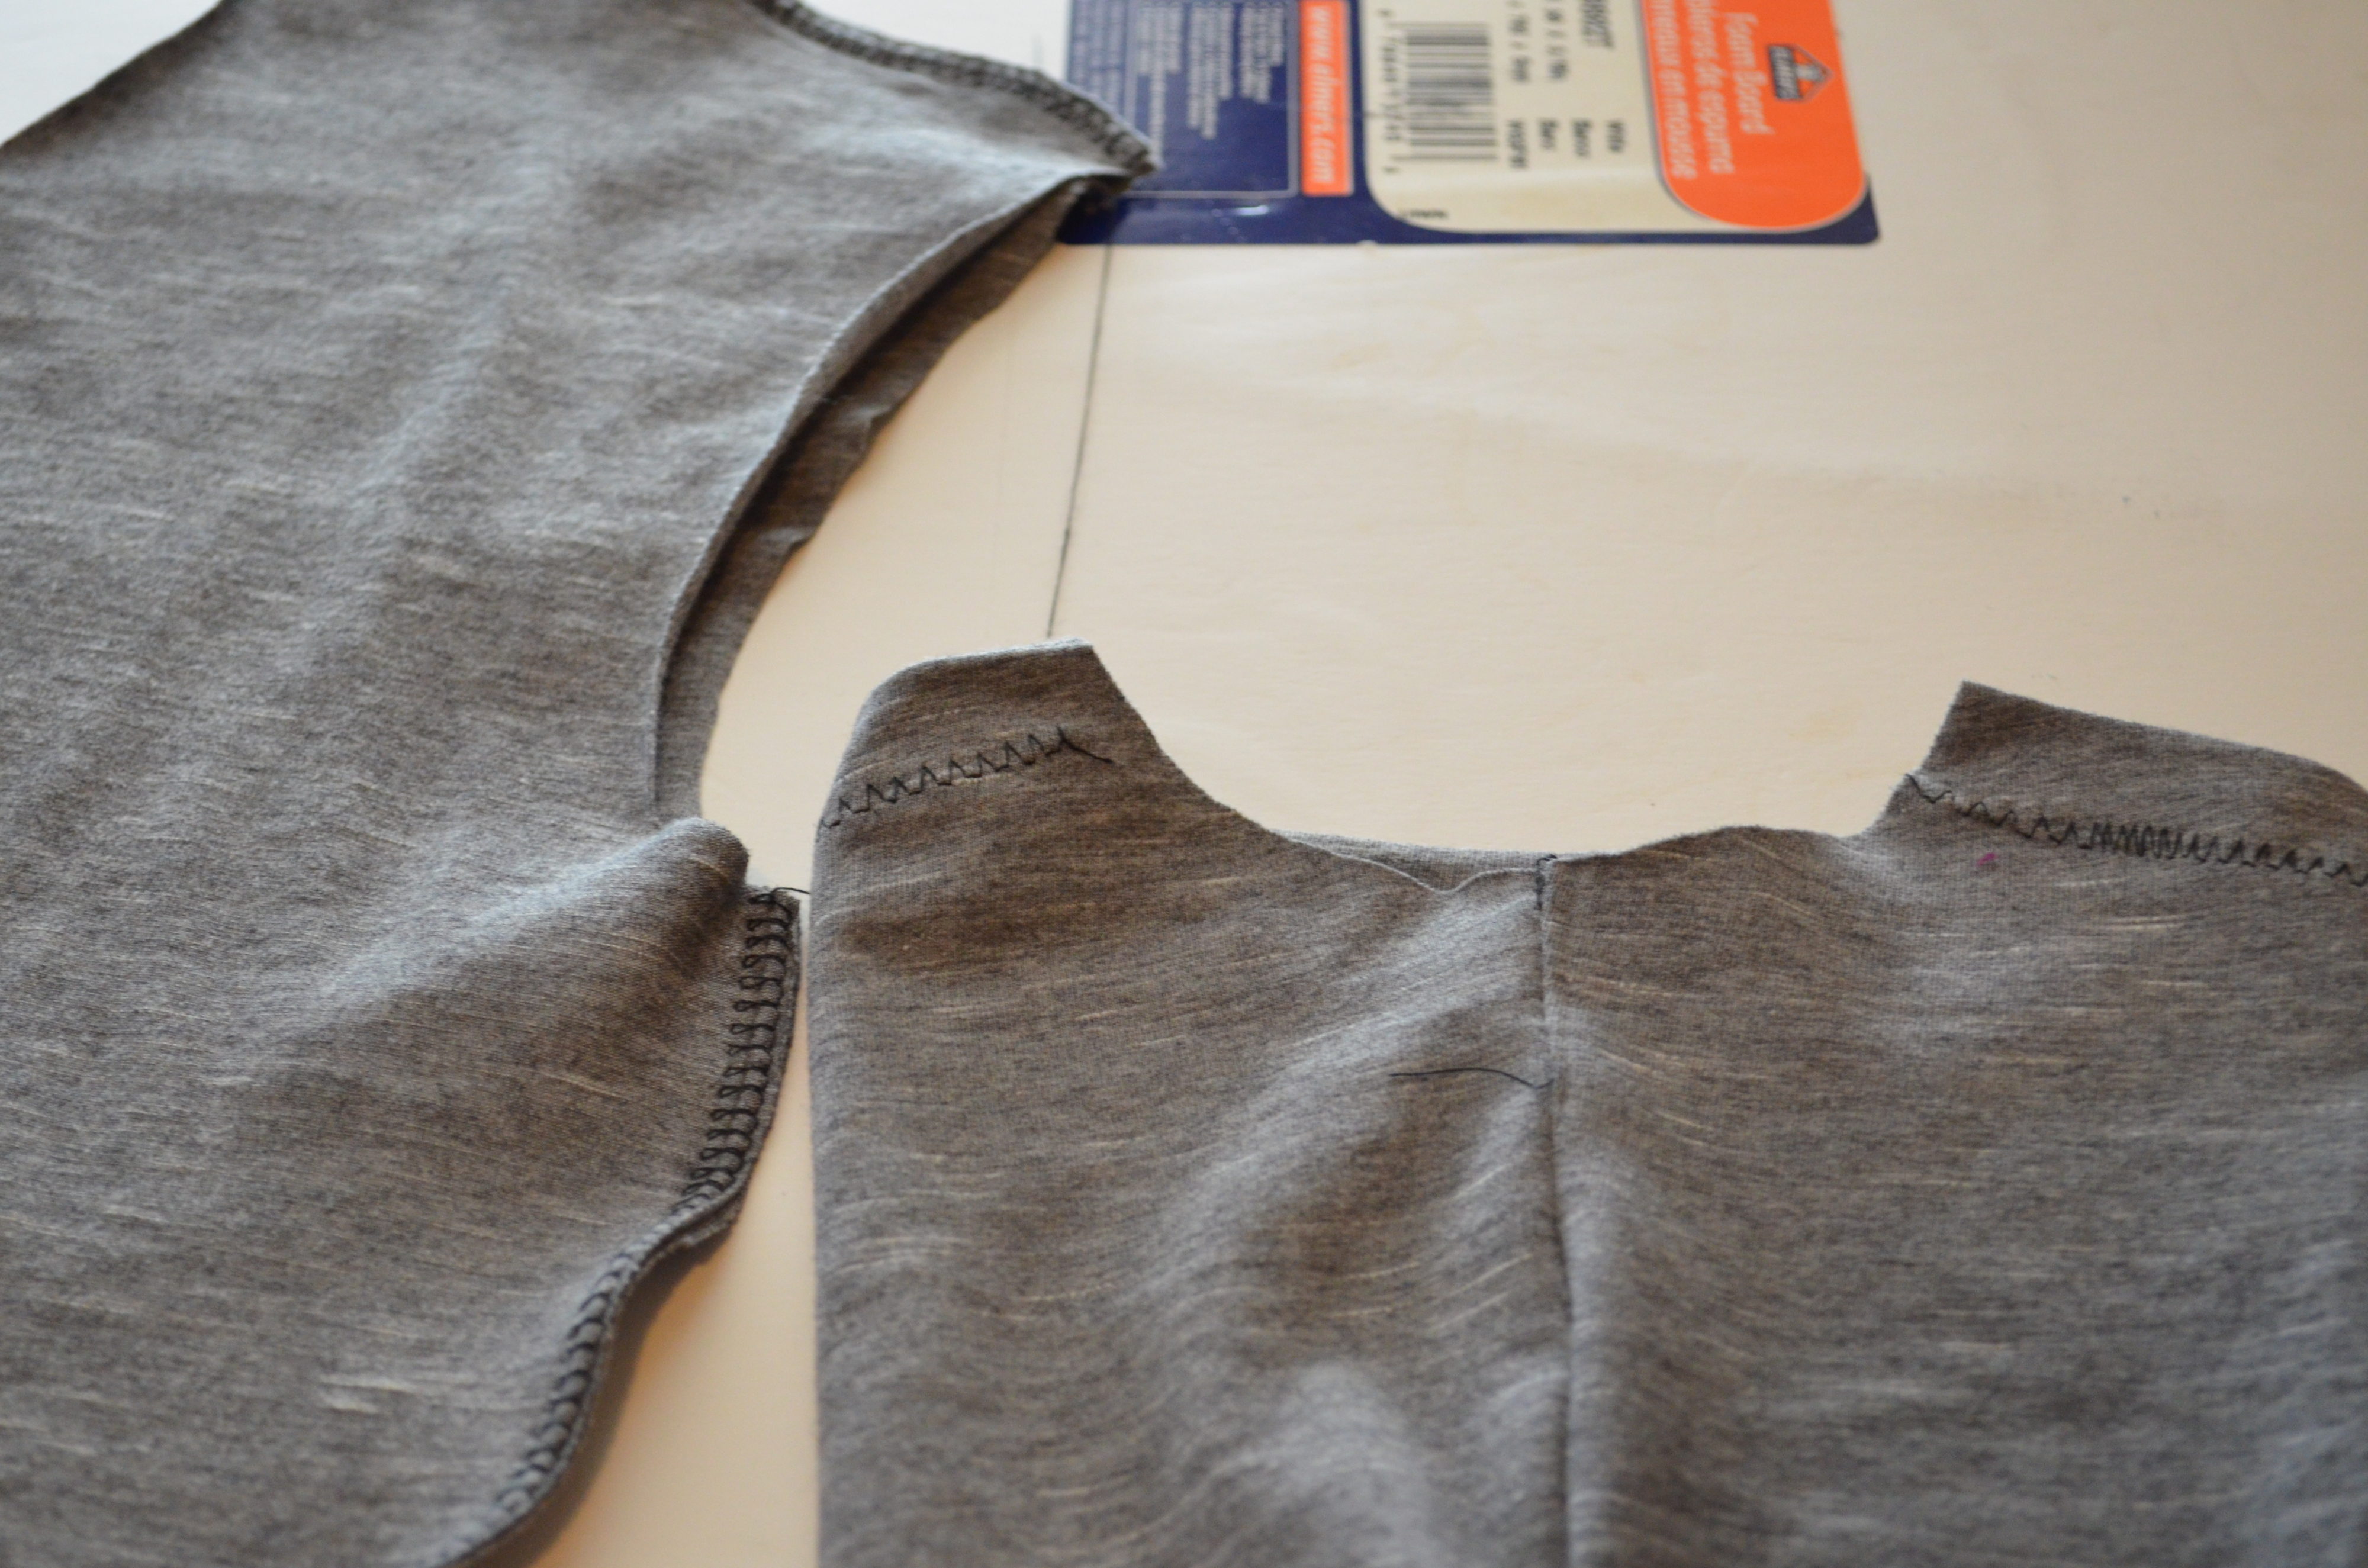
STITCH THE SLEEVE TO THE BODICE WITH AN OVER LOCKING OR A ZIGZAG STITCH.
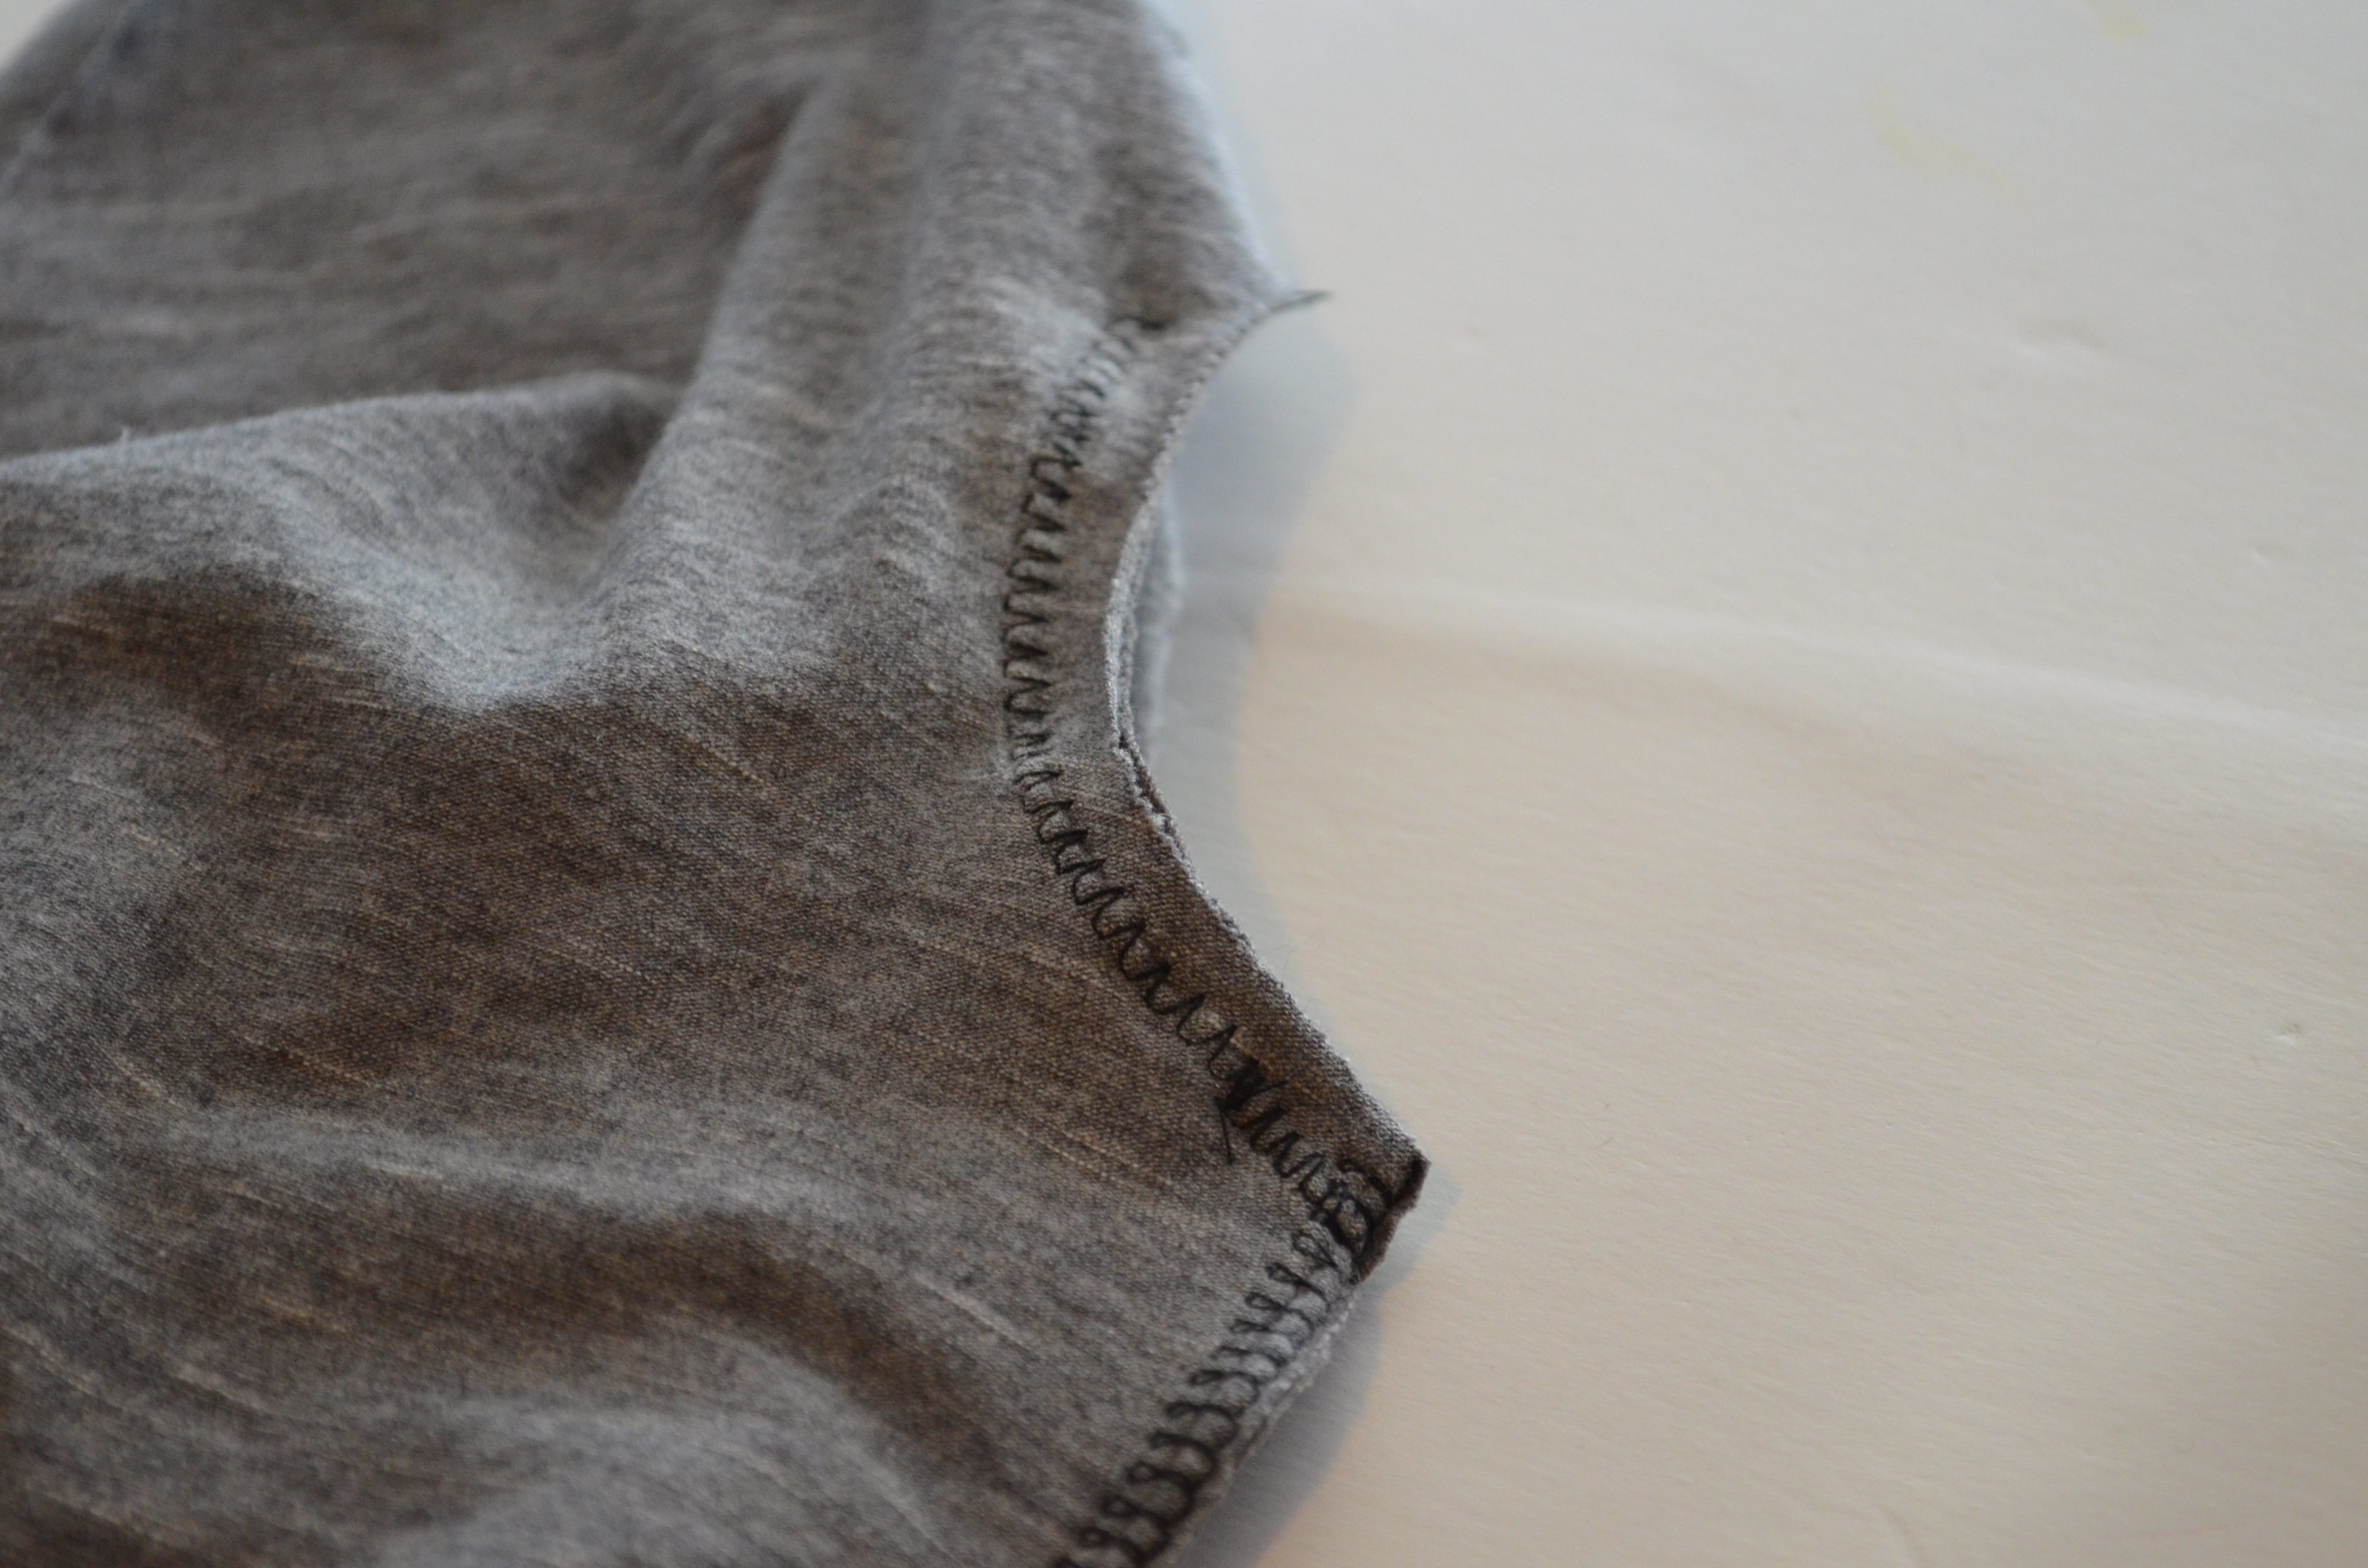
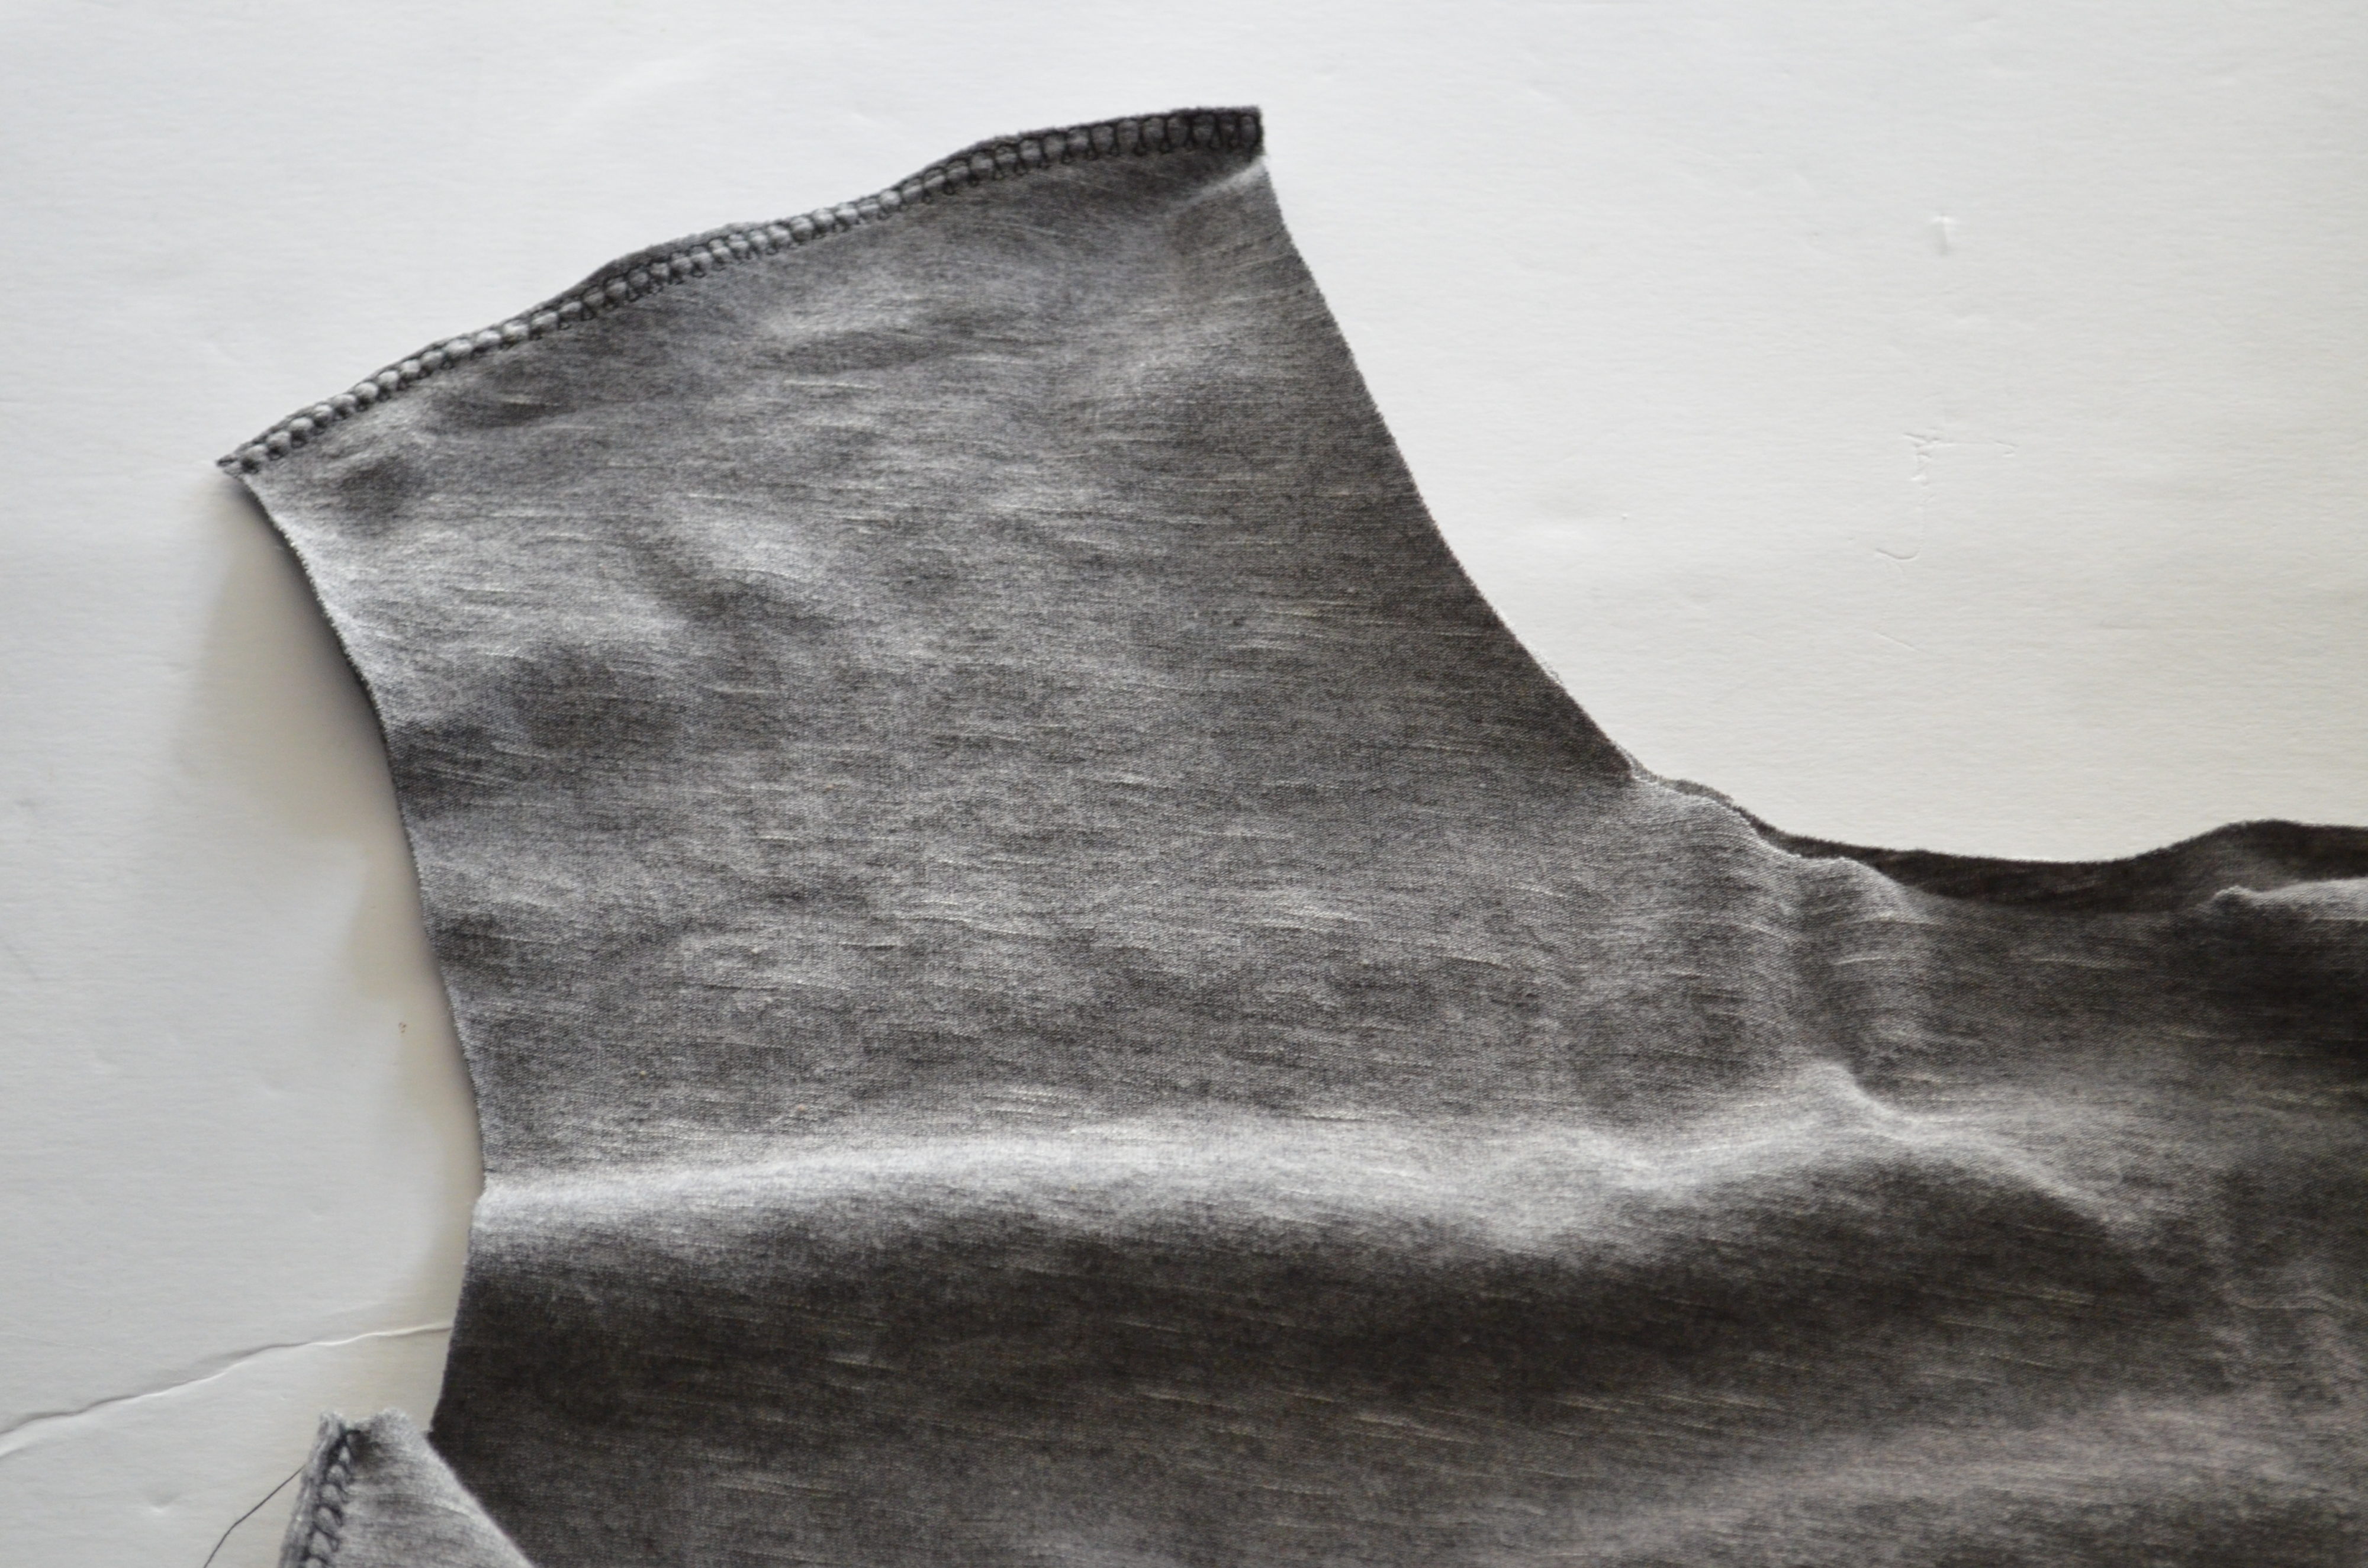
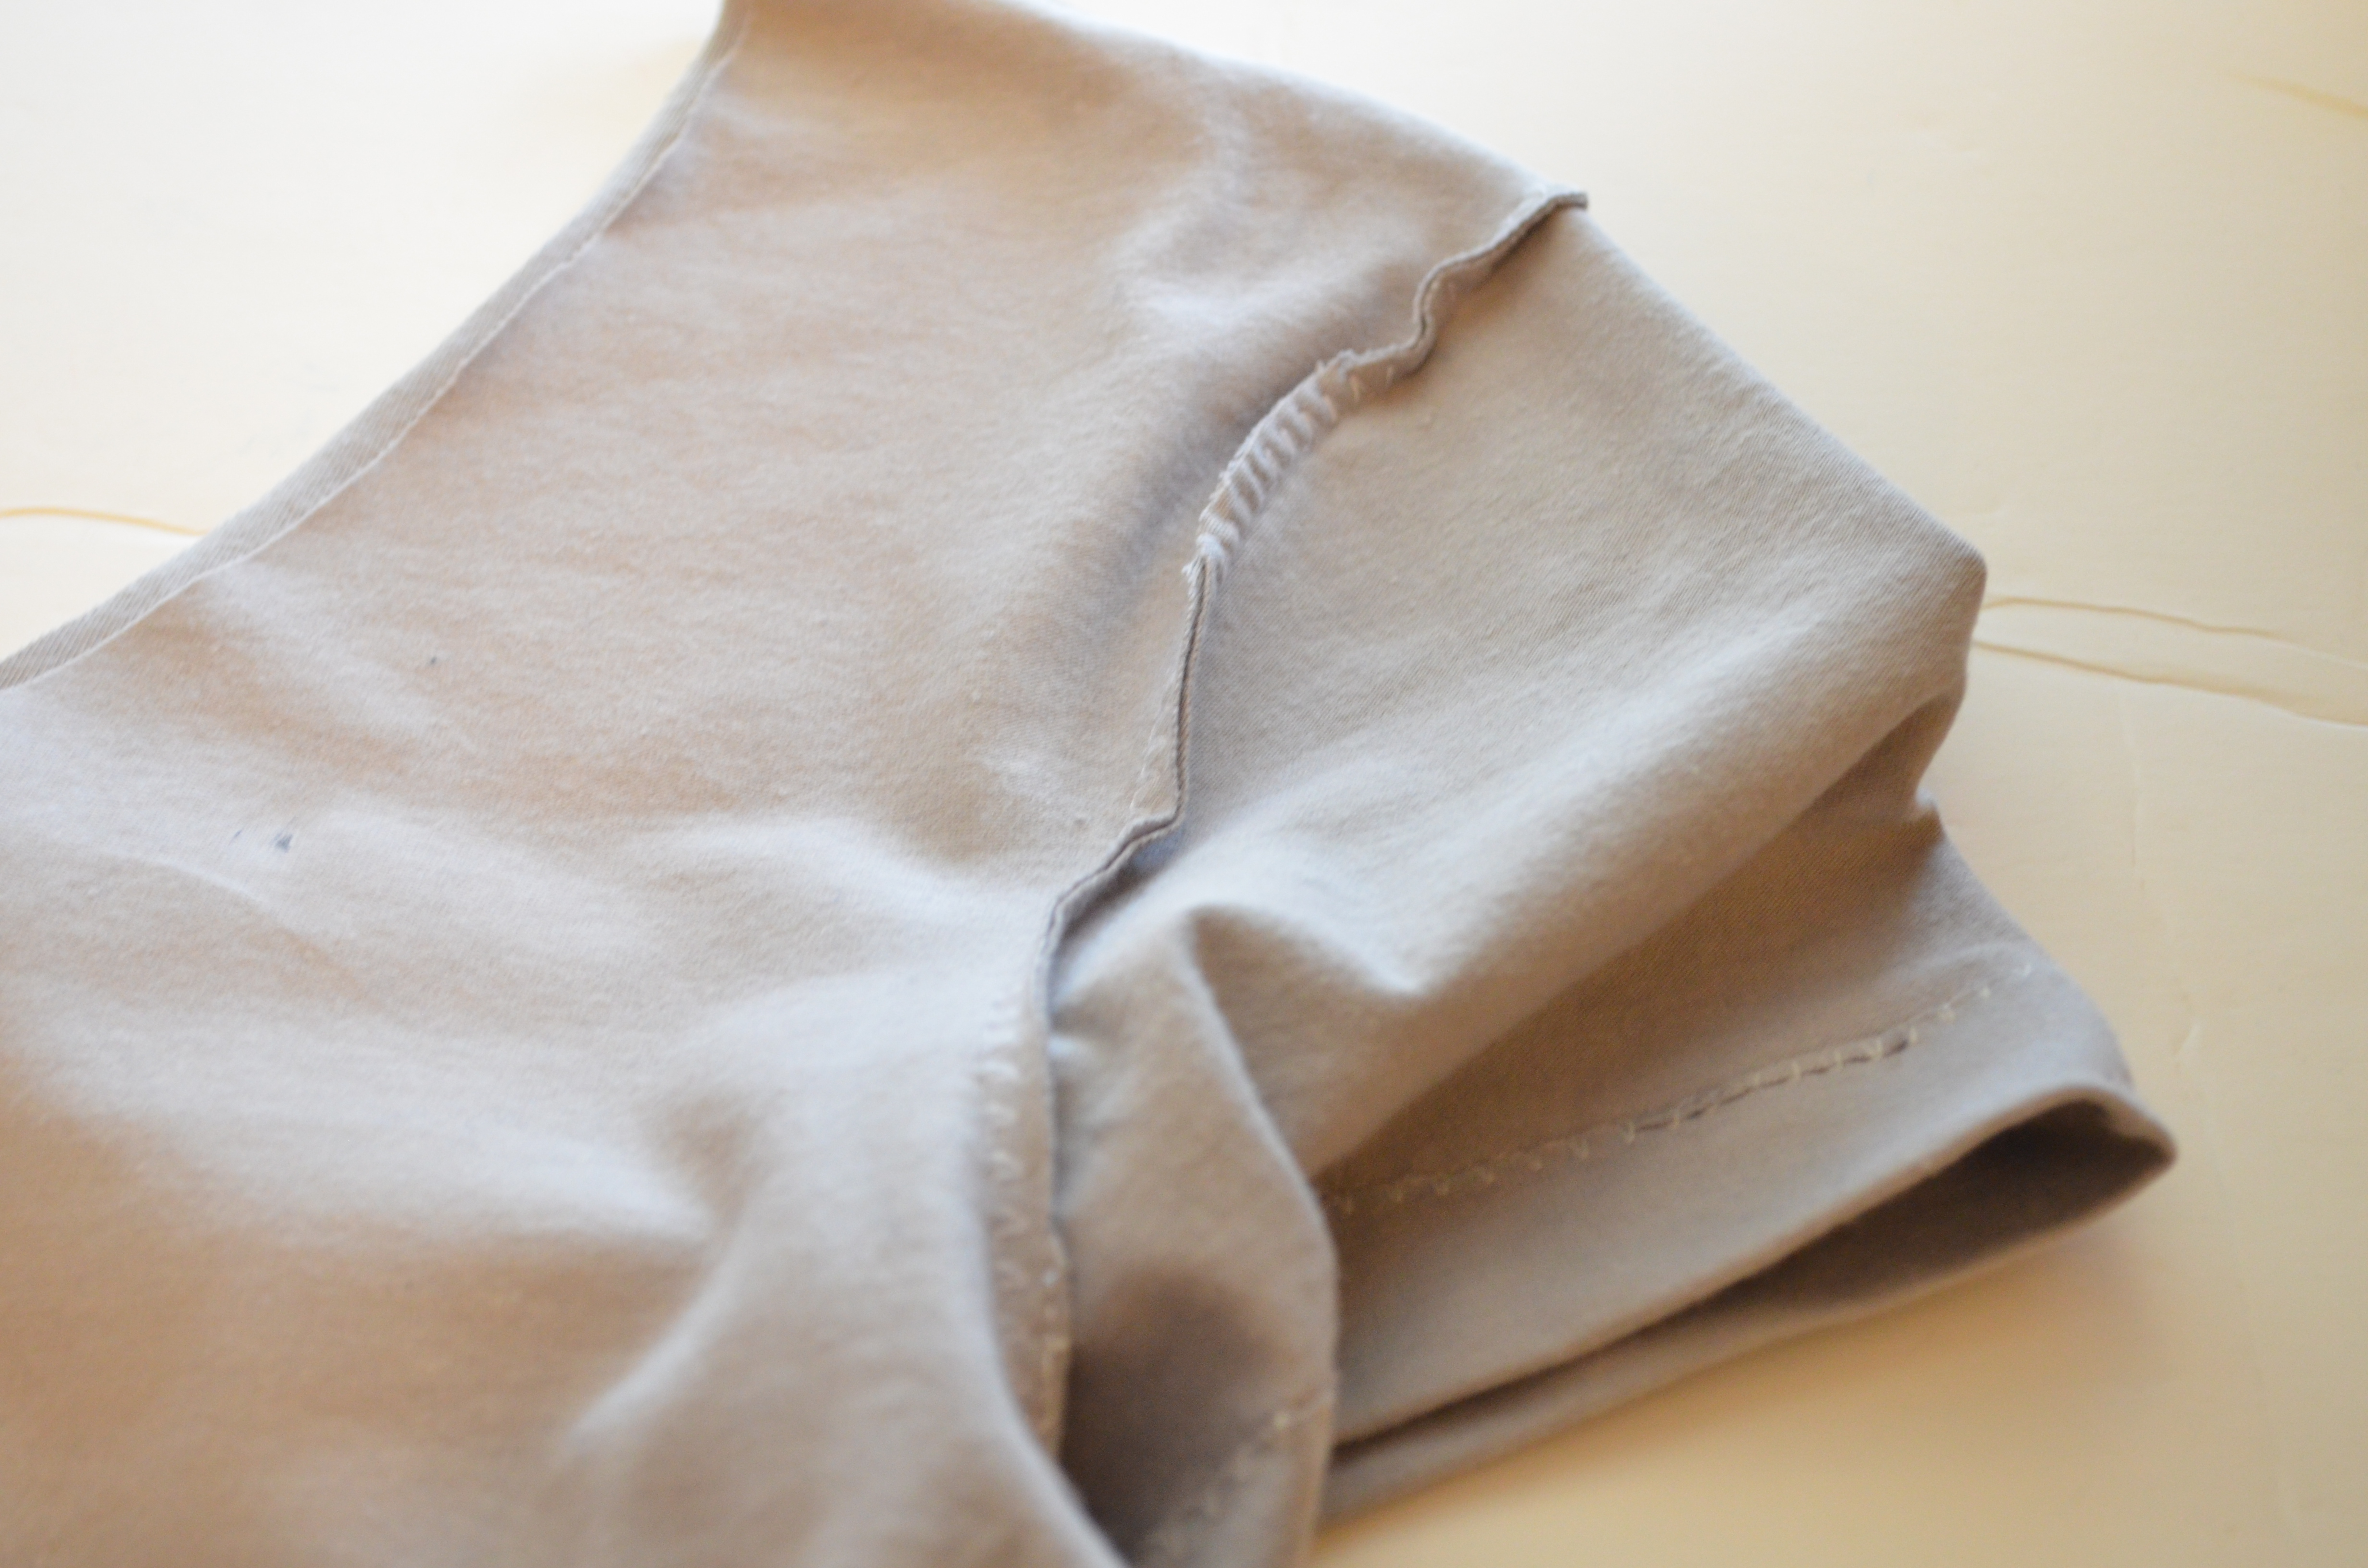
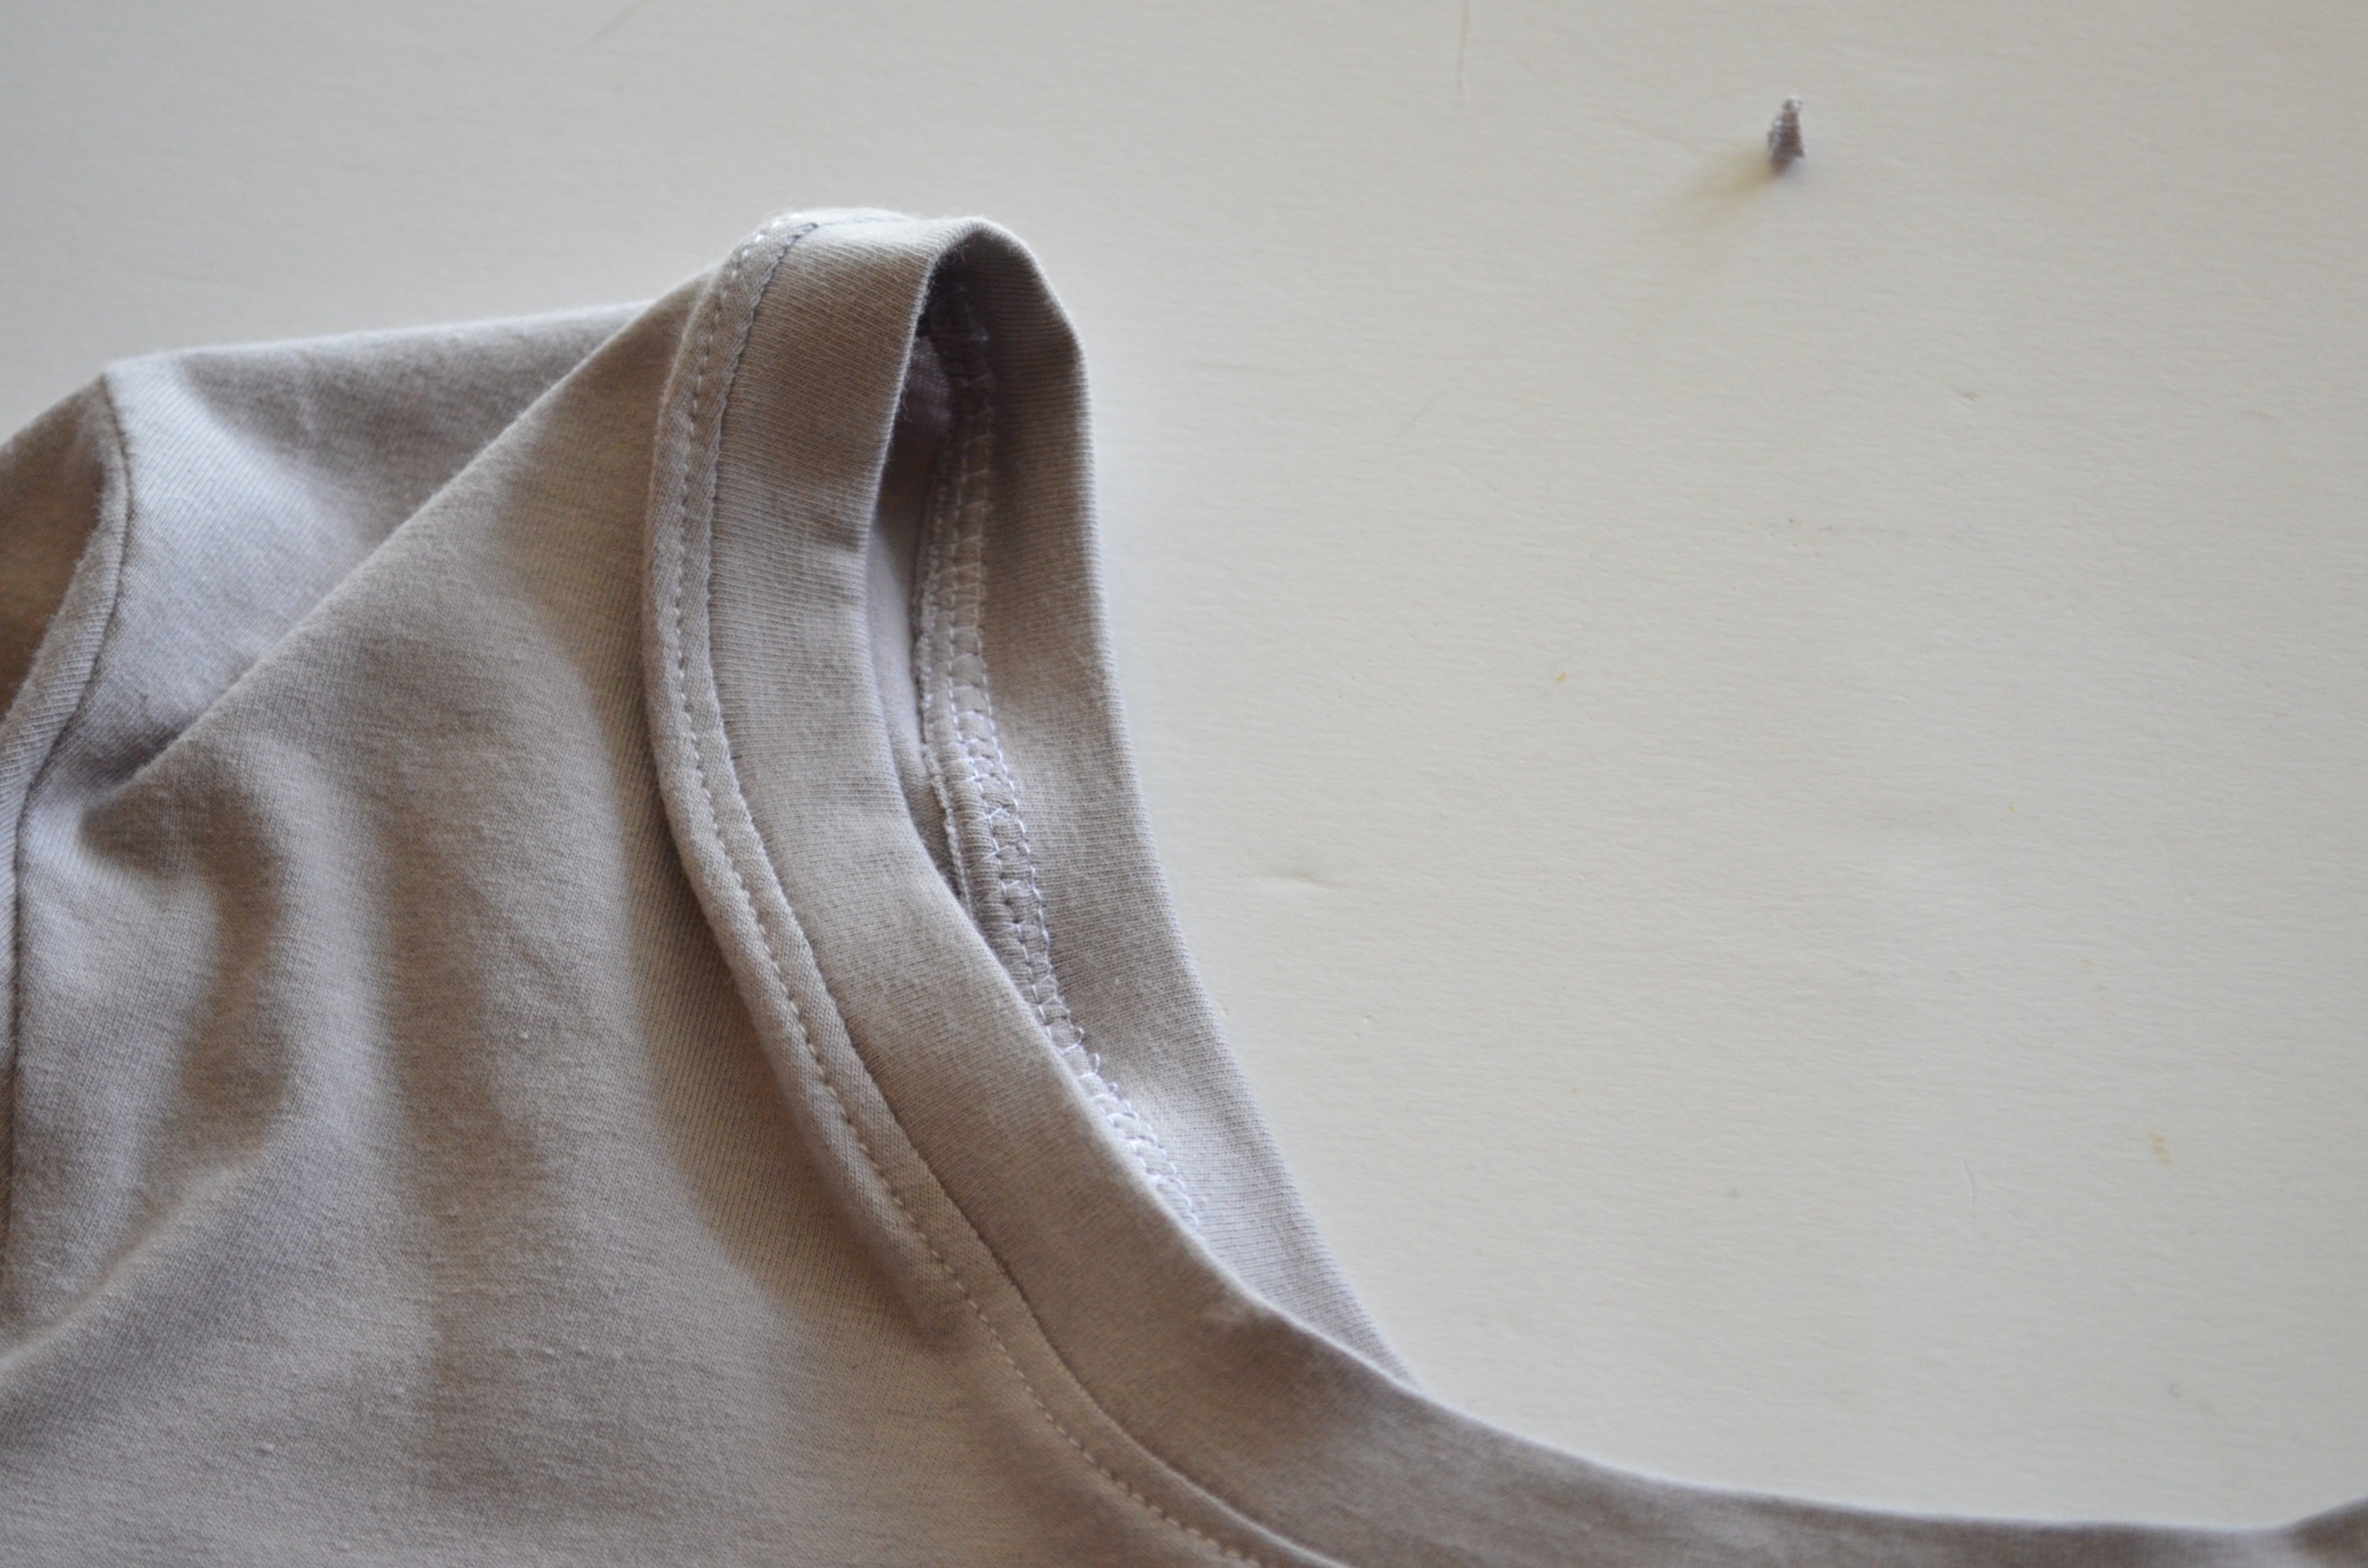
AFTER THAT, FOLD THE REST OF THE ARMHOLE SEAM AND PRESS FLAT. THEN, STITCH IT WITH A ZIGZAG OR TWIN NEEDLE.
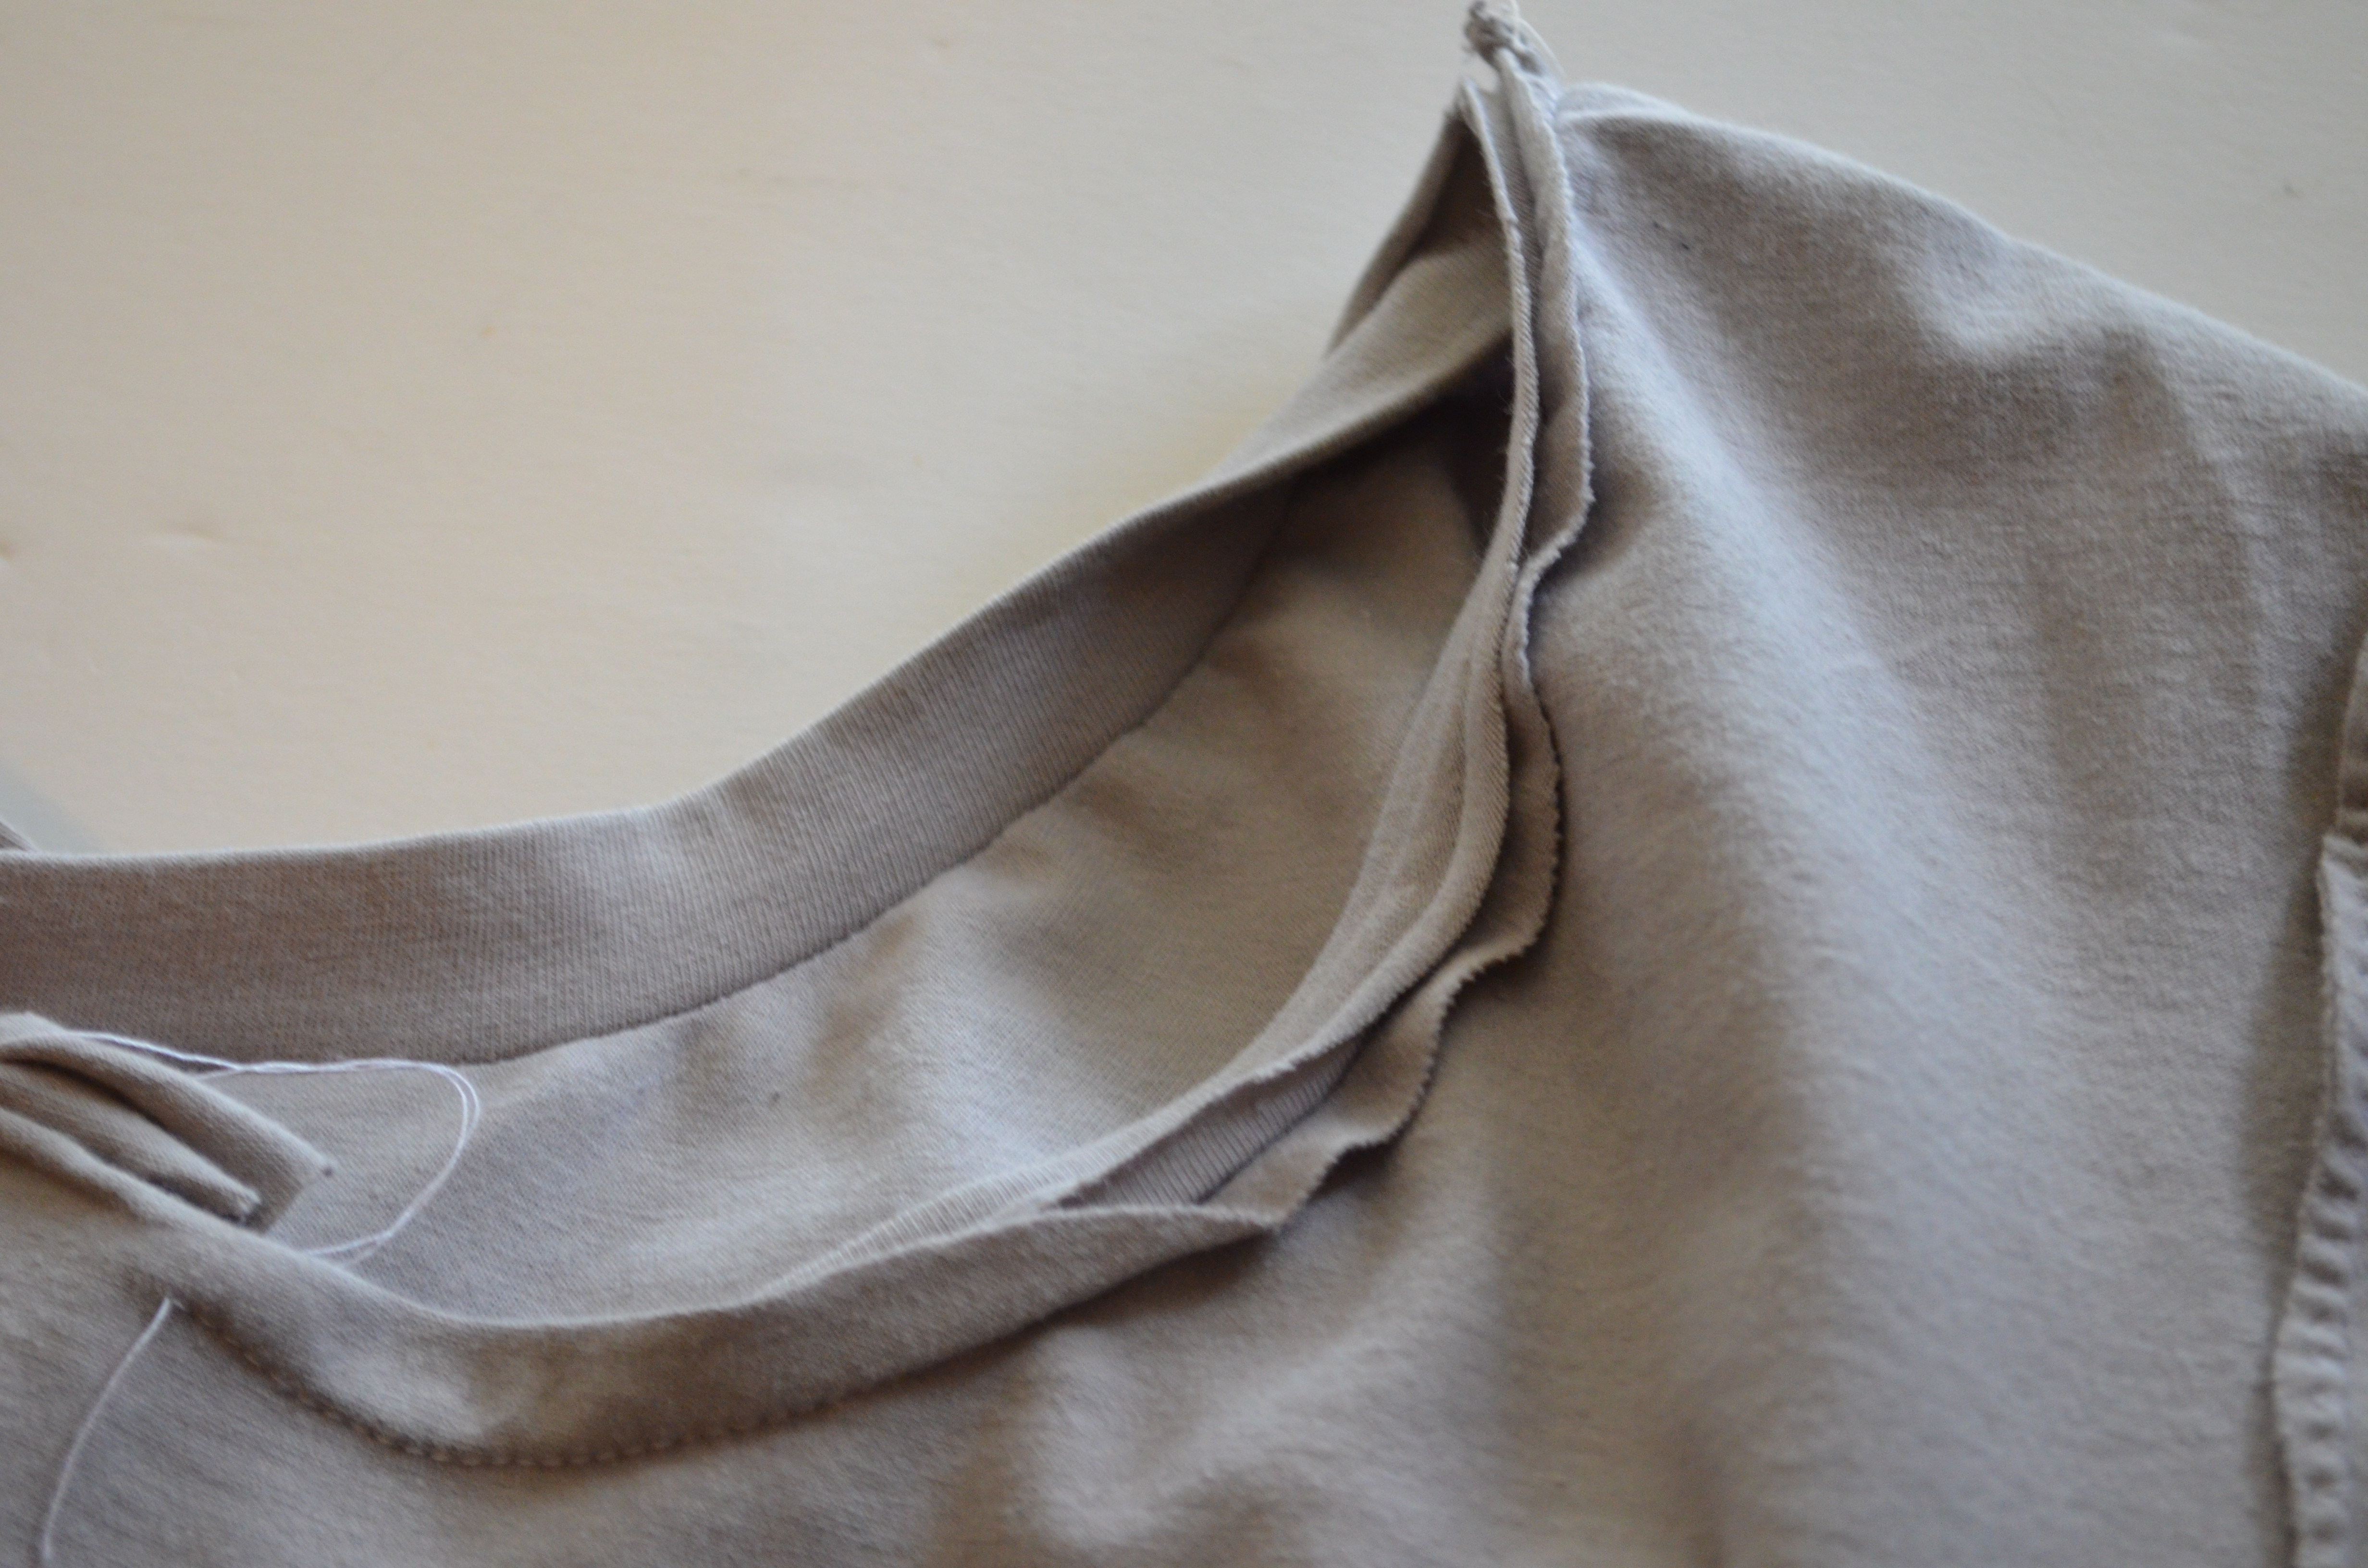
FOR THE NECKLINE, YOU HAVE TWO WAIST TO MAKE IT:
*YOU CAN EITHER FOLD IT WITH A 1/2 INCH AND PRESS IT FLAT. THEN USE A ZIGZAG STITCH OR A TWIN NEEDLE TO FINISH THE EDGE OF THE NECKLINE
*YOU CAN ALSO ADD A NECKBAND TO THE NECKLINE BY MEASURING THE FULL LENGTH OF THE NECKLINE X 3” WIDTH. THEN, TRIM A 20% OF THE LENGTH (THE NECKBAND WILL NEED TO BE STRETCHED TO LAY FLAT ON THE TOP)
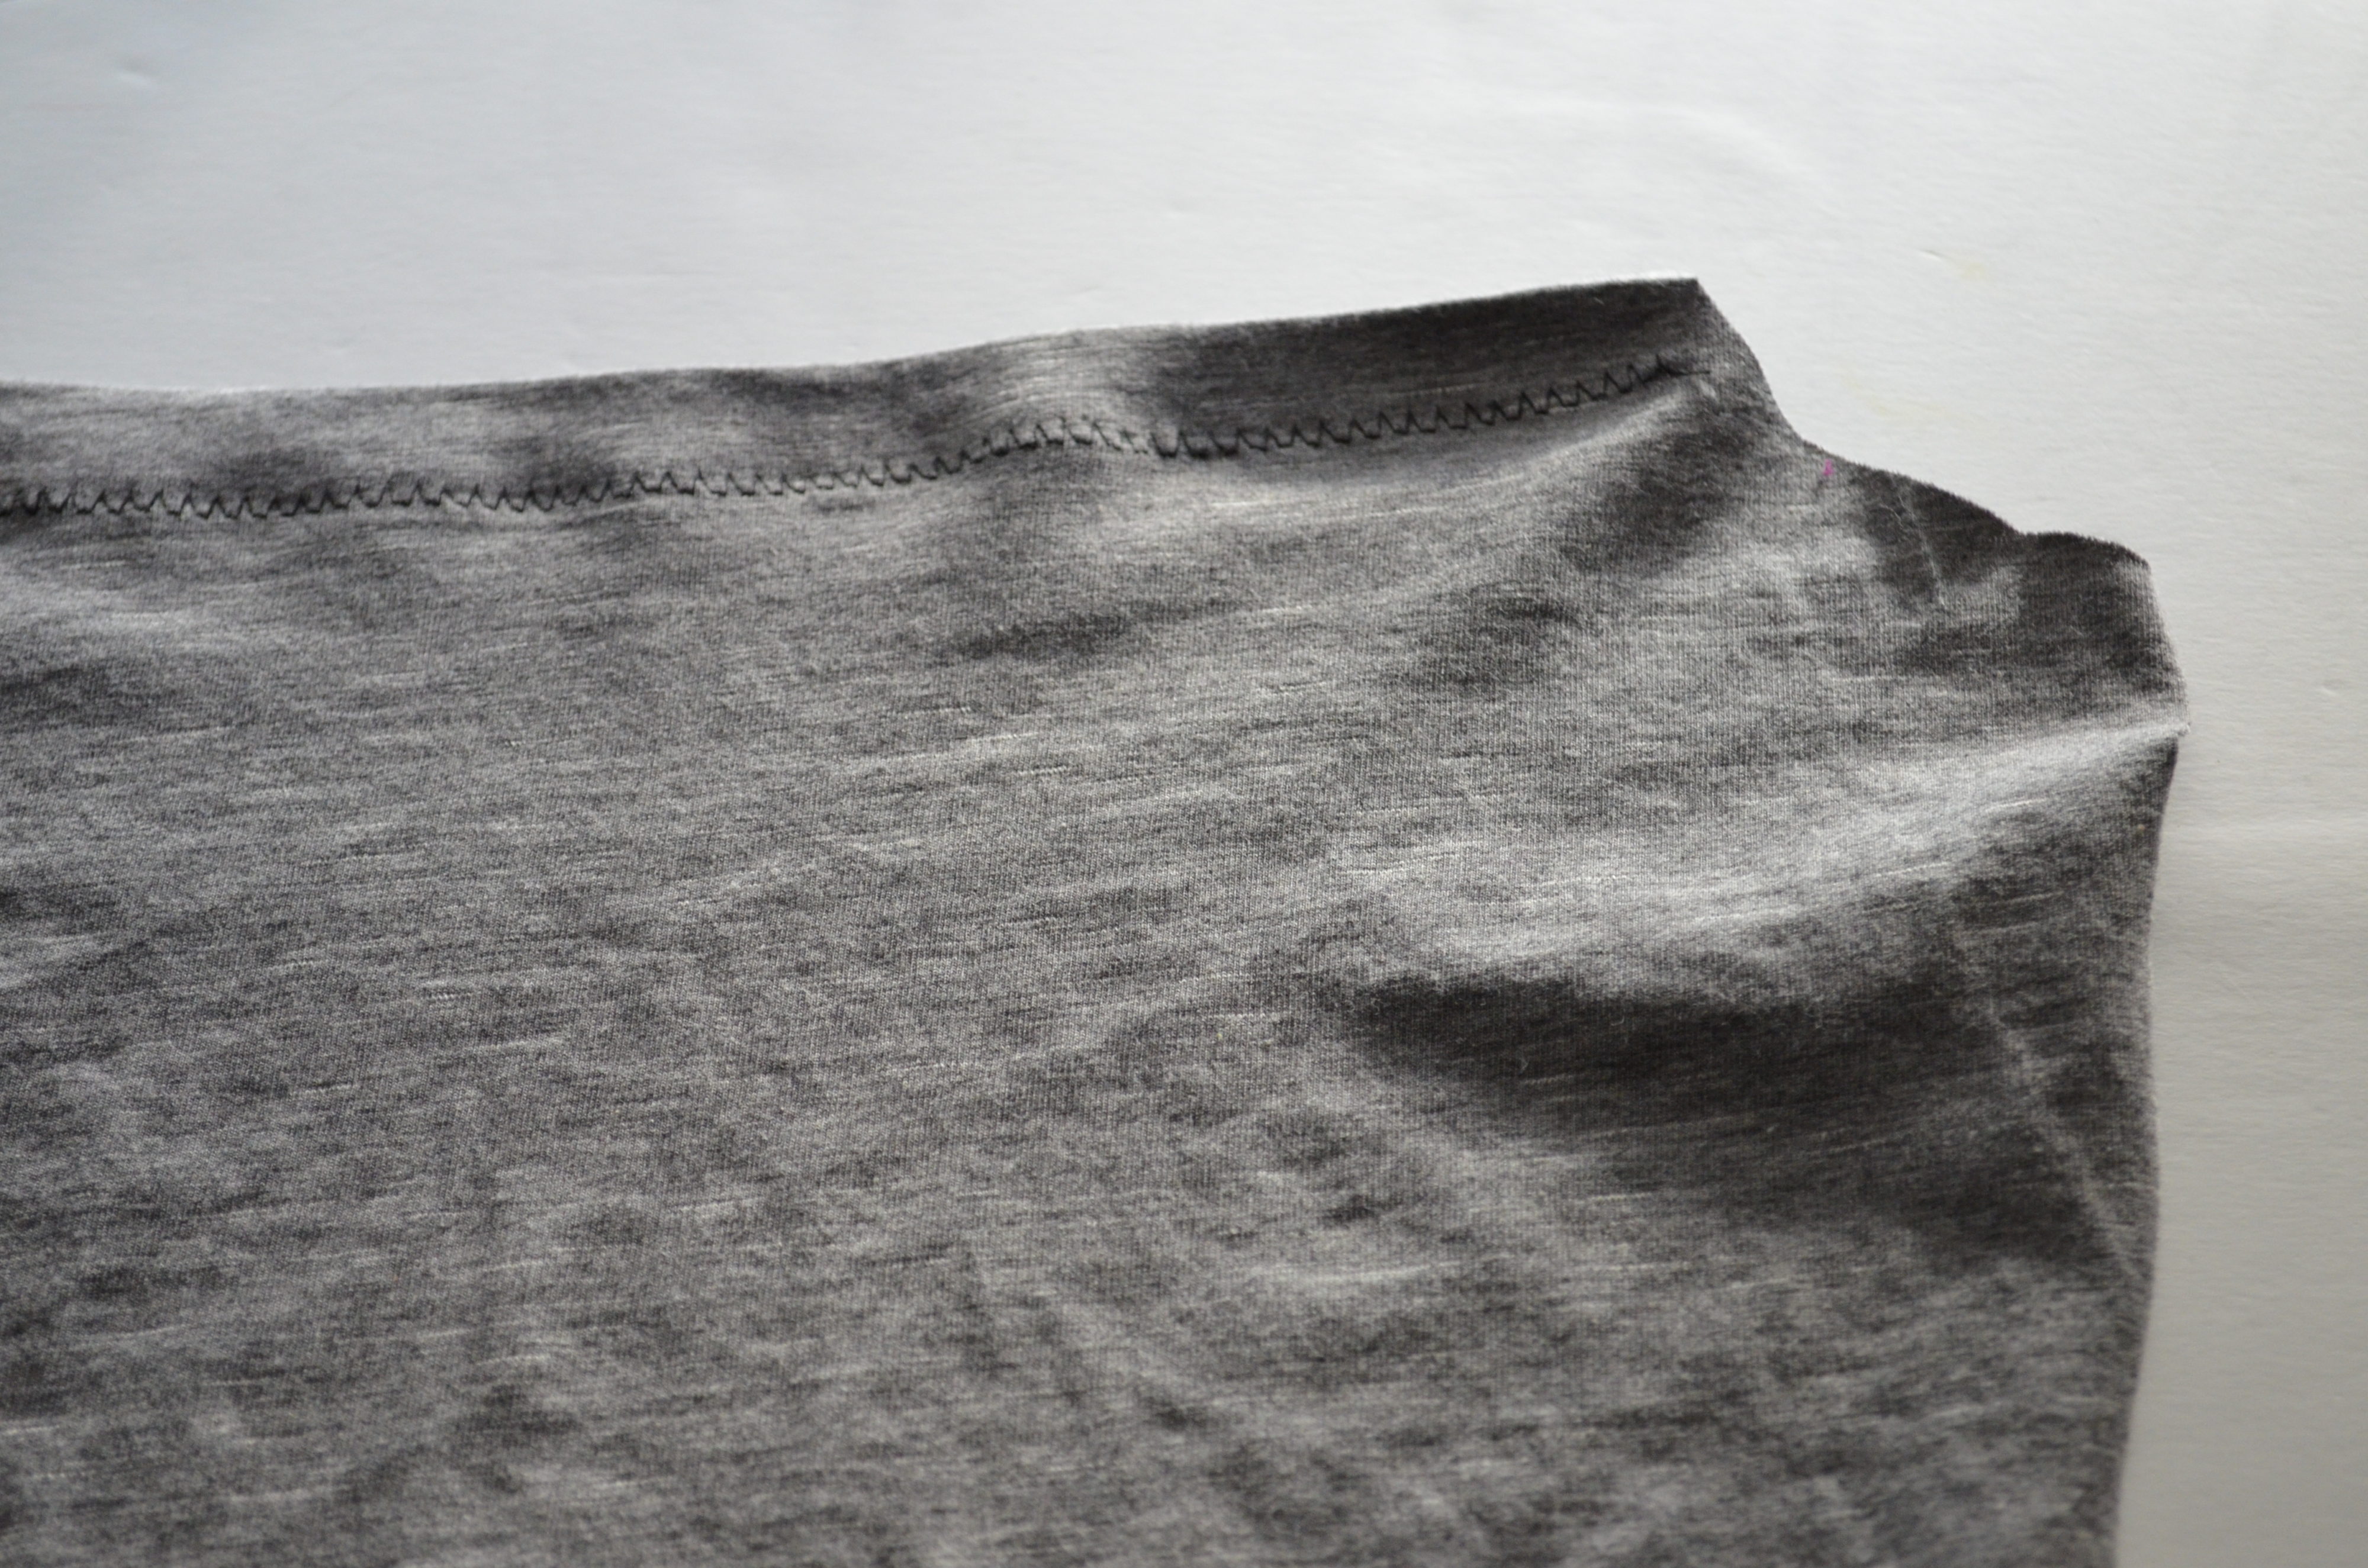
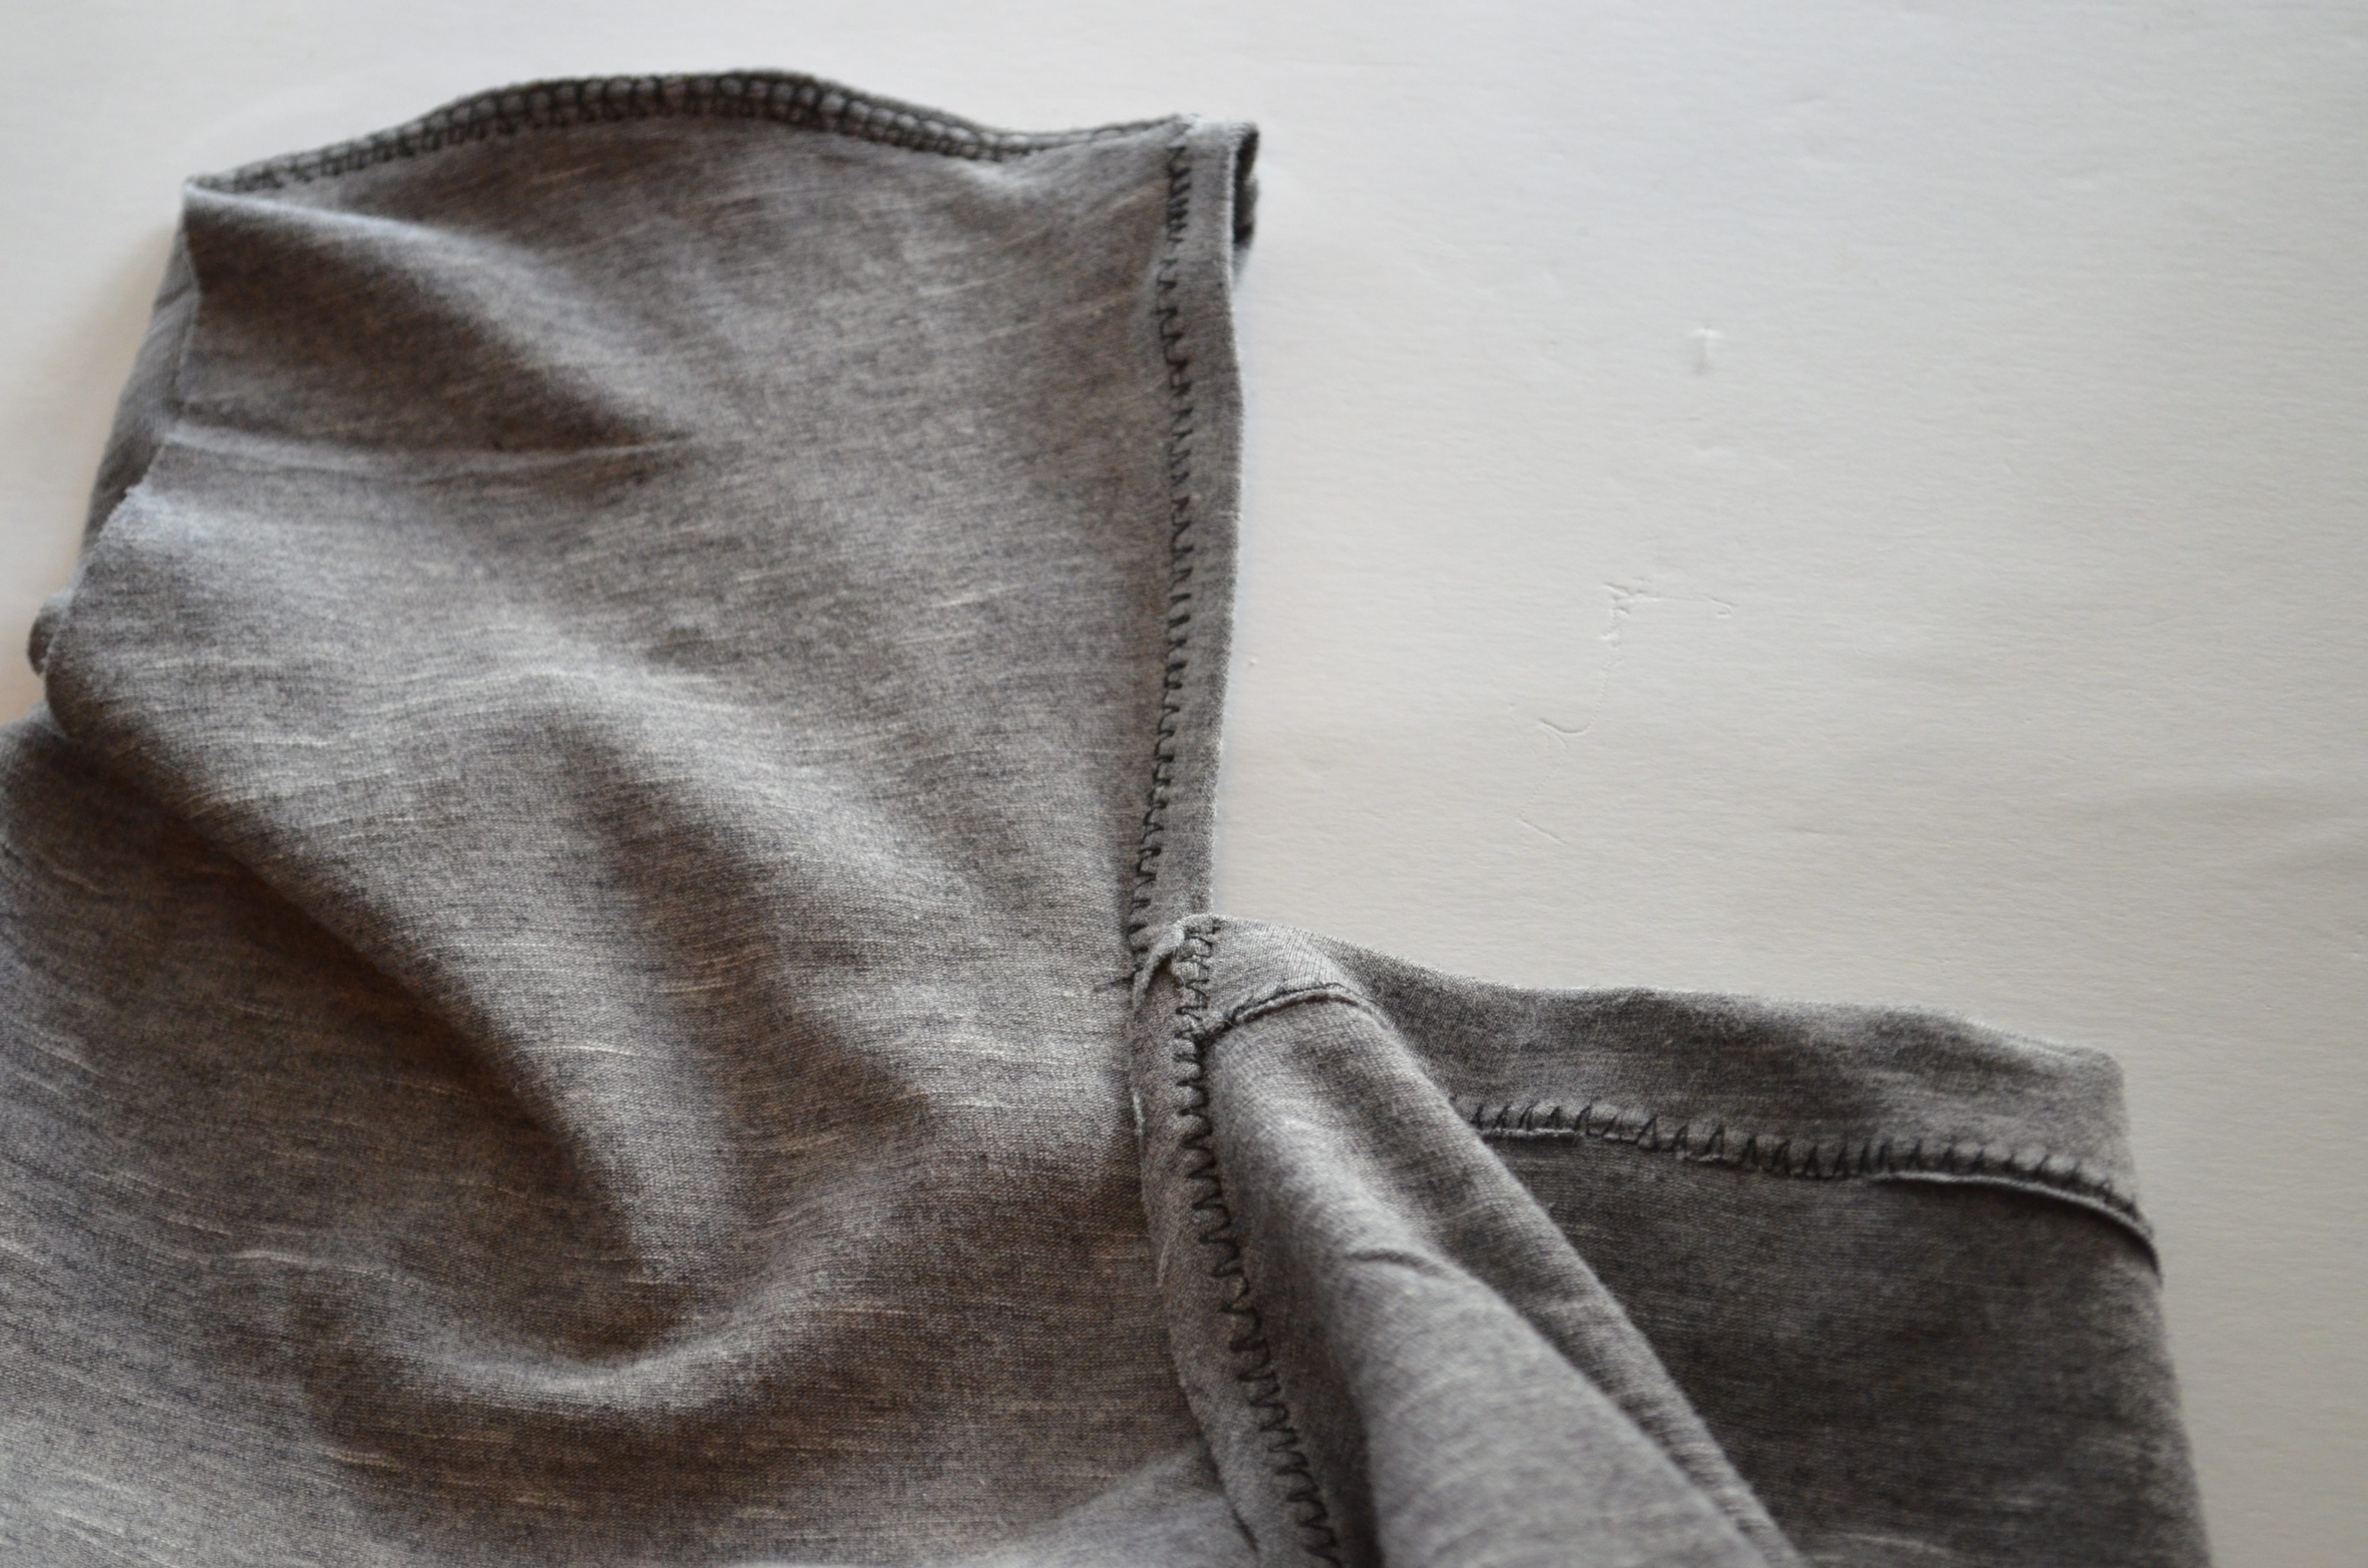
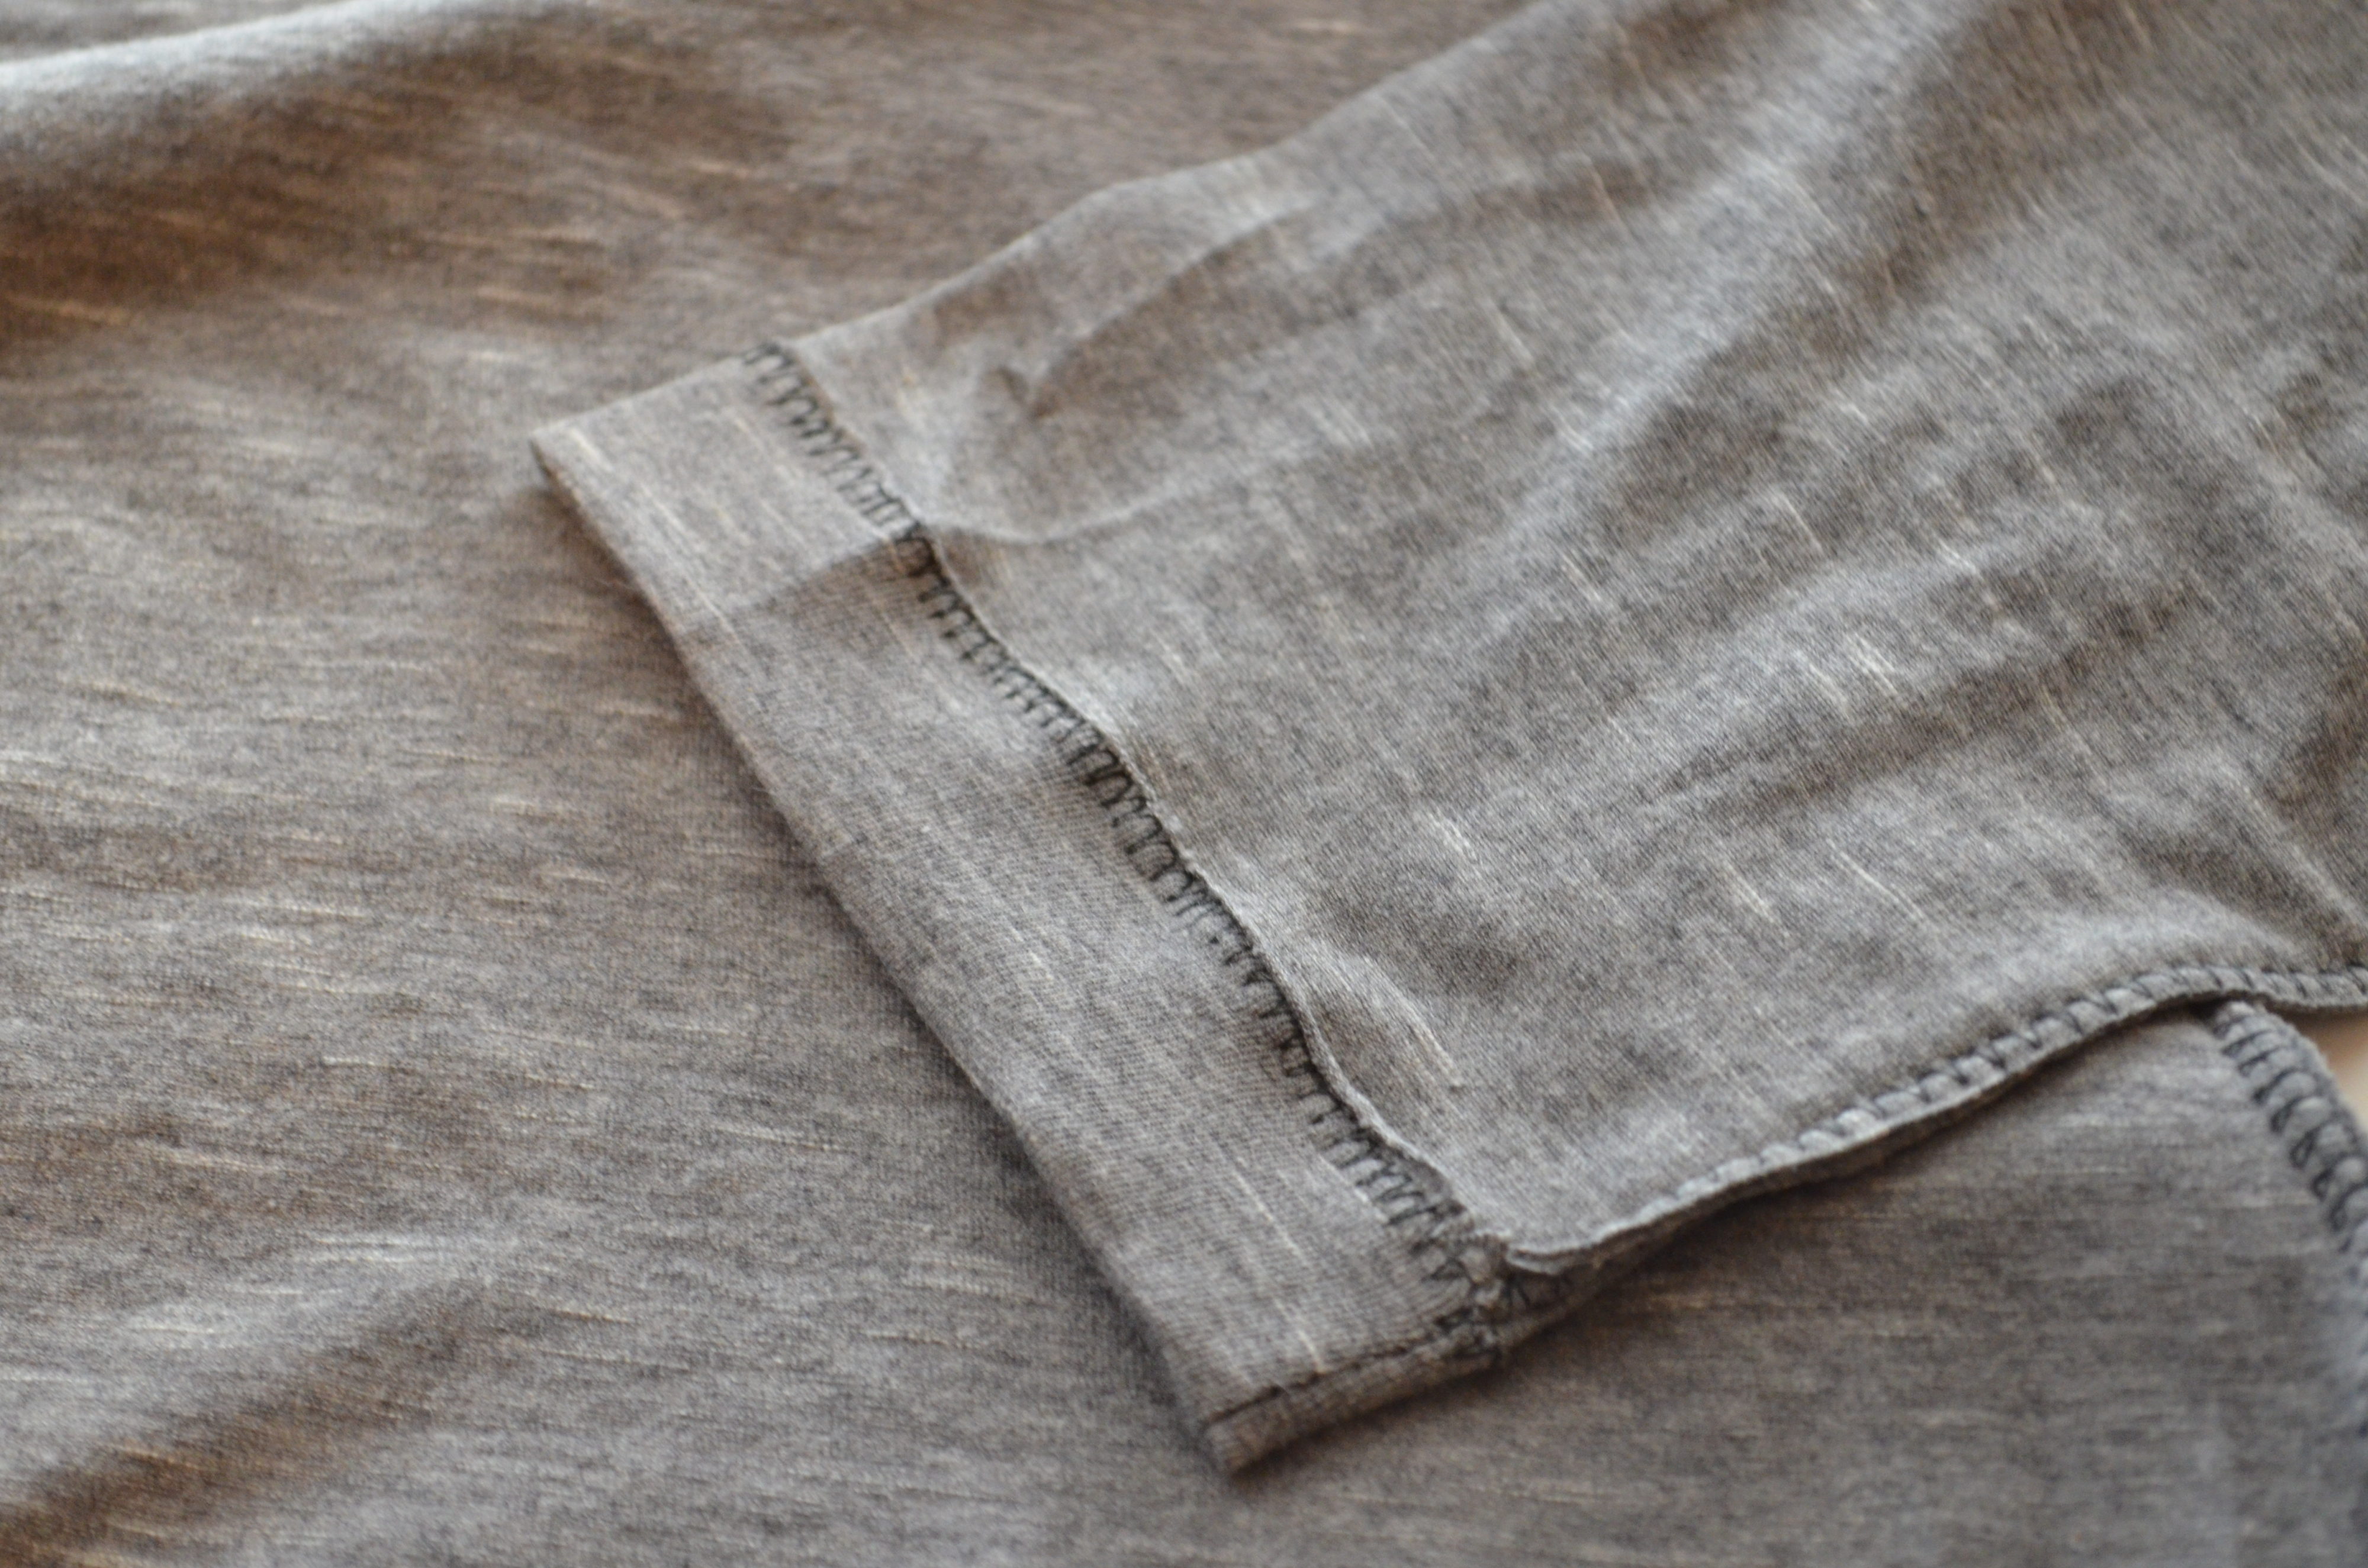
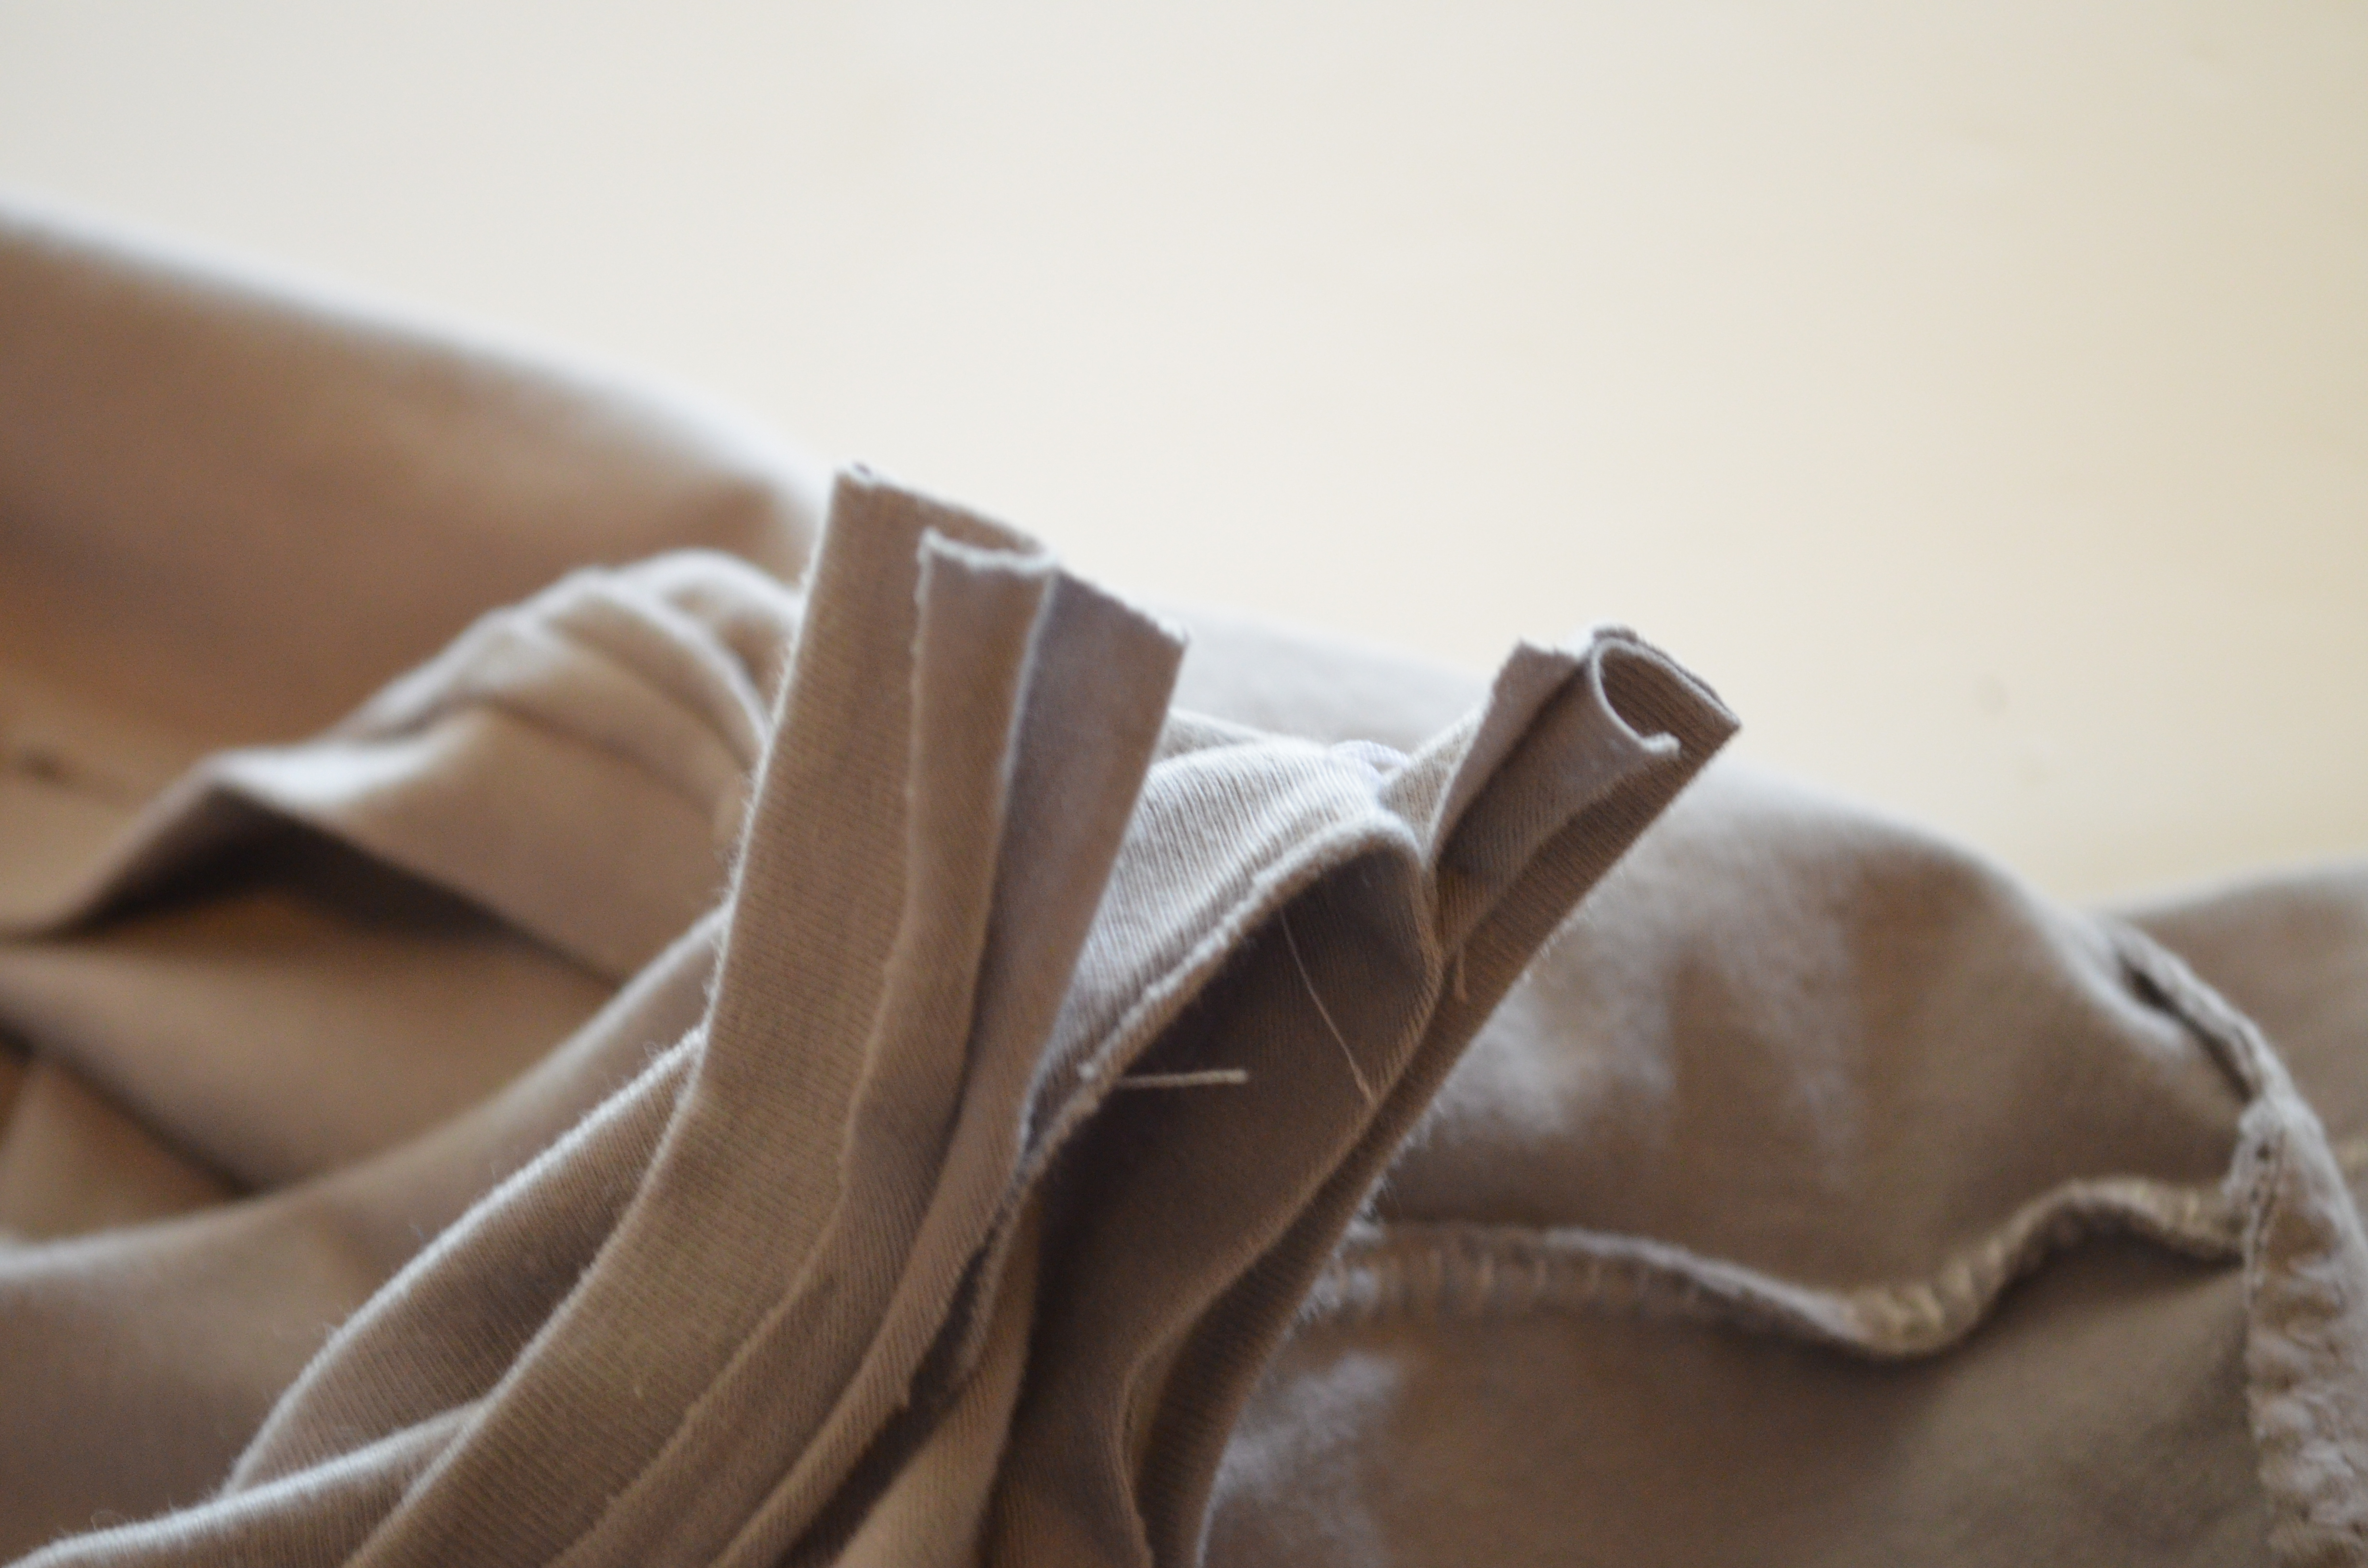
NOW, FOLD THE HEMLINE 1” IN AND PRESS FLAT. THEN, USE A ZIGZAG STITCH OR TWIN NEEDLE.

REPEAT THE LAST STEP WITH THE CUFFS AS WELL.
THANK YOU SO MUCH FOR READING THIS POST!
ENJOY YOUR PATTERN
 Skater Dress sewing Tutorial
2. Stitch along the side and shoulder seams with an overlocking or the zigzag stitch
3. The sleeves: Fold the sleeves in half and press flat. Then, stitch the armhole seam with a zigzag or an overlocking stitch.
4. Fold the bottom of the sleeve 1 inch inside. Then, stitch the hem with a zigzag stitch or with a twin needle.
5. Turn the sleeves to the right side and insert them into the bodice as shown in the picture.
6. Stitch the sleeves around the armhole and press the seams flat.
7. Skirt: Place both skirt sides together, right sides facing and stitch the middle seams with a zigzag or an overlocking stitch. Press them flat.
8. Insert the bodice into the skirt, right sides facing and match the center bodice with the middle seams on the skirt. Stitch them together with a zigzag or overlocking stitch. Then press the seams flat.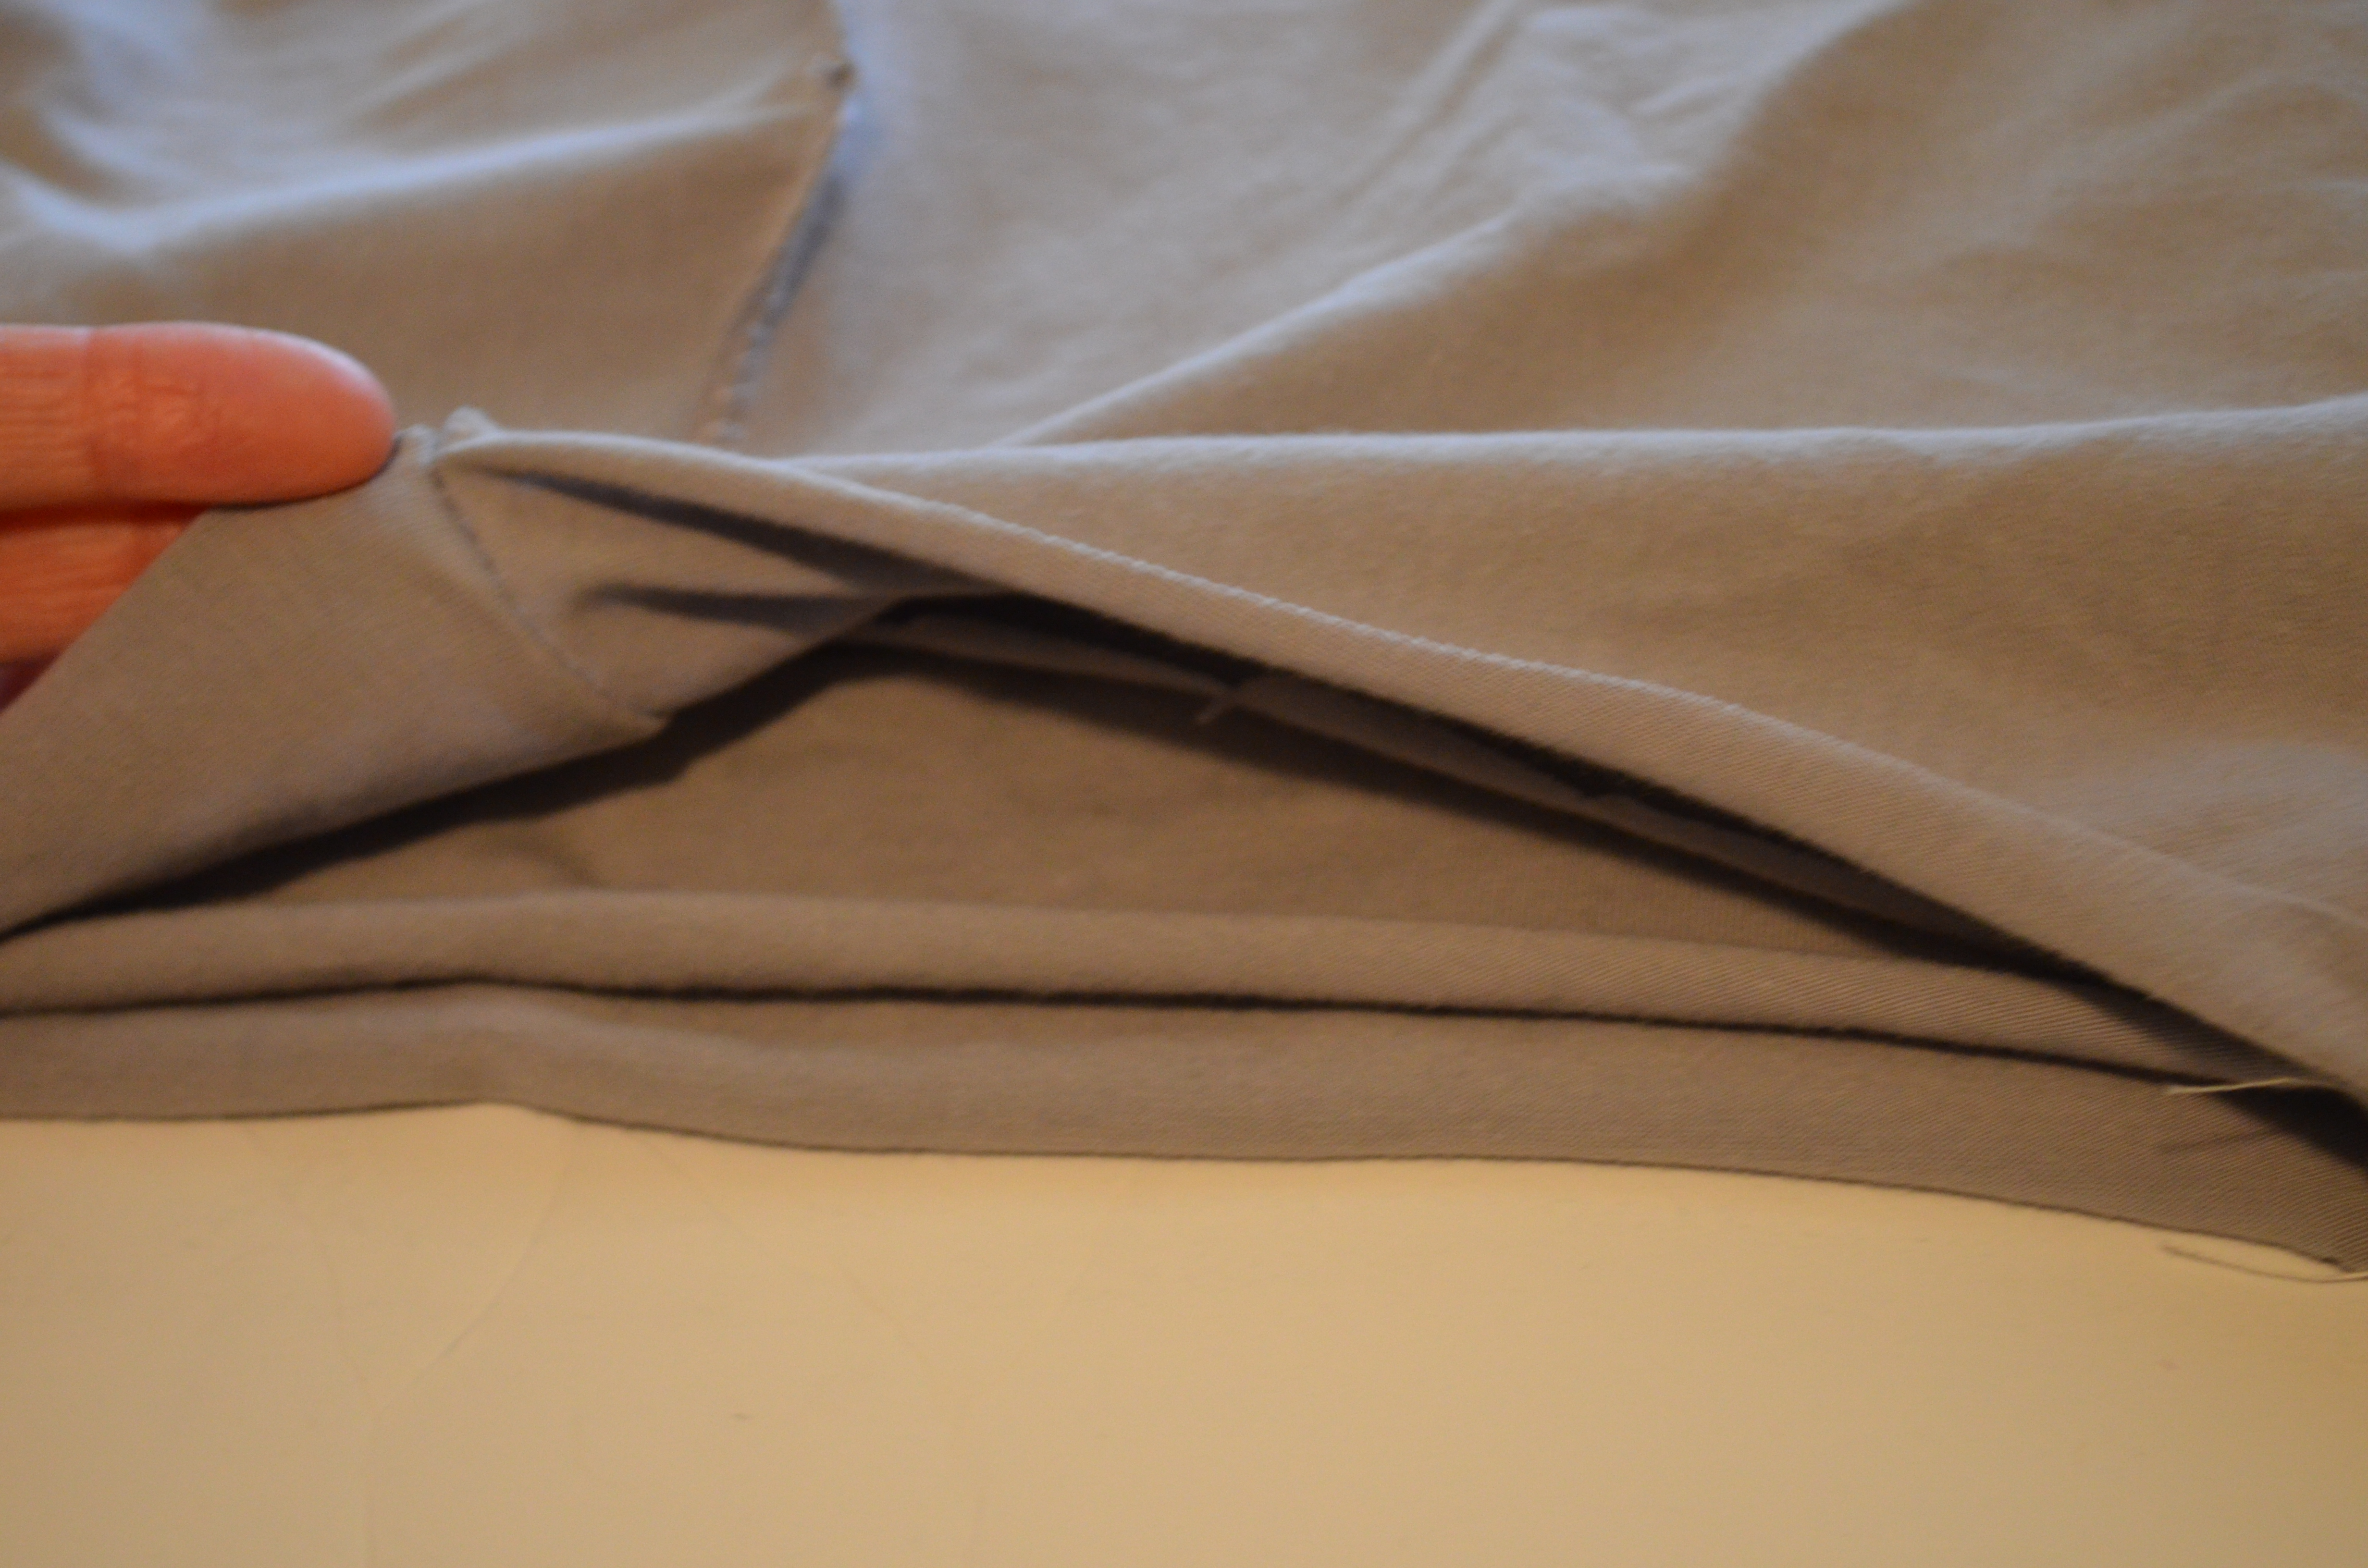
9. Fold the hemline about 1 inch and press flat to the inside of the skirt. Use a zigzag stitch or a twin needle. Then, press flat.

10. The neckband: Fold the neckband in half.

11. Baste the neckband to the neckline with a straight stitch to make sure that it lays flat on the bodice. The neckband should be about 25% smaller than the neckline (depending on the fabric you choose, this can vary)
12. Place the neckband sides together, right sides facing and stitch them with a zigzag stitch.
13. Then, press the neckband and stitch it with an overlocking stitch. Press again after.
14. After that, top stitch the neckband with a twin needle.
Thank you for reading this post and enjoy your pattern 🙂

FOR THE PRINTING AND PATTERN INFORMATION, PLEASE CLICK HERE
1.
Gather the front pieces.
2.
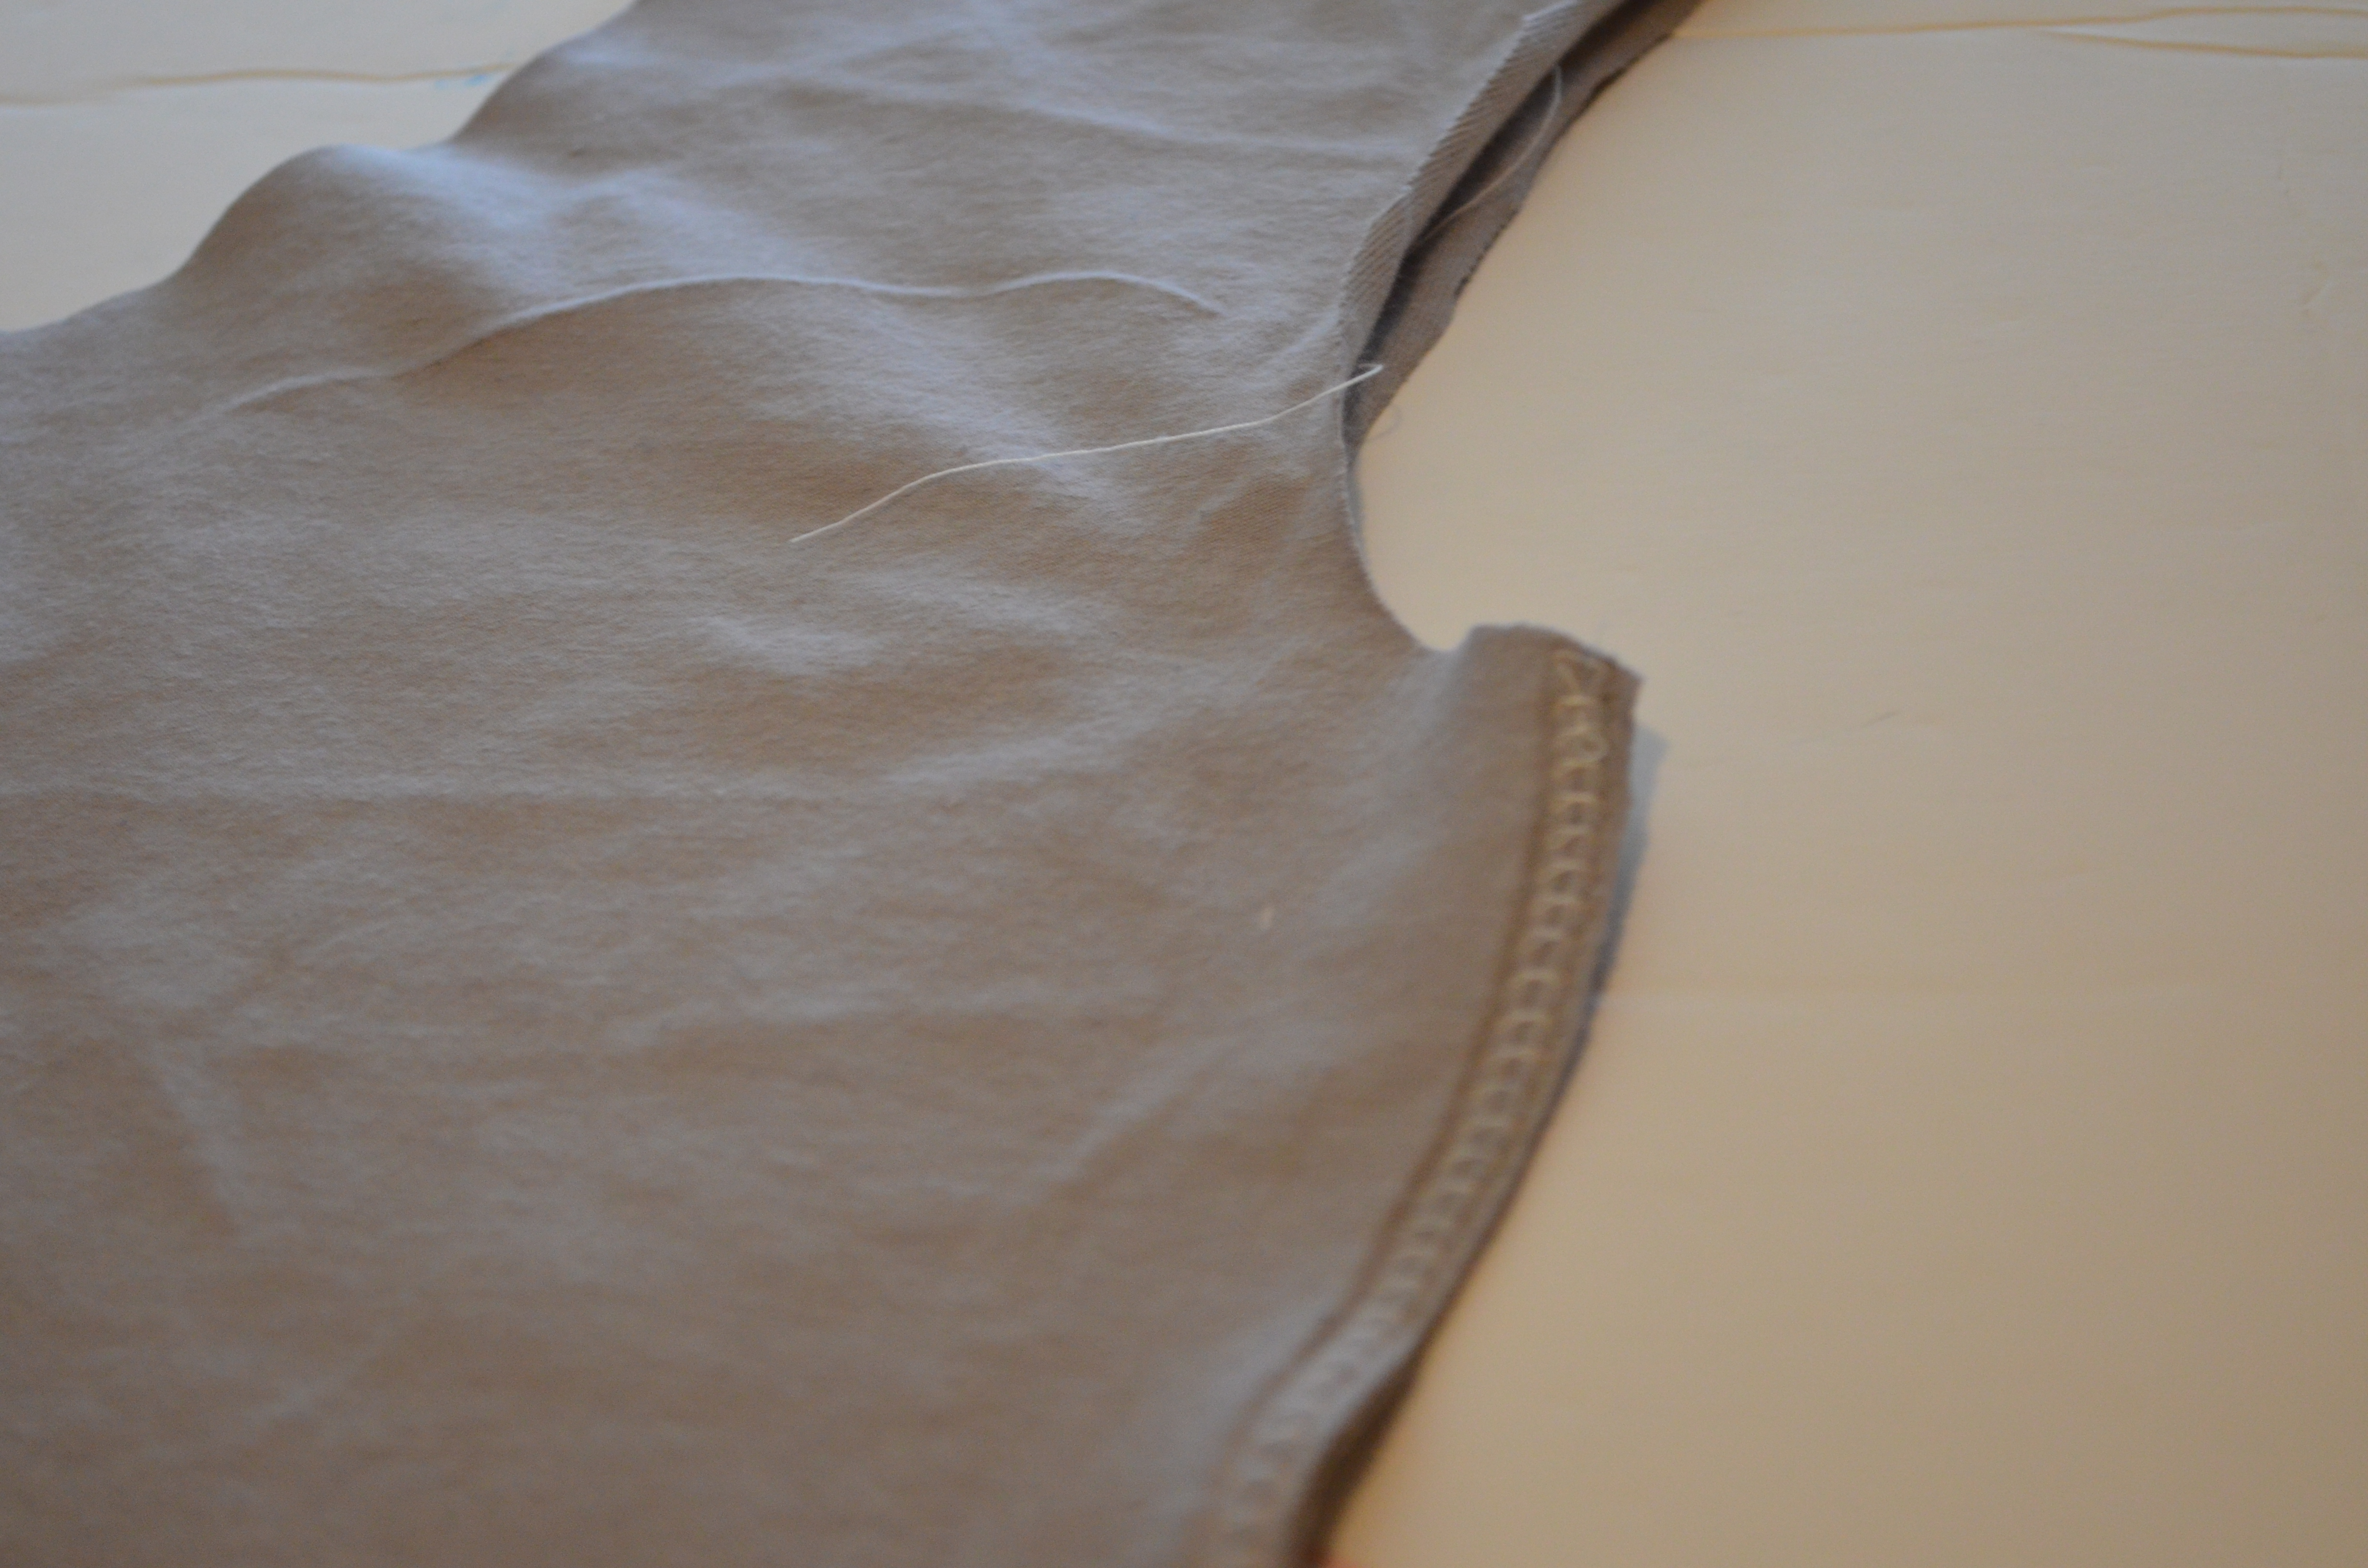
Place the front panel and the side front panel together, right sides facing.
3.
Stitch the side seam with a 3/8 inch seam allowance. Press the seams flat to the side of the top and repeat with the other side panel.
4.
Now, gather the back bodice pieces.
5.
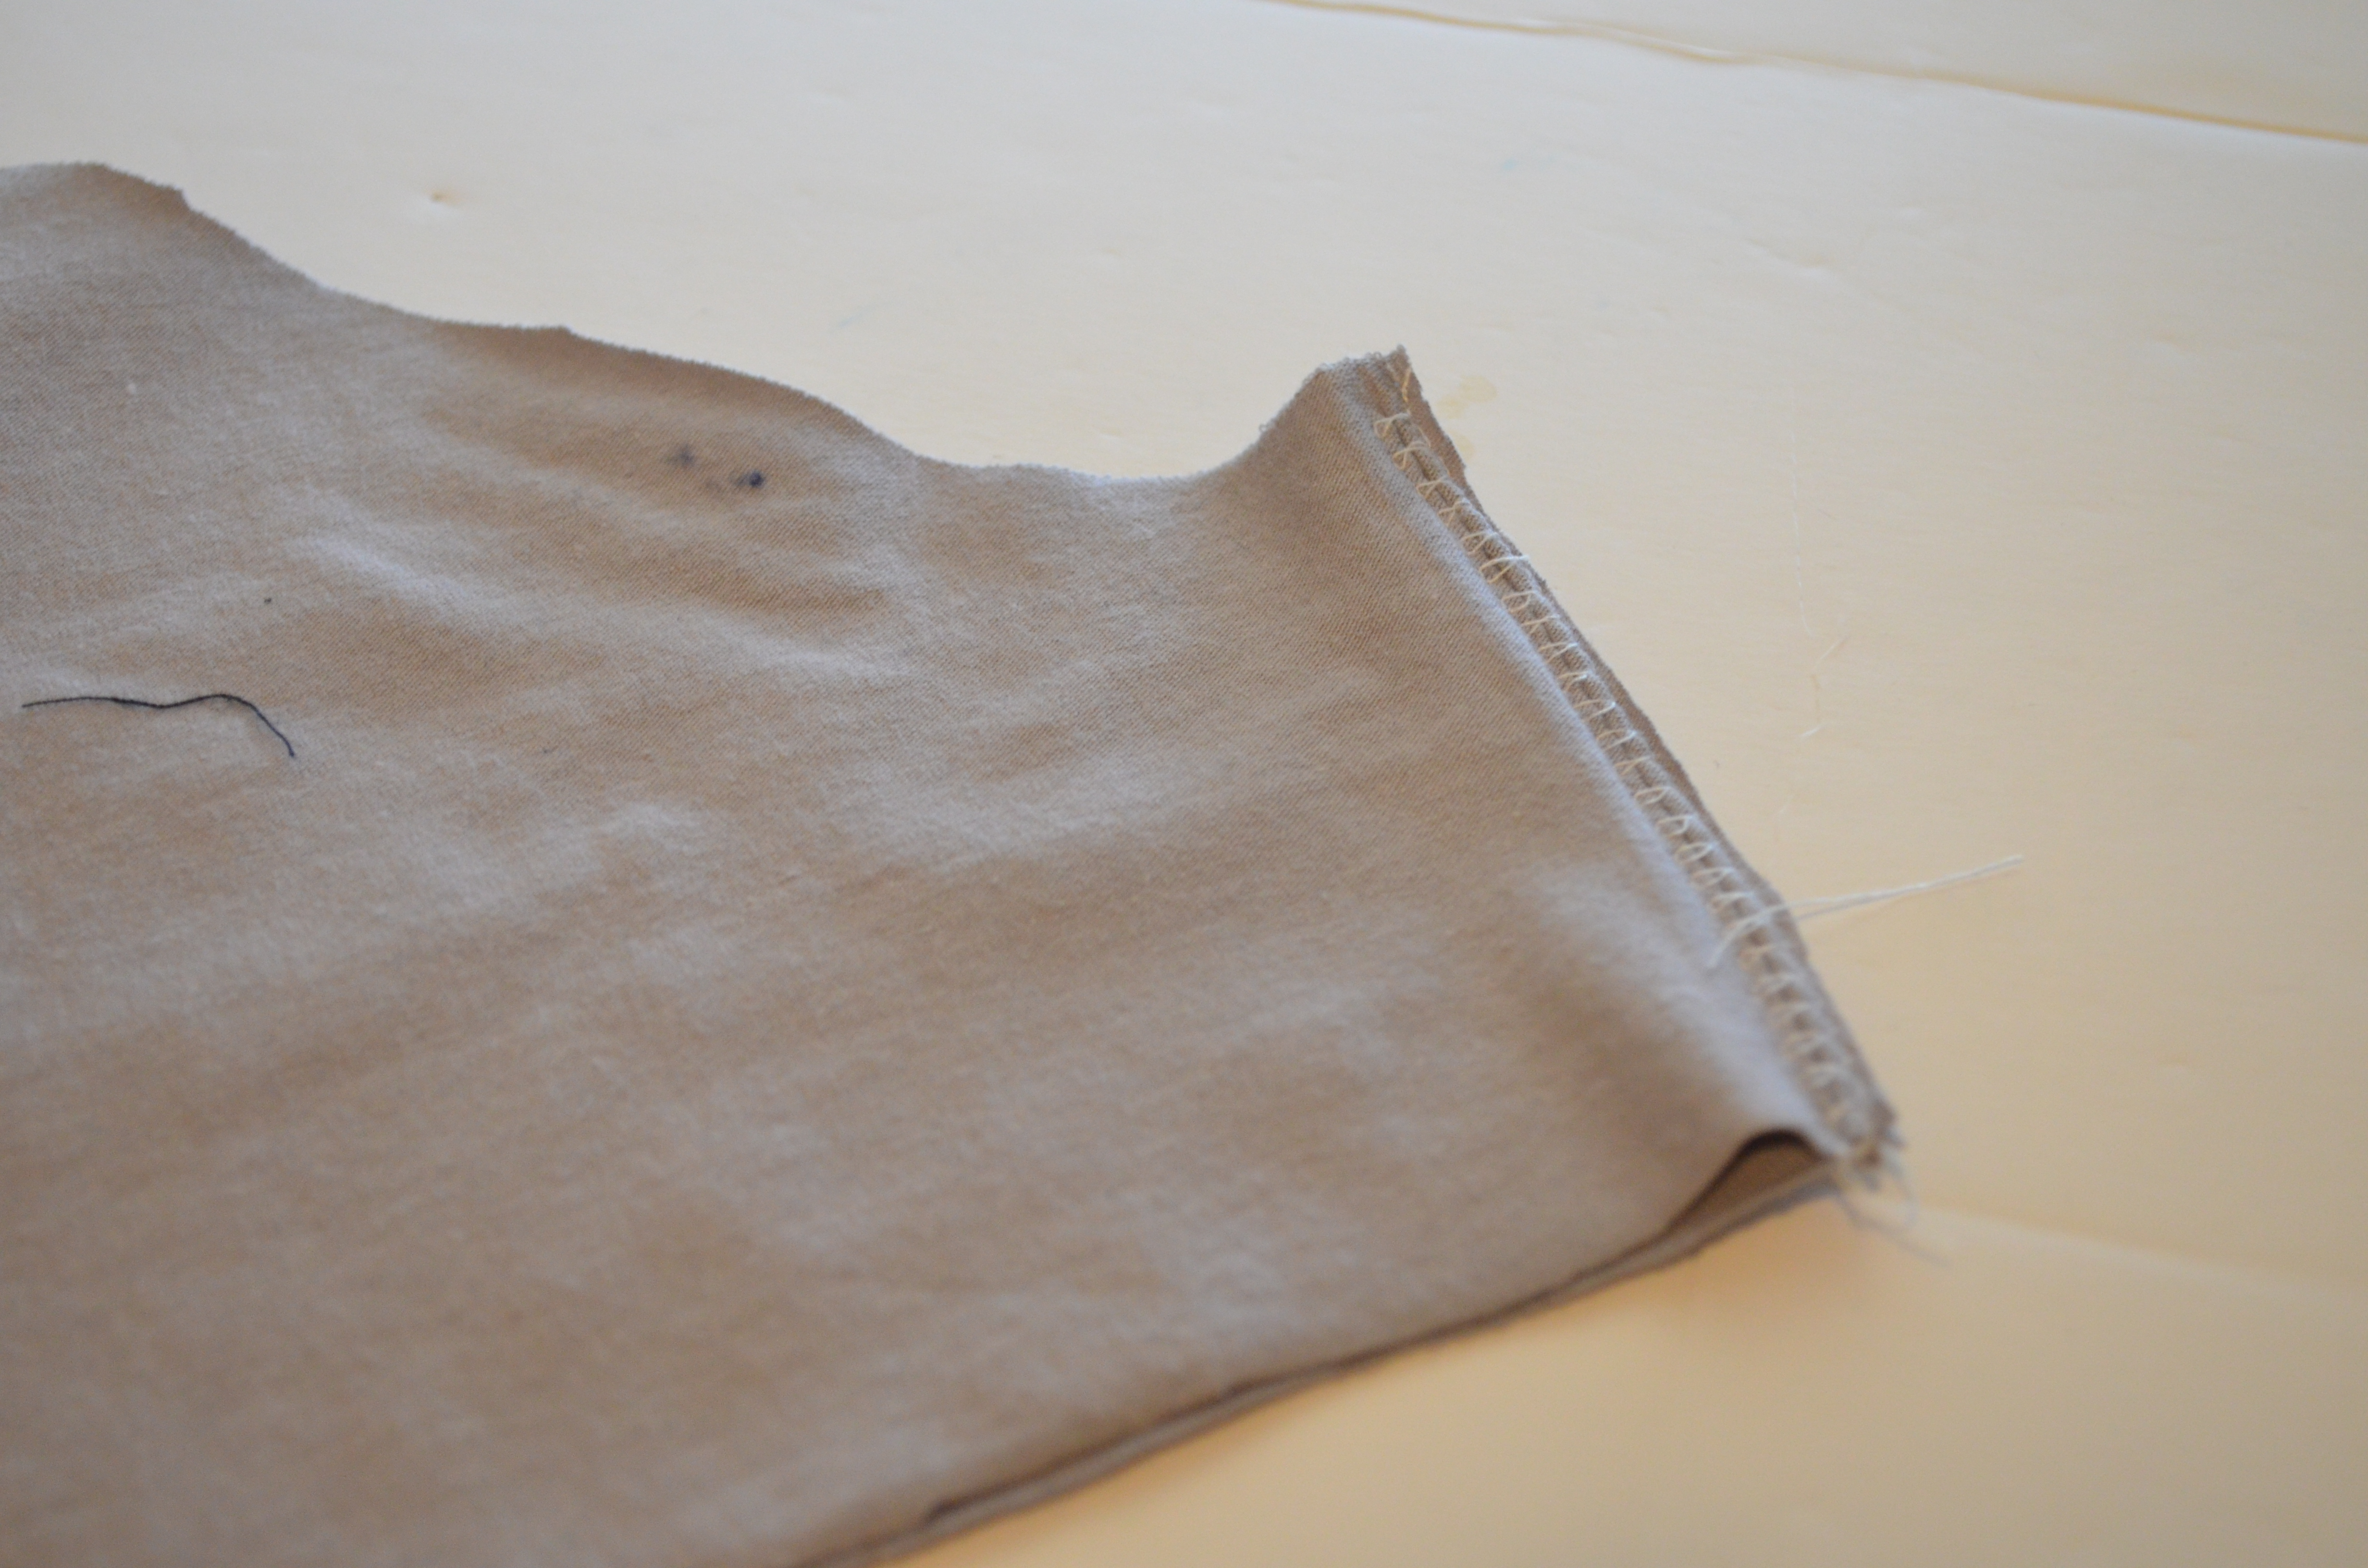
Place the center back bodice pieces together, right sides facing and stitch along with a 3/8 inch seam allowance.
Open the seams flat.
6.
Now, add the side back panels, to the back panel.
7.
Place them together, right sides facing. Then, stitch them with a 3/8 inch seam allowance.
8.
After this, press the seams flat.
9.
You can also top stitch the side seams with a 1/8 inch seam allowance.
10.
Then, place front and back bodices together, right sides facing.
11.
Match the shoulder and side seams.
12.
Now, stitch the shoulder seams and side seams with a 3/8 inch seam allowance.
13.
To finish the edges of the dress neckline and the sleeveless option use double fold bias tape 1/2’’ wide.
HOW TO MAKE THE SKIRT:
14.
Start with the skirt you will use on the front bodice.
15.
Hand or machine baste the skirt with a 3/8 inch seam allowance from the top.
16.
Leave about 4’’ to 5’’ inches of thread to gather the skirt and adjust the gathers correctly.
17.
Gather the skirt carefully and check the width of the skirt matches the front bodice. When done, make a small knot on the loose thread and trim.
Then, repeat these process with the back skirt.
18.
Then, place the skirts together, right sides facing.
19.
Stitch the skirt panels together, right sides facing with a 3/8 inch seam allowance.
20.
Now, the skirt is ready to add to the bodice.
21.
For this, place the skirt and the bodice together, right sides facing and match the side seams.
22.
Then, stitch the skirt to the bodice with a straight line, 3/8 inch seam allowance.
Then, press the seam flat.
23.
Then, finish the dress by double folding the skirt hemline with a 1 1/2 inch seam
allowance.
Thank you for reading this tutorial and please click on the yellow button below to download the free pattern.
Happy Sewing!