• Skip to primary navigation
  • Skip to main content
  • Skip to primary sidebar

On the Cutting Floor: Printable pdf sewing patterns and tutorials for women

Online Printable PDF sewing patterns for beginners, crafts and printables for kids

RSS On the Cutting Floor: Printable pdf sewing patterns and tutorials for women

  • FREE PATTERN: Tank top pattern
  • FREE PATTERN: Pencil skirt pattern
  • FREE PATTERN: KNIT SKIRT
  • Isabel Dress PDF sewing pattern
  • FREE PATTERN: CLASSIC SHIRT
  • DG PATTERNS STORE
  • SEWING
    • PATTERNS FOR SALE
    • FREE PATTERNS
    • TUTORIALS
    • REVIEWS
    • FUN PROJECTS
    • ROUNDUPS
    • PRINTABLES
  • FABRIC STORE
  • CRAFTS
    • PRINTABLES
    • KIDS’ CORNER
    • MACRAME
  • FOOD
  • MONEY
  • PATTERNMAKING SERVICES
  • ABOUT US
    • ABOUT ME
    • HOW TO DOWNLOAD THE FREE PATTERNS
    • WORK WITH US
    • CONTACT US
    • SITEMAP
    • TOS and Privacy Policy
    • CONTRIBUTE
    • Cookie Policy
  • SUPPORT OUR SITE!
Home » Easy sewing tutorial » Page 10

Easy sewing tutorial

Sewing Tutorial: How to make the A-line top

February 16, 2016 by Daniela Leave a Comment

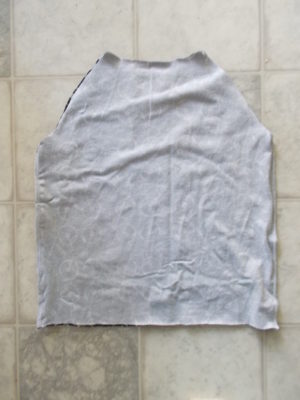
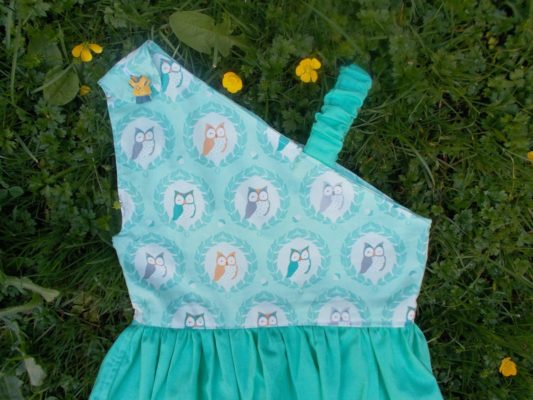
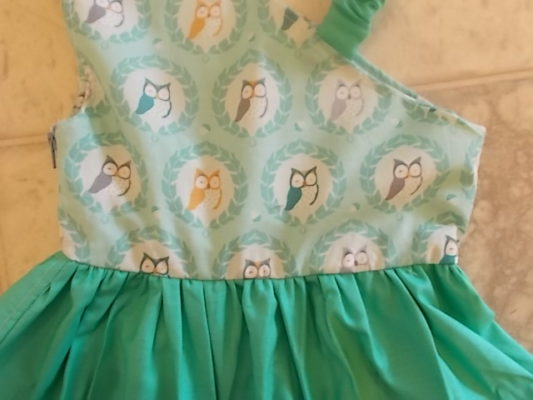
 Today post is Sewing Tutorial: How to make the A-line top.

This is an easy, ready to wear A-line top with lots of character. The pattern includes in seam pocket for a modern (and practical) look.

PLEASE NOTICE THAT THIS TUTORIAL IS ALSO USEFUL FOR THE PAM TOP PATTERN.  THE MAIN DIFFERENCE IS THE IN SEAM POCKETS ON THE A-LINE TOP

If this is your first time here, please feel free to visit our PDF sewing patterns page, our Sewing tutorials and our Sewing Reviews.

You might also like to see our Etsy store with great modern, unique PDF printable sewing pattern for women.

Plus, you might also like to sign up for our newsletter.  There, you will receive a weekly email with the new pattern releases, roundups and giveaways!

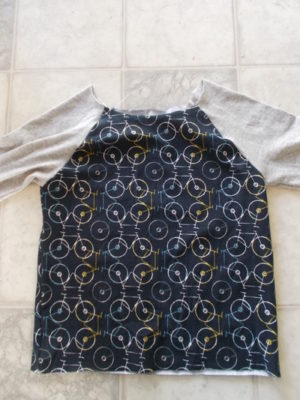
Learn how to make the A-line top pattern.

This tutorial is also suitable for the Pam top.  Notice that only the pockets are not added on that pattern.

Sewing Tutorial:  How to make the A-line top

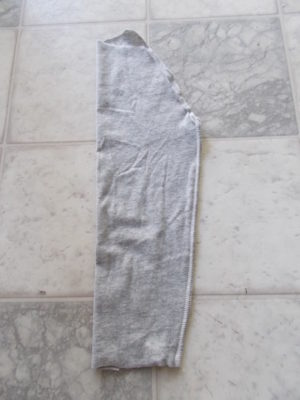
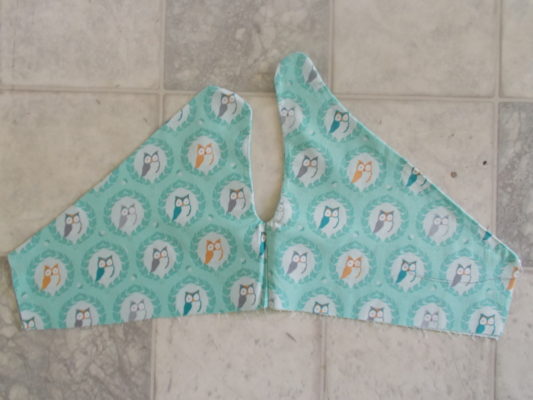
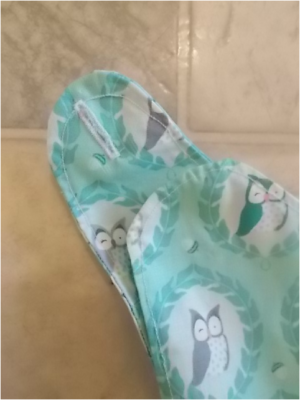
1. Start by adding the pockets to the side seams.

DSC_1493
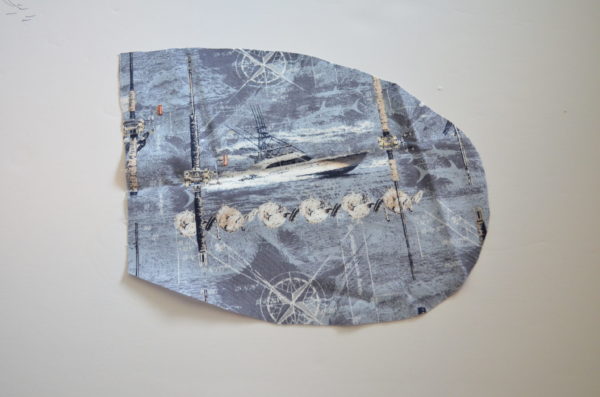
2. Place one pocket side to the front bodice.  Follow the notches from the pattern.

DSC_1494
3. Press Flat. DSC_1495

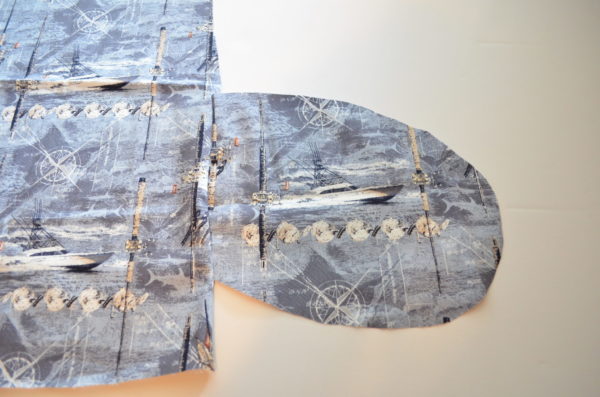
  1. Repeat with the Back bodice pocket.
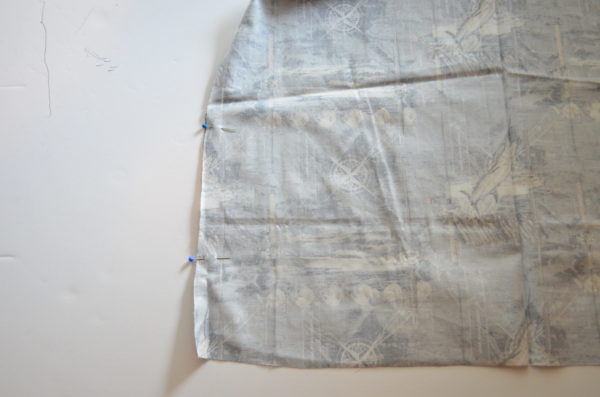
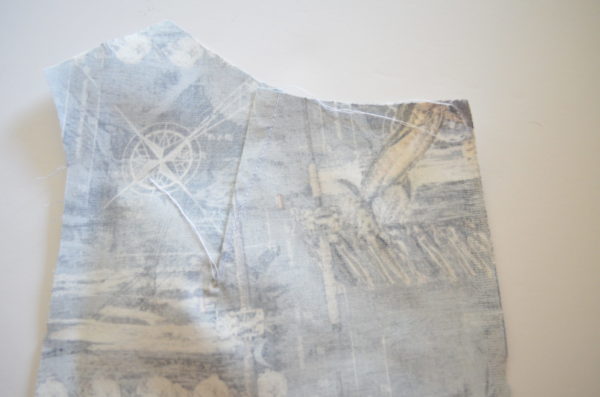
Making the darts

  1.  Close the bust darts and shoulder darts on the back bodice and press flat.

DSC_1497
DSC_1498
6. Then, place front and back bodices together and
sew along the side seams and pocket. DSC_1500

DSC_1505

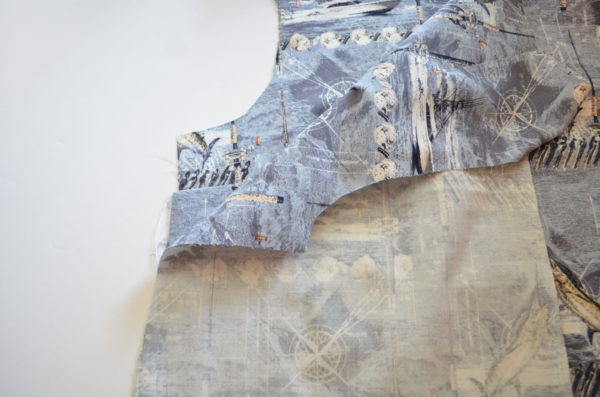
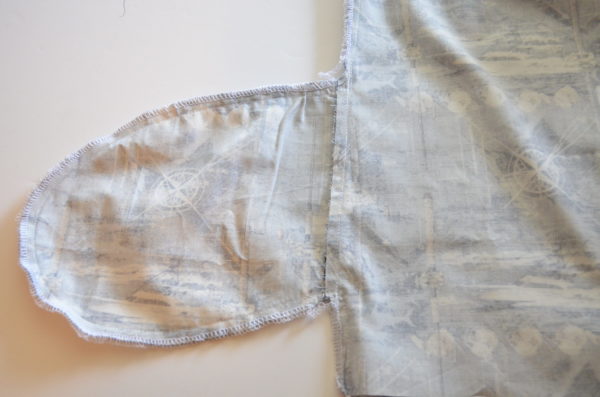
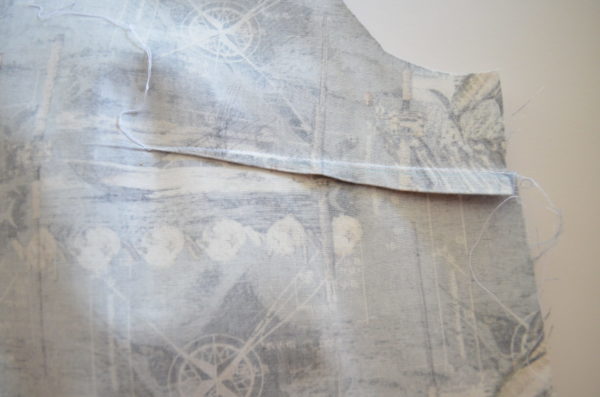
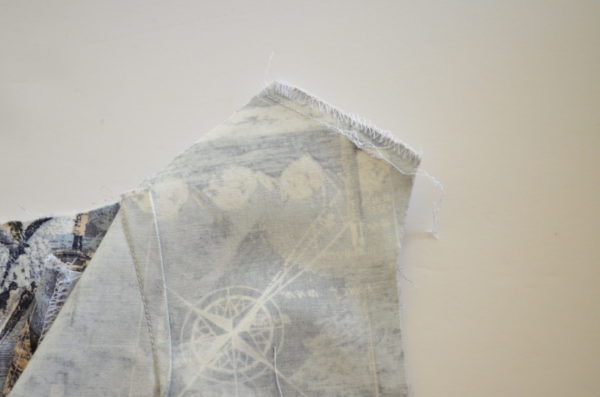
  1. Now, serge or use the overlock stitch from your sewing machine to
    finish the center back of your top.

DSC_1508
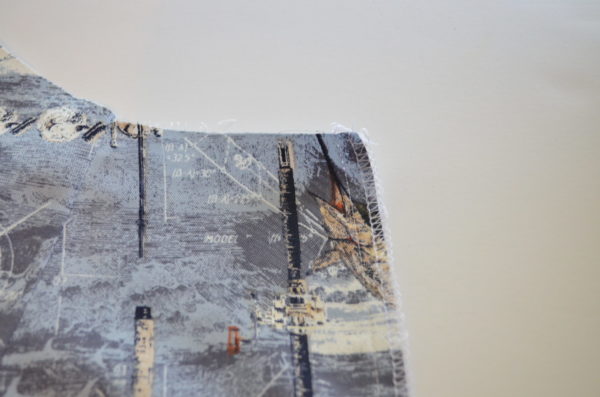
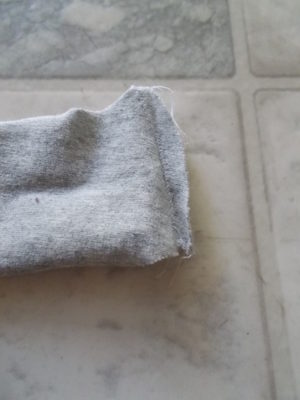
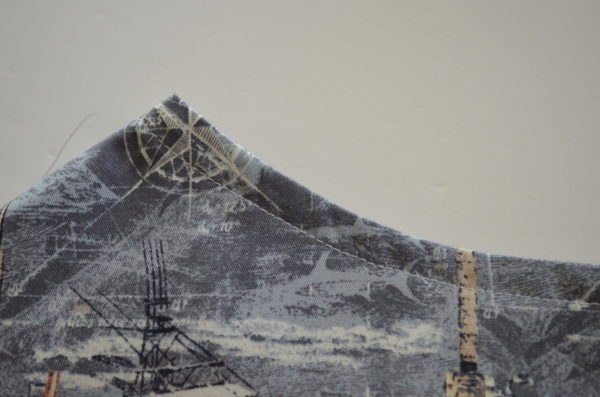
8. Sew the shoulders. Press them flat.

DSC_1519

DSC_1530

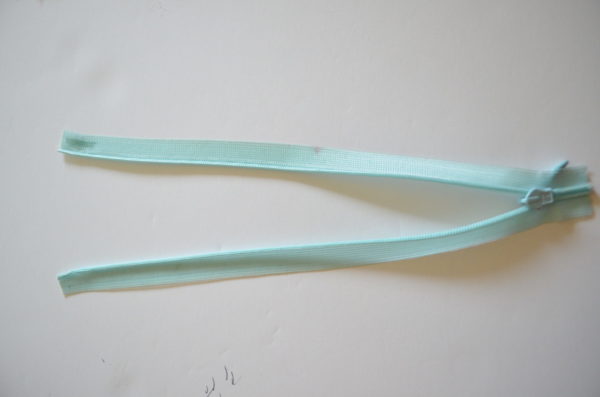
Inserting the Zipper
9. Start by pressing the zipper flat. It will help you to get better results.

DSC_1562

  1. Place the zipper on the back center seam.

DSC_1568

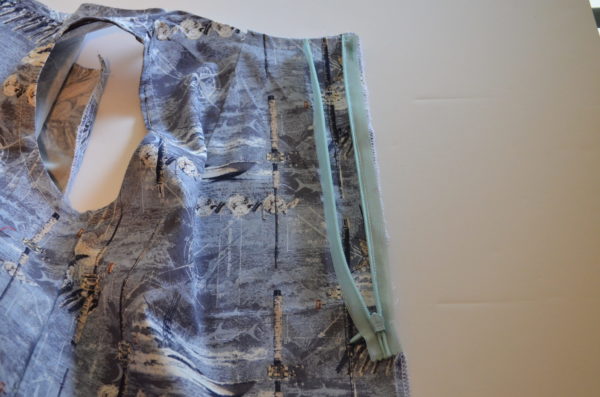
Please notice on the picture that the zipper is facing the top right side.
11. Place the zipper on the other side of the top, then, press them flat.

DSC_1570

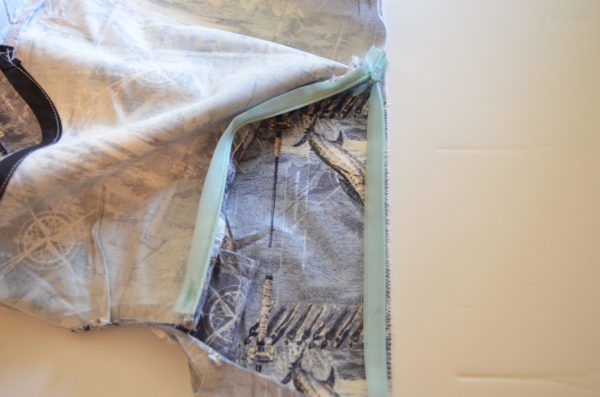
  1. Remember to sew the zipper as close to the zipper’s teeth as you can; then, you will
    also need to attach the zipper presser foot that comes with your sewing machine.

DSC_1566

  1. Sew along the rest of the side seam and press the seams.
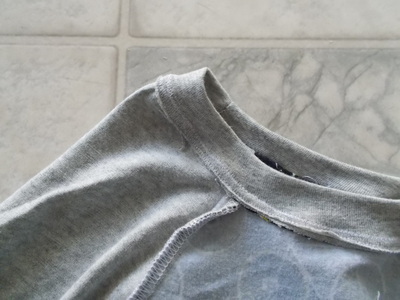
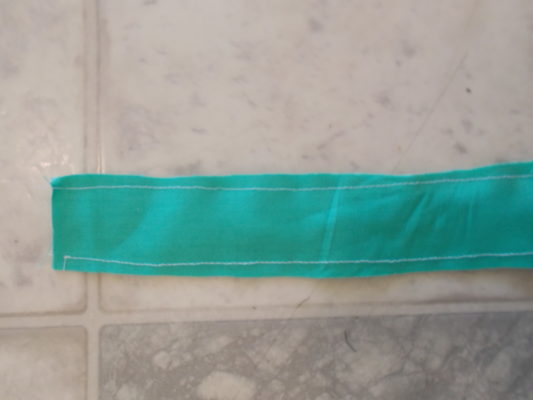
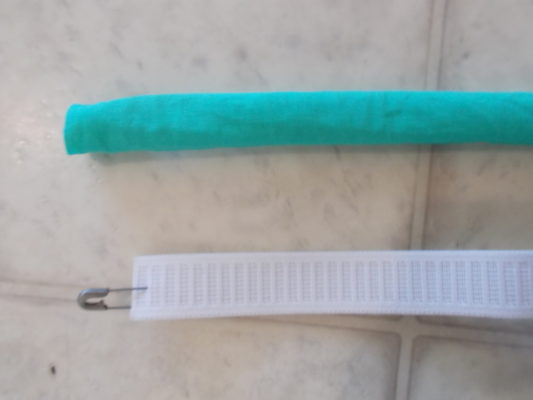
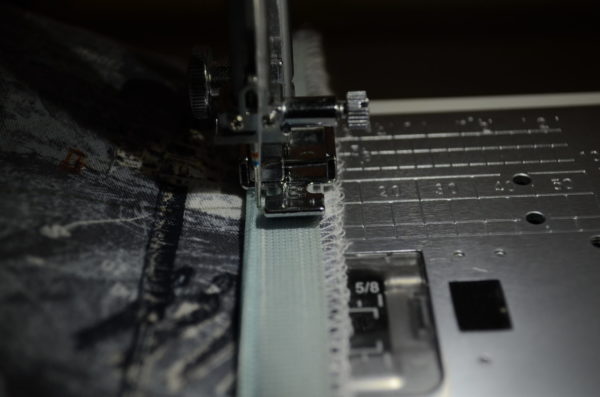
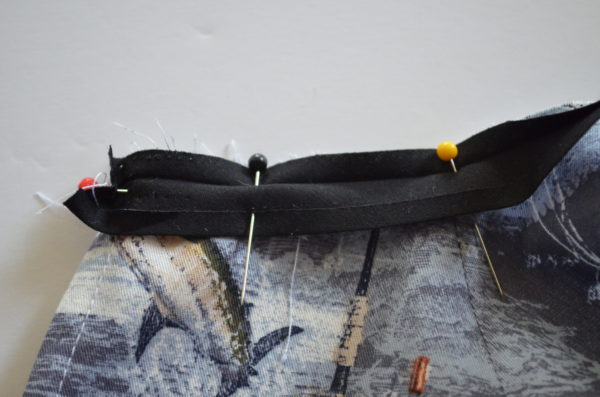
  2. Start pinning the bias tape to the top, so it will be easier if you start on the back seam. Now, remember to fold 1/4 inch of the bias tape to the center back seam.

DSC_1527
15. Sew along the first fold of the bias tape ( 1/4 inch.) This pattern comes ready to do this. With other patterns, you will need to double check the amount of seam allowance on the neckline area and reduce
accordingly before placing the bias tape.

DSC_1528
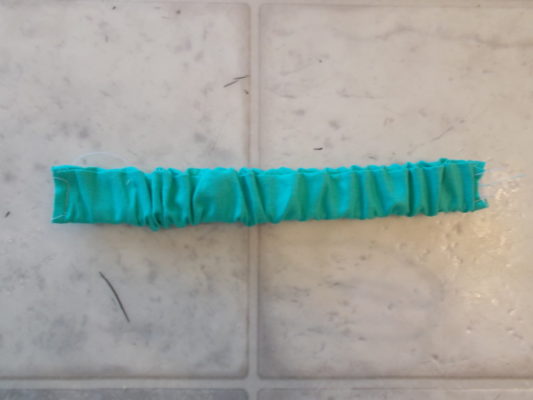
16. Press the bias tape flat to the inside of the top.

DSC_1531
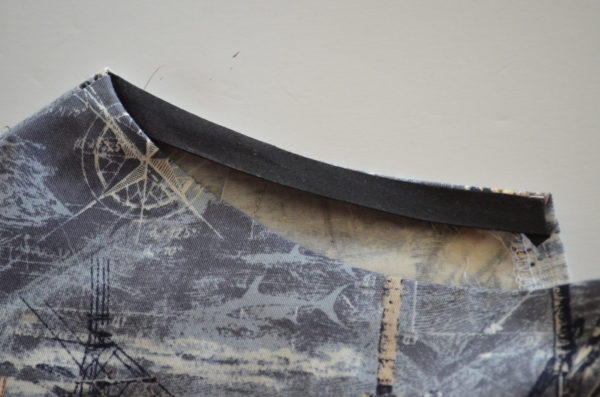
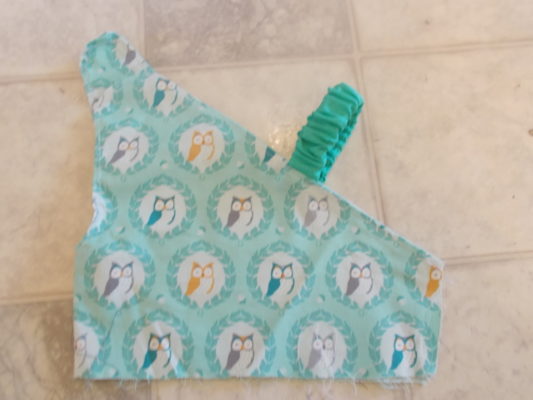
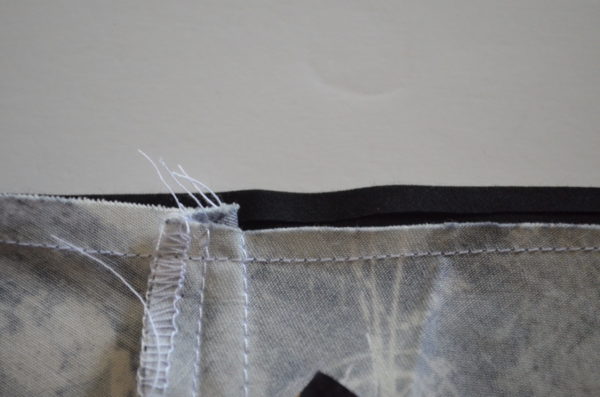
17. Sew along the neckline.

DSC_1533

  1. Repeat this procedure with the armholes.
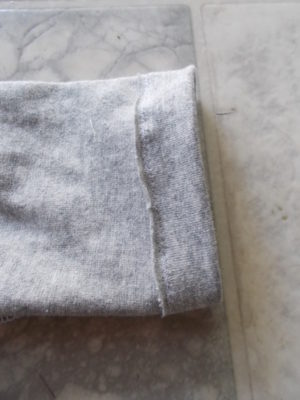
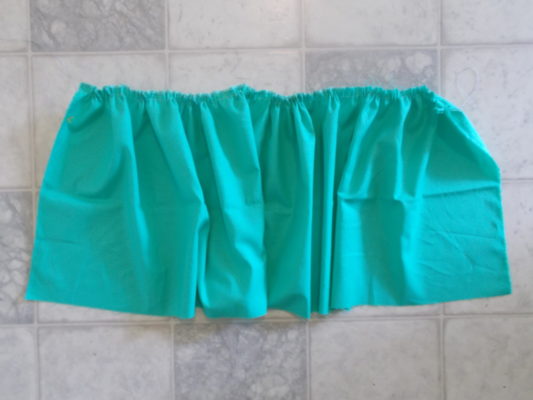
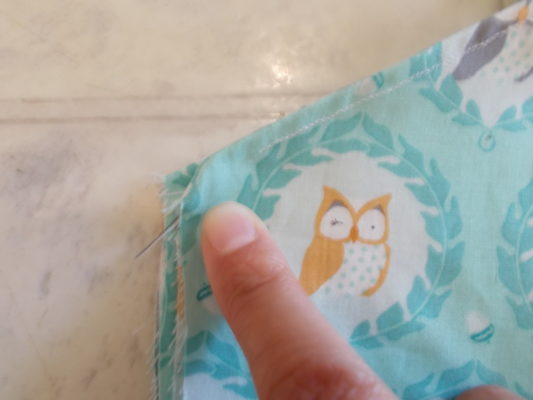
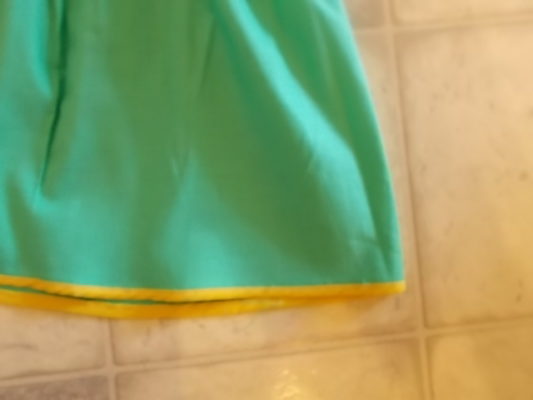
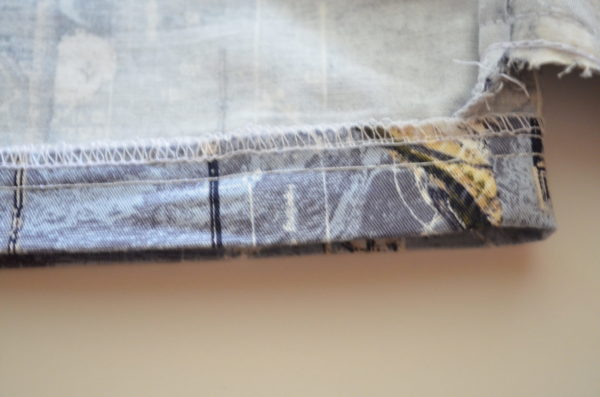
  2. Finish the top by folding 1 1/2 inch for the hemline. Sew
    along.

DSC_1520

PAM TOP PATTERN:

DOWNLOAD HERE

Filed Under: Easy sewing tutorial Tagged With: 618

Raglan Top For Kids Tutorial

November 19, 2014 by Daniela Leave a Comment

Thank you for visiting On the Cutting Floor today.  This is the Raglan Top For Kids Tutorial

If this is your first time in our blog, remember to check our FREE SEWING PATTERNS page.

DOWNLOAD THE PATTERN HERE

On that page you will find our collection of free sewing patterns for women, kids and men.

You can also visit our SEWING TUTORIALS and our SEWING REVIEWS.

We also have an ETSY STORE, where you will find unique and modern sewing pattern for women.

You can also sign up for our newsletter on the sidebar of this post, so you will never miss a post!

Raglan Top For Kids Tutorial

This is a very easy sewing pattern to make for kids.  The pattern is available in sizes 12 to 8 years and you can download the FREE printable PDF sewing pattern here.

Please, remember to check on the measurement chart to know exactly which size you will need.

The Step by step picture sewing tutorial will have an update very soon with a more detail and easy to follow instructions.

If you like, you can bookmark this page to keep it for future reference.

Click on the pictures to enlarge:

  1.  place front and back bodice pieces together, right sides facing and stitch along the side seams.

2.  Set the bodice aside.  Bring the sleeves and fold them lengthwise.  Stitch along the side seam.

3.  Turn the sleeves to the right side.  Insert them into the bodice and match the seams.  Then, stitch them to the bodice.

4.  Set aside.  Bring the neckline strap to the table and fold it in half.  Stitch along the side.

5.  Now, fold the strap in two and press it flat.

6.  Pin the neckband to the raglan top neckline area.  The neckband must stretch a bit, about 20% to match the neckline.  Then, stitch them together.

Raglan Top For Kids Tutorial

7.  Press it flat and top stitch it.

8.  Finish the raglan top by making the hemline ( 1 1/2 inch) and the cuffs ( 1 inch)

Thank you for visiting us!

Remember to check on our Free sewing patterns and tutorials on the navigation bar.

DOWNLOAD THE PATTERN HERE

Filed Under: Easy sewing tutorial

Alice Skirt Tutorial

July 2, 2014 by Daniela Leave a Comment

Hello there,

Thank you for visiting On the Cutting Floor.  This is the Sewing Tutorial: Alice Skirt Tutorial

If this is your first time in our blog, remember to check our FREE SEWING PATTERNS page.

On that page you will find our collection of free sewing patterns for women, kids and men.

You can also visit our SEWING TUTORIALS and our SEWING REVIEWS.

We also have an ETSY STORE, where you will find unique and modern sewing pattern for women.

How to make Alice Skirt
1.  Place both side panels with the front piece together, right sides facing.  Pin and sew.
2.  Place the second panels and the side of the skirt together, right sides facing and sew along.
3.  Place the two panels (green and blue) together, right sides facing and sew along.
4.  Repeat this procedure with the other side of the skirt and the back as well.
5.  Press flat.
Waistband:

5. Close the sides of the waistband.

6.  Place it with the top of the skirt, right sides facing.  Pin and sew along.

7.  Double fold the top of the waistband.  Pin and sew along.

8.  Make the shirring on the waistband.

Not sure about shirring?  Take a look at this tutorial.

 Hemline:
9.  Close the hemline side pieces.

10.  Place the hemline at the bottom of the skirt.  Pin and sew along.

11.  Double fold the bottom of the hemline and sew along.

Thanks for reading this tutorial

You might also like:

Filed Under: Easy sewing tutorial Tagged With: 167, easy sewing tutorial

Catalina Dress tutorial

June 21, 2014 by Daniela Leave a Comment

Hello there,

Thank you for visiting On the Cutting Floor today.  This is the Catalina Dress tutorial

If this is your first time in our blog, remember to check our FREE SEWING PATTERNS page.

On that page you will find our collection of free sewing patterns for women, kids and men.

You can also visit our SEWING TUTORIALS and our SEWING REVIEWS.

We also have an ETSY STORE, where you will find unique and modern sewing pattern for women.

You can also sign up for our newsletter on the sidebar of this post, so you will never miss a post!

Picture

Catalina Dress tutorial

Instructions

Place front and back pieces together and sew the side

Place the bodice and the facing pieces together and sew along the neckline area and the armhole.  Remember to follow the marks in the neckline to leave 2 openings for the elastic

IMPORTANT!

while taking the pictures i noticed that you should close the other sides (the wrong side from the picture below) first.  i made that mistake and i had to change it later.  sorry for that.

Picture

Turn around and press it flat.

Picture

Gather the skirt and adjust to the waist size

Picture

Elastic strap:  close both sides of the elastic strap and turn to the right side.

Picture

Place the elastic inside of the neckline strap.  use a safety pin to pull the elastic easily.

Picture

Stitch both sides to keep the elastic in place.

Picture

Place the elastic strap in the neckline openings.  Pin the area and sew along.

Picture

Remember to leave an inch on each side of the neckline area without topstitchig, so you can put the zipper easily.
Picture

Place the zipper on the side.  Here is  a tutorial for zippers.

Make the buttonhole opening in the back bodice strap.

Place the button on the front bodice.

Picture

Attach the skirt to the bodice, First on the front bodice.

Picture

then, finish the inside of the dress by folding the bodice over the skirt and topstitch.

finish the dress by adding the bias tape to the hemline.

Picture

Thanks for reading this tutorial, please let me know how it goes for you 🙂
Picture

Filed Under: Easy sewing tutorial

Maria Skirt Tutorial

May 21, 2014 by Daniela Leave a Comment

Hello there
Thank you for stopping by today.
This is the Maria Skirt Tutorial

If this is your first time in our blog, remember to check our FREE SEWING PATTERNS page.

On that page you will find our collection of free sewing patterns for women, kids and men.

You can also visit our SEWING TUTORIALS and our SEWING REVIEWS.

We also have an ETSY STORE, where you will find unique and modern sewing pattern for women.

You can also sign up for our newsletter on the sidebar of this post, so you will never miss a post!

Maria Skirt Tutorial

1.  Start by place the sides blocks and the front block together, right sides facing.  Pin and sew along.  Place the back block attached to one of the sides.  Pin and sew along. Remember to leave one side open to put the zipper.
Maria Skirt Tutorial

2.  Make the darts on the sides.
Picture

3.  Place the zipper.
4.  Place the facing at the top of the skirt waistband.  Pin and sew along.
Picture

5.  Turn around, press and top stitch the waistband area.
6.  Finish by making the hemline area.
And it is ready!

Filed Under: Easy sewing tutorial

Maria Peplum Tutorial

May 21, 2014 by Daniela Leave a Comment

Hello there,

Thank you for visiting On the Cutting Floor today.  This is the Free PDF Halloween Printable

If this is your first time in our blog, remember to check our FREE SEWING PATTERNS page.

On that page you will find our collection of free sewing patterns for women, kids and men.

You can also visit our SEWING TUTORIALS and our SEWING REVIEWS.

We also have an ETSY STORE, where you will find unique and modern sewing pattern for women.

You can also sign up for our newsletter on the sidebar of this post, so you will never miss a post!

1.  Place front and back bodices together, right sides facing, pin and close the shoulders and sides.
2.  Place the neckline facing with the bodice, right sides facing.  Pin them and sew along.

3.  Close the back bodice.

4.  Make the darts on the front and back bodices

5.  Close the peplum sides.

6.  Place the peplum and the bodice together, right sides facing.  Pin them and sew them along.  Check that the seams are aligned properly.

7.  Finish the peplum by making the hemline.

Thank you again for stopping by here.

Please, feel free to check on the other FREE sewing patterns from our blog and our Etsy store.

Happy Sewing everyone!

Filed Under: Easy sewing tutorial

  • « Go to Previous Page
  • Go to page 1
  • Interim pages omitted …
  • Go to page 8
  • Go to page 9
  • Go to page 10

Primary Sidebar

ON THE CUTTING FLOOR PATTERN SHOP

ON THE CUTTING FLOOR PATTERN SHOP
Follow
  • Advertise with Us!
  • Contribute – On the Cutting Floor
  • Income
  • SITEMAP

Copyright © 2023 · Genesis Sample on Genesis Framework · WordPress · Log in