On the Cutting Floor: Printable pdf sewing patterns and tutorials for women
Online Printable PDF sewing patterns for beginners, crafts and printables for kids
Hi there,
Thank you for visiting us today. This is the tutorial to make the Long Sleeve Raglan t-shirt.
On that page you will find our collection of free sewing patterns for women, kids and men.
You can also visit our SEWING TUTORIALS and our SEWING REVIEWS.
We also have an ETSY STORE, where you will find unique and modern sewing pattern for women.
You can also sign up for our newsletter on the sidebar of this post, so you will never miss a post!
 For the full information about the pattern, please check here.
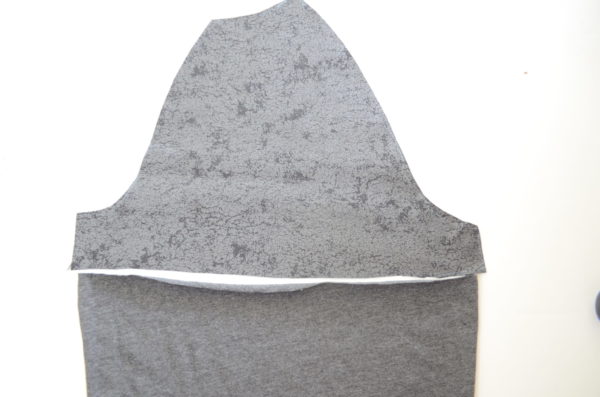
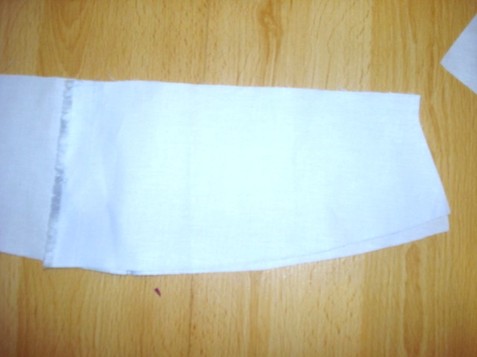
4. Place the lower sleeve at the top of the upper sleeve. Right sides facing. Sew horizontally, so you will make one long sleeve.
5. Open and press the seams.
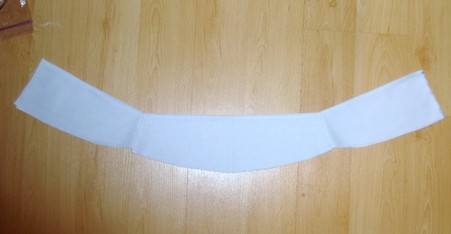
6. Waistband: Take the front and back waistband and sew the sides. Press the seams flat.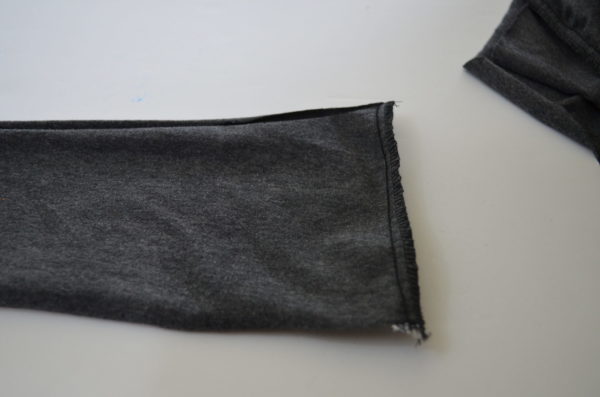
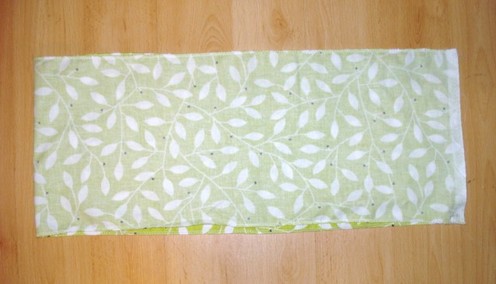
6. Fold it in two.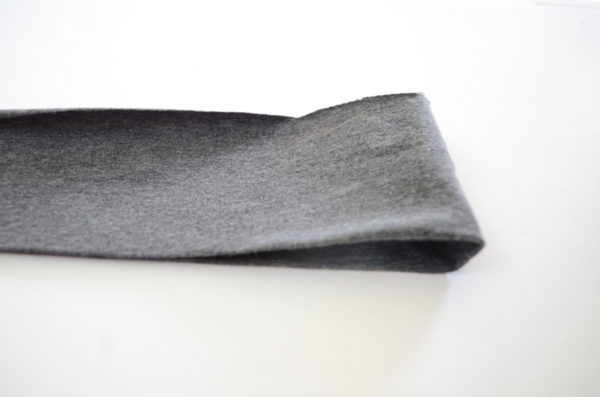
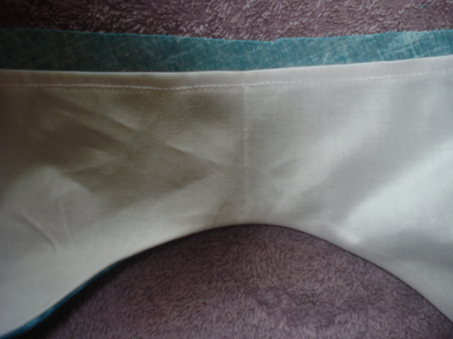
7. Place the waistband with the bodice together. The folded part of the waistband must be facing upwards, so you match the raw edges of the bodice with the waistband.
Sew along. Remember to match the side seams.

7. Press the seams upwards.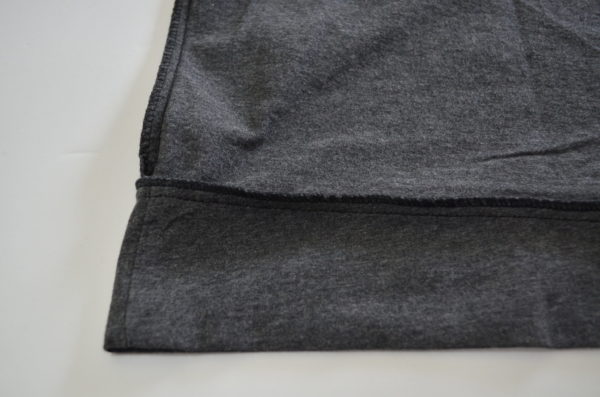
8. Now fold the sleeve and sew the seam.
8. Repeat with the other sleeve.

9. Then, turn them to the right side.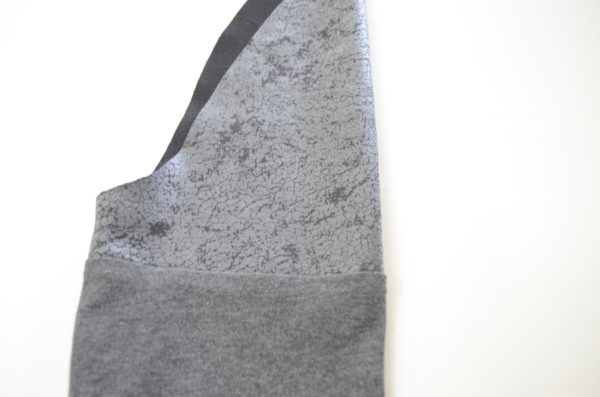
10. Insert the sleeves into the top. Remember to match seams. Sew along the armhole.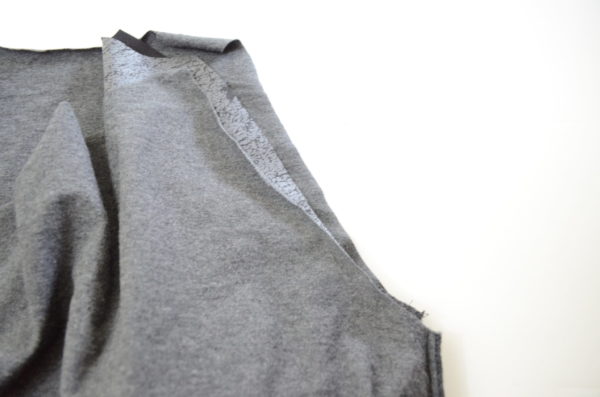
11. Turn the sleeve to the wrong side.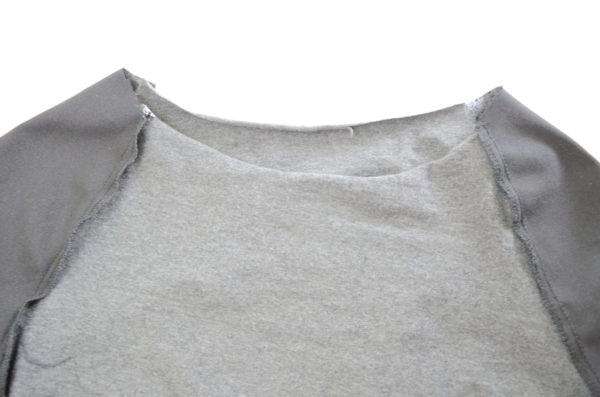
12. Fold the neckband into two and sew along the side.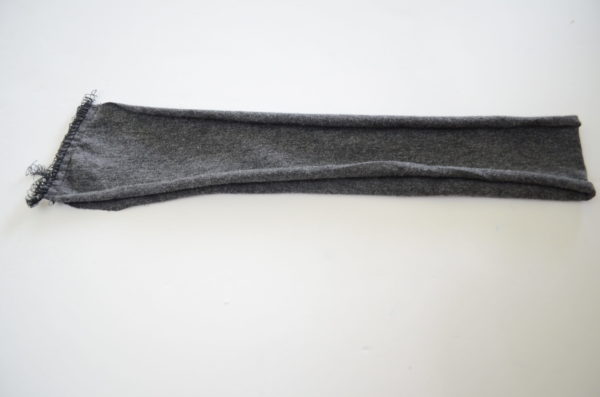
13. Now, fold the neckline as you did with the waistband. 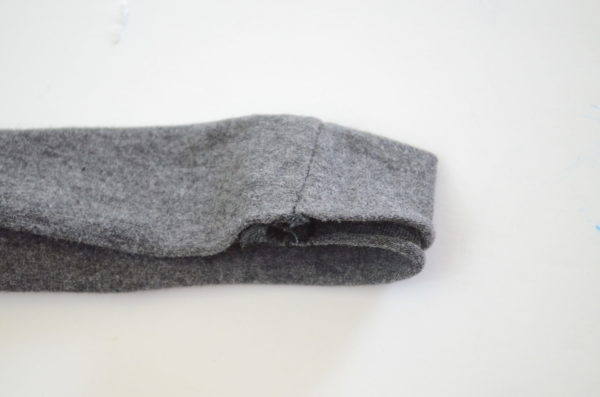
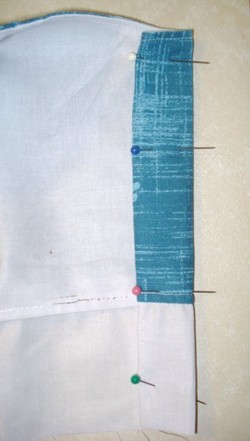
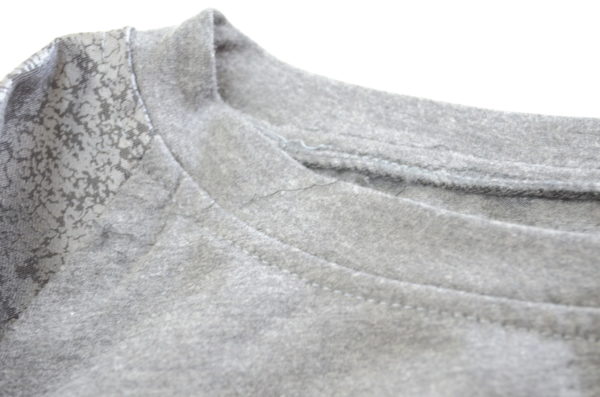
14. Pin the neckband to the neckline of the t-shirt. Remember that the neckline is 1/4 smaller than the neckline on the top, so you must need to stretch at the shoulders to make sure it matches the top.
15. Sew along and press the seams downwards.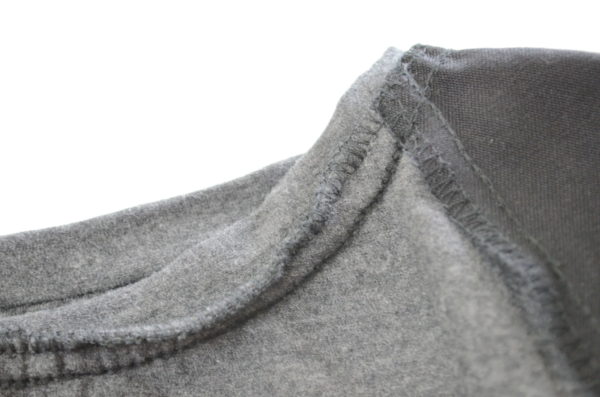
16. Top stitch the neckband by making a 4.5 stitch length parallel line on the neckline. The line must be about 1/4 inch away from the original seam.
Repeat this process on the waistband.
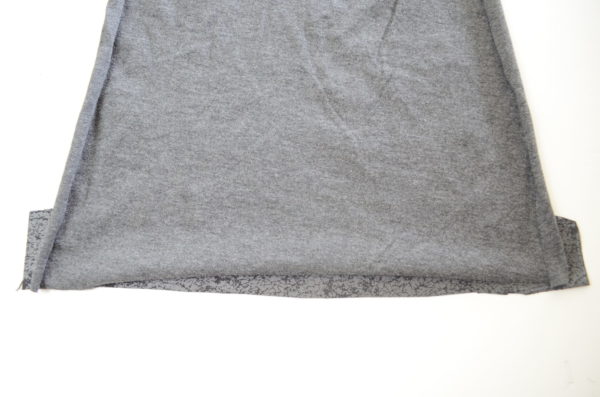
17. Finish the top by making the hem on the sleeves. Fold the sleeve 1 inch from the bottom and sew along. You can make two parallel lines or use a double needle to do so.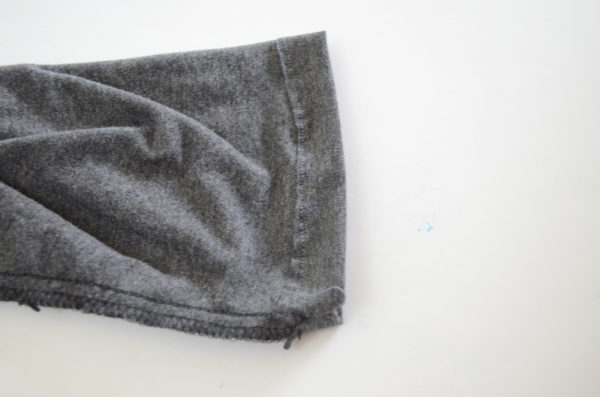
And that is all!
Hello everyone,
Thank you for stopping by today. This is Sewing tutorial: How to make an easy hoodie.
This is an easy sewing pattern with two sleeve length options
If this is your first time in our blog, remember to check our FREE SEWING PATTERNS page.
On that page you will find our collection of free sewing patterns for women, kids and men.
You can also visit our SEWING TUTORIALS and our SEWING REVIEWS.
We also have an ETSY STORE, where you will find unique and modern sewing pattern for women.
For the printing instructions and pattern information, please click here.
Prepare your pieces. You will need to pre wash your fabrics before cutting it.
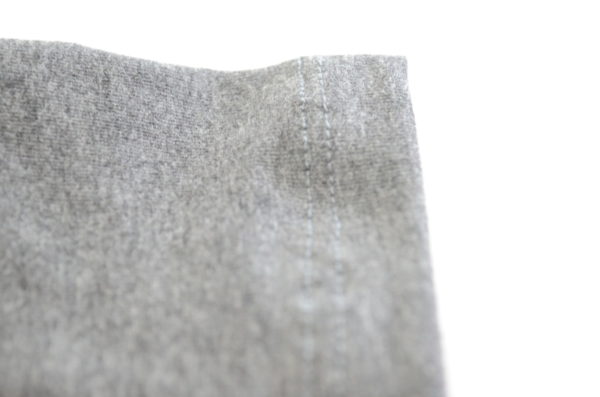
5. After that, press the seams down.
6. Then, top stitch sleeve 2/8 inch from the original seam.
Repeat this with the other sleeve.
7. Fold the sleeve and sew the seam.
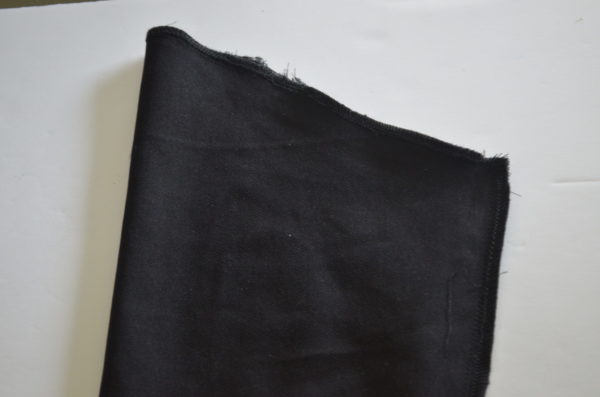
Place aside.
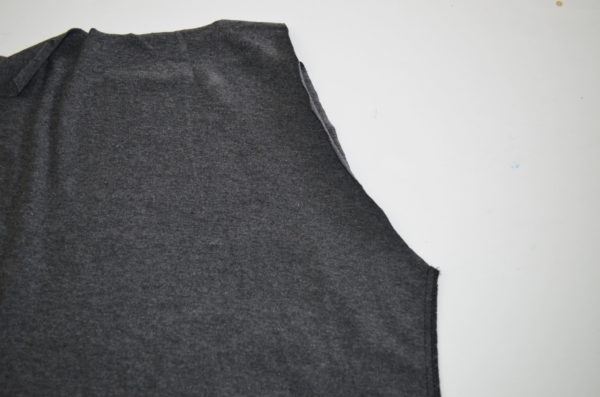
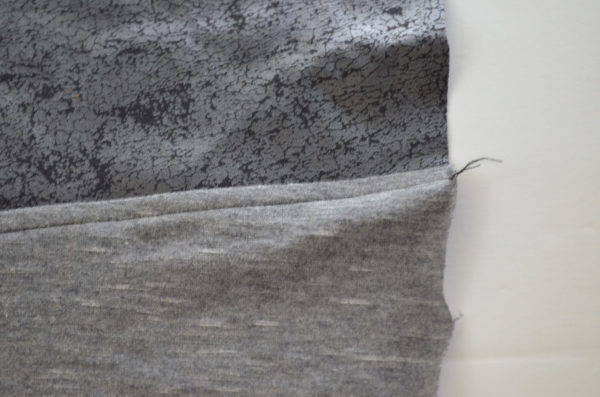
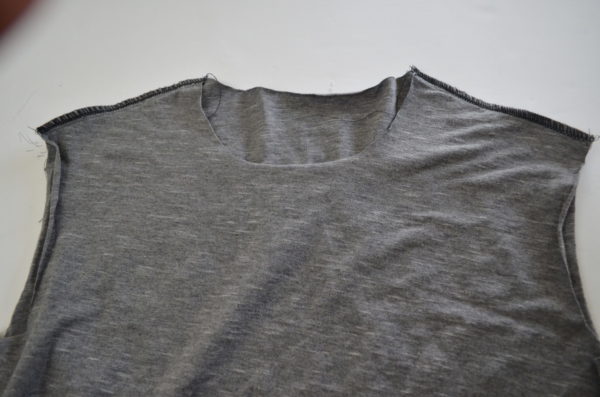
8. Bodice: Place front and back bodice pieces together, right sides facing and sew along the shoulders and sides.
9. Turn the sleeves to the right side and insert them into the bodice. To do this, the bodice must be on its wrong side, so the sleeve and bodice right sides are together.
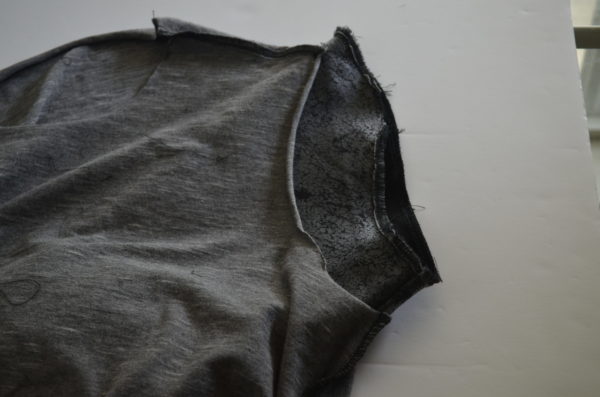
10. Sew the sleeves to the top and press the seams flat.
11. Check on the picture below to have an idea how the sleeve should look like.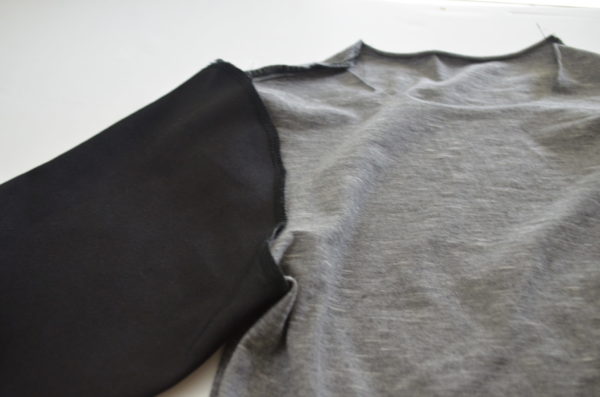
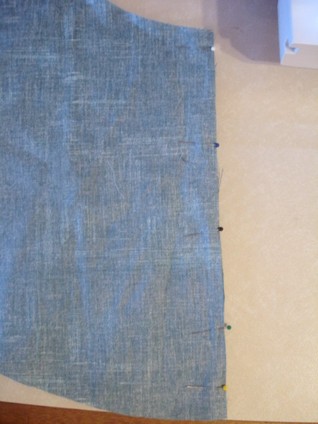
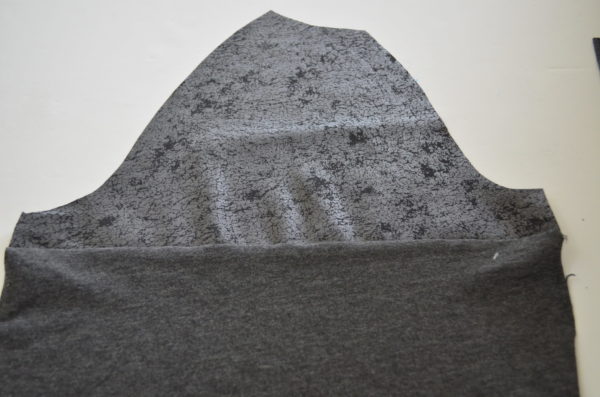
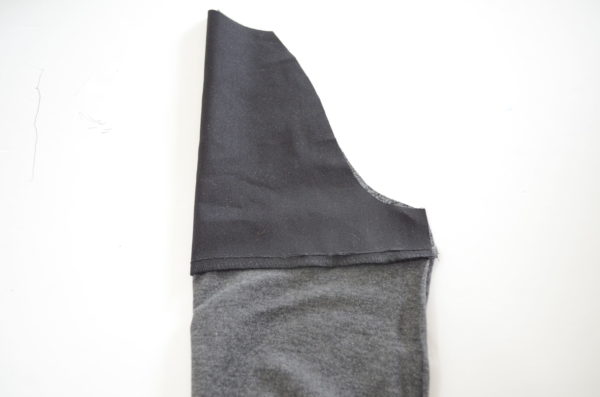
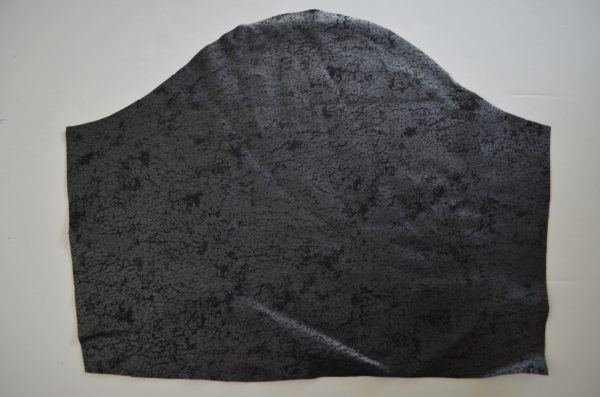
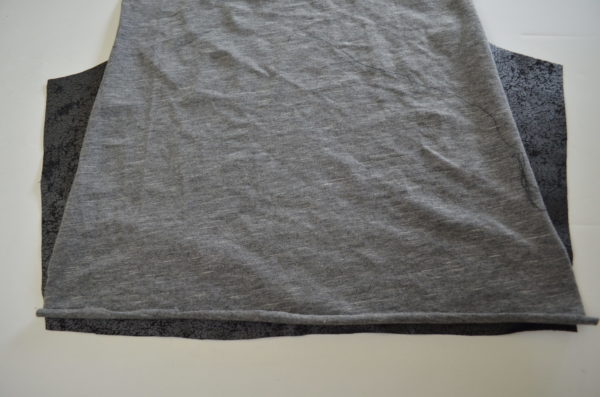
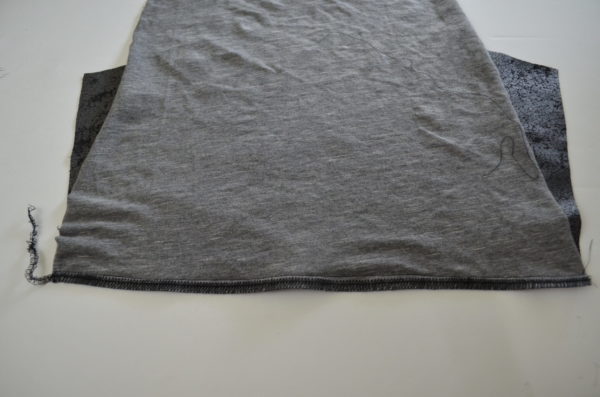
12. Hoodie: Place both sides of the hoodie together, right sides facing.
Sew along the curve area until you reach the notch mark at the bottom, marking the area where the hoodie will be attached to the neckline.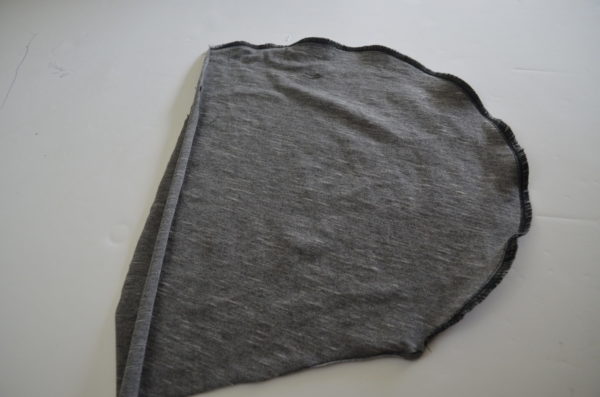
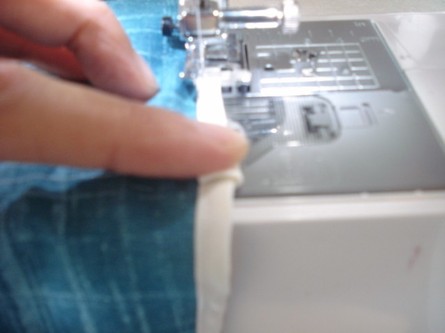
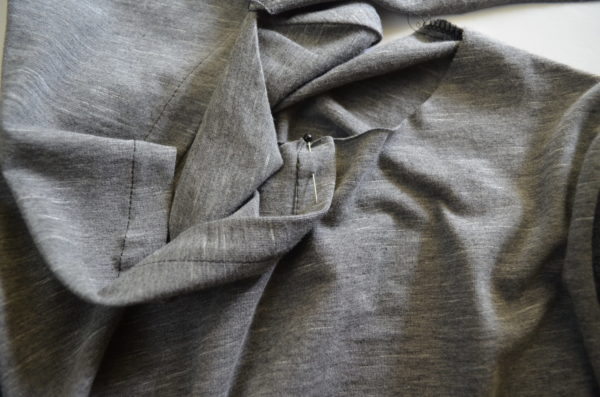
13. Double fold the head opening of the hoodie. First by 1/4 inch, then 3/4 inch and press flat. Then stitch it.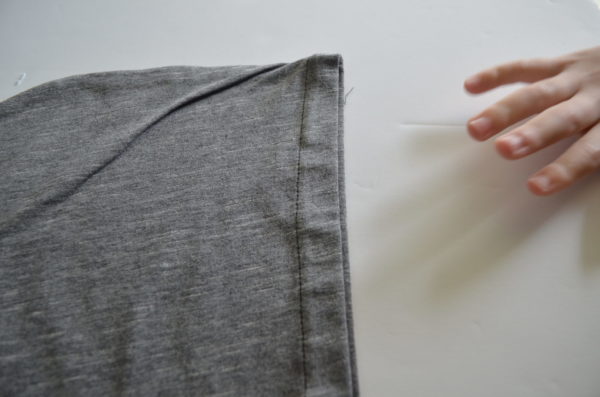
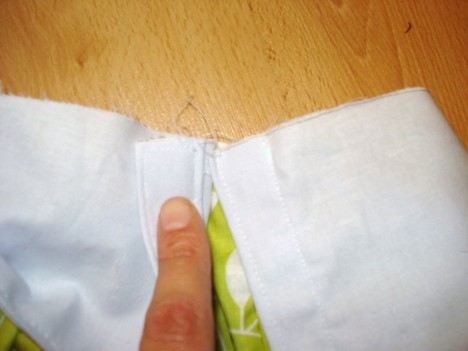
15. Now, attach the hoodie to the top, so you must start on the middle of the front bodice + 3/4 inch.
In this way, you will be able to overlap the hoodie opening.
Adjust if necessary.
16. Pin all around and sew the hoodie to the bodice and press the seams flat.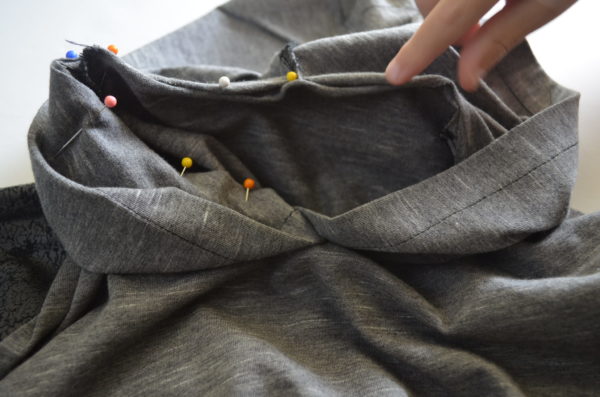
Now, top stitch the hoodie seams to the bodice by making a line 2/8 inch away from the original seam.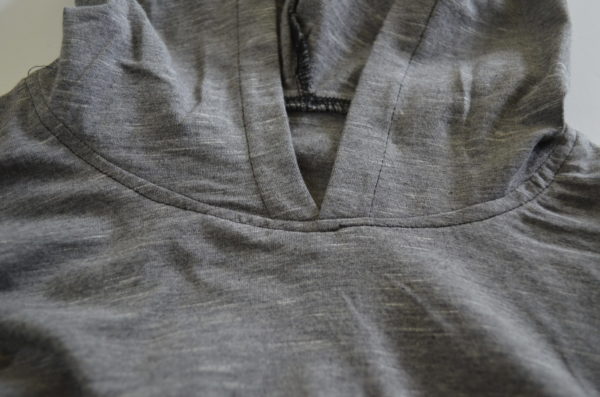
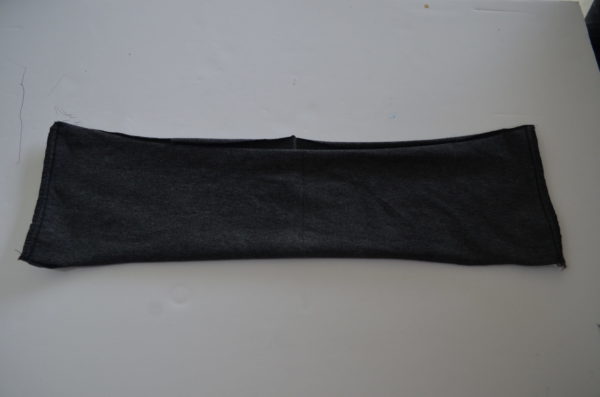
16.Finish the sleeve cuffs by folding the fabric 3/4 inch and sewing 2 parallel lines, so this will give the effect of using a coverstitch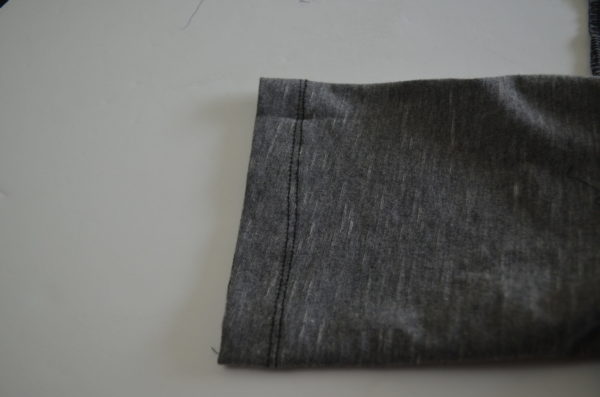
17. Press flat and repeat this procedure with the hemline.
I hope you have enjoy this tutorial and do not forget to send me some pictures of your finished garments!
|
Hi guys,
This is the Sewing Tutorial: how to make the Arizona dress pattern for girls
If this is your first time in our blog, remember to check our FREE SEWING PATTERNS page.On that page you will find our collection of free sewing patterns for women, kids and men. You can also visit our SEWING TUTORIALS and our SEWING REVIEWS. We also have an ETSY STORE, where you will find unique and modern sewing pattern for women. You can also sign up for our newsletter on the sidebar of this post, so you will never miss a post!
You can download the printable version for free.
Enjoy the pattern!
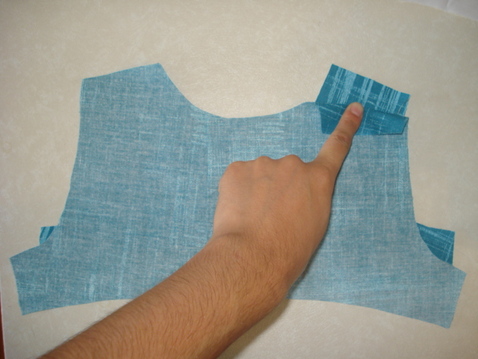
Sewing Tutorial: how to make the Arizona dress pattern for girls1. Place front and back bodice pieces together, right sides facing and sew along the shoulders
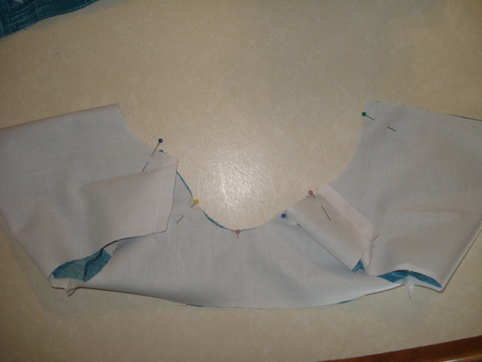
2. Place the bodice and facing, right sides together and pin them. Then, sew the neckline from the front and back.
3. Trim the excess fabric from the neckline.
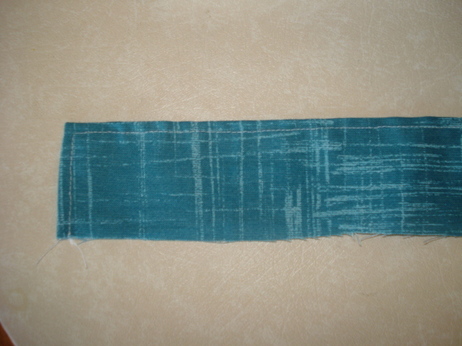
4. Turn around and put it aside. 5. Sleeves: fold the sleeves lengthwise and sew the the sides of it.
6. Turn them around and top stitch the sides.
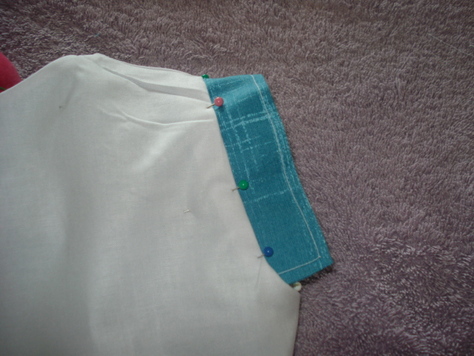
7. Place the sleeves on the bodice, pinning them carefully, so you make sure that the outside and inside of the dress are well-finished.
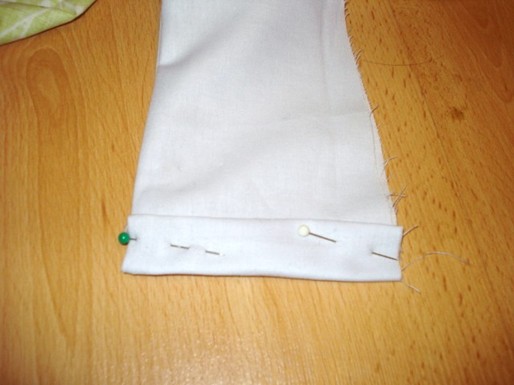
8. Double fold by 1/4 inch the bottom of the facing, as shown in the picture below.
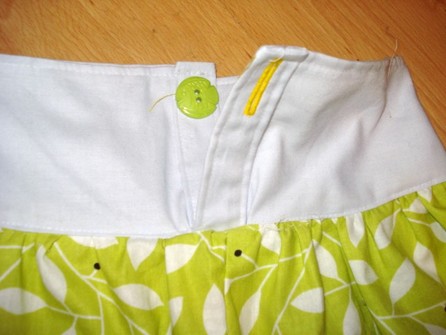
9. Place the waist band and the bodice together, right sides facing and sew.10. Double fold the back of the dress, both sides, by 1 inch. Pin them and sew a rectangular, covering the bodice and the waistband length.
Please follow the instructions on your sewing machine to make the buttonholes accordingly.11. Top stitch the neckline of the dress.12. Skirt: Place the front and the back of the skirt together. Pin and sew the sides.
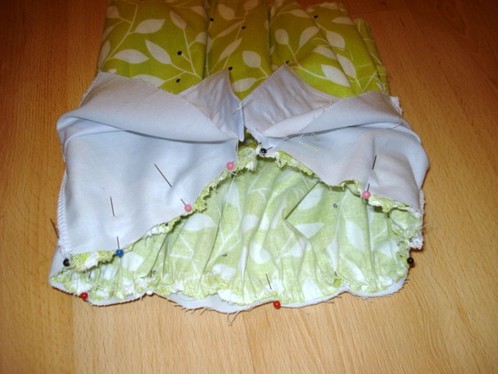
13. Place the skirt and the bodice together, right sides facing. Pin and sew it as shown below. Notice that the buttonhole area is overlapped.
14. Now, the finish hemline is made with a bias tape in contrasting color. Pin it to the skirt hemline and sew it in place. Remember to start form the back seam so the finish look will me better.
15. When reaching the end of the bias tape, fold it to the inside of the skirt and carefully, stitch in the area.And the Arizona dress is ready!
|
Hello there,
Thank you for visiting On the Cutting Floor today. Sewing Tutorial: How to make the Sofia Skirt for girls
On that page you will find our collection of free sewing patterns for women, kids and men.
You can also visit our SEWING TUTORIALS and our SEWING REVIEWS.
We also have an ETSY STORE, where you will find unique and modern sewing pattern for women.
You can also sign up for our newsletter on the sidebar of this post, so you will never miss a post!

And that is all for today.
Thank you again for visiting our blog and remember to check on our FREE pattern page and the Etsy store!
Happy Sewing!