Hello there,
Thank you for visiting On the Cutting Floor today. I am happy to present this easy sewing tutorial to learn how to add zipper tabs on an easy way.
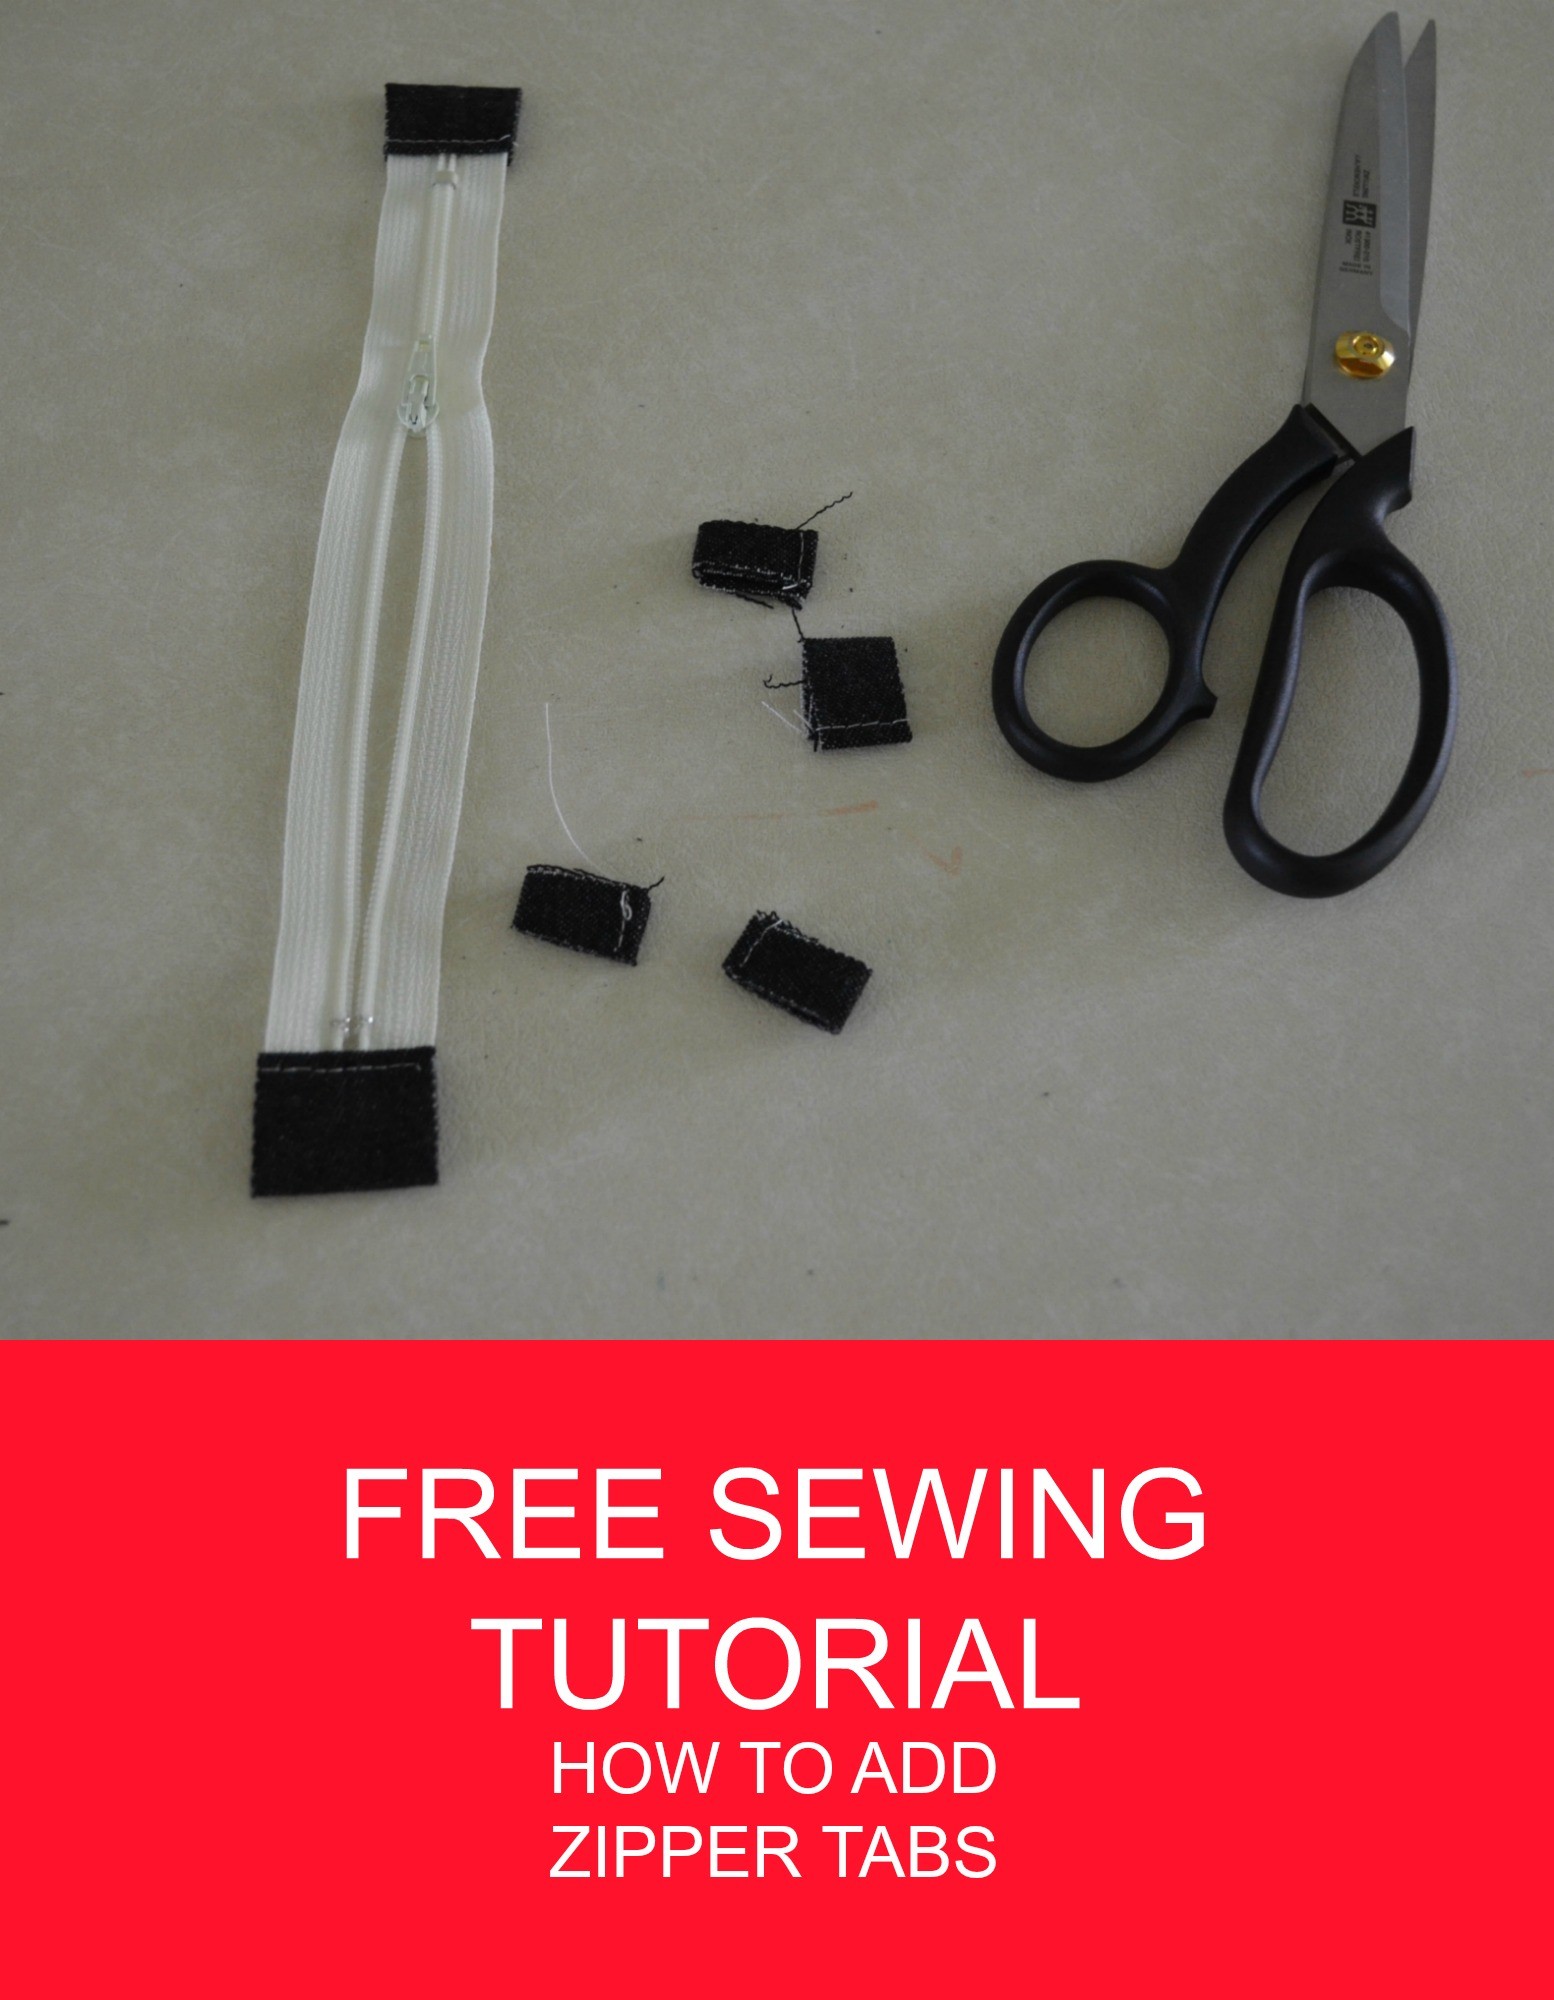
EASY SEWING TUTORIAL: How to add zipper tabs
If this is your first time on our blog, remember to check our FREE SEWING PATTERNS page.
On that page you will find our collection of free sewing patterns for women, kids, and men.
You can also visit our SEWING TUTORIALS and our SEWING REVIEWS.
We also have an ETSY STORE, where you will find unique and modern sewing patterns for women.
EASY SEWING TUTORIAL:
How to add zipper tabs
MATERIALS:
- 1”x 2” fabric pieces
- regular needle
- coordinating thread
- zipper
INSTRUCTIONS
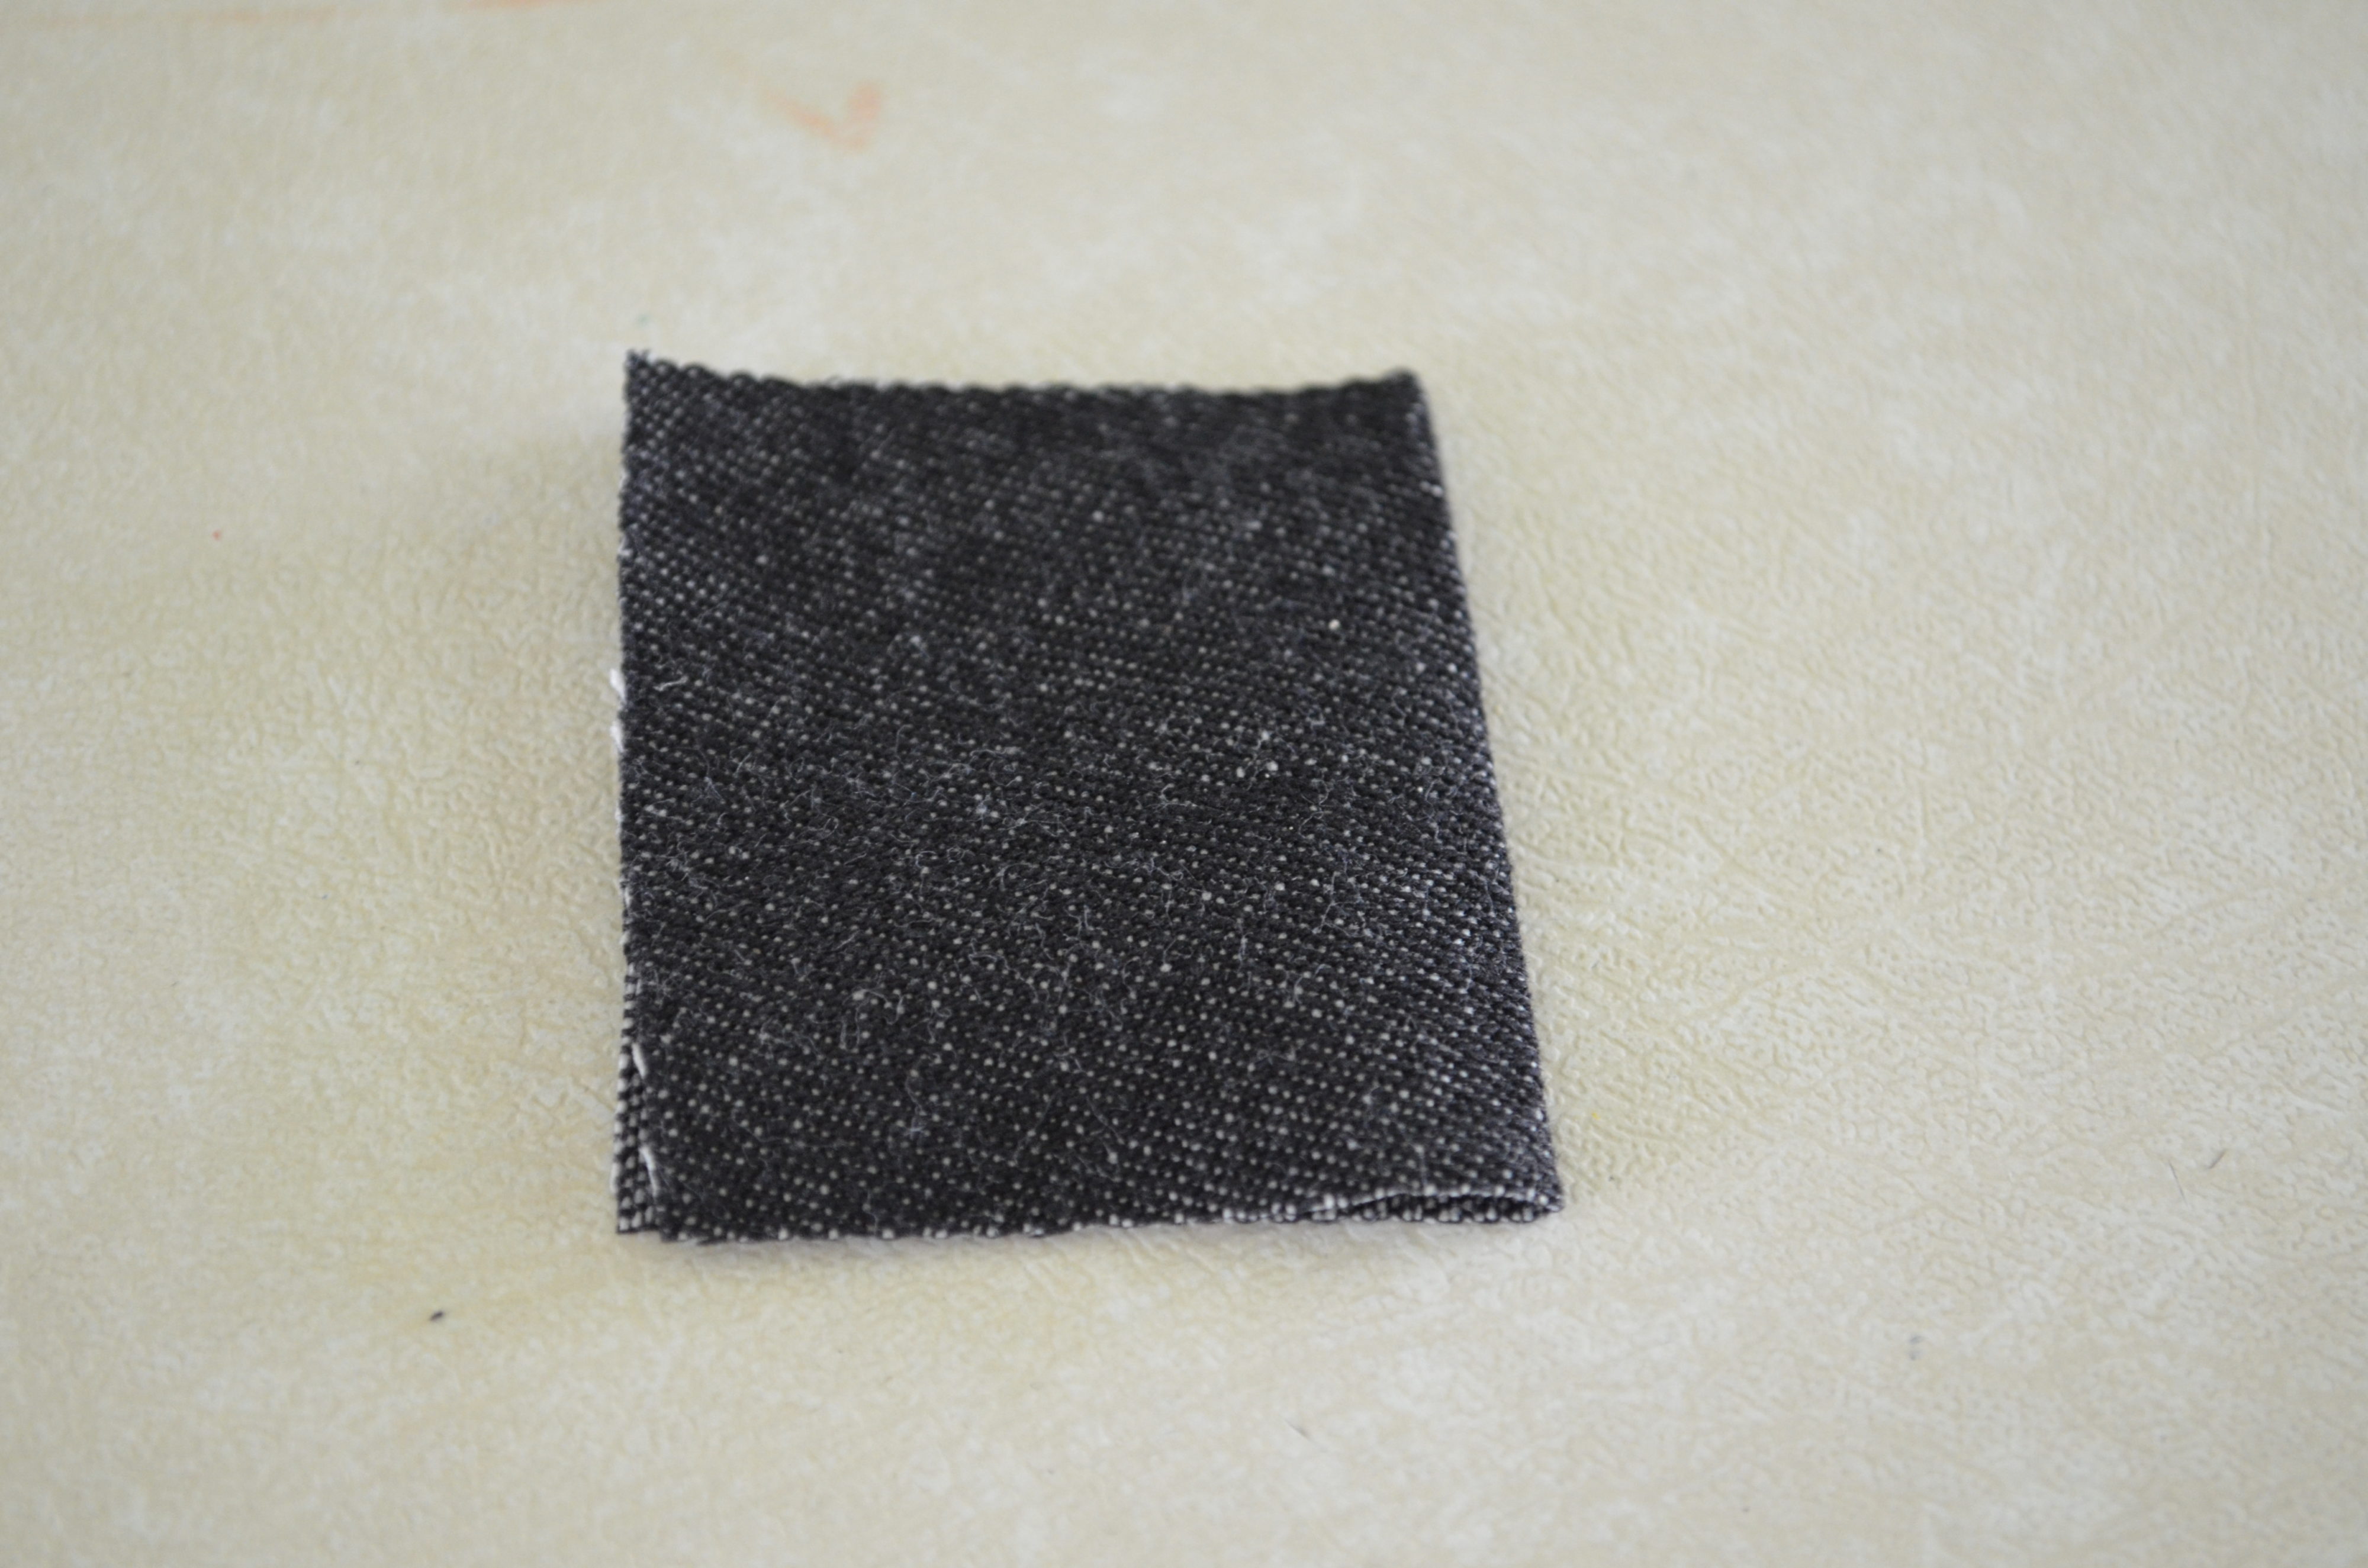
- Fold the tab in half, lengthwise and press flat.
2. Open the tab and fold it again, this time with the edges to the inside. Press it flat again.
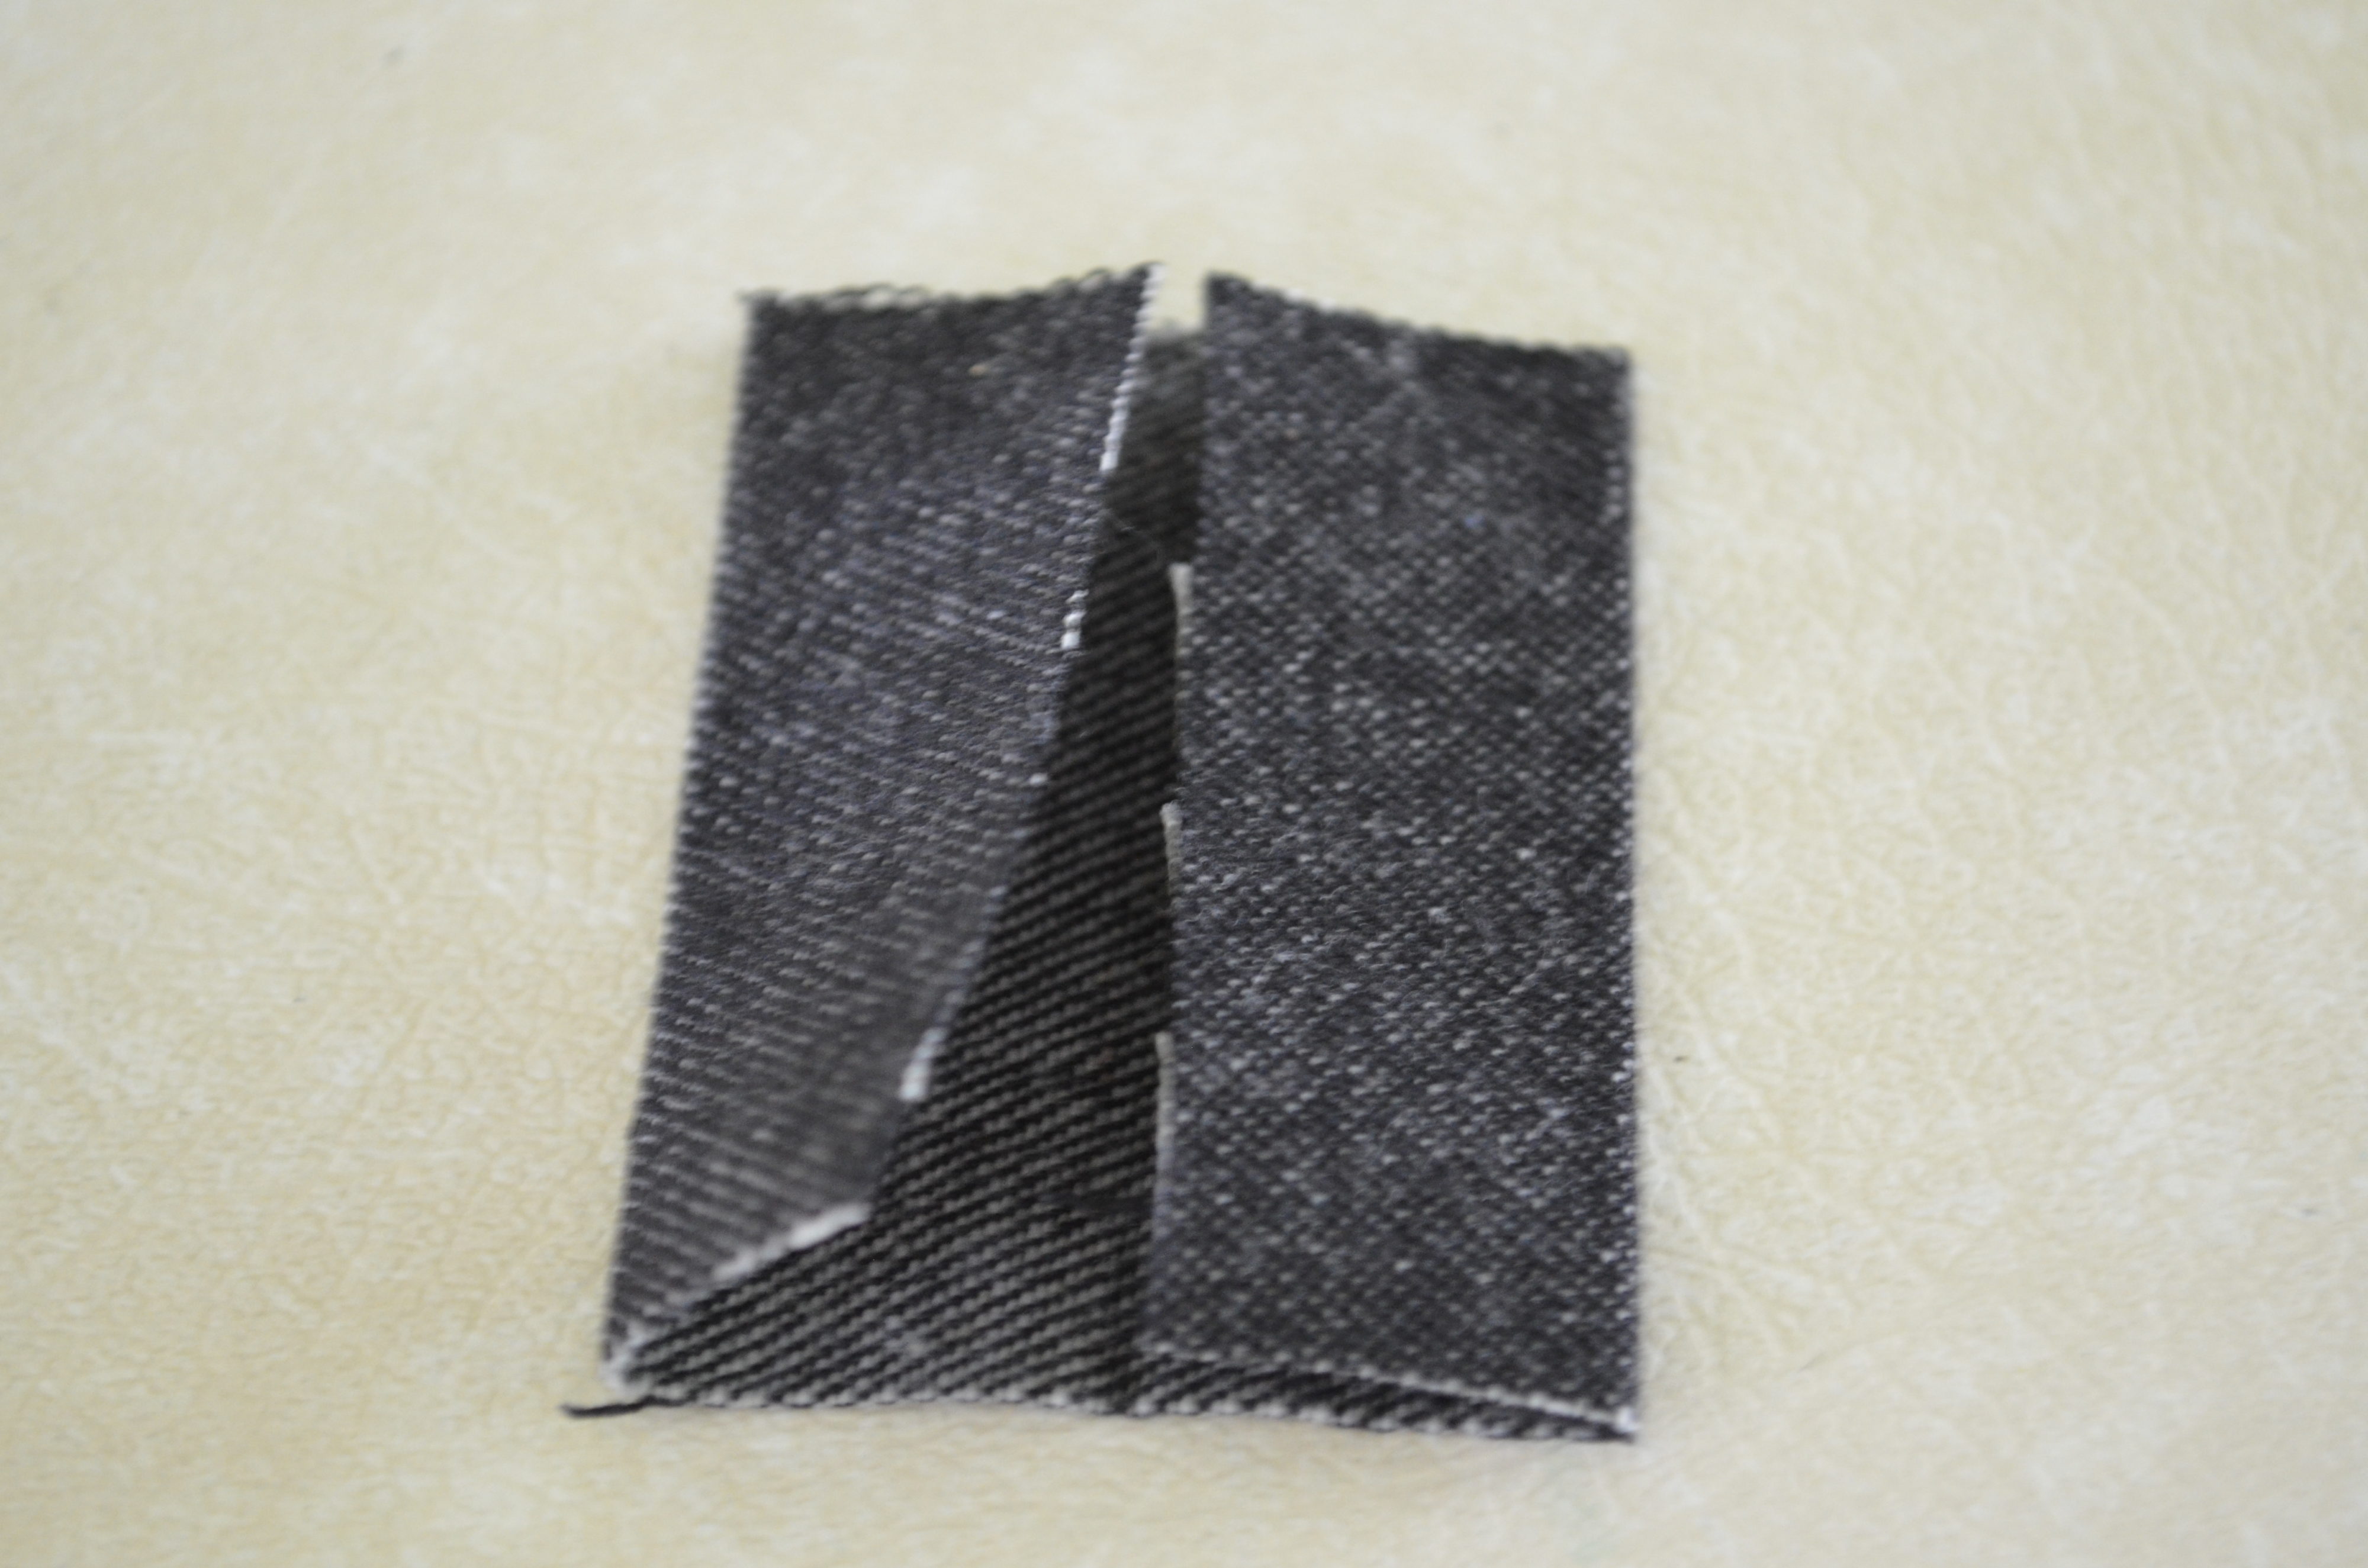
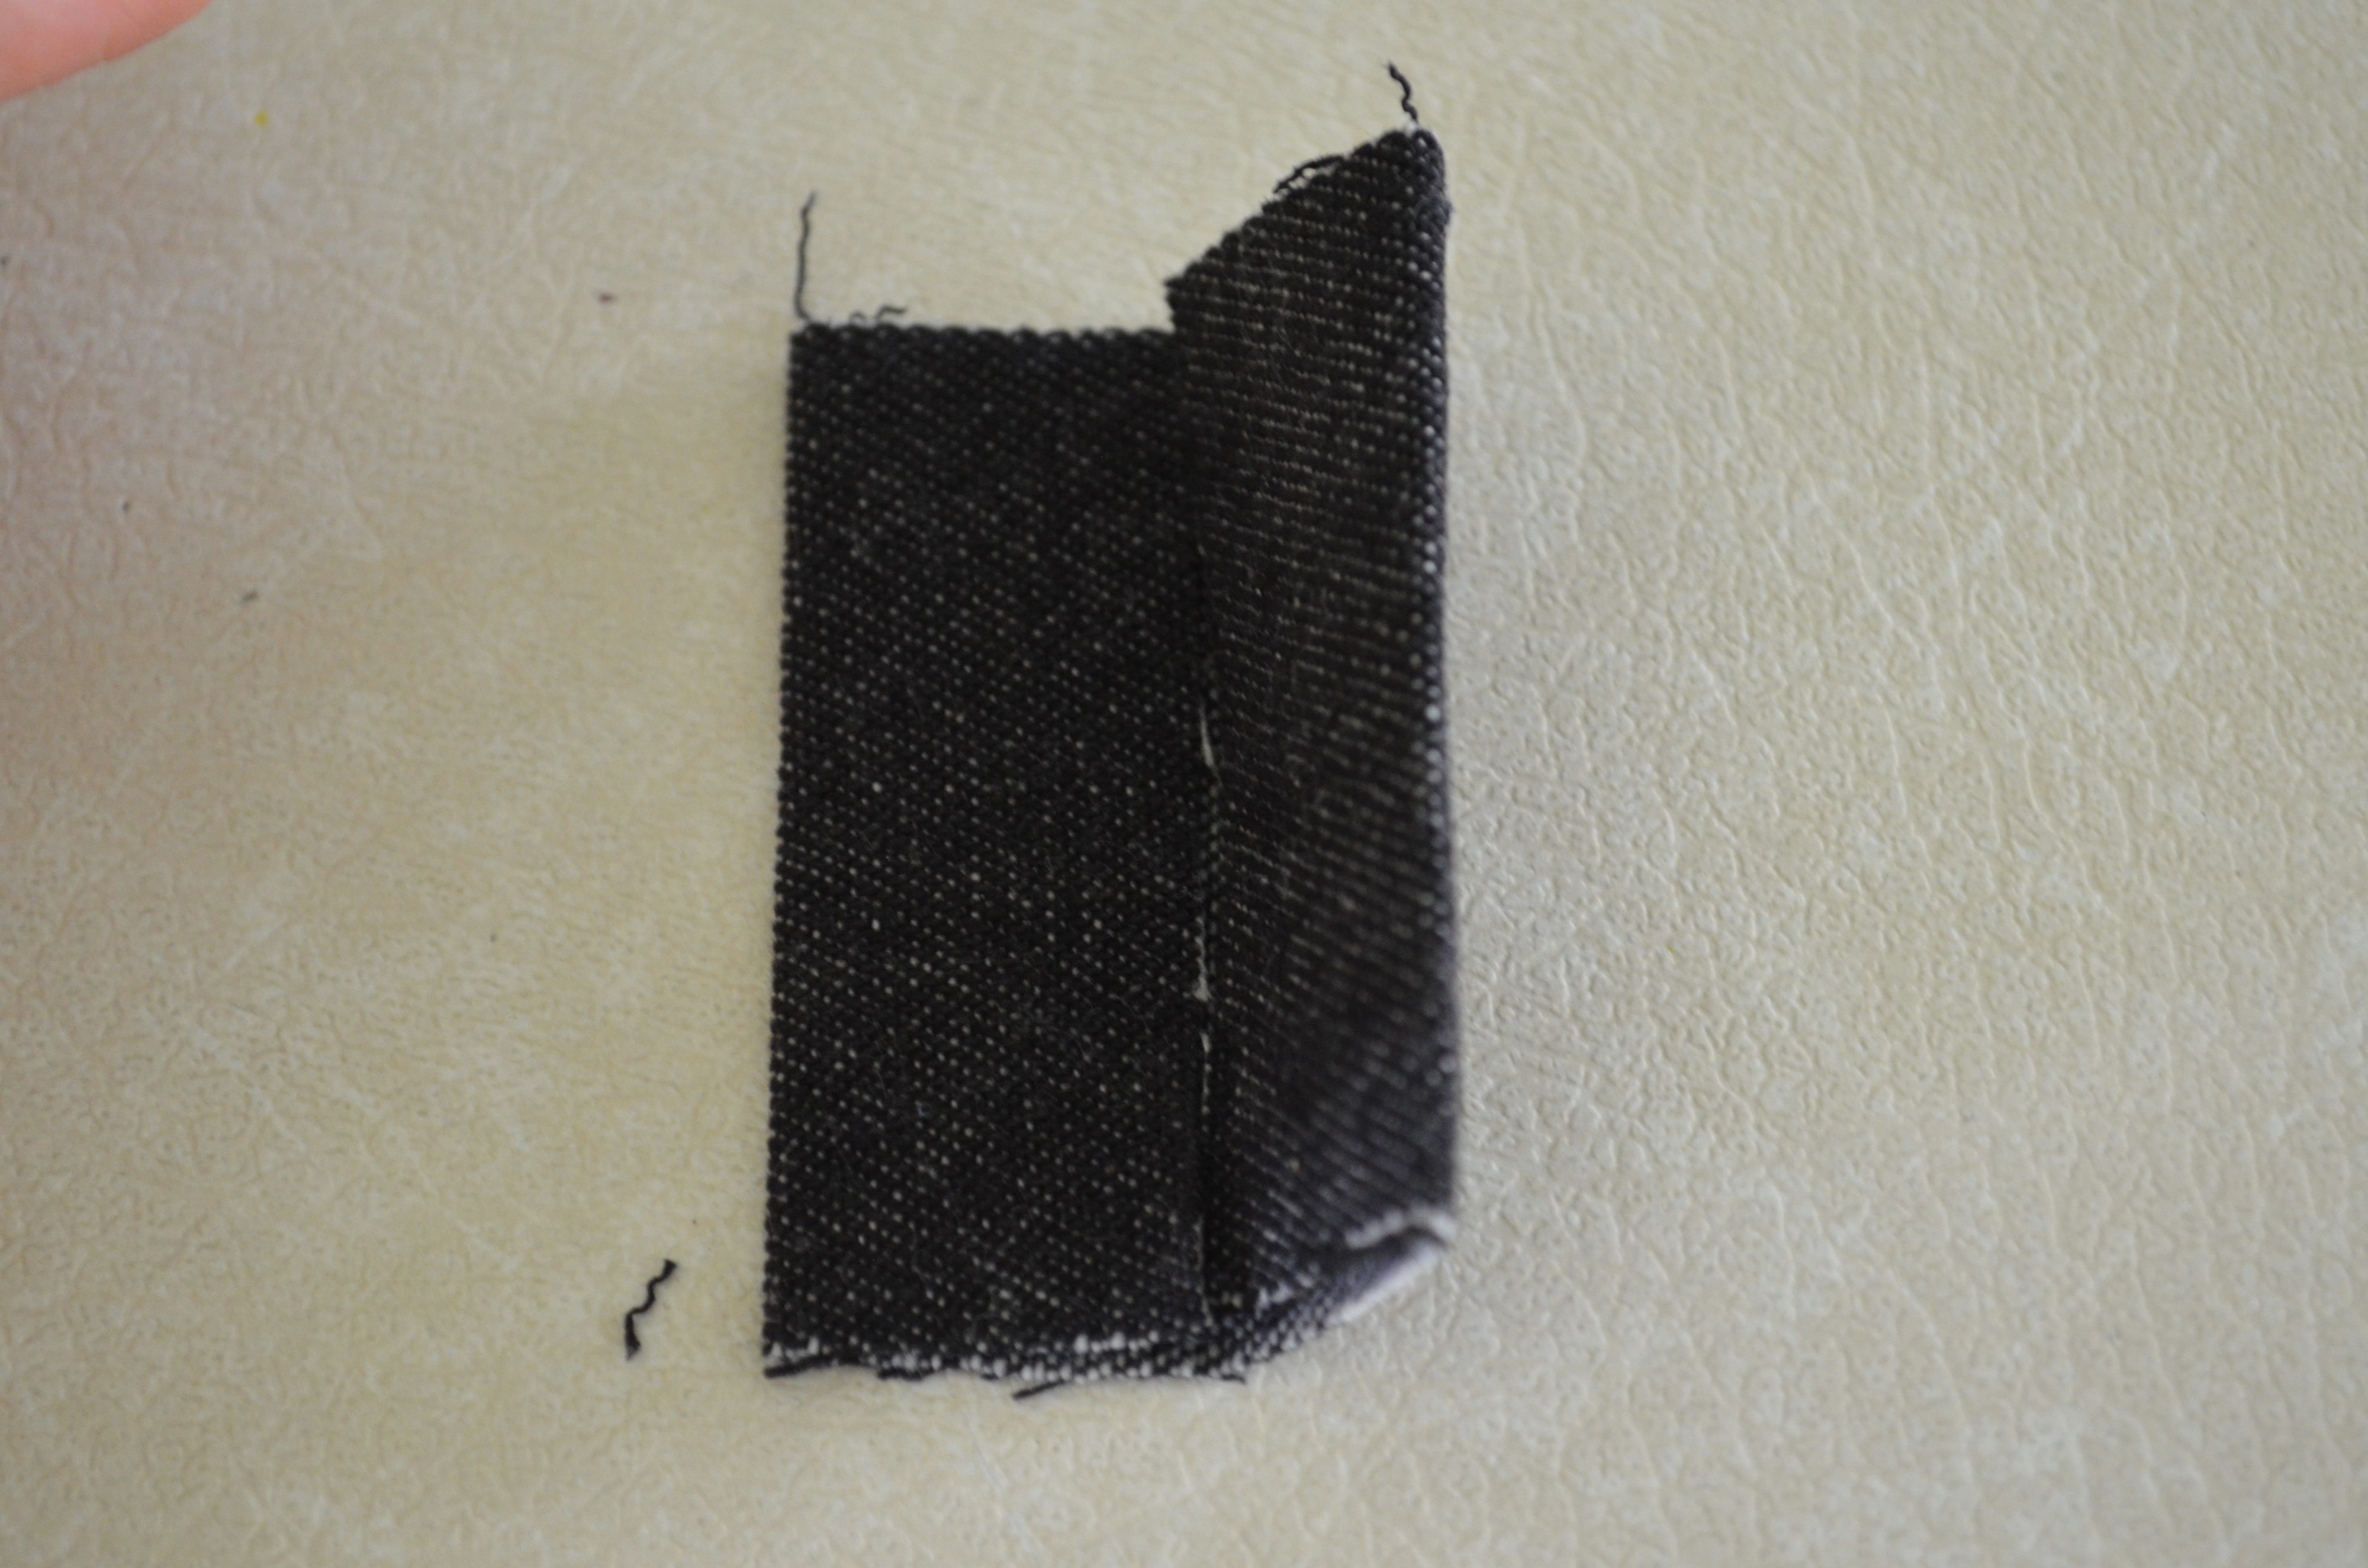
3. Keeping the edges facing inwards, fold the tab again and press it flat.
4. Add the tab to the zipper edges, inserting the zipper in between. Then pin the tab to the zipper.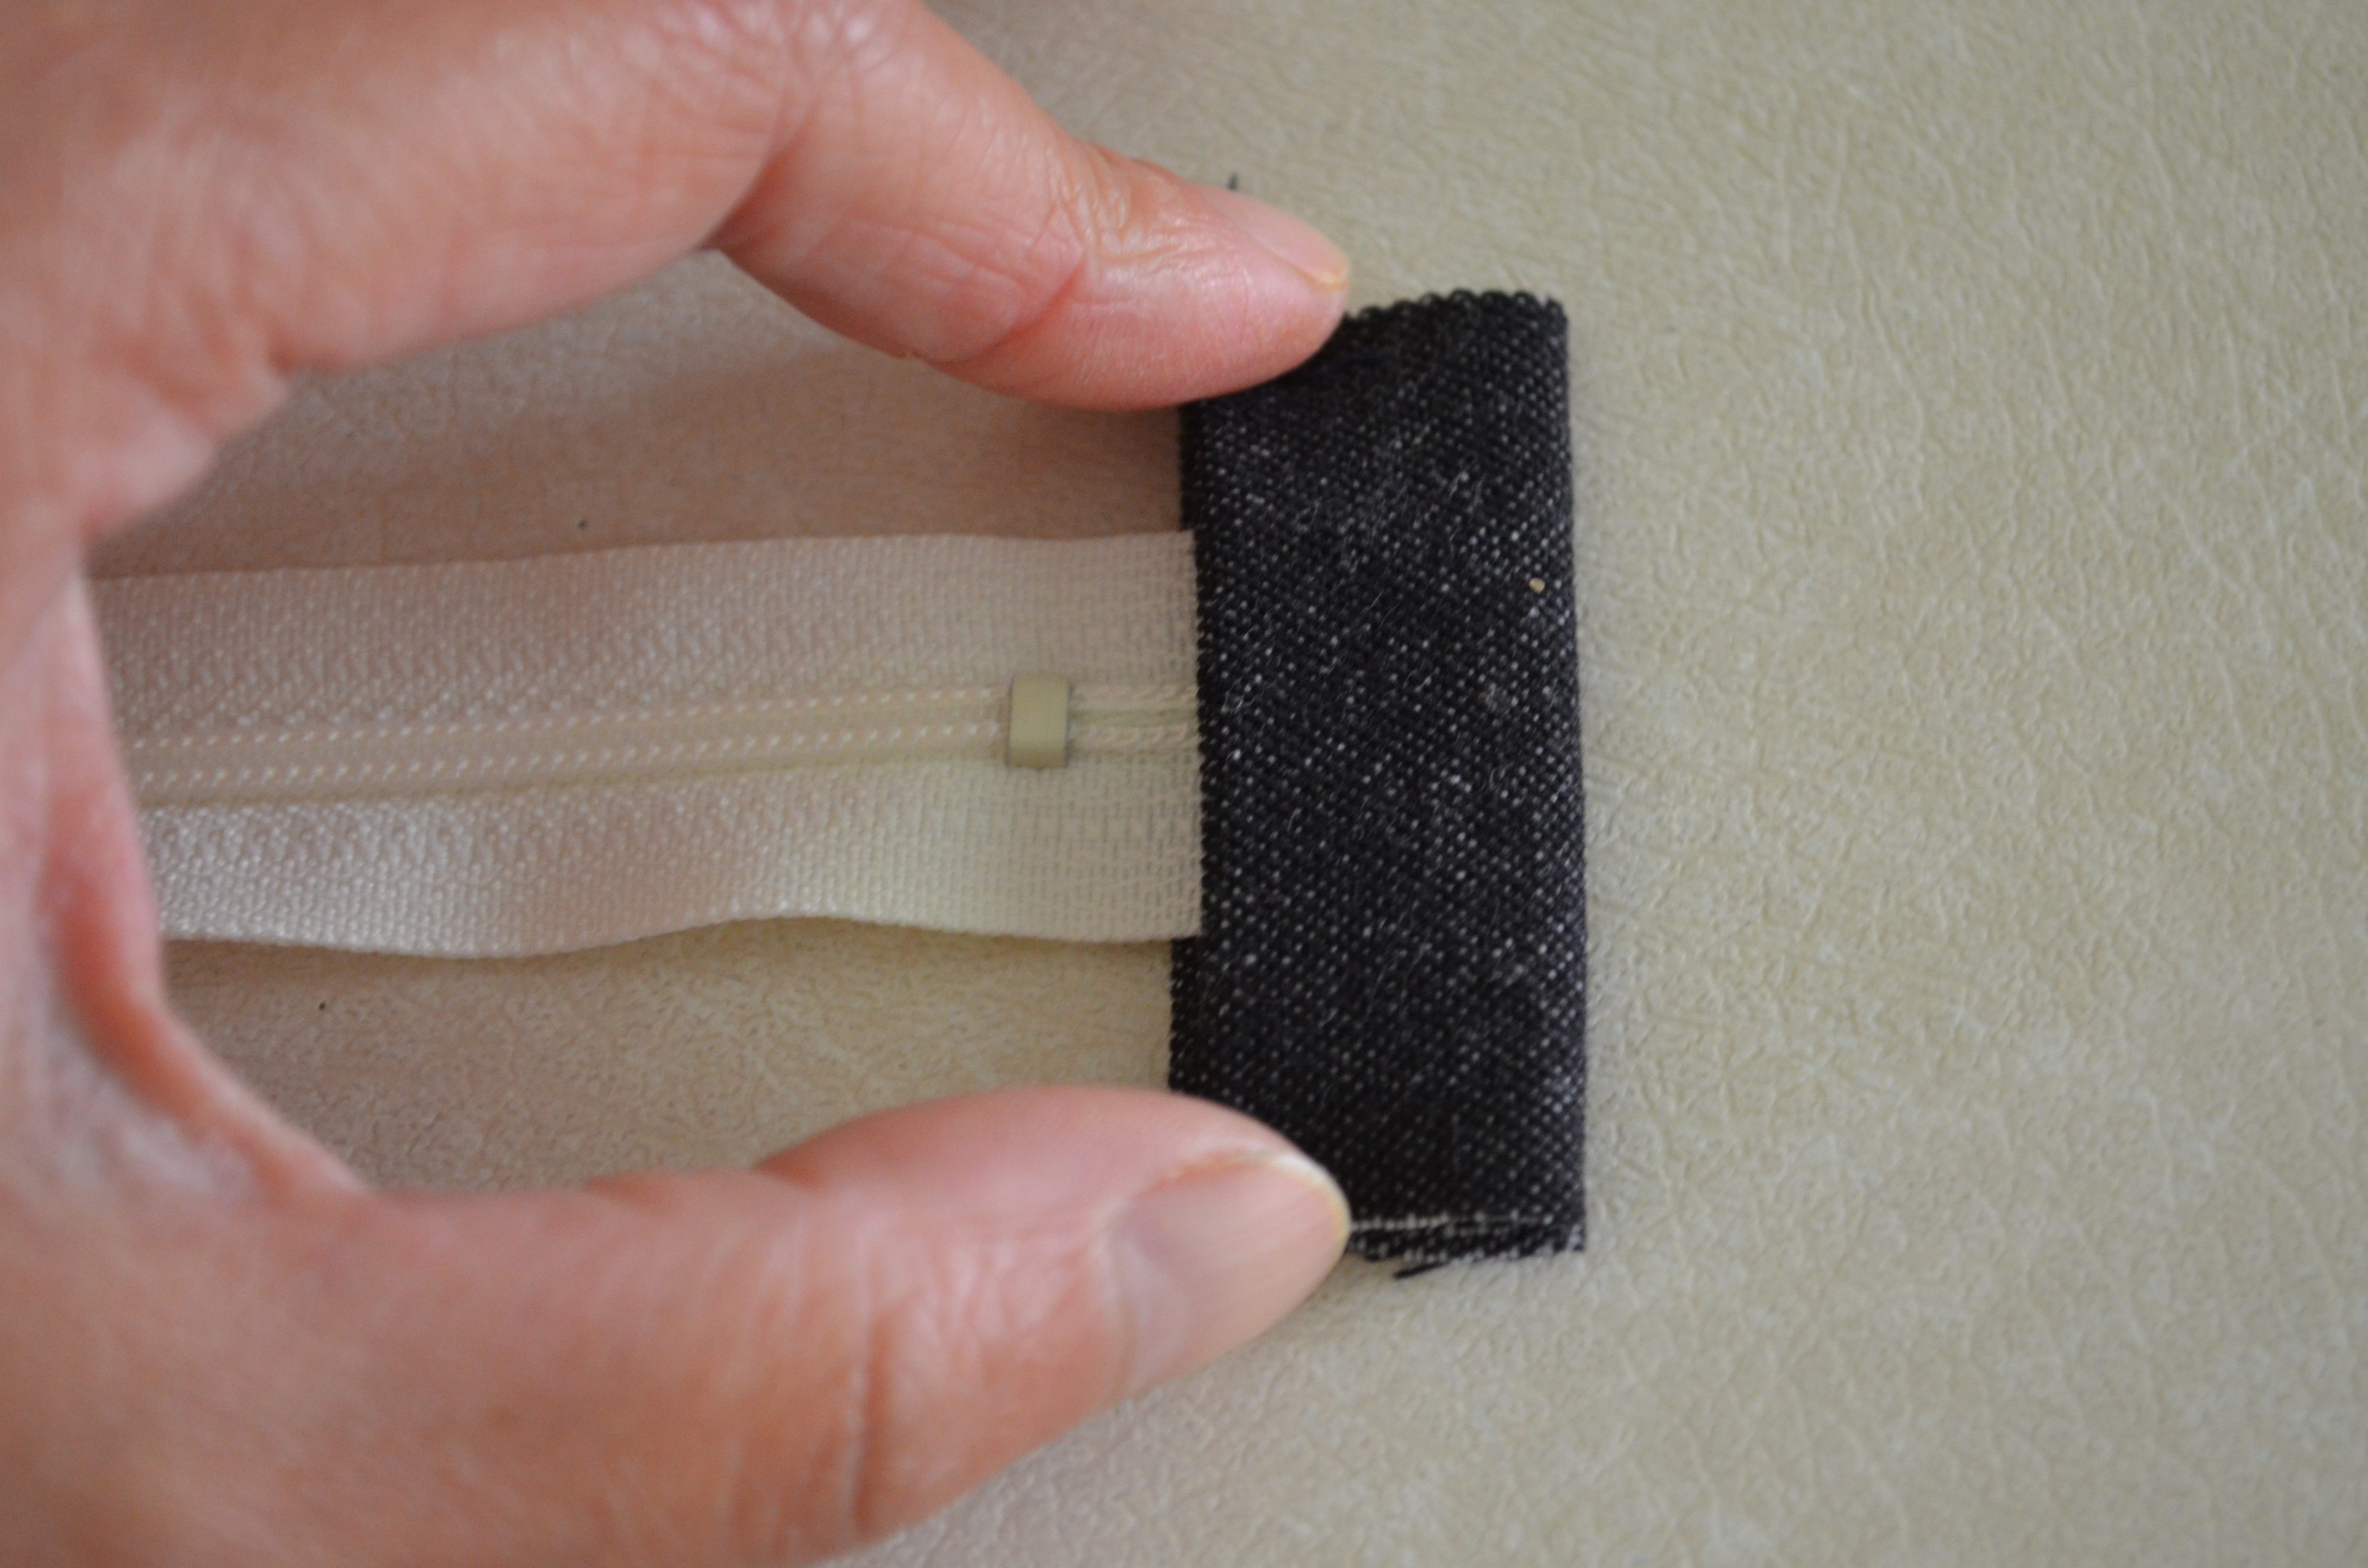
5. Take it to the sewing machine and stitch the tabs to the zipper with a 1/8 seam allowance. For the purpose of this tutorial I have used contrasting thread to show you the stitches, however you might want to use some coordinating thread.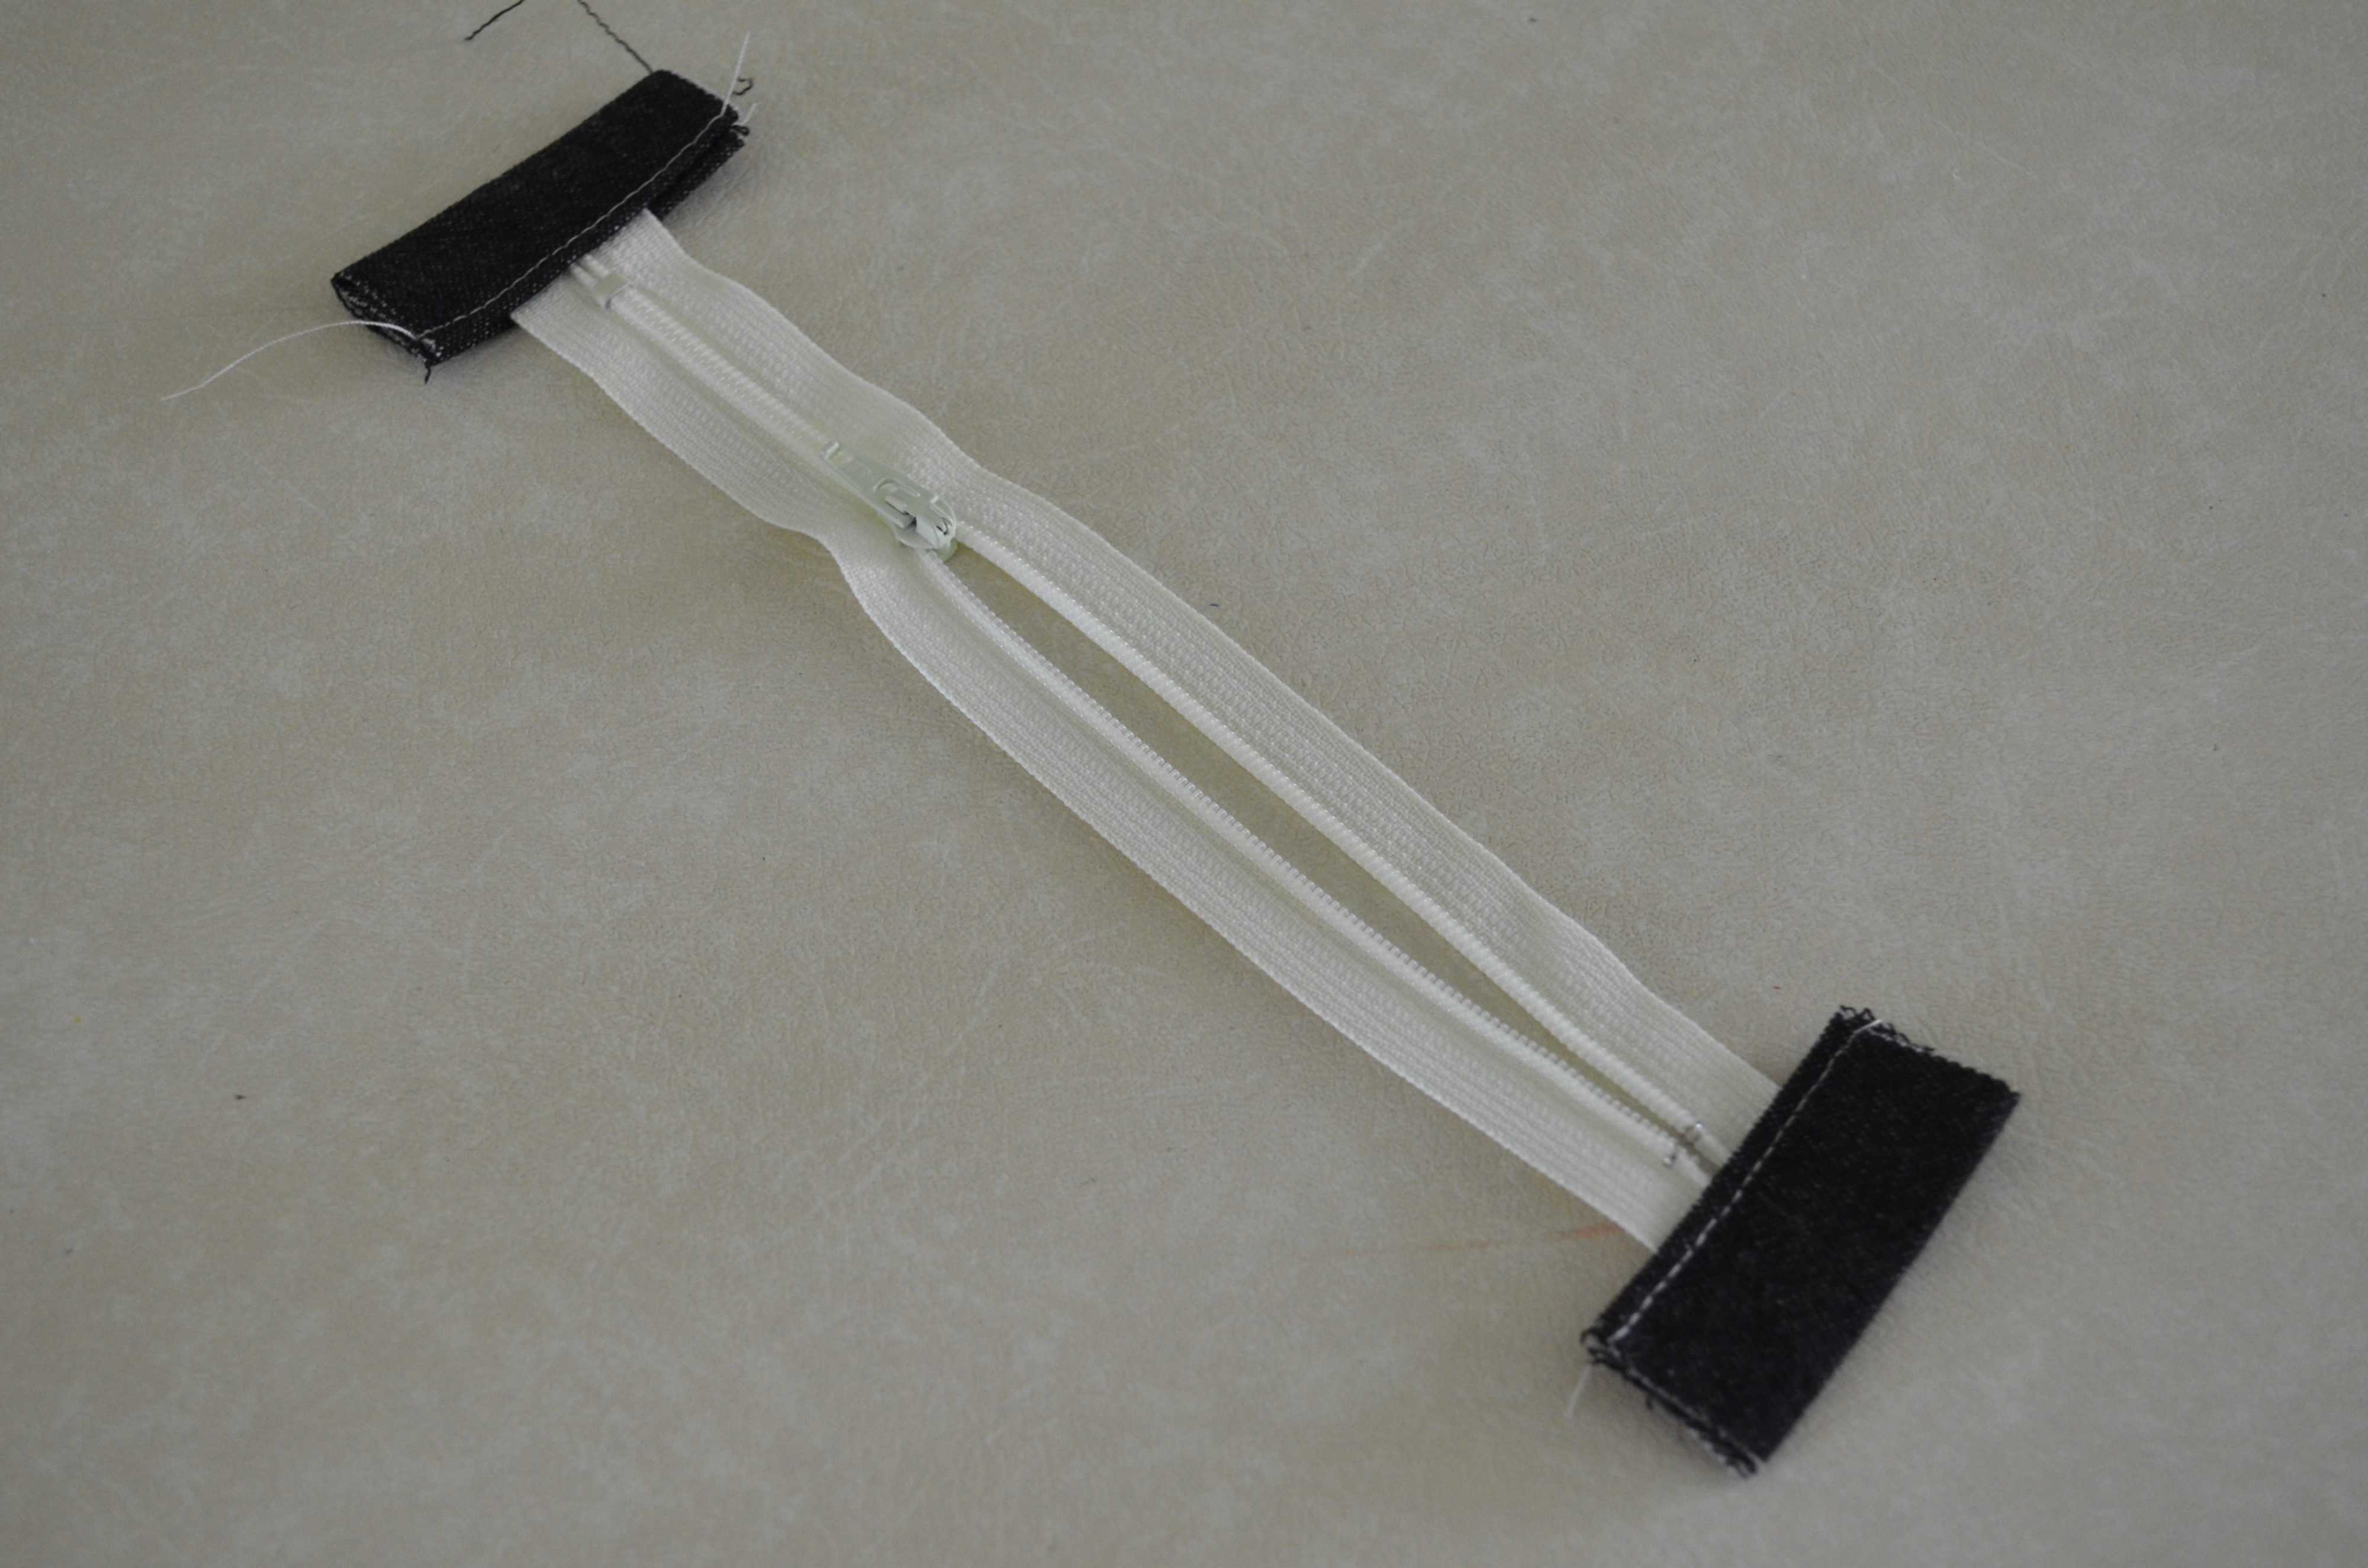
6. Finally, trim the excess fabric on the sides of the tabs.
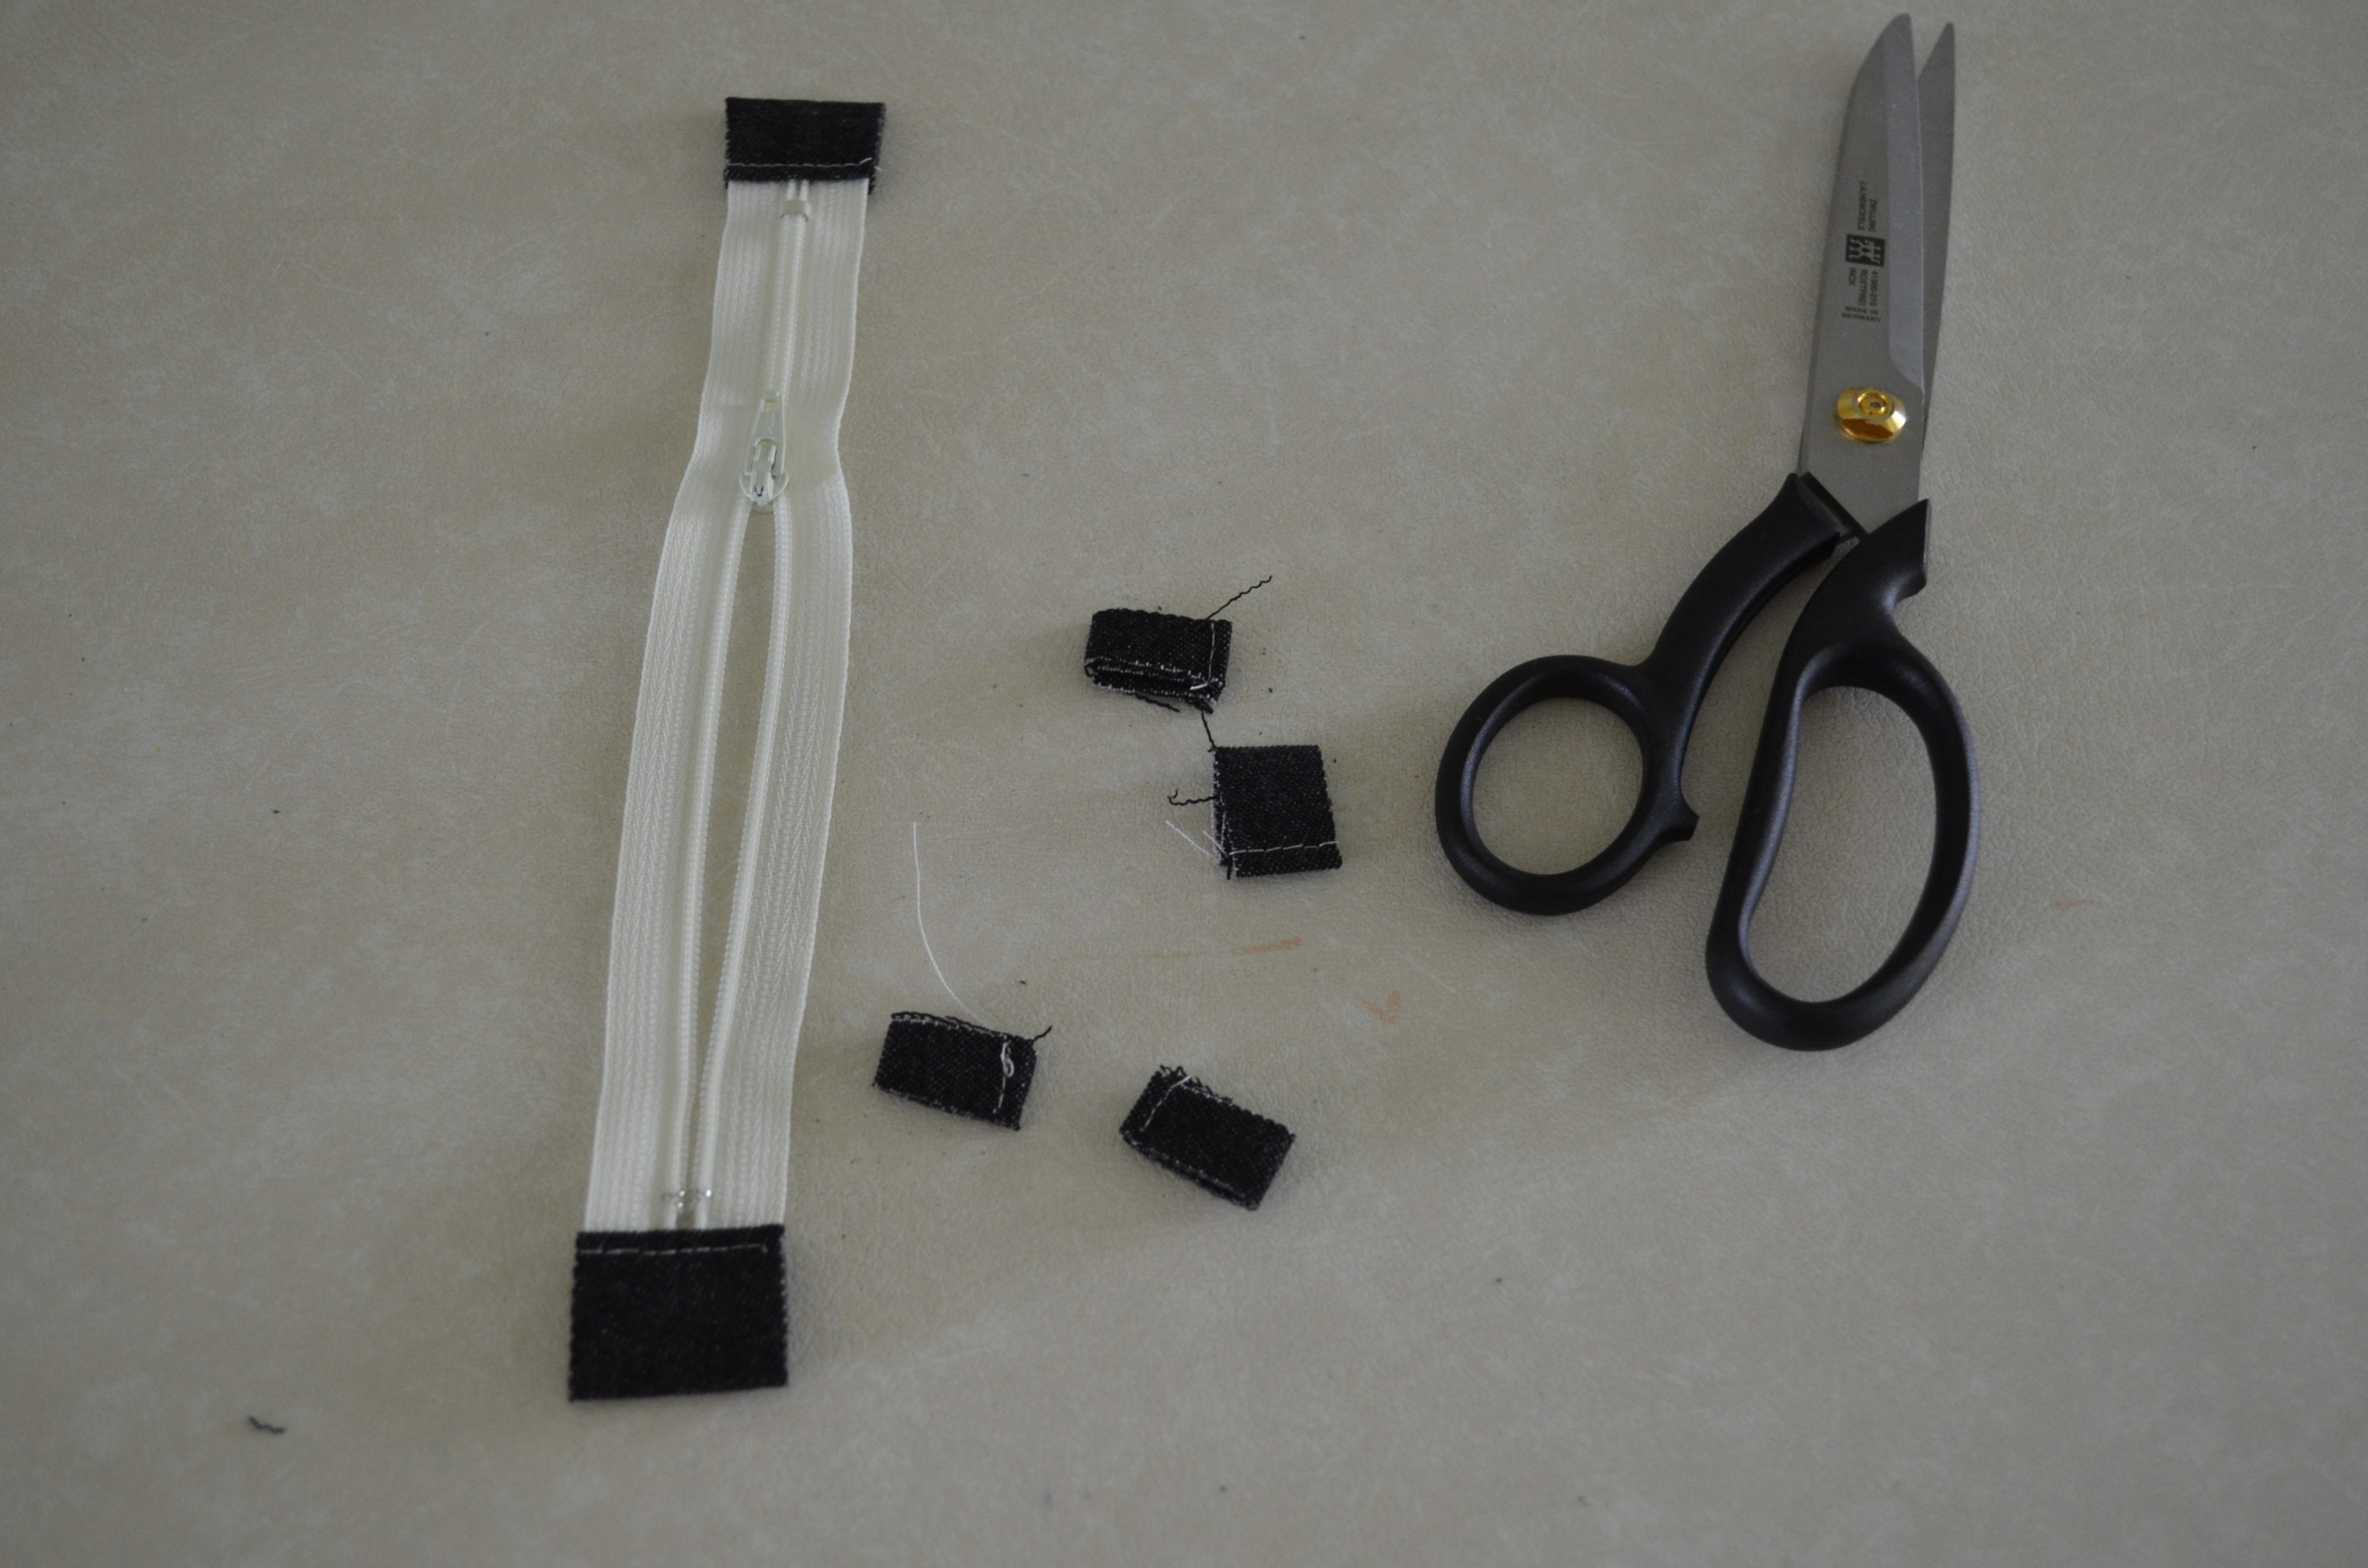
And that is ready!
Now you can use this zipper for your makeup bag or any other project you need to make.
Happy sewing!
Leave a Reply