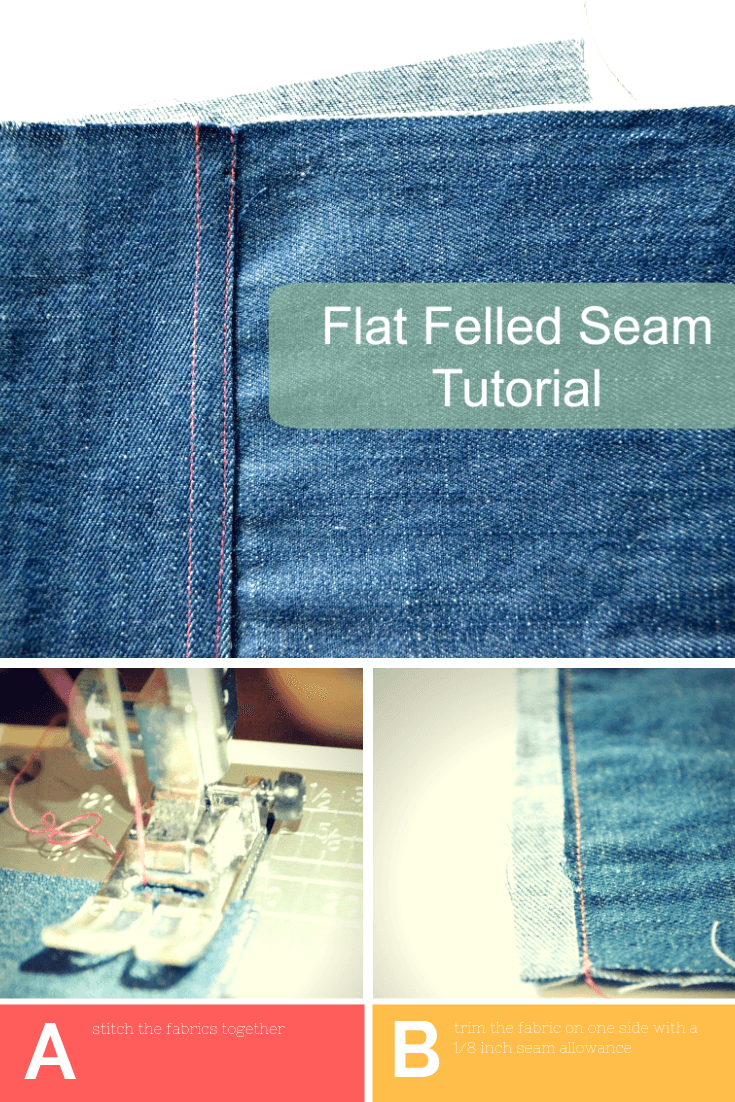
Tutorial: Flat Felled Seams
Hello Everyone,
Thanks for stopping by at On the Cutting Floor.
Today I have made a tutorial to explain Flat Felled Seams.
Flat felled seams are the seams you will usually find in jeans and denim related products. They are exposed seams, with two parallel lines. They can be highlighted by using contrasting threads and make the projects fun!
How to make the Flat Felled Seams
1. Place the fabrics wrong sides together.
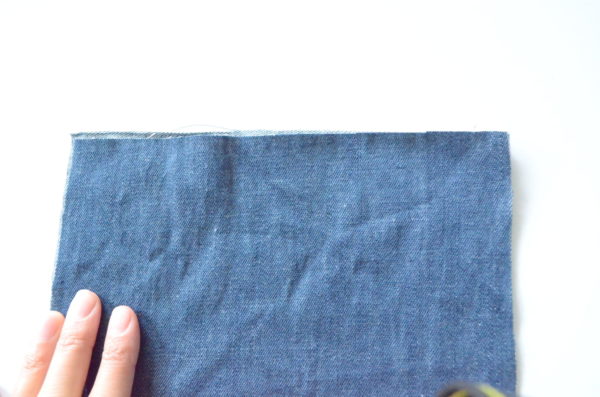
2. Sew along the side and leave 5/8 inch seam.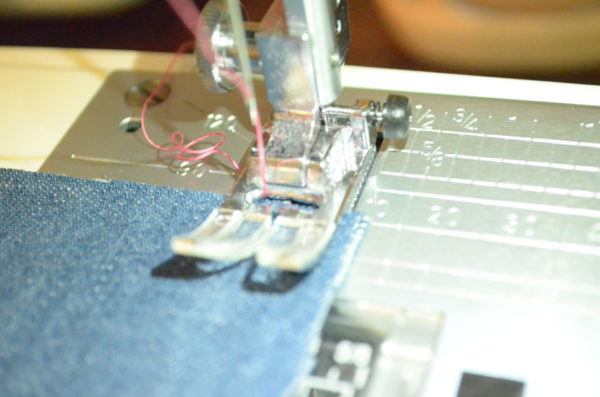 3. This is how it will look like:
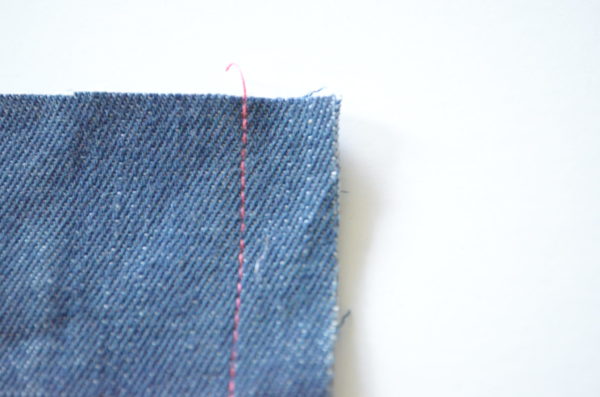 4. Trim the excess fabric on one of the sides and leave only 1/8 inch.
I usually trim the back piece of the pattern I am working on. Whatever you choose, remember to be consistent with the rest of the project 😉 5. Press flat and overlap the widest seam to the side.
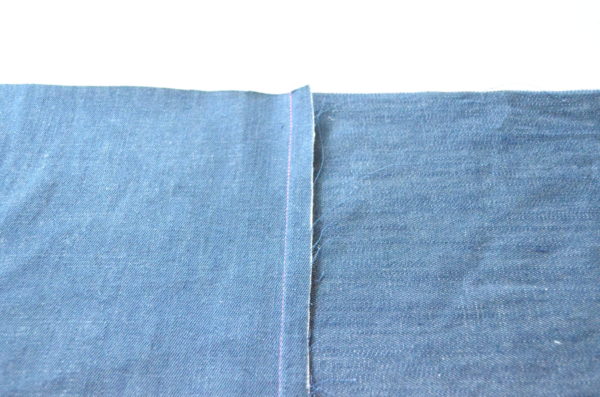 6. Fold the seam 1/8 inch and pin along to keep in place.
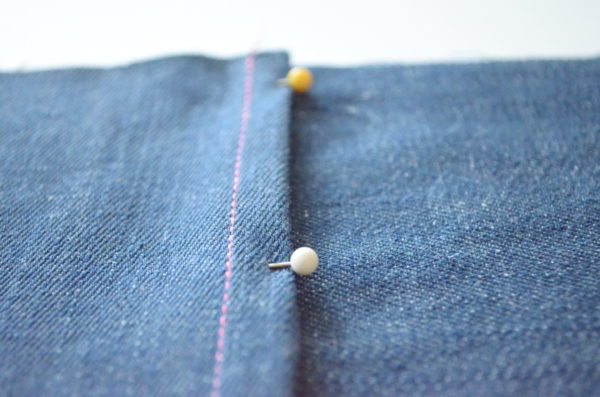 7. Sew a new parallel line. I tend to follow the original seam line (where my presser foot is) and keep 1/8 inch distance from the edge.
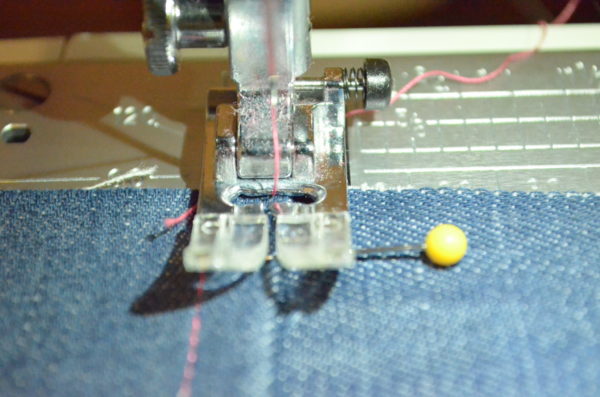 8. Press flat again.
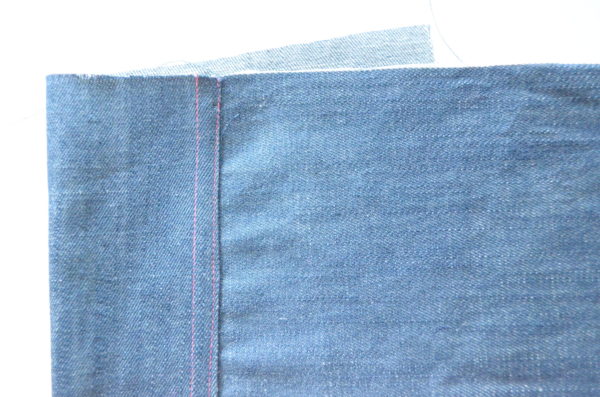
And it is ready!
Thanks for reading this tutorial and please, let me know how it worked for you 😉

Leave a Reply