Thanks for visiting On the Cutting Floor today!This is the FREE SEWING TUTORIAL: Insulated Car Seat Organizer
If this is your first time in our blog, remember to check our FREE SEWING PATTERNS page.
On that page you will find our collection of free sewing patterns for women, kids and men.
You can also visit our SEWING TUTORIALS and our SEWING REVIEWS.
We also have an ETSY STORE, where you will find unique and modern sewing pattern for women.
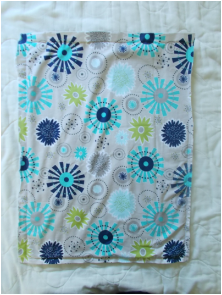
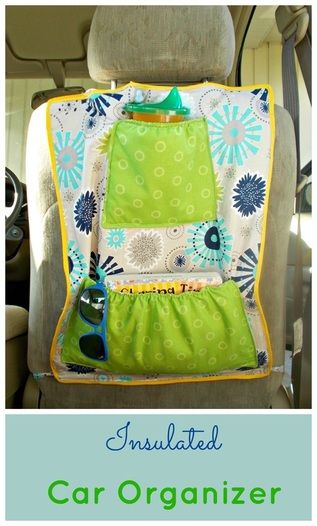
Car Seat Organizer
I have created this car seat organizer with an insulated backing that will keep my son’s snacks and milk fresh and cool for him. For the pattern, please visit my store at Craftsy by clicking the blue button below
I have created this car seat organizer with an insulated backing that will keep my son’s snacks and milk fresh and cool for him. For the pattern, please visit my store at Craftsy by clicking the blue button below

Tutorial
|
|
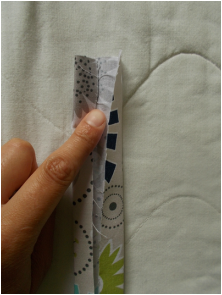 1. Fold the straps length wise and iron flat.
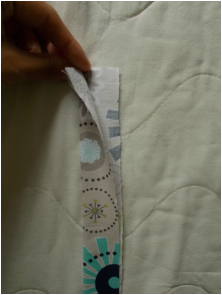 2. Open and fold both sides to the middle. Iron flat again.
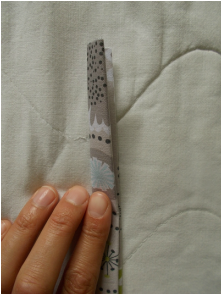 3. Fold it again and iron flat. Stitch both sides of the strap length wise.
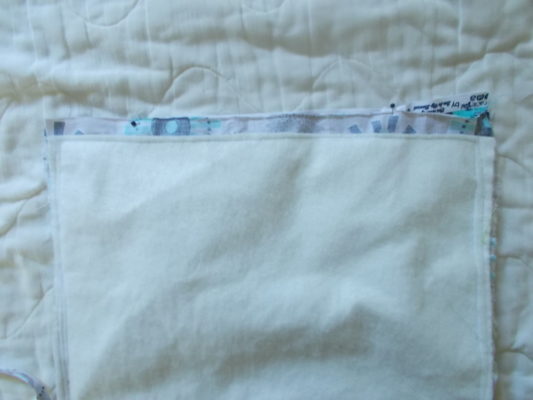
 Pockets 4. Place the insul bright in the back of the pocket facing piece.  5. Stitch around the insul bright area.
6. Place the front piece with the facing.
7. Place the elastic and pin to the top left corner.
8. Stitch around the area, leaving a 4 inches opening to turn the pocket around.
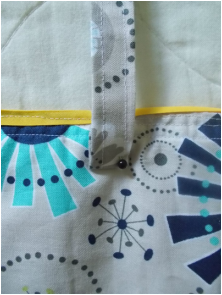
9. place the insul bright and the organizer facing together and sew along the edges. 10. Place the organizer with the facing together, right sides facing and stitch around the edges again. Leave a 4 inches opening to turn around. 11. Close the opening and put the contrasting bias tape around the edges.
12. Place the straps and stitch them in place.
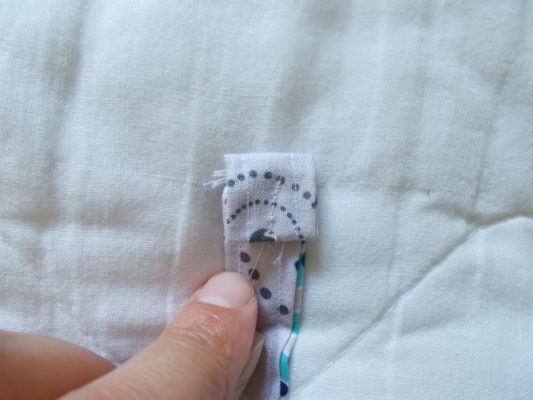
13. Finish the straps by folding the ends and stitch.
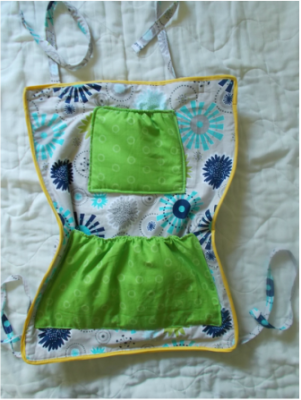 14. Place both pockets on the organizer. Pin and sew along the bottom and sides.
|


And it is done!!!
Thanks for reading this tutorial.
Leave a Reply