Hi there,
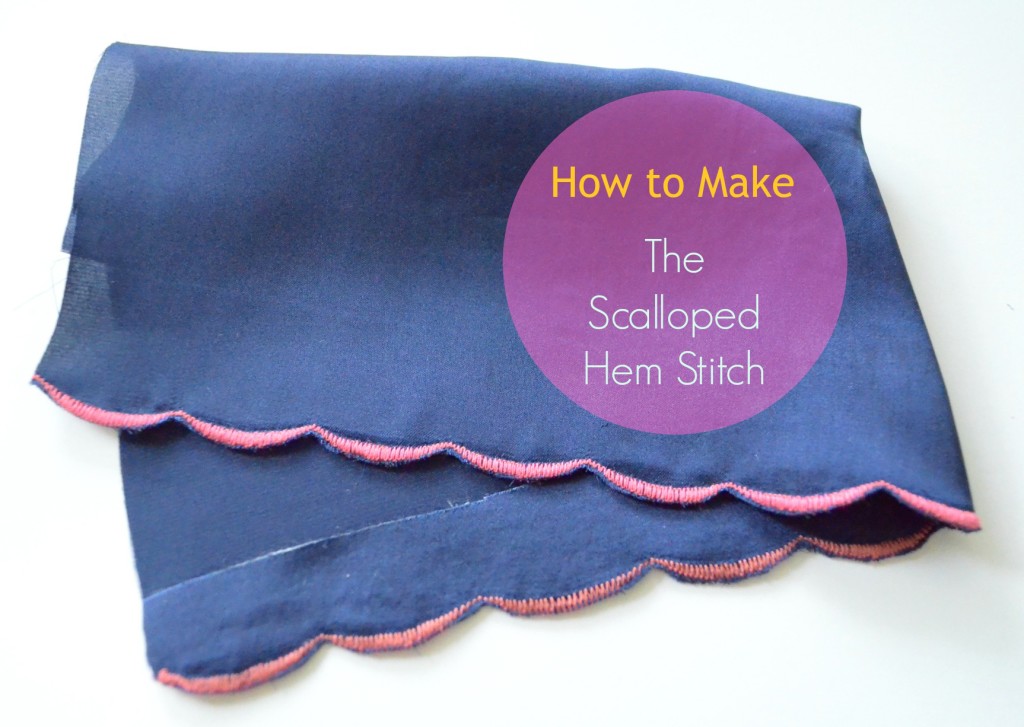
Thanks for stopping by today. This is the tutorial to make the beautiful satin hem. I have been dreaming about making a flowy, summer top with this hem at the bottom of the top.
They are also great to use on lingerie and girl’s clothing. I believe satin stitch will add beauty and understated femininity to your projects.
Here it is how to make it:
1. You will need the fabric you are going to use,
plus a facing piece (2 1/2 inches long) and interfacing to stabilize the hem.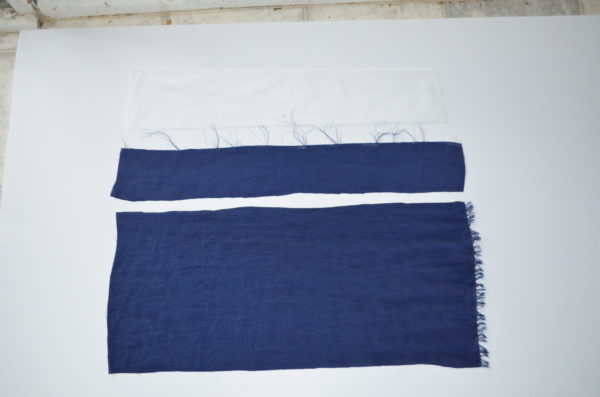
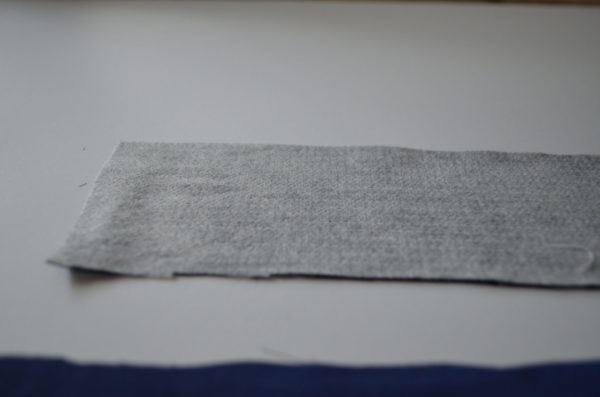
2. Iron on the interfacing to the facing.
3. Place the facing at the bottom of the pattern piece.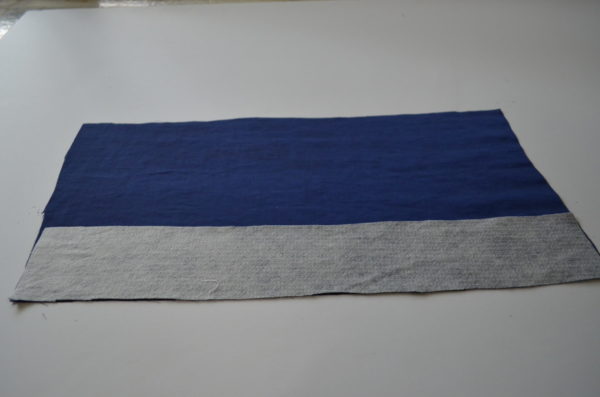
4. Sew along the bottom and leave 3/8 inch seam.
5. Trim the excess.
6. Press flat and under stitch the facing piece (1/8 inch from the seam)

7. Turn the facing around and press flat.
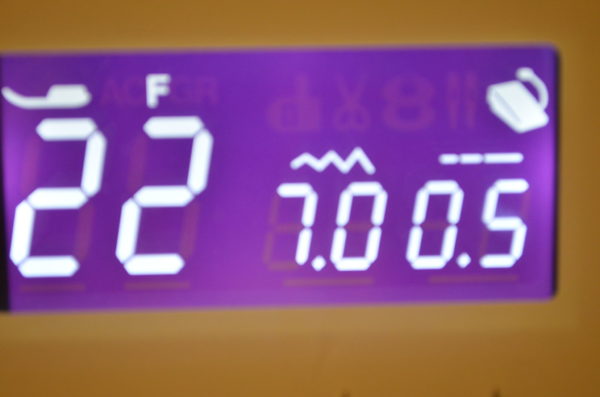
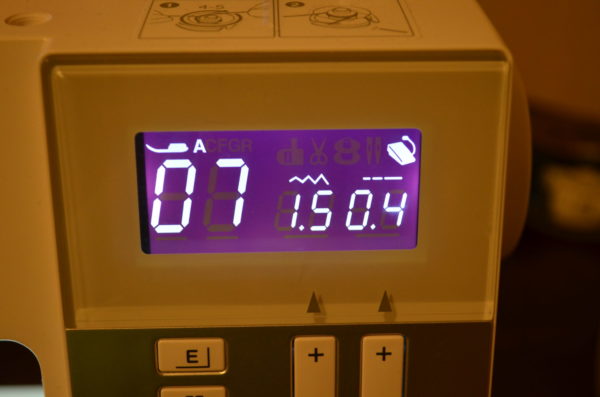
8. Set your sewing machine to the satin hem stitch.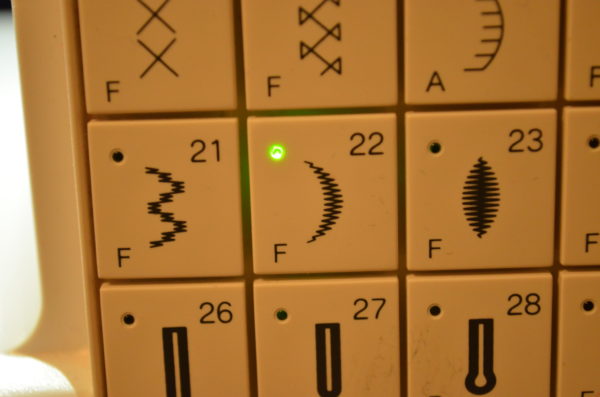
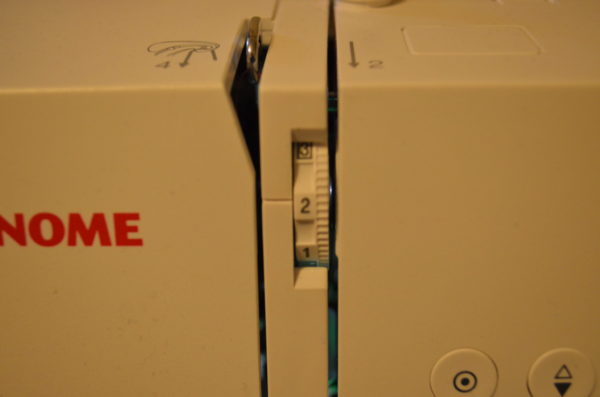
9. Loosen up the tension on the machine.
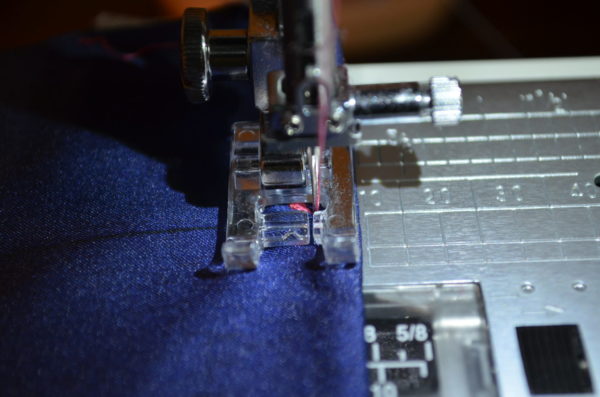
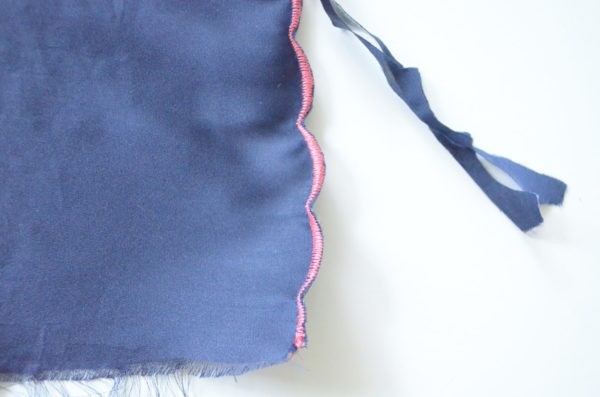
10. Start the stitches leaving a 3/8 inch space between the needle and the border of the fabric.
11. If your sewing machine does not have a satin stitch, you can make this by using the zig-zag stich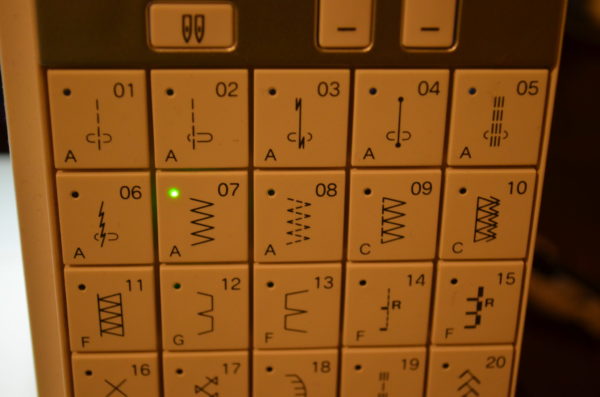
12. Remember to set your machine accordingly. You will need to increase or decrease the stitch length as needed. 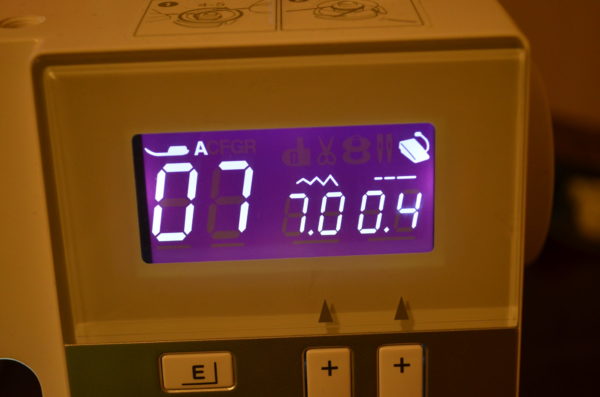
13. When finished, trim the excess. Be very careful not to cut the stitches 😉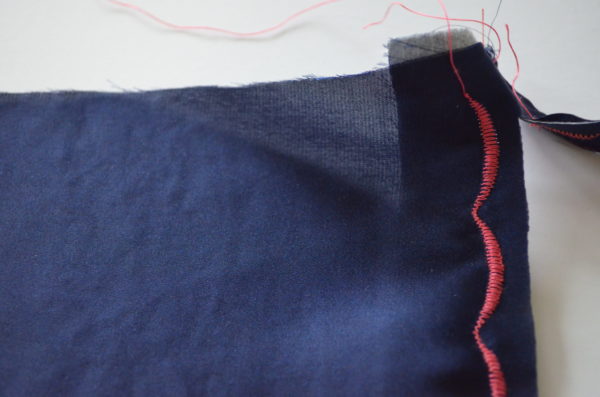
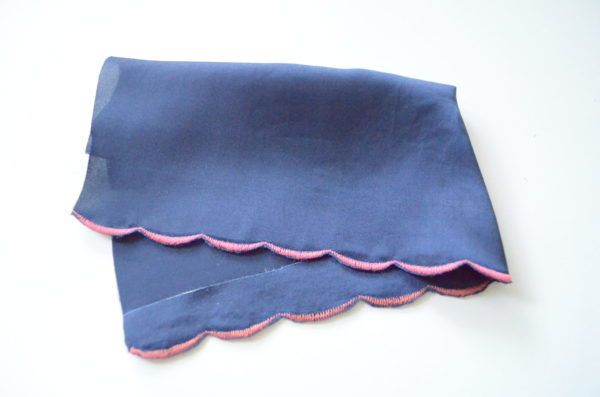
And it is done. They are beautiful and easy enough to make 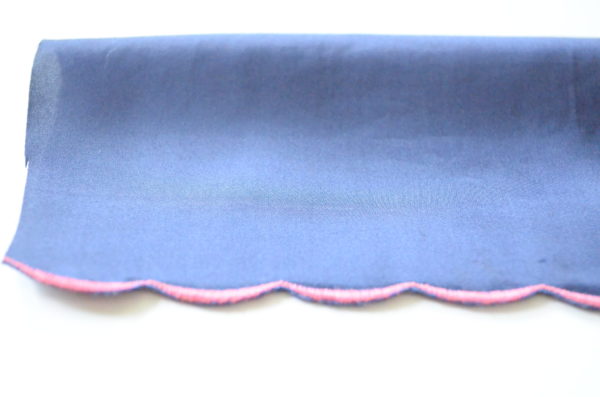
I hope you enjoy this tutorial and please, let me know how they work for you
Leave a Reply