Hello and Welcome to my blog. This is the Tutorial: Fringe 101
If this is your first time in our blog, remember to check our FREE SEWING PATTERNS page.
On that page you will find our collection of free sewing patterns for women, kids and men.
You can also visit our SEWING TUTORIALS and our SEWING REVIEWS.
We also have an ETSY STORE, where you will find unique and modern sewing pattern for women.
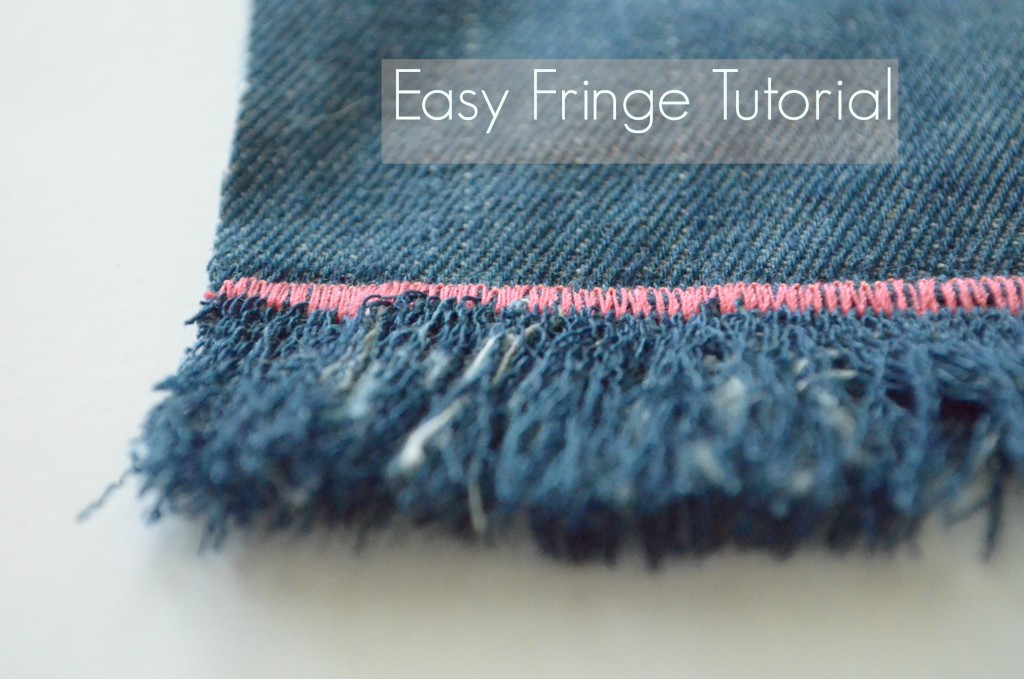
Today’s tutorial is about how to make an easy, trendy fringe to add to your fave project.
Fringe has become very popular in the last couple of months. It has revitalized the 70’s style, but with a modern view.
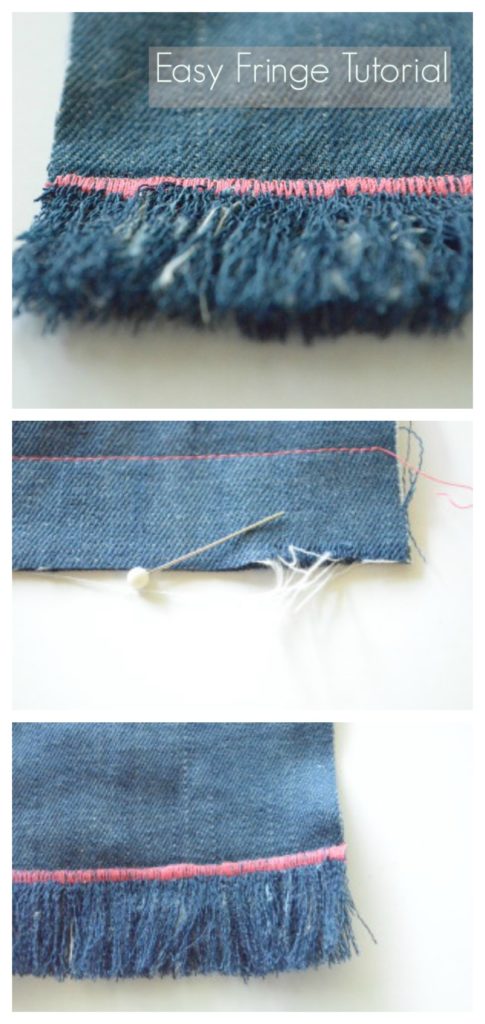
Tutorial: Fringe 101
The inspiration for this tutorial?
Cute, isn’t 😉
Ok, so let’s check on the step by step tutorial on how to get a clean, beautiful fringe.
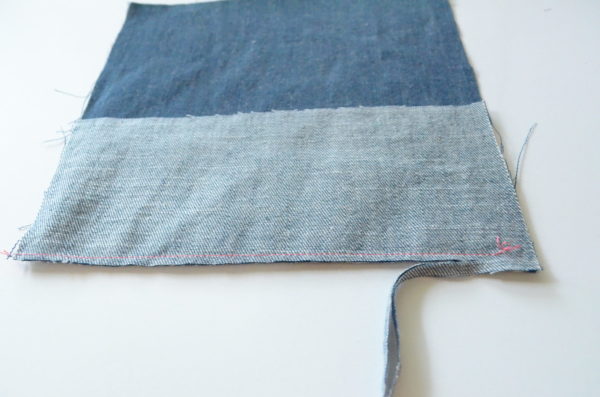
1. Place the pattern piece you would like to add some fringe and the facing (at least 4 inches long)
TIP: remember that we will be cutting two inches from the bottom , so if you are making a top, add the extra inches to the original piece. 2. Sew along the edge by 3/8 inch.
3. Press flat.  4. Under-stitch the facing by making a horizontal line on the facing piece, 1/8 inch away from the original seam.
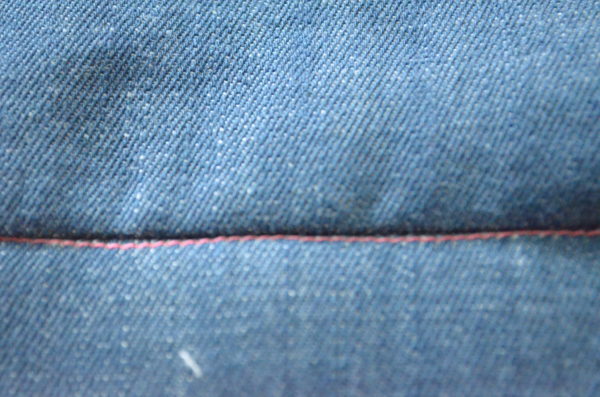 5. Turn the facing and press flat. Sew along the edge by 1/2 inch, then sew a parallel line where the fringe will start (I made mine 1 1/4 inch apart)
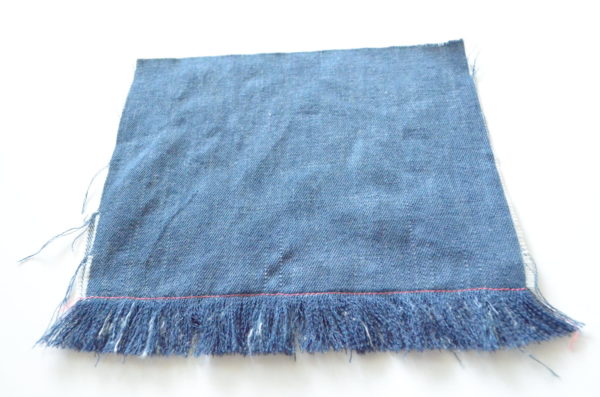
 6. Cut the bottom line.
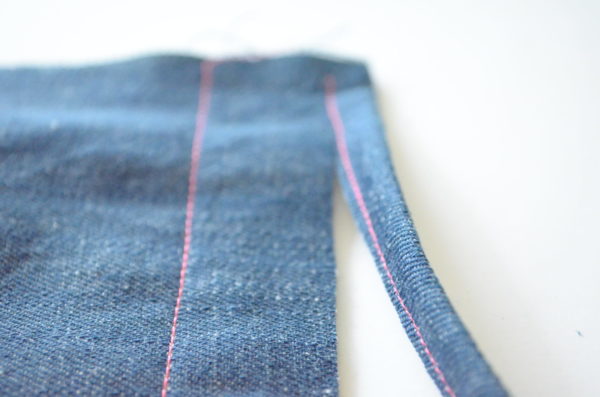 7. Then, grab a pin and start unraveling the threads.
It will take some time, but the results are worthy. 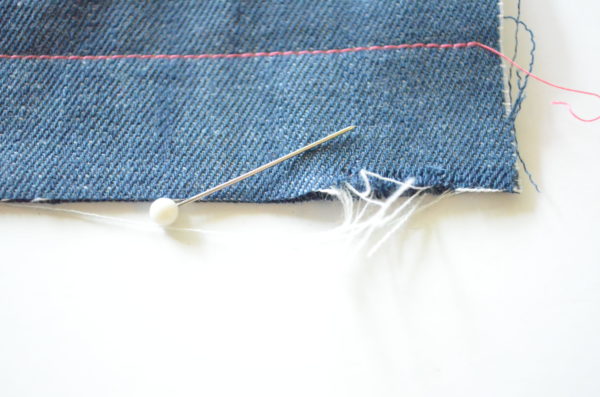 8. Then, trim the fringe by 1/4 inch, so you will have a clean finish.
 9. To add some color, I decided to make a satin stitch (zig-zag stitch 5.0 length by 04 width)
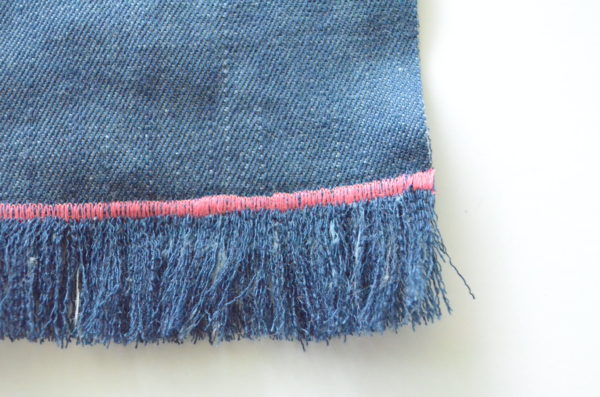 And it is ready.
I am thinking of making a cute bag and a nice linen top 🙂
What would you do?

LOVE this tutorial and your new blog layout!!! 🙂 I would love for you to stop by DIY Crush to submit your craft tutorials and patterns to be featured! https://www.diy-crush.com/blog/submit-your-tutorial/
Thank you Denise! I sure will 🙂
I want to fringe the bottom four inches of my jeans, the trend of 2016 and a new pair are stupid money. Thank you for this. I am not a cutty sewey person so where it sai facing I WAS lost, so can i just do the rest without facing as i already have the length? Thanks.
Hi Ellen,
Thanks for your message. You can certainly do it without the facing ( a piece of fabric on the inside which the right side faces the inside of the garment) But I think it will add some weight to the project. You can also try with a similar fabric to use as a facing.
Happy Sewing!