![]()
Hello everyone,
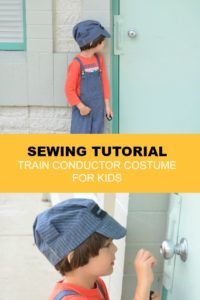
This is the sewing tutorial: Train conductor costume.
If you have just landed on this page, please check on this post.
There, you will be able to download the FREE sewing pattern and check for the printing information and materials required to this project.
If this is your first time in our blog, remember to check our FREE SEWING PATTERNS page.
On that page you will find our collection of free sewing patterns for women, kids and men.
You can also visit our SEWING TUTORIALS and our SEWING REVIEWS.
We also have an ETSY STORE, where you will find unique and modern sewing pattern for women.
STEP BY STEP SEWING TUTORIAL: THE TRAIN CONDUCTOR COSTUME
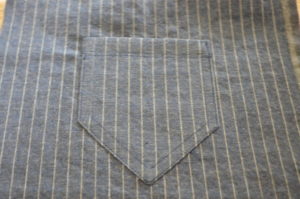
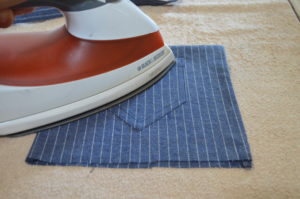
- POCKET: bring the pocket piece and press it flat.
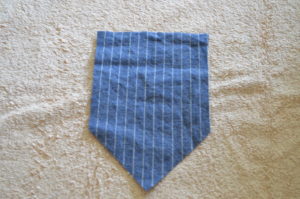
- Fold the sides by 3/8 inch and press them with your iron.
- Now, fold the diagonal bottom sides 3/8 inch as well and press flat.
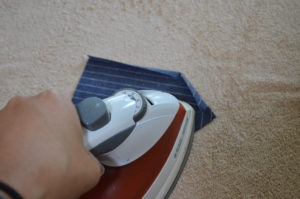
- Stitch the sides and bottom 3/8 and press again
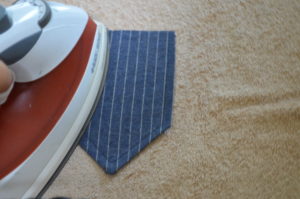
- Now, double fold the top of the pocket. First, by 1/4 inch and 3/8 after that. Then, press again.
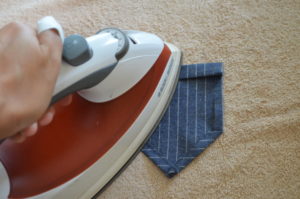
- Stitch along the top, 3/8 inch. You can make a secondary line 1/8 apart from the main pocket stitch.
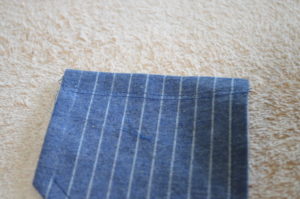
- Put the pocket aside.
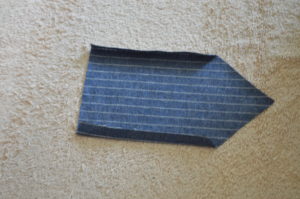
- STRAPS: Bring the straps to the table. Fold one of the longest side 1/4 inch and press flat.
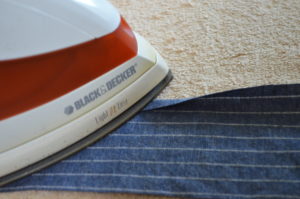
- Repeat with the other side. Both straps will be ready, then to fold them.
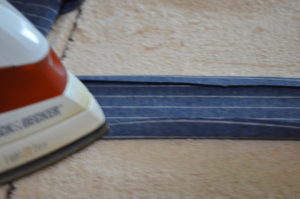
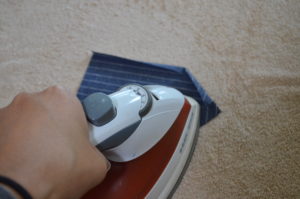
- Now fold the strap in two and press flat, like the image below shows.
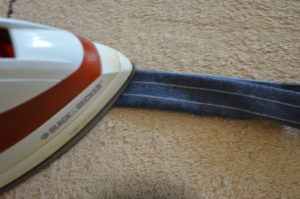
- Stitch along the longest sides 1/8 to 1/4 inch from the edge.
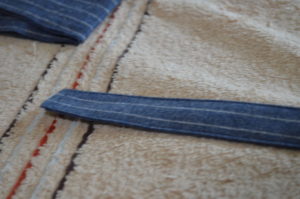
- You can secure the straps by making a square at the edge.
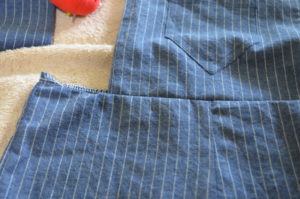
- Put the straps aside and bring the pocket and bodice to the table.
- Place the pocket at the top of the bodice, in the middle of it.
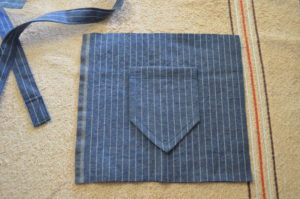
- Topstitch the pocket 1/8 to 1/16 inch from the edge.
- Now, place the other bodice piece on top of the one you placed the pocket in.
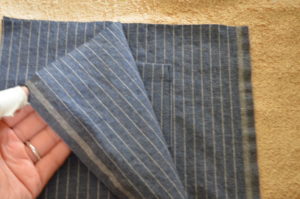
- Stitch along the top and sides of it, and then turn it to the right side.
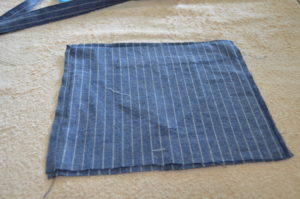
- Now, press it flat.
- After that, edgestitch around the top and sides. Put the bodice aside.

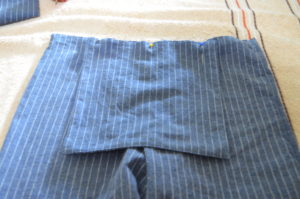
- PANTS: bring front and back pant pieces to the table.
- Place one front and back piece together, right sides facing and stitch along the sides.
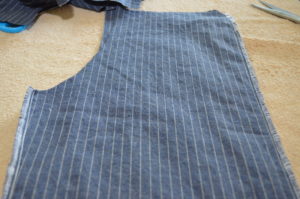
- Repeat with the other pair.
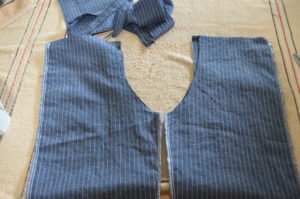
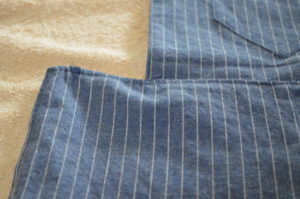
- Now, turn one of the pants leg to the right side. Insert that leg into the leg that is on the wrong side.
- Match the crotch seam and pin both legs together. Now, stitch them together, as shown on the picture below:
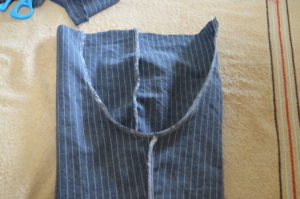
- Press the pant legs flat and turn them both to the right side.
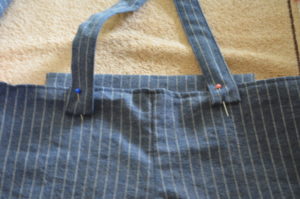
- Now, place the bodice on the top of the pants, with the pocket facing the pants.
- Pin them and stitch them together 3/8 to 1/2 inch.
- Flip the bodice up, and fold the rest of the pant waistline to the inside 3/8 to 1/2 inch.
- Edge stitch this part about 1/8 to 1/4 inch.
- Place the straps on the back on the pants. You might want to fold the straps about 1 inch to the inside, so you do not have any raw edges.
-
HEMLINE:
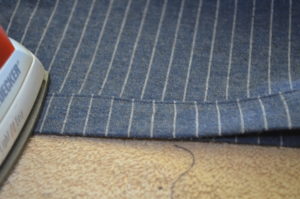
To do this part, double fold the pants; first 1/4 inch and then 1 inch.
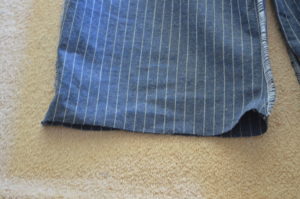
- Press flat and stitch around the hemline, 1/8 inch from the edge.
- BUTTONS: Grab the buttons for the bodice. Follow the instructions on your sewing machine manual to place the buttonholes on the straps and the buttons on the bodice.

And that is all for the Train conductor suit.
Please, click here for the HAT TUTORIAL
Thank you for the Pattern and tutorial, much appreciated.
Thank you Kitt!