Hello again,
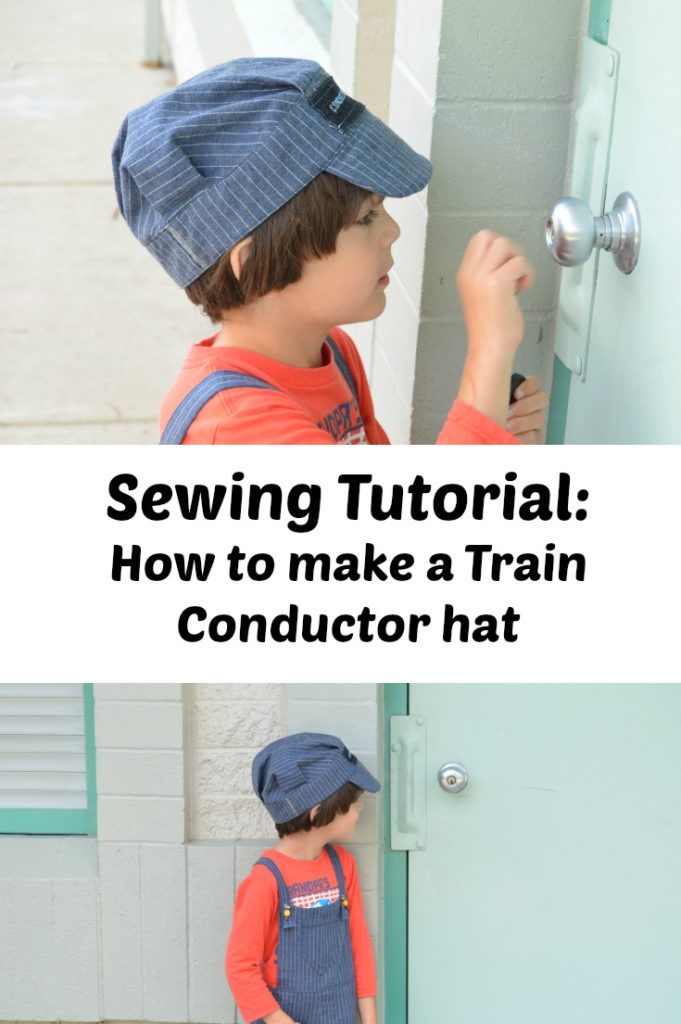
Welcome to On the Cutting Floor. This is the Train Conductor hat tutorial
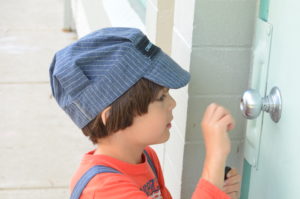
For the pattern download and instructions of the dungaree, click here
For the Train conductor, step by step sewing tutorial, click here
If you also want to complement the Train conductor costume and hat with an easy t-shirt for your kids, check on this free sewing pattern.
For more Sewing patterns for kids, check on this section of the site.
Train conductor hat tutorial
1. Bring the main hat piece to the table.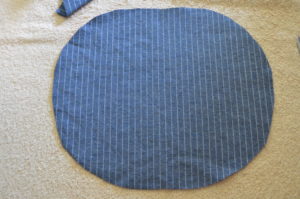
2. Pin the darts by following the marks on the pattern. You should have 8 pinned darts of 1 inch each.
Start with one of the sides and the side across this one. 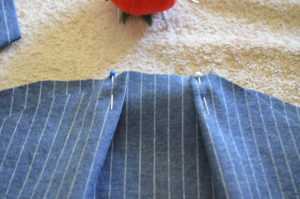
By doing this, you will be able to press the darts and start giving some shape to the hat.
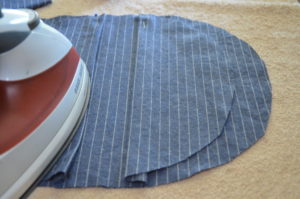
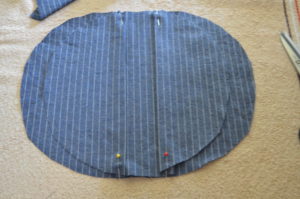
3. Then, pin the sides of the ones you already made.
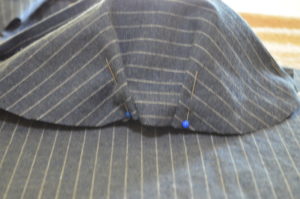
4. Stitch around the hat, 3/8 inch from the edge.
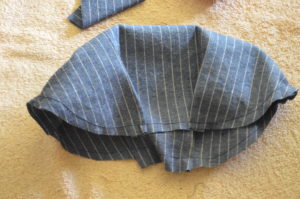
5. Set the hat aside and continue with the strap.
STRAP: Add the woven interfacing to the strap and press.
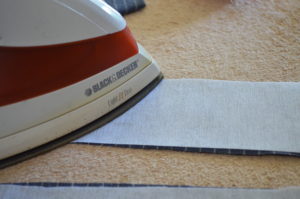
6. Fold the strap in two, lengthwise, and sew it.
7. Pin around the main hat and sew them together 3/8 inch from the edge.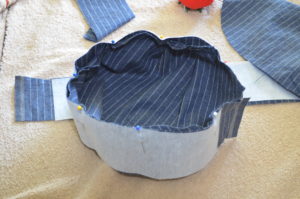
8. VISOR: For this part, I use some stable cardboard. I use the fabric piece to mark the cardboard and cut it.
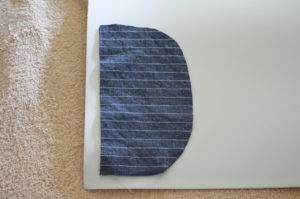
9. Then, I reduced the cardboard width by 3/8 inch on all sides, so my sewing machine would not get jammed.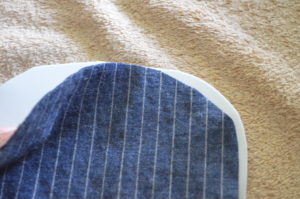
10. Now, place both fabric visor pieces together, right sides facing and sew along the curve.
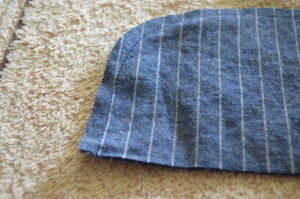
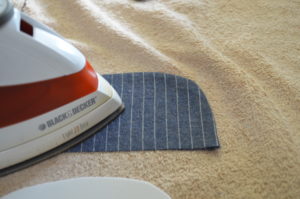
11. Turn the visor to the right side and press flat.
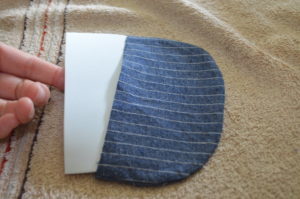
12. Insert the cardboard into the fabric visor.
13. Place the visor on the top of the hat and sew them together 3/8 inch seam allowance.
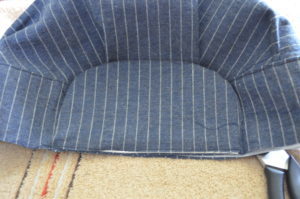
14. Now, add the other strap to the top of the one you have just made.
15. Pin and sew them together.
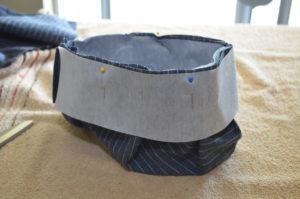
16. Trim the seam allowance about 1/4 inch.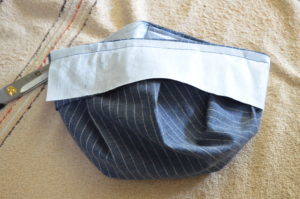
17. Press and fold this strap to the inside. Sew it to the rest of the hat about 1/4 to 1/8 inch.
Press it flat.
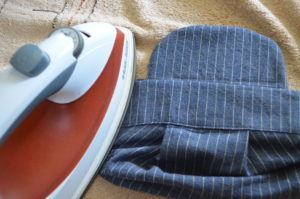
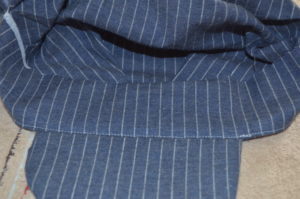 So it is ready!
Thank you for reading this post and please share with your sewing friends 🙂
Happy Sewing!

Leave a Reply