Hi there
Thank you for visiting On the Cutting Floor today. This is the Free Tutorial: Circus Finger Puppets- Set 6.
Alicia, from Felt with Love Designs have created this cute and comprehensive sewing tutorial. The post also includes a free template to make this cuties.
Enjoy!
If this is your first time in our blog, remember to check our FREE SEWING PATTERNS page.
On that page you will find our collection of free sewing patterns for women, kids and men.
You can also visit our SEWING TUTORIALS and our SEWING REVIEWS.
We also have an ETSY STORE, where you will find unique and modern sewing pattern for women.
You can also sign up for our newsletter on the sidebar of this post, so you will never miss a post!
Alicia from Felt With Love Designs here again!
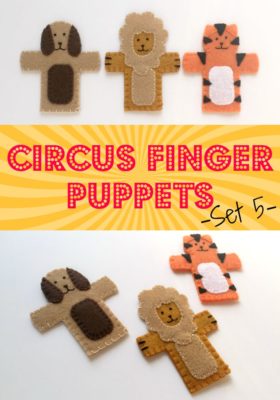
I am continuing my circus toy theme today with the sixth set in my series of circus finger puppets.

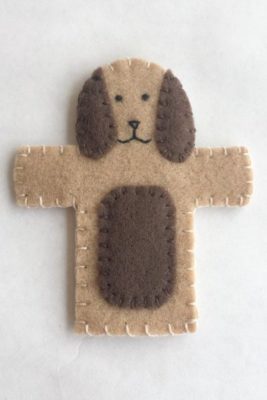
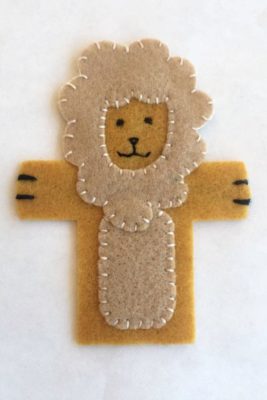
Set one included a couple circus tents and a ticket booth. Set two contained the first few characters (ringleader, strongman, and circus girl #1), set three made up a bunch of clowns, set four is another group of circus characters, and set five is the first set of circus animals. Be sure to check those out as well, if you missed them!
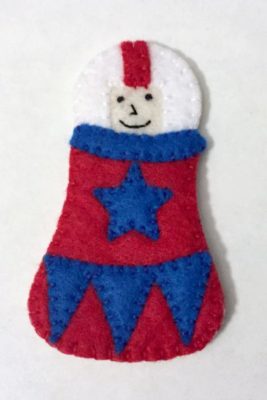
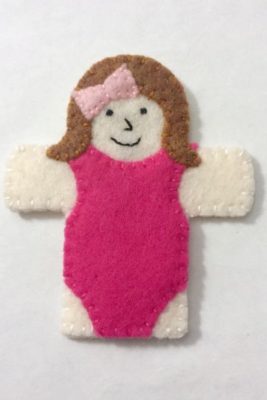
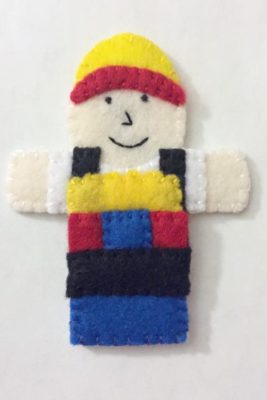
Today, I bring you the second set of circus animals and will continue the circus series soon with some circus vehicles so be sure to follow along!
And, if you are enjoying these finger puppets, don’t miss the rest of the free finger puppet patterns we have designed.
Supplies needed:
- The Pattern
- Felt (light brown, dark brown, orange, black, white, yellow-brown)
- Embroidery thread to match
- Scissors (these* are my favorite for cutting precisely)
- Freezer paper (optional – see my tutorial on using freezer paper to precisely cut your pattern)
Free Tutorial: Circus Finger Puppets- Set 6
To sew the seal:
- Cut all of the pieces from felt
- Sew the seal’s muzzle to the face
- Embroider the facial features
- Match up the embellished front with the back and stitch them together, using a blanket stitch, leaving the bottom open. I also go back and stitch just the front edge of the opening with a blanket stitch to reinforce it but that is totally optional.

To sew the elephant:
- Cut all of the pieces from felt
- Sew the belly patch to the front body piece
- Position the tusks in pace and secure with a small stitch at the top
- Blanket stitch the elephant’s head pieces together around the outside edge and sew to the face along the inner edge (make sure to sew through the tusk and secure them in place under the trunk/ears)
- Using grey thread, add curved lines to the trunk
- Embroider the facial features
- Match up the embellished front with the back and stitch them together, using a blanket stitch, leaving the bottom open. I also go back and stitch just the front edge of the opening with a blanket stitch to reinforce it but that is totally optional.

To sew the monkey:
- Cut all of the pieces from felt
- Sew the belly patch and the tan face piece to the front body piece
- Stitch the front/back ear pieces together
- Embroider the facial features
- Match up the embellished front with the back (sandwiching the ears between the layers) and stitch them together, using a blanket stitch, leaving the bottom open. I also go back and stitch just the front edge of the opening with a blanket stitch to reinforce it but that is totally optional.


I hope you enjoyed these simple finger puppets! Be sure to come back and check out the rest of the series!
If you are interested in more finger puppets, head over to Felt With Love Designs and browse our finger puppet archive or check out the Felt With Love Designs shop, where we will be frequently adding fun, new patterns! I also maintain a fun Pinterest board of finger puppets!
If you use this pattern to make your own version, I would love to see it! Come by and share on the Felt With Love Designs Facebook page or tag me (@feltwithlovedesigns) on Instagram!
~Alicia
*affilate link