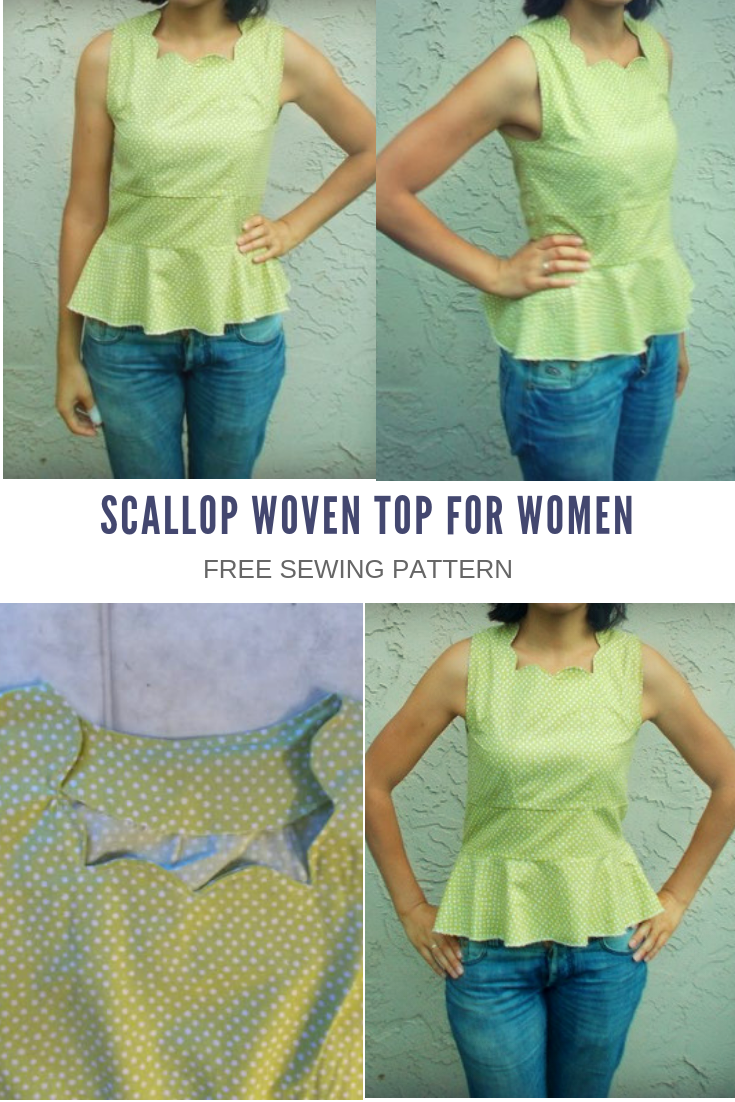
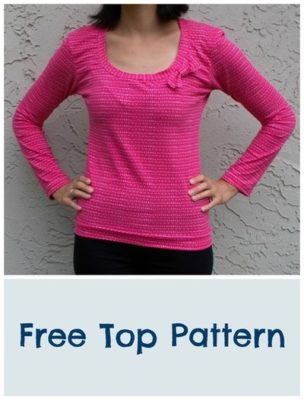
FREE SEWING PATTERN: Scallop Top
Well hello there!
If this is your first time in our blog, remember to check our FREE SEWING PATTERNS page.
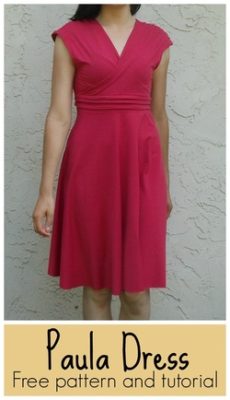
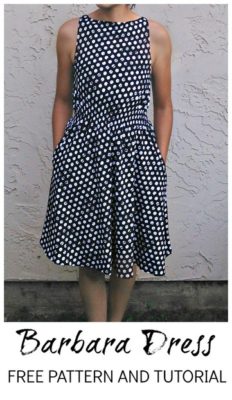
On that page you will find our collection of free sewing patterns for women, kids and men.
You can also visit our SEWING TUTORIALS and our SEWING REVIEWS.
We also have an ETSY STORE, where you will find unique and modern sewing pattern for women.
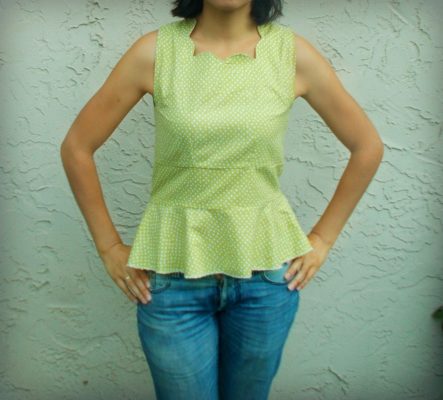
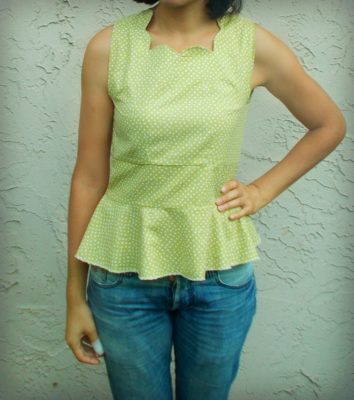
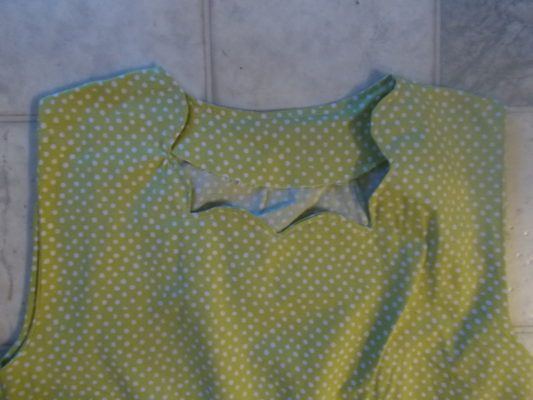
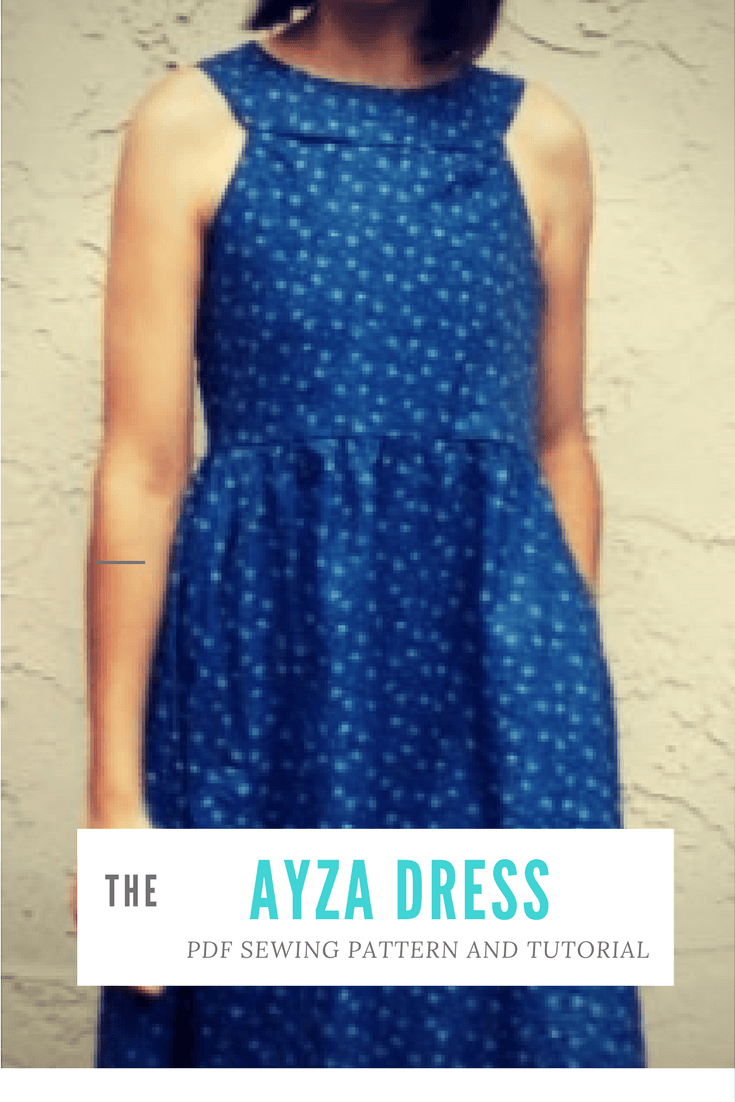
I wanted to make a scallop neckline for a while, so I am happy to see it coming to life with this design.I, first, thought about a dress…but it seems to me as it went to vintage looking; nothing wrong about it, but it was not me completely. I believe that the top makes more sense to my own wardrobe. In any case I added the dress for you if you would like to try it as well 😉
This top was made in collaboration with Fort Worth Fabric Studio. They have been great supporting my blog and giving me the opportunity to make this project.
The fabric

This will be the layout of your pattern:
It will print 16 pages.Wait until all the pages are printed before taking them from the printer; it will make it easier to assemble.When finish printing, place the pages as the layout below. Then use tape to put them together. Now cut the pieces.
This will print 32 pages, but you can surely skip from number 27 to 32.

Size
6: Red
8: Green
10: Blue
12: Orange
14: Purple
16: Yellow
18: Pink
20: Light Green
22: Brown
For 45” wide fabric: 1 1/2 yard
For 45” wide fabric: 2 1/4 yards
Instructions
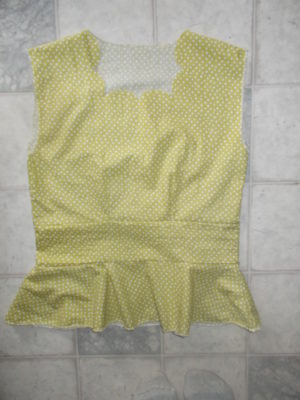
Place Front and back bodice together and close sides and shoulders. Create the bodice front and back darts by following the printed pattern
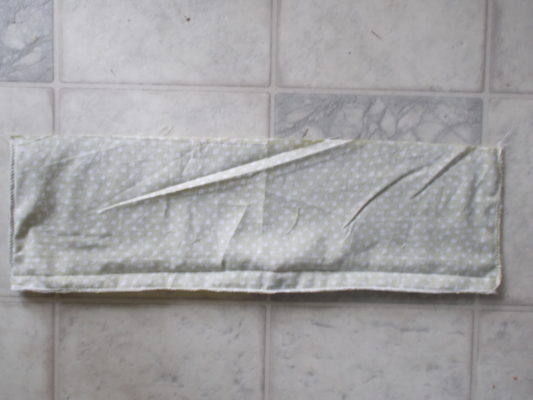
Waistband:
Place front and back together and close the sides. Attach to the top.
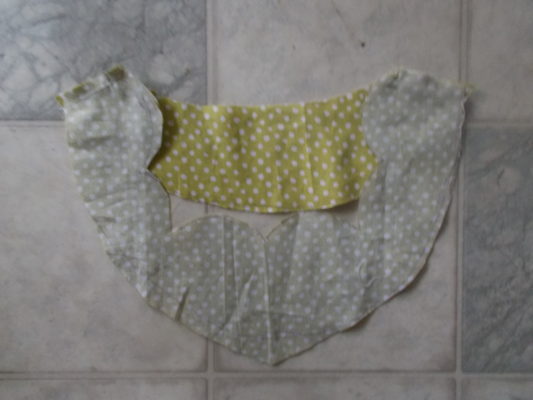
Peplum: Place front and back pieces together and close the sides. Attach to the waistband area.
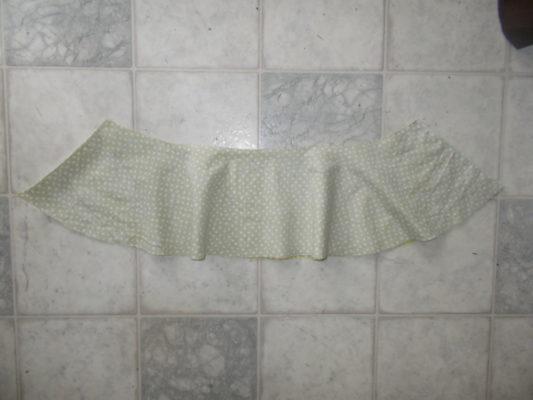
Fold the peplum and stitch the side seams.
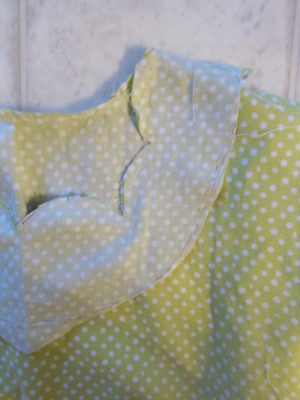
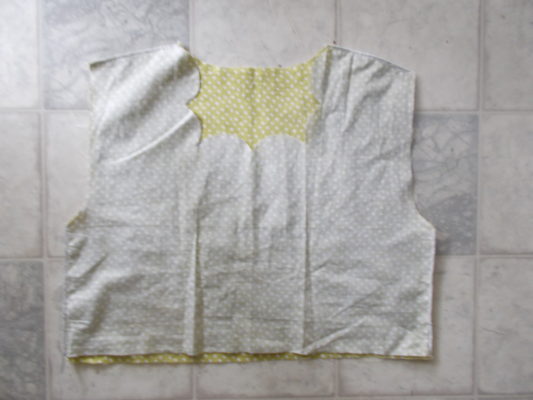
Facing: Place front and back pieces together and close the sides.
Create the hemline on the peplum.
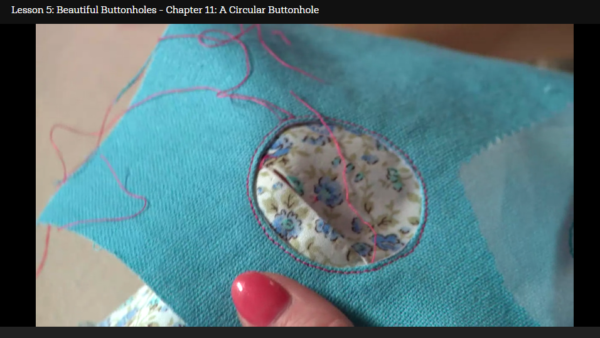
You can check on this tutorial to make it HERE
Turn around and iron flat. Repeat with the armhole facing


