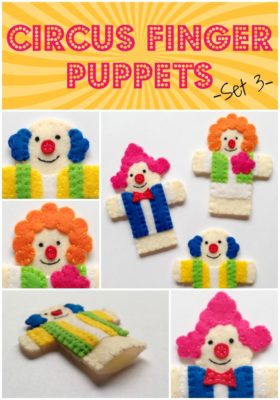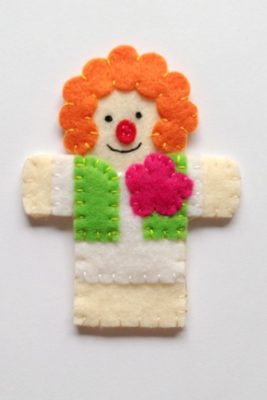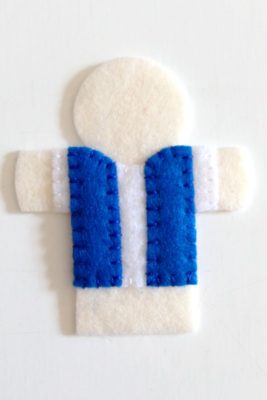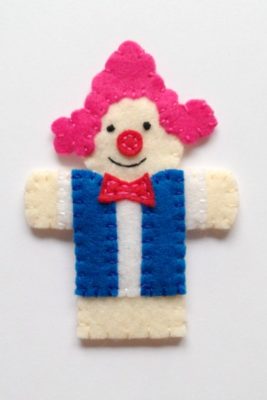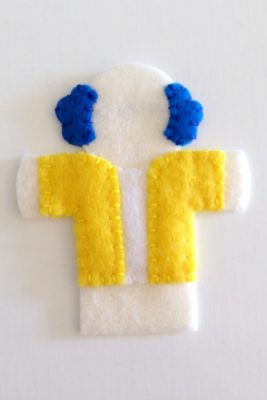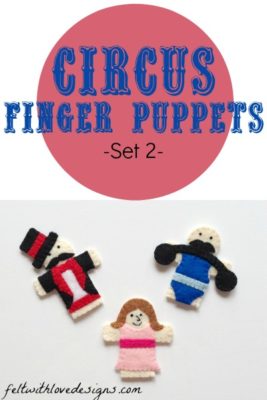
- The Pattern
- Felt (skin tone, white, black, pink, bright pink, blue, light blue, red, brown)
- Embroidery thread to match
- Scissors (these* are my favorite for cutting precisely)
- Freezer paper (optional – see my tutorial on using freezer paper to precisely cut your pattern)
To sew the circus ringleader:
- Cut all of the pieces from felt
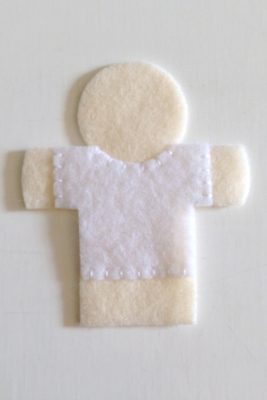
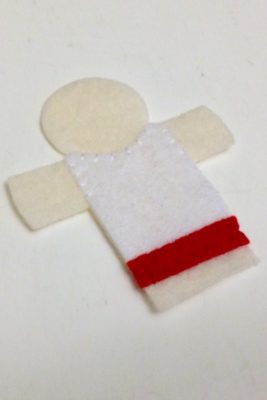
- Sew the white undershirt to the front body piece
- Sew the red waistband to the bottom of the undershirt
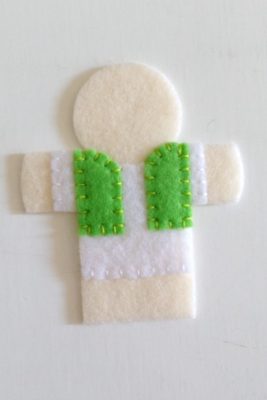
- Sew the black jacket pieces to the corresponding sides
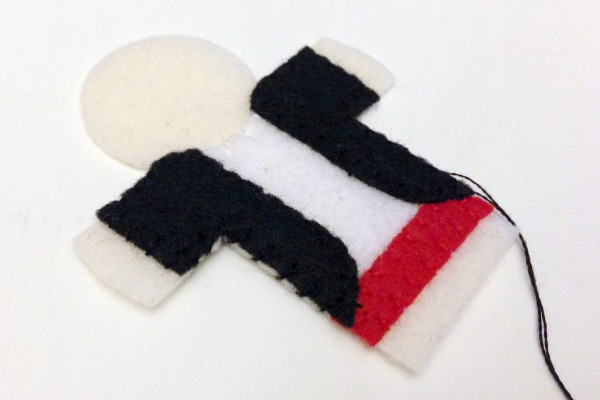
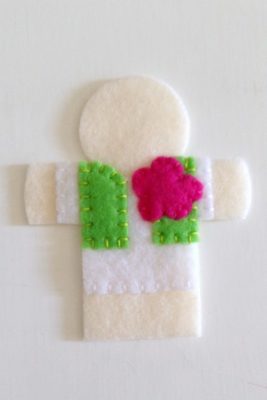
- Sew the red portions of the jacket to the front and the red bow tie overlapping a little, just under the face
- Sew the mustache to the face
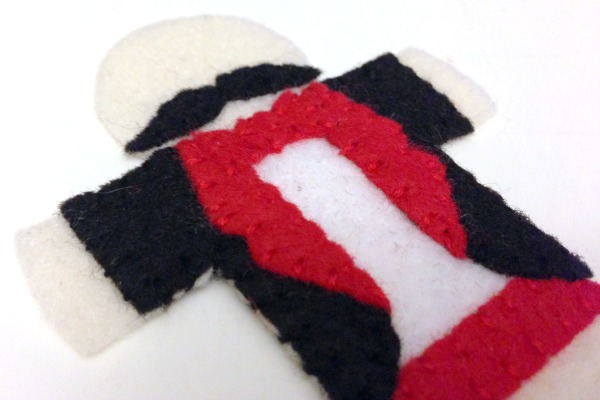
- Sew the red band to the hat
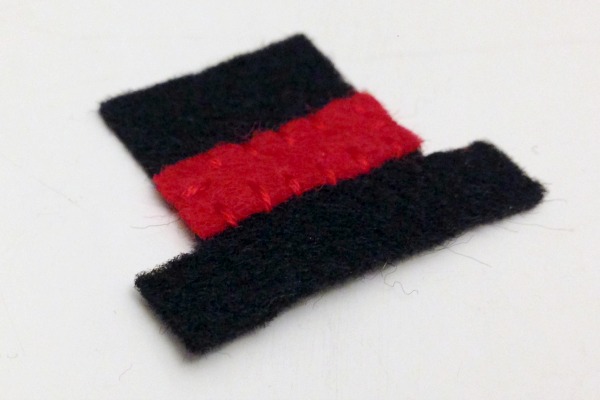
- Sew the hat to the top of the head, at an angle
- Embroider the facial features
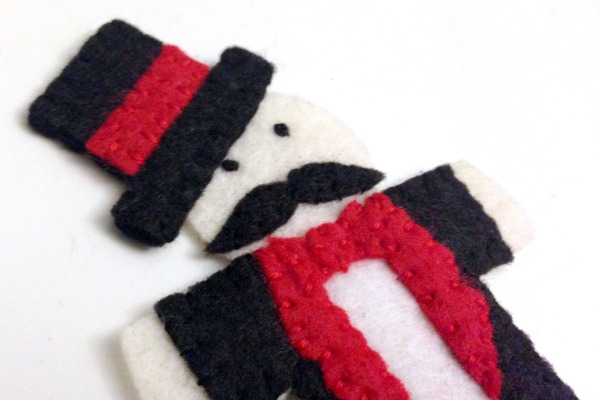
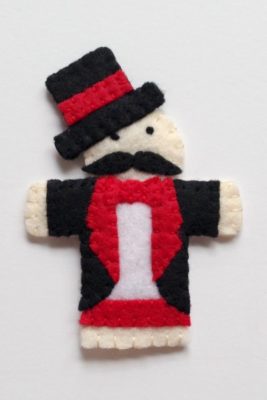
- Match up the embellished front with the back and stitch them together, using a blanket stitch, leaving the bottom open. I also go back and stitch just the front edge of the opening with a blanket stitch to reinforce it but that is totally optional.
To sew the circus girl:
- Cut all of the pieces from felt
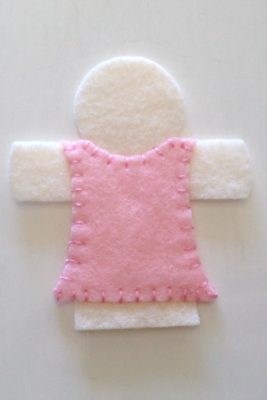
- Sew the pink dress to the front body piece
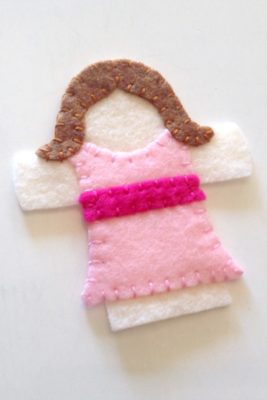
- Sew the bright pink stripe to the front of the dress
- Sew the hair to the top of her head
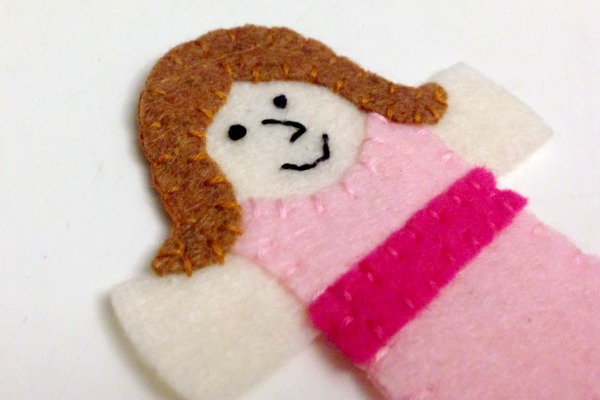
- Embroider the facial features
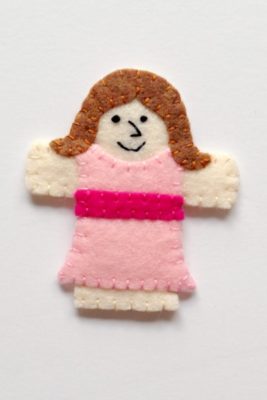
- Match up the embellished front with the back and stitch them together, using a blanket stitch, leaving the bottom open. I also go back and stitch just the front edge of the opening with a blanket stitch to reinforce it but that is totally optional.
 To sew the man with the dumbbell:
- Cut all of the pieces from felt
- Sew the clothing to the front body piece
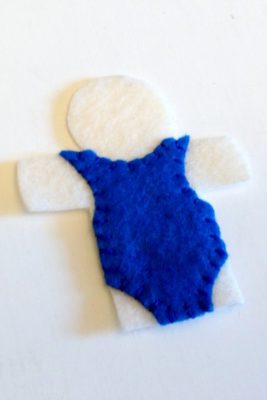
- Sew the light blue stripe to the front of the suit
- Position the dumbbell between the character’s hands and sew in place
- Sew the mustache to the face
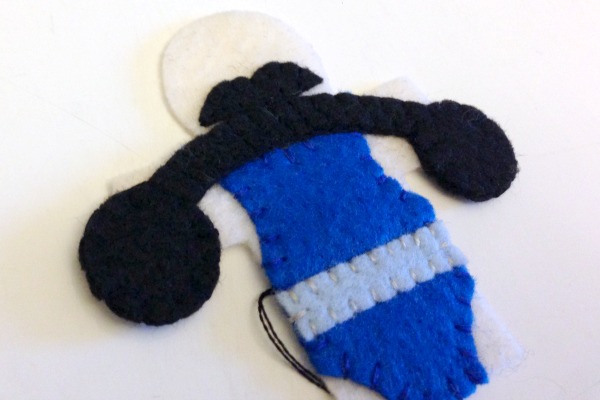
- Embroider the facial features
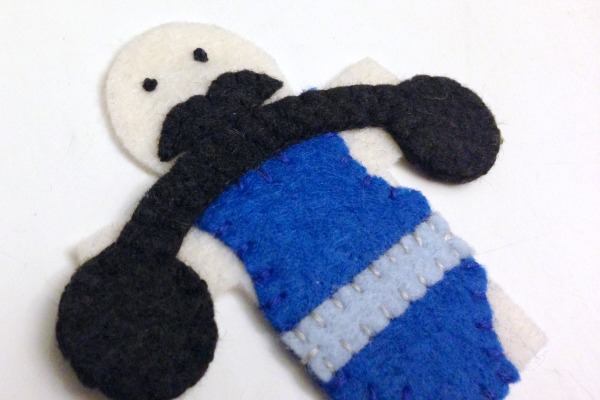
- Match up the embellished front with the back and stitch them together, using a blanket stitch, leaving the bottom open. I also go back and stitch just the front edge of the opening with a blanket stitch to reinforce it but that is totally optional.
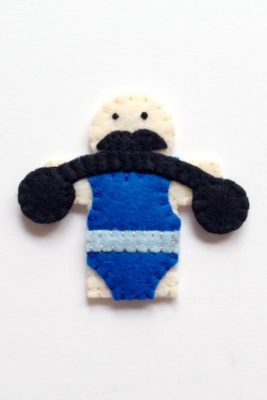
I hope you enjoyed these simple finger puppets! Be sure to come back and check out the rest of the series! 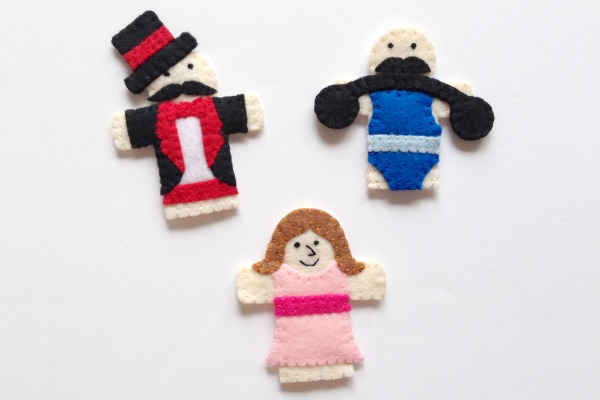 If you are interested in more finger puppets, head over to Felt With Love Designs and browse our finger puppet archive or check out the woodland creatures finger puppets* I designed for One Thimble! If you use this pattern to make your own version, I would love to see it! Come by and share on the Felt With Love Designs Facebook page or tag me (@feltwithlovedesigns) on Instagram! ~Alicia *affilate link
