
Search Results for:
5 Unbelievably gorgeous bags (made out of clothing!)
Hi there!
Today I am thrilled to present Vicky, from Vicky Myers Creations. She is our second contributor to the blog and the very first post of 2015!!!!
Exciting!
I stumbled upon Vicky’s website a year ago, and I loved her work.
Why?
I was always amazed by her upcycling and recycling projects: Ideas full of creativity and ingenuity that will inspire you to start this 2015 with a new set of projects to make!
Don’t forget to visit her and say hi for me ;)Twitter https://twitter.com/vickymcreations
Pinterest http://www.pinterest.com/vickymcreations/
Facebook https://www.facebook.com/VickyMyersCreations
Google + https://plus.google.com/u/0/+VickyMyersCreations/posts
Instagram http://instagram.com/vickymyerscreations/Now I leave you with Vicky’s TOP 5 FOR UPCYCLING CLOTHES INTO BAGSENJOY!
Pinterest http://www.pinterest.com/vickymcreations/
Facebook https://www.facebook.com/VickyMyersCreations
Google + https://plus.google.com/u/0/+VickyMyersCreations/posts
Instagram http://instagram.com/vickymyerscreations/Now I leave you with Vicky’s TOP 5 FOR UPCYCLING CLOTHES INTO BAGSENJOY!
|
Love to sew but feeling a bit strapped for cash following Christmas? Why not upcycle some clothes into new bags – I love the challenge and creativity involved in this. It costs little, have a go:) Here are my top 5 tutorials for upcycling clothes into bags.
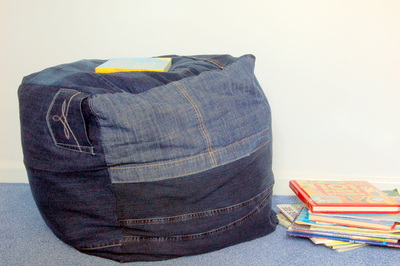
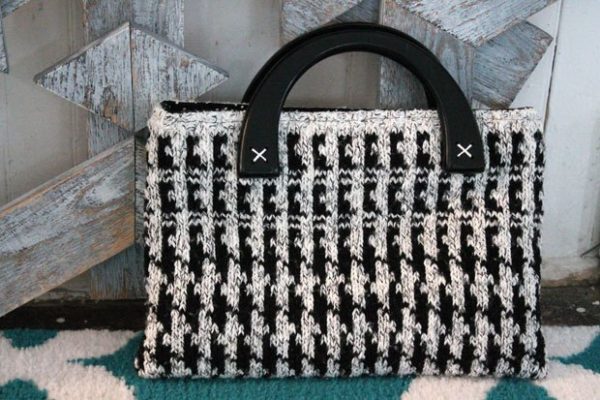
Loving this sweater bag from Renegade Seamstress – Taking less than an hour this tote holds your laptop, magazine, tablet – perfect for adding your brand of individuality to any outfit. The bag uses thrifted handles but you could easily replace with bought handles.
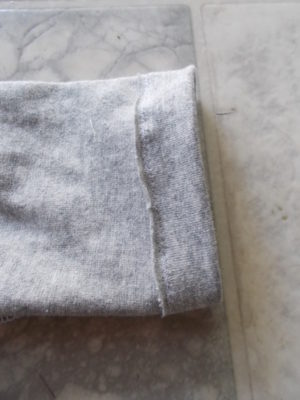
Create an upcycled denim tablet case from Instructables
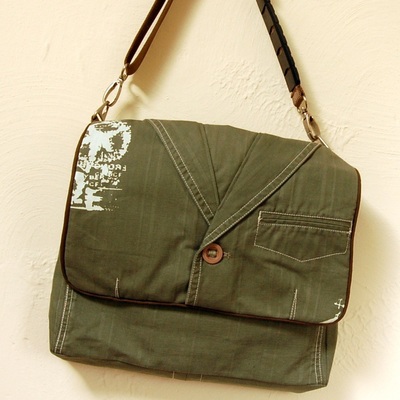
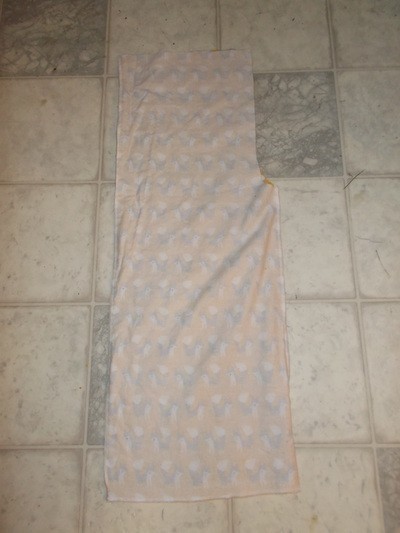
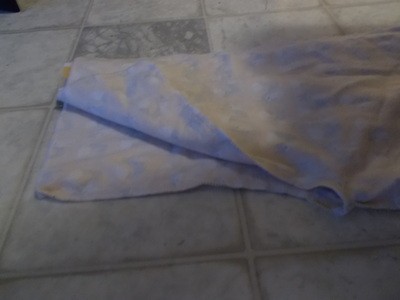
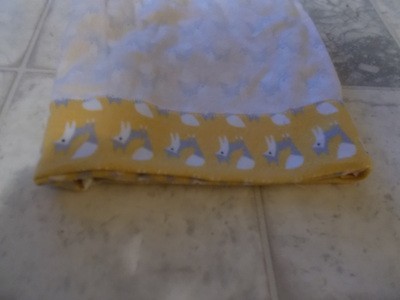
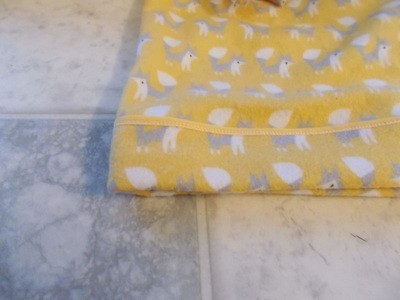
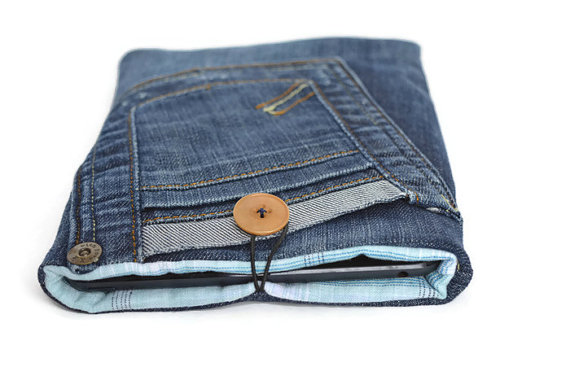 Switch the fabric for some former trousers to create a denim tablet case, utilize the back pocket which is perfect for earphones. This tablet case is lined with an old shirt, with some fusible fleece for protection of the tablet. Tweed Skirt Bag from VickyMyersCreations Switch the fabric for some former trousers to create a denim tablet case, utilize the back pocket which is perfect for earphones. This tablet case is lined with an old shirt, with some fusible fleece for protection of the tablet. Tweed Skirt Bag from VickyMyersCreations 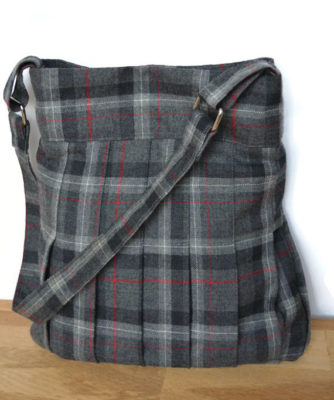 Utilizing the original pleats in a skirt this is a fun bag – make it as deep or as shallow as you like. Scrap Linen Patchwork Bag by mysocalledcraftylife Utilizing the original pleats in a skirt this is a fun bag – make it as deep or as shallow as you like. Scrap Linen Patchwork Bag by mysocalledcraftylife 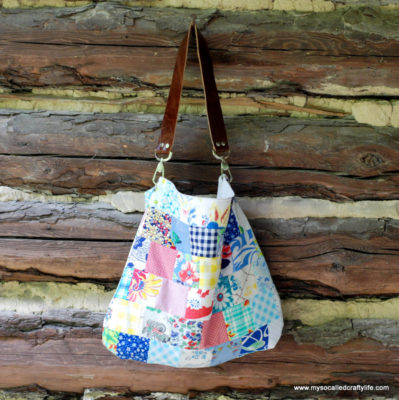 Use up your scrap fabrics to create this fun and stylish tote. The instructions are easy to follow including the leather strap. Thanks Daniela for hosting. If you fancy more upcycled bag ideas pop over to my bags board on pinterest, or for more tutorials visit my blog vickymyerscreations. What’s your favourite upcycle with former clothes? Use up your scrap fabrics to create this fun and stylish tote. The instructions are easy to follow including the leather strap. Thanks Daniela for hosting. If you fancy more upcycled bag ideas pop over to my bags board on pinterest, or for more tutorials visit my blog vickymyerscreations. What’s your favourite upcycle with former clothes?  |
|
|
Inspired by our amazing world I love to sew and create, often with a focus on recycling and upcycling – I love to explore my creativity whilst recycling:)
|

Thanks for visiting us!
You might also like:

Drafting Tutorial: A-line Skirt

Fabric Countdown Chain


Well, hello there!
Today I am thrilled to introduce our new Contributor: Gemia from Phat Quarters!
Gemia is a very talented woman and you can find amazing tutorials and reviews on her blog.
Do not forget to check one of her great posts:
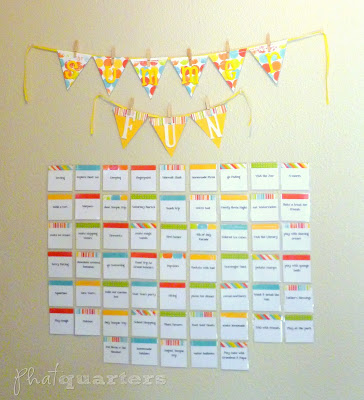


Hi, I am Gemia from Phat Quarters and I am so excited to be finishing off my year with a visit to On the Cutting Floor! I hope you all are ready for a super simple, yet stunning project that you can use year after year, because that is exactly what you are going to get as you follow along with me today. We are going to create a Fabric Countdown Chain, just in time to tick away the last few hours of 2014. So let’s begin by gathering up our supplies.
SUPPLIES
15″ x WOF Main Fabric (I am using Metallic Confetti from Michael Miller Fabrics Glitz line)
1/2 Yard of Lightweight Fusible Interfacing
12 Pearled Snaps
a Sheet of Heat’n’Bond
Coordinating Fabric – for your numbers
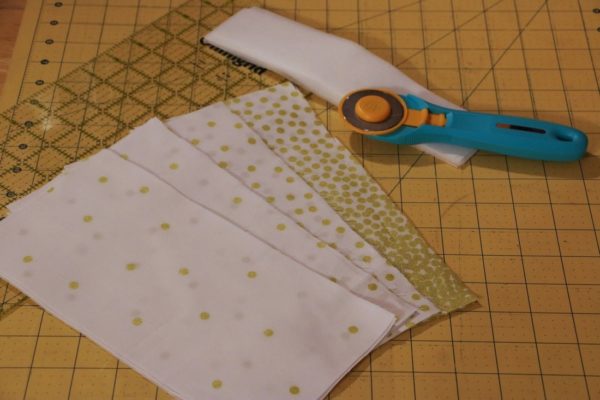
**7 Yards of Pom Fringe (this is optional but looks amazing!)The first thing we are going to do is cut out the numbers that we will adhere to the fabric chain pieces. I am doing this with the Silhouette Cameo using the same technique I used in this tutorial here. You simply adhere the coordinating fabric to the Heat’n’Bond and then use your Cameo (or scissors) to cut your desired numbers. Then peel them off your cutting mat and remove the paper backing. Now set the numbers aside until later
15″ x WOF Main Fabric (I am using Metallic Confetti from Michael Miller Fabrics Glitz line)
1/2 Yard of Lightweight Fusible Interfacing
12 Pearled Snaps
a Sheet of Heat’n’Bond
Coordinating Fabric – for your numbers
**7 Yards of Pom Fringe (this is optional but looks amazing!)The first thing we are going to do is cut out the numbers that we will adhere to the fabric chain pieces. I am doing this with the Silhouette Cameo using the same technique I used in this tutorial here. You simply adhere the coordinating fabric to the Heat’n’Bond and then use your Cameo (or scissors) to cut your desired numbers. Then peel them off your cutting mat and remove the paper backing. Now set the numbers aside until later

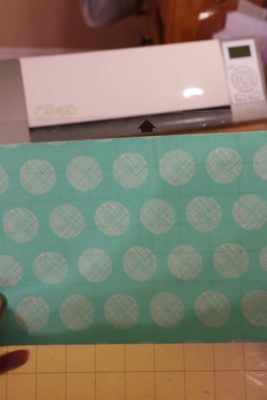
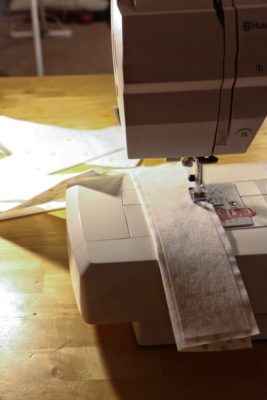
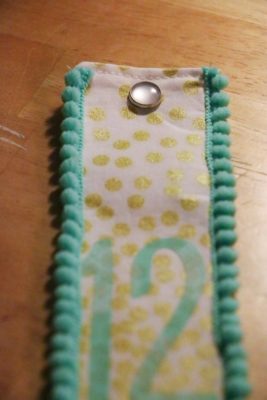
Next we are going to cut the Fabric Chain pieces. I am going to make a chain that contains 12 separate pieces but you can make as few or many as you want. To simplify this tutorial I am going to show you the process I took using one strip. I would suggest, however, that you work in a production line format and complete each step for all your chain pieces at once so to save yourself time. To start take you main fabric and cut a 5″ x 10″ strip. Repeat this same process with the interfacing but reduce your measurement to 2″ x 8.5″
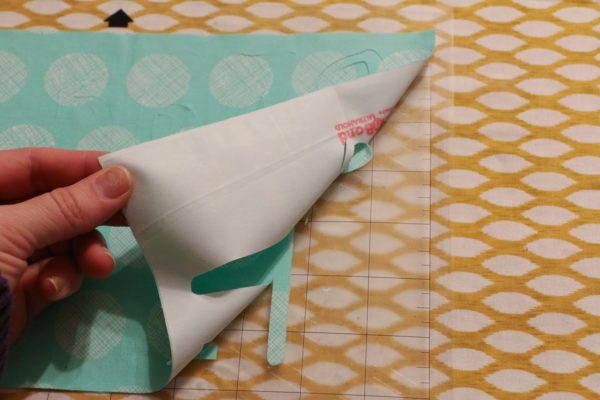
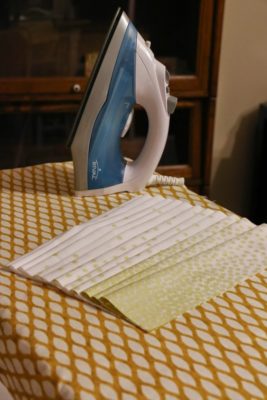
Now take your fabric strip and press it RST (right-sides together) to create a 2.5″ x 10″ strip.

|
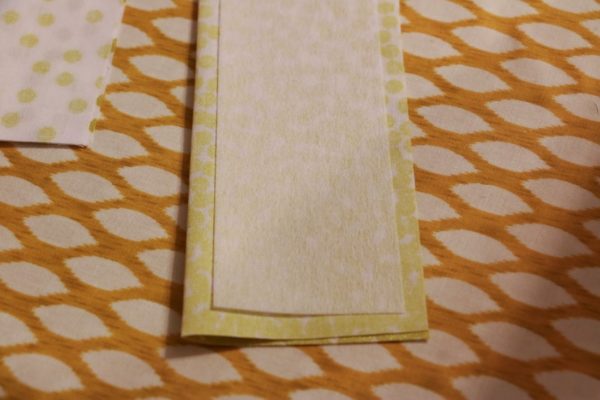
Place the fusible interfacing onto the wrong side of the folded fabric strip and press with a hot iron to adhere.
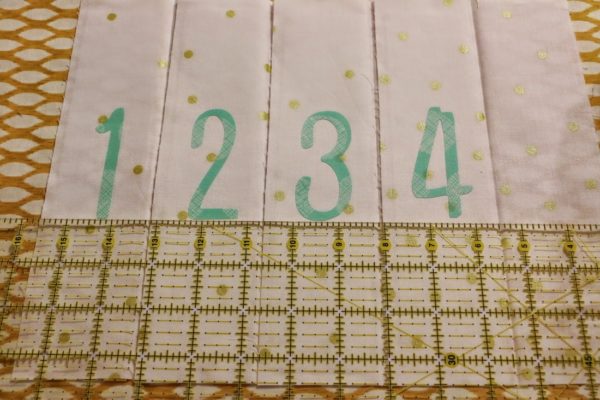
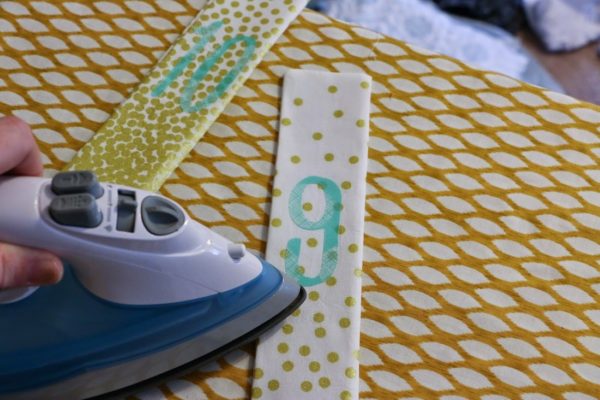
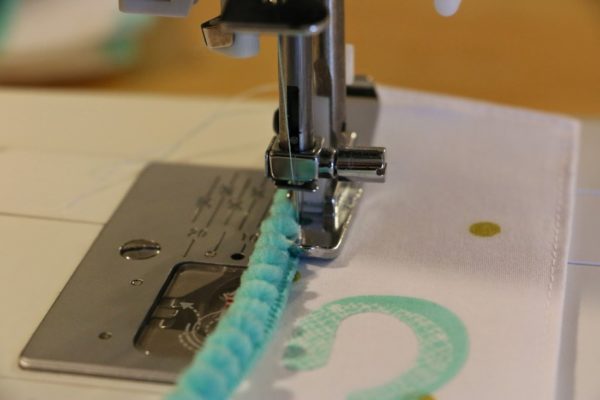
Now you need to grab a number that you created earlier and adhere it to the right-side of the fabric chain. To do this simply place the number in the center of the chain and using a hot iron, press the number to the fabric. If you have a large ruler you can use this to speed up your process and have a more unified placement of your numbers. Complete the chain piece by folding it RST and starting at the bottom of the long raw edge (leaving one short side open) stitch up the long side and across the top short side, starting and finishing your stitches.
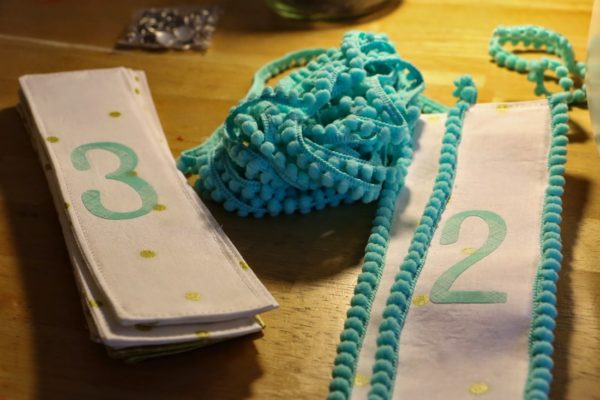
Once the chain piece was completed I decided that I wanted it to have a bit more pop to it. So I found this great aqua Mini Pom Fringe that matched my coordinating fabric and decided to add it to the long edges of each chain piece.
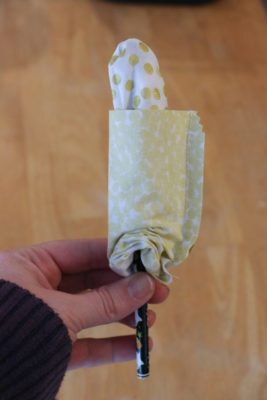
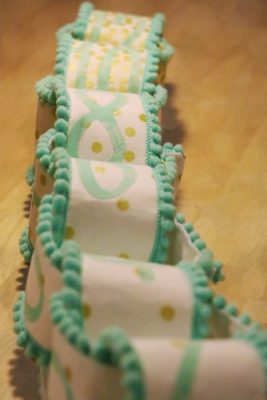
Once you have all your chains completed your just interlock them and the close the snap.
|

Now comes the fun part…using it to countdown the last few hours of 2014. We have a small activity planed for every hour -IF- my kids can manage to stay awake. We also plan to attach our Fabric Countdown Chain to a bunch of helium balloons and as each hour passes we get to pop one balloon until we get to the last balloon that will be filled with a bunch of confetti and candies.

We had fun practicing and I hope you had fun following along with me today. Come follow me on my blog Phat Quarters and on Facebook so we can keep in touch.
Thanks Gemia for this awesome project!!!New Years is one of my favorite celebrations, so I am making the countdown chain to have some fun with Owen 🙂
You might also like:
FREE SEWING PATTERN: THE FOXY PAJAMA
Hello there,
Thank you for visiting On the Cutting Floor. This is the Sewing Tutorial: FREE SEWING PATTERN: THE FOXY PAJAMA
If this is your first time in our blog, remember to check our FREE SEWING PATTERNS page.
On that page you will find our collection of free sewing patterns for women, kids and men.
You can also visit our SEWING TUTORIALS and our SEWING REVIEWS.
We also have an ETSY STORE, where you will find unique and modern sewing pattern for women.
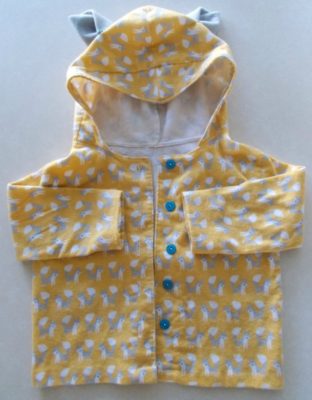
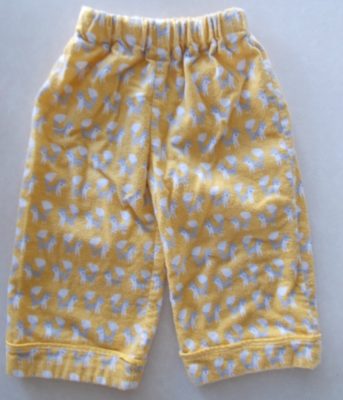
I am so pleased to present my foxy unisex pjs for kids!This pattern is not only useful as a pajama for kids, but you can also make it to be an outwear set, with the over sized hoodie.
The pants and jackets has also the advantage of the cuffed sleeves and legs: especially for a kid, it is nice to know that you can lengthen them anytime you need 🙂
The fabric:
I got this cute foxy fabric from Pink Castle Fabrics. It is a very nice flannel for pjs (and it will be very nice to get one pajama pants for myself, as well!)


FREE SEWING PATTERN: THE FOXY PAJAMA
This printable PDF pattern is assembled with 0.5 cms border for the pages, so it must be overlapped in order to get the correct size.
They are on letter size paper.To print this pattern, go the PDF document.
Select FILE — PRINT.
Here look for PAGE SIZING AND HANDLING and choose POSTER.
This will make the pages to overlap by 0.5 cms. Press PRINT.
Wait until all the pages are printed before taking them from the printer; it will make it easier to assemble.It will print 21 pages.
When finished printing, place the pages as the layout below.
Then use tape to put them together. Now cut the pieces.This will be the layout of the pattern:

Sometimes, there are problems with the printing process and the patterns come in the wrong size (a little bit smaller).To avoid this, check the 1 inch square at the top left of the first page. It will help you to see if the patterns are the correct size.The PDF pattern comes in sizes 1 to 8 years; it is color-coded and easy to cut.The colors for each size are:
1 year: black
2 years: red
3 years: green
4 years: blue
5 years: orange
6 years: purple
7 years: yellow
8 years: pink
2 years: red
3 years: green
4 years: blue
5 years: orange
6 years: purple
7 years: yellow
8 years: pink
This pattern comes with a 5/8 inch seam allowance, unless indicated otherwise.
Materials:
1. Printed pattern
2. Scissors
3. Marker
4. Pins
5. elastic thread
6. 1/2 yard of bias tape
2. Scissors
3. Marker
4. Pins
5. elastic thread
6. 1/2 yard of bias tape
Fabric 2 to 3 yards of Flannel
Yardage Calculation:
I would recommend using your patterns in order to calculate the amount of fabric you will need.
I used two yards for a size 4.
Not sure about the measurements? Check this body size chart to get a better idea.
I used two yards for a size 4.
Not sure about the measurements? Check this body size chart to get a better idea.
TUTORIAL:
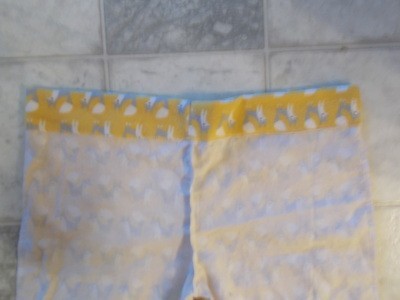
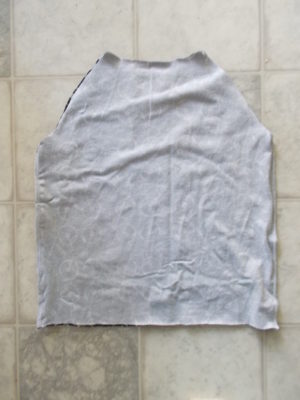
Place front and back pattern pieces together and close the sides

Place the bias tape at the bottom
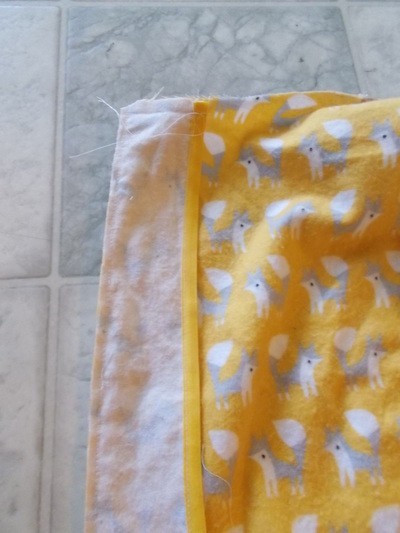
Place both legs together and sew along the crotch
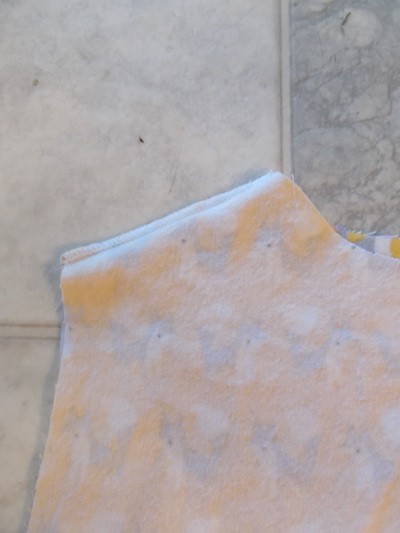
Fold the hemline by 3 inches and sew along
Fold the cuff again to the right side by 2 inches and make an invisible stitch just below the bias tape
Fold the elastic area and press flat
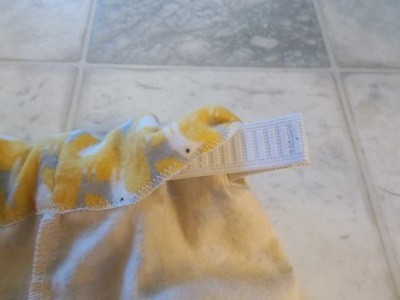
Encase the elastic.
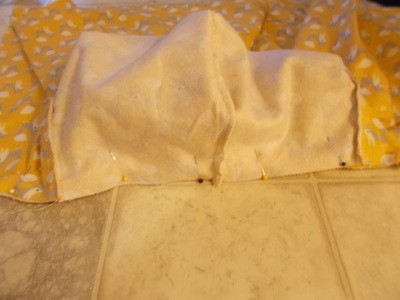
Jacket: Place front and back bodice pieces together and sew the shoulders and sides.

Place the sleeves and sew along the armholes. Then, close the sides of the jackets

Facing: Place the bias tape on the edge of the facing.
Place the facing on the front jacket and sew lengthwise.
Turn around and press flat; then top stitch the area.
Hemline: Fold the hemline by 1 inch and sew along.
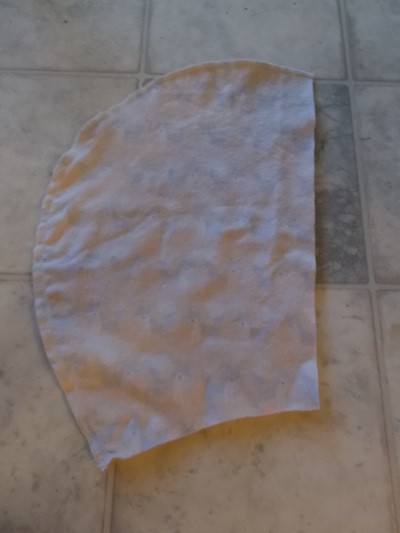
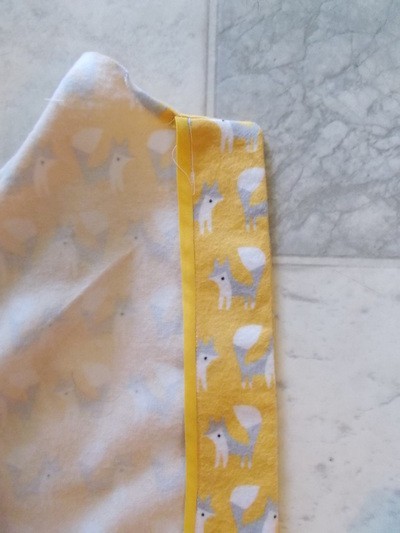
Hood: Place both pieces of the hood together and sew on the outer side.

Front of the hood: Place two pieces of the front hood together and sew along the top
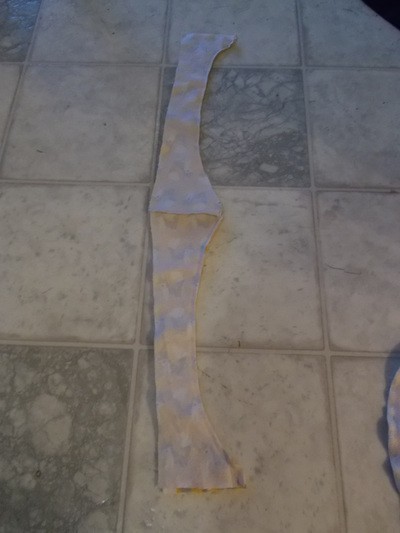
Repeat with the other two pieces. Then place them together, right sides facing and sew along the outer side.
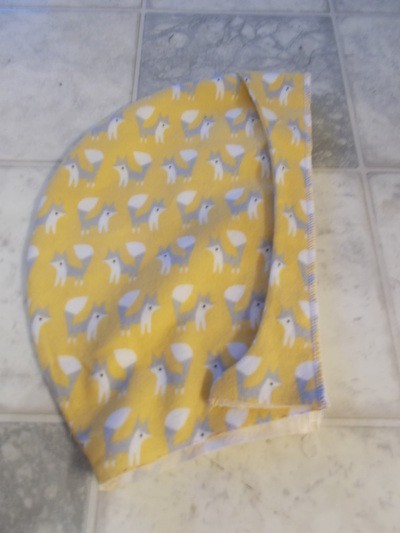
Turn this piece and press flat. Then, place it with the rest of the hood.
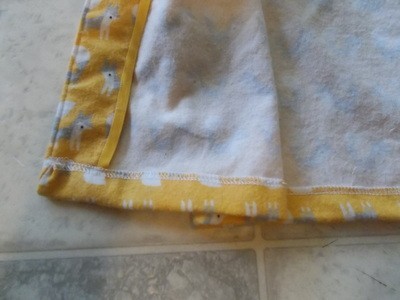
Place the hood on the jacket. Pin and sew along the neckline.
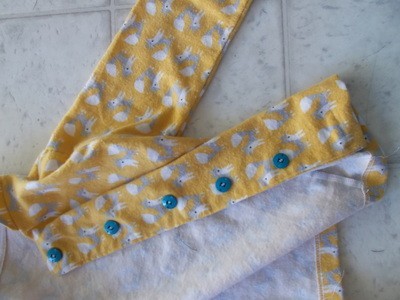
Place the buttons on the front jacket separated by 2 inches

Make the buttonholes on the other side.

You can make a decorative pair of ears to your hoodie as well 😉
DOWNLOAD THE PATTERN HERE
DOWNLOAD THE PATTERN HERE

Raglan Top For Kids Tutorial
Thank you for visiting On the Cutting Floor today. This is the Raglan Top For Kids Tutorial
If this is your first time in our blog, remember to check our FREE SEWING PATTERNS page.
On that page you will find our collection of free sewing patterns for women, kids and men.
You can also visit our SEWING TUTORIALS and our SEWING REVIEWS.
We also have an ETSY STORE, where you will find unique and modern sewing pattern for women.
You can also sign up for our newsletter on the sidebar of this post, so you will never miss a post!
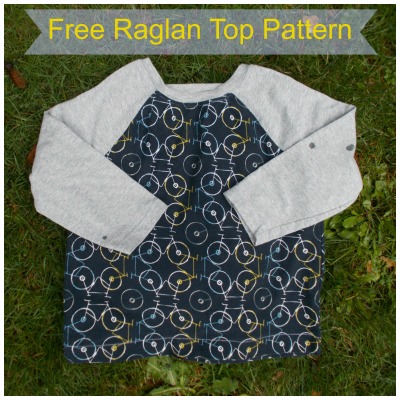
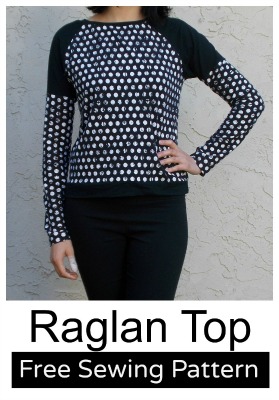
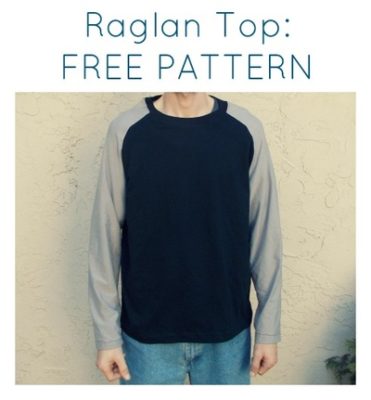
Raglan Top For Kids Tutorial
This is a very easy sewing pattern to make for kids. The pattern is available in sizes 12 to 8 years and you can download the FREE printable PDF sewing pattern here.
Please, remember to check on the measurement chart to know exactly which size you will need.
The Step by step picture sewing tutorial will have an update very soon with a more detail and easy to follow instructions.
If you like, you can bookmark this page to keep it for future reference.
Click on the pictures to enlarge:
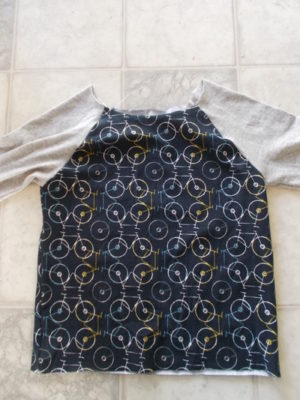
- place front and back bodice pieces together, right sides facing and stitch along the side seams.
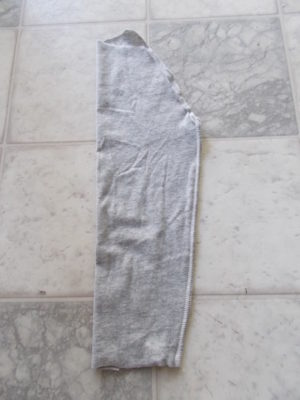
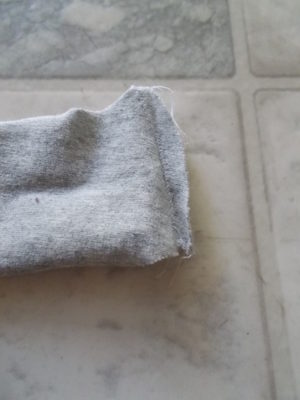
2. Set the bodice aside. Bring the sleeves and fold them lengthwise. Stitch along the side seam.
3. Turn the sleeves to the right side. Insert them into the bodice and match the seams. Then, stitch them to the bodice.
4. Set aside. Bring the neckline strap to the table and fold it in half. Stitch along the side.
5. Now, fold the strap in two and press it flat.

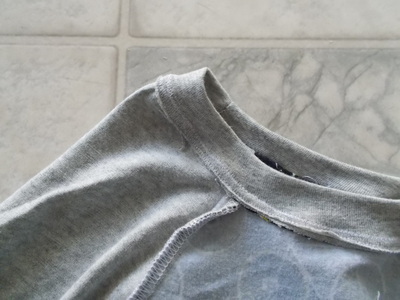
6. Pin the neckband to the raglan top neckline area. The neckband must stretch a bit, about 20% to match the neckline. Then, stitch them together.

7. Press it flat and top stitch it.
8. Finish the raglan top by making the hemline ( 1 1/2 inch) and the cuffs ( 1 inch)

Thank you for visiting us!
Remember to check on our Free sewing patterns and tutorials on the navigation bar.
DOWNLOAD THE PATTERN HERE
